Phase 4 - Weeks Nineteen - Twenty-Four
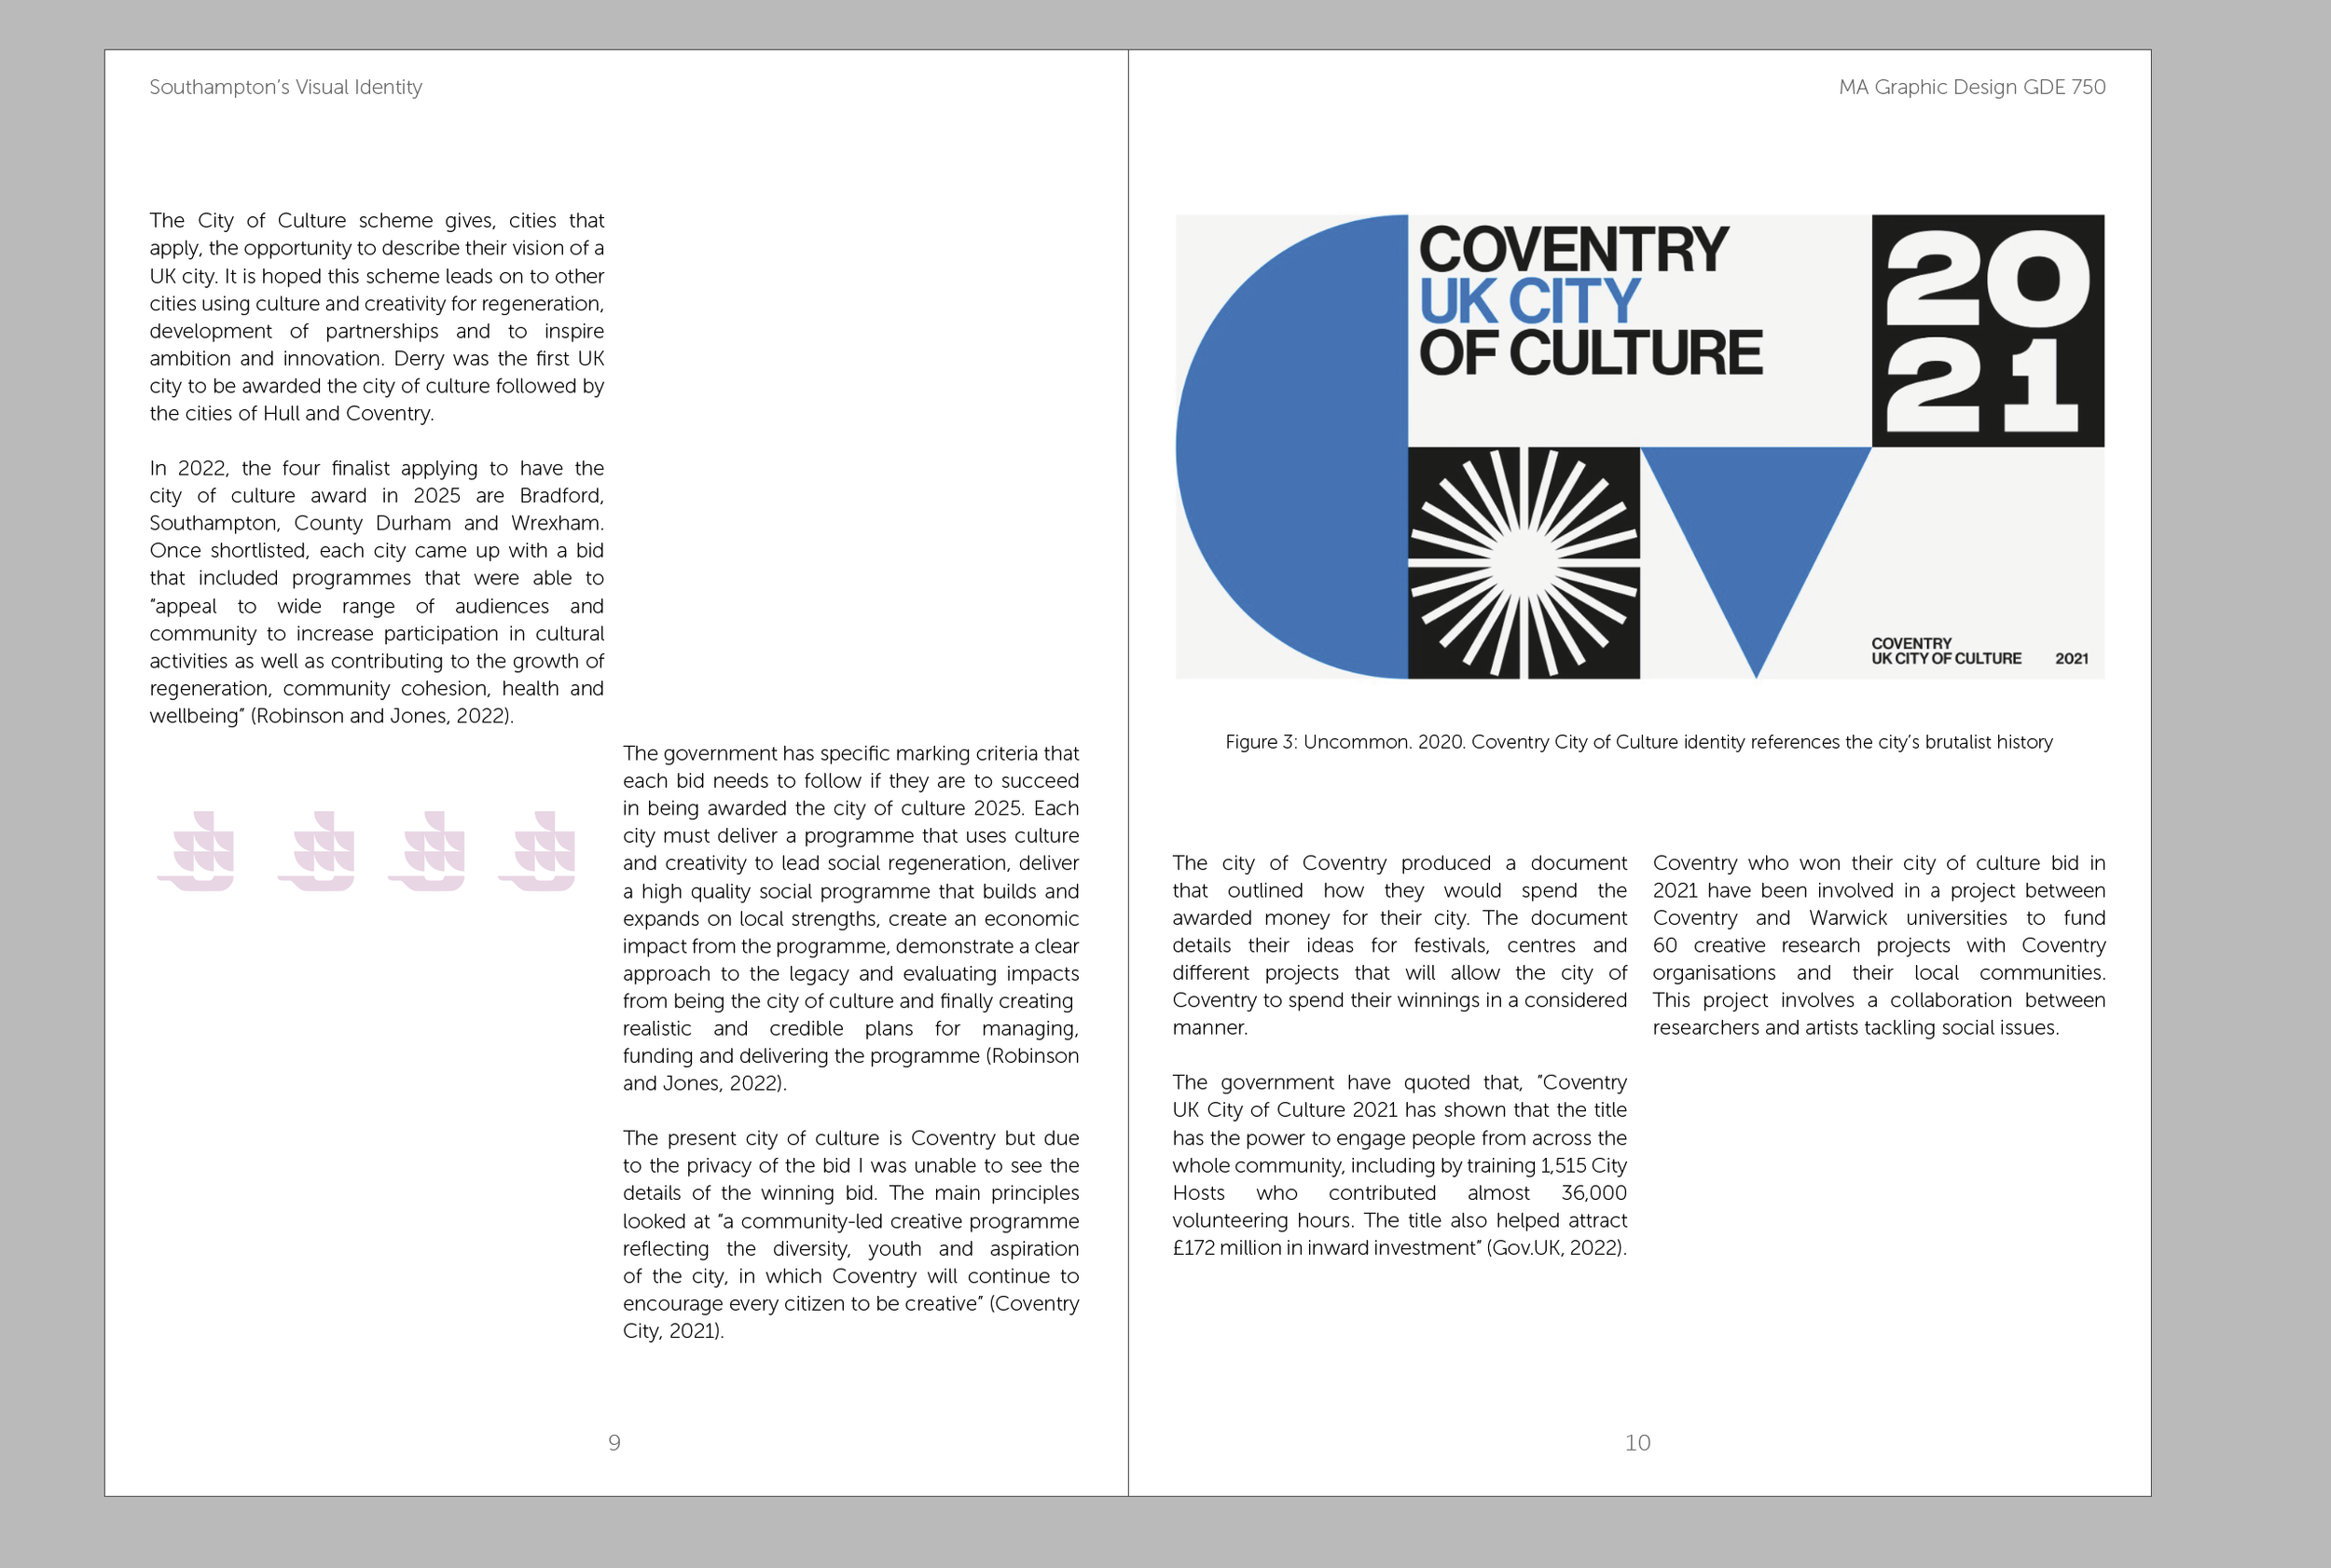
Week Nineteen:
Weekly Focus
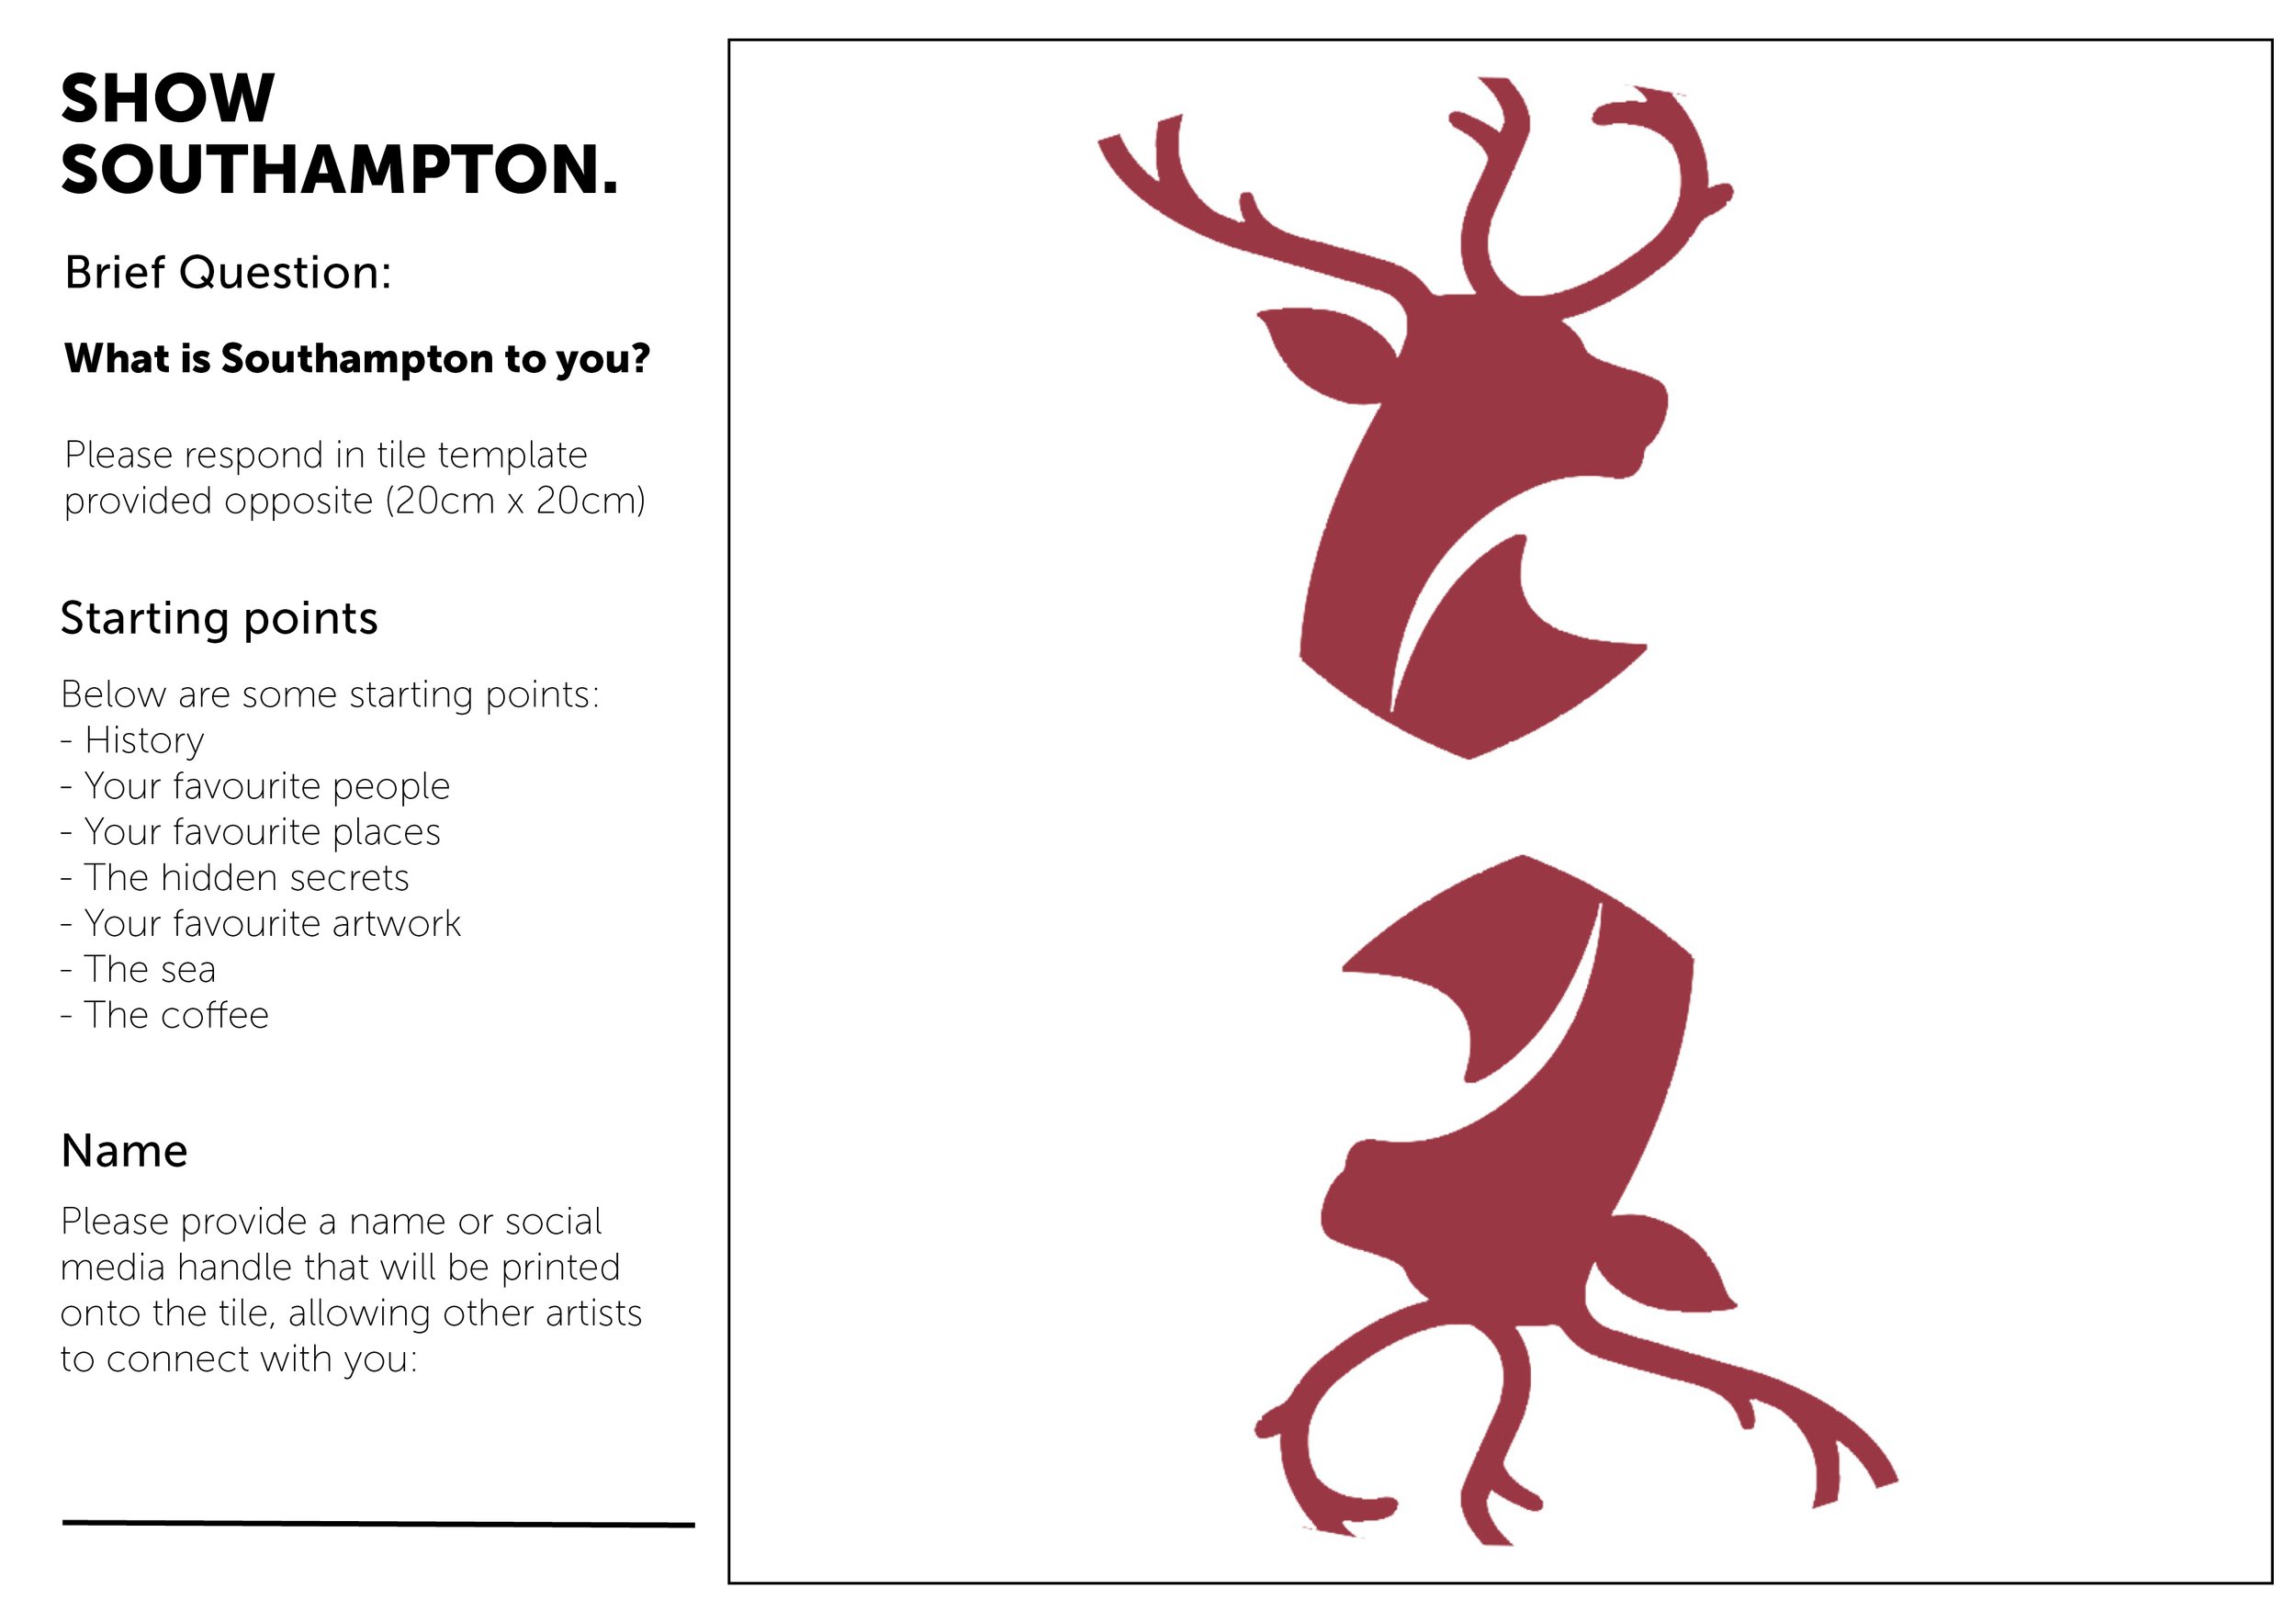
This week, I wanted to make sure that I created the briefs and run a workshop for the concept.
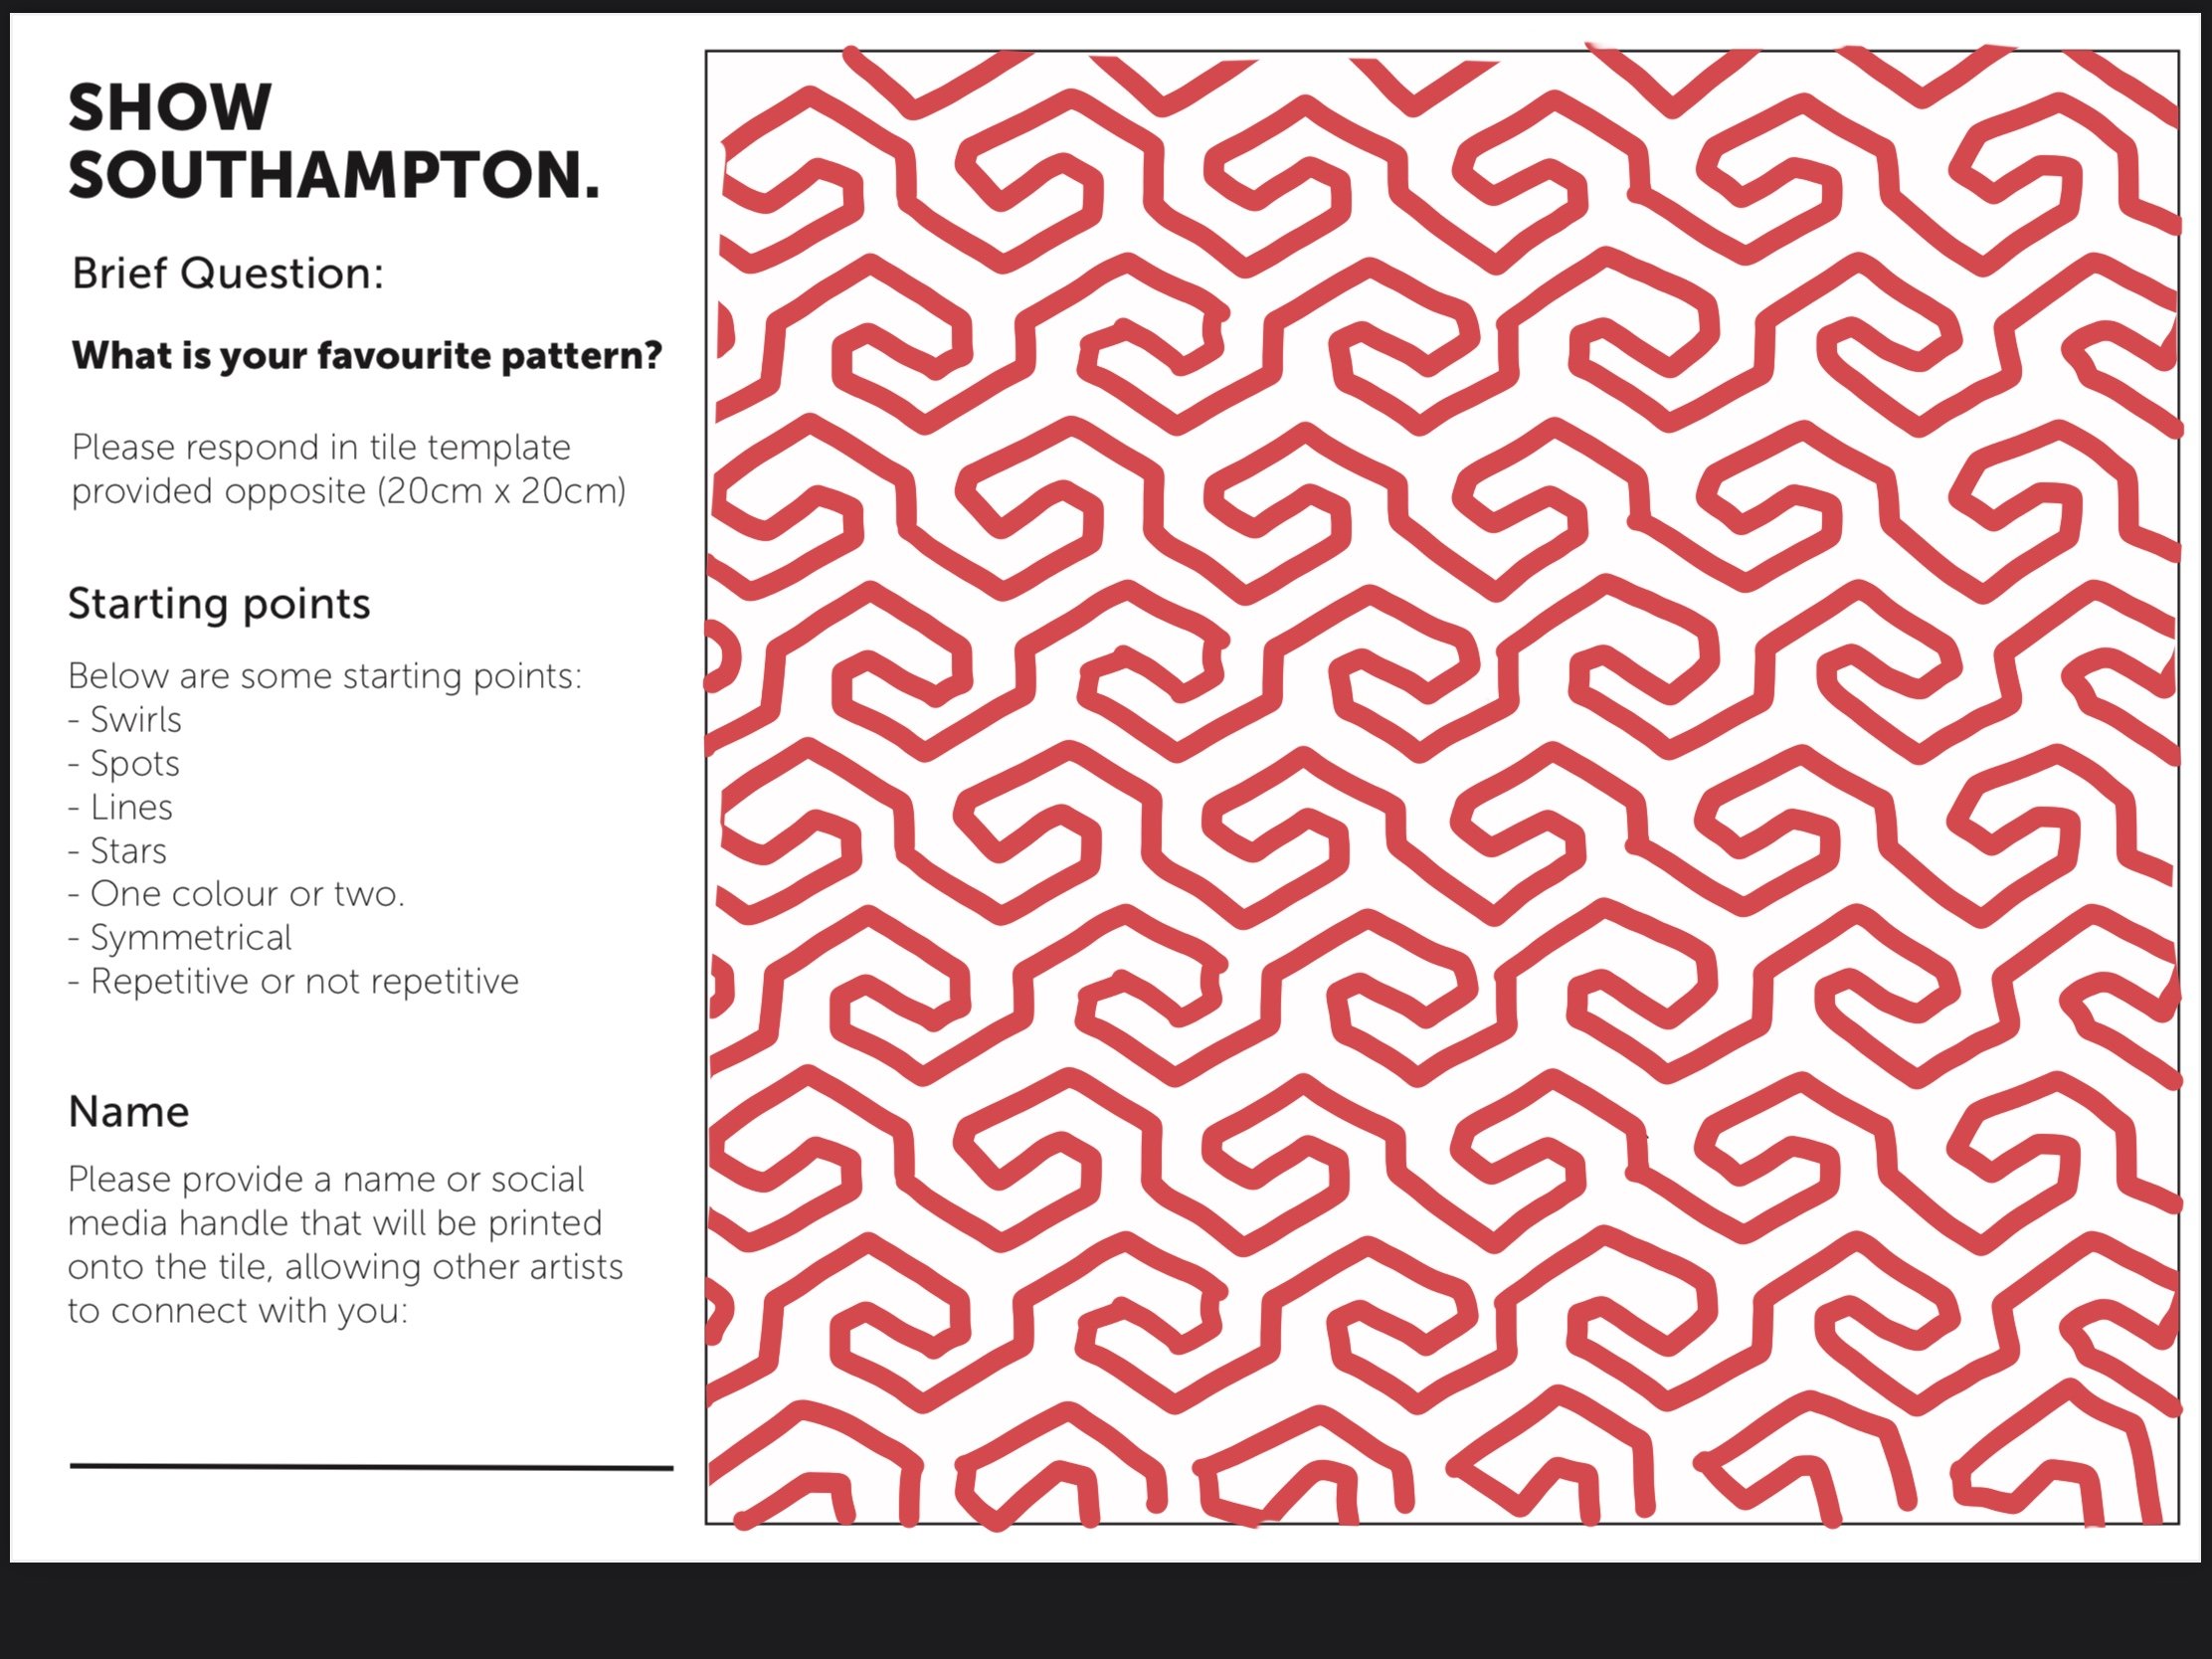
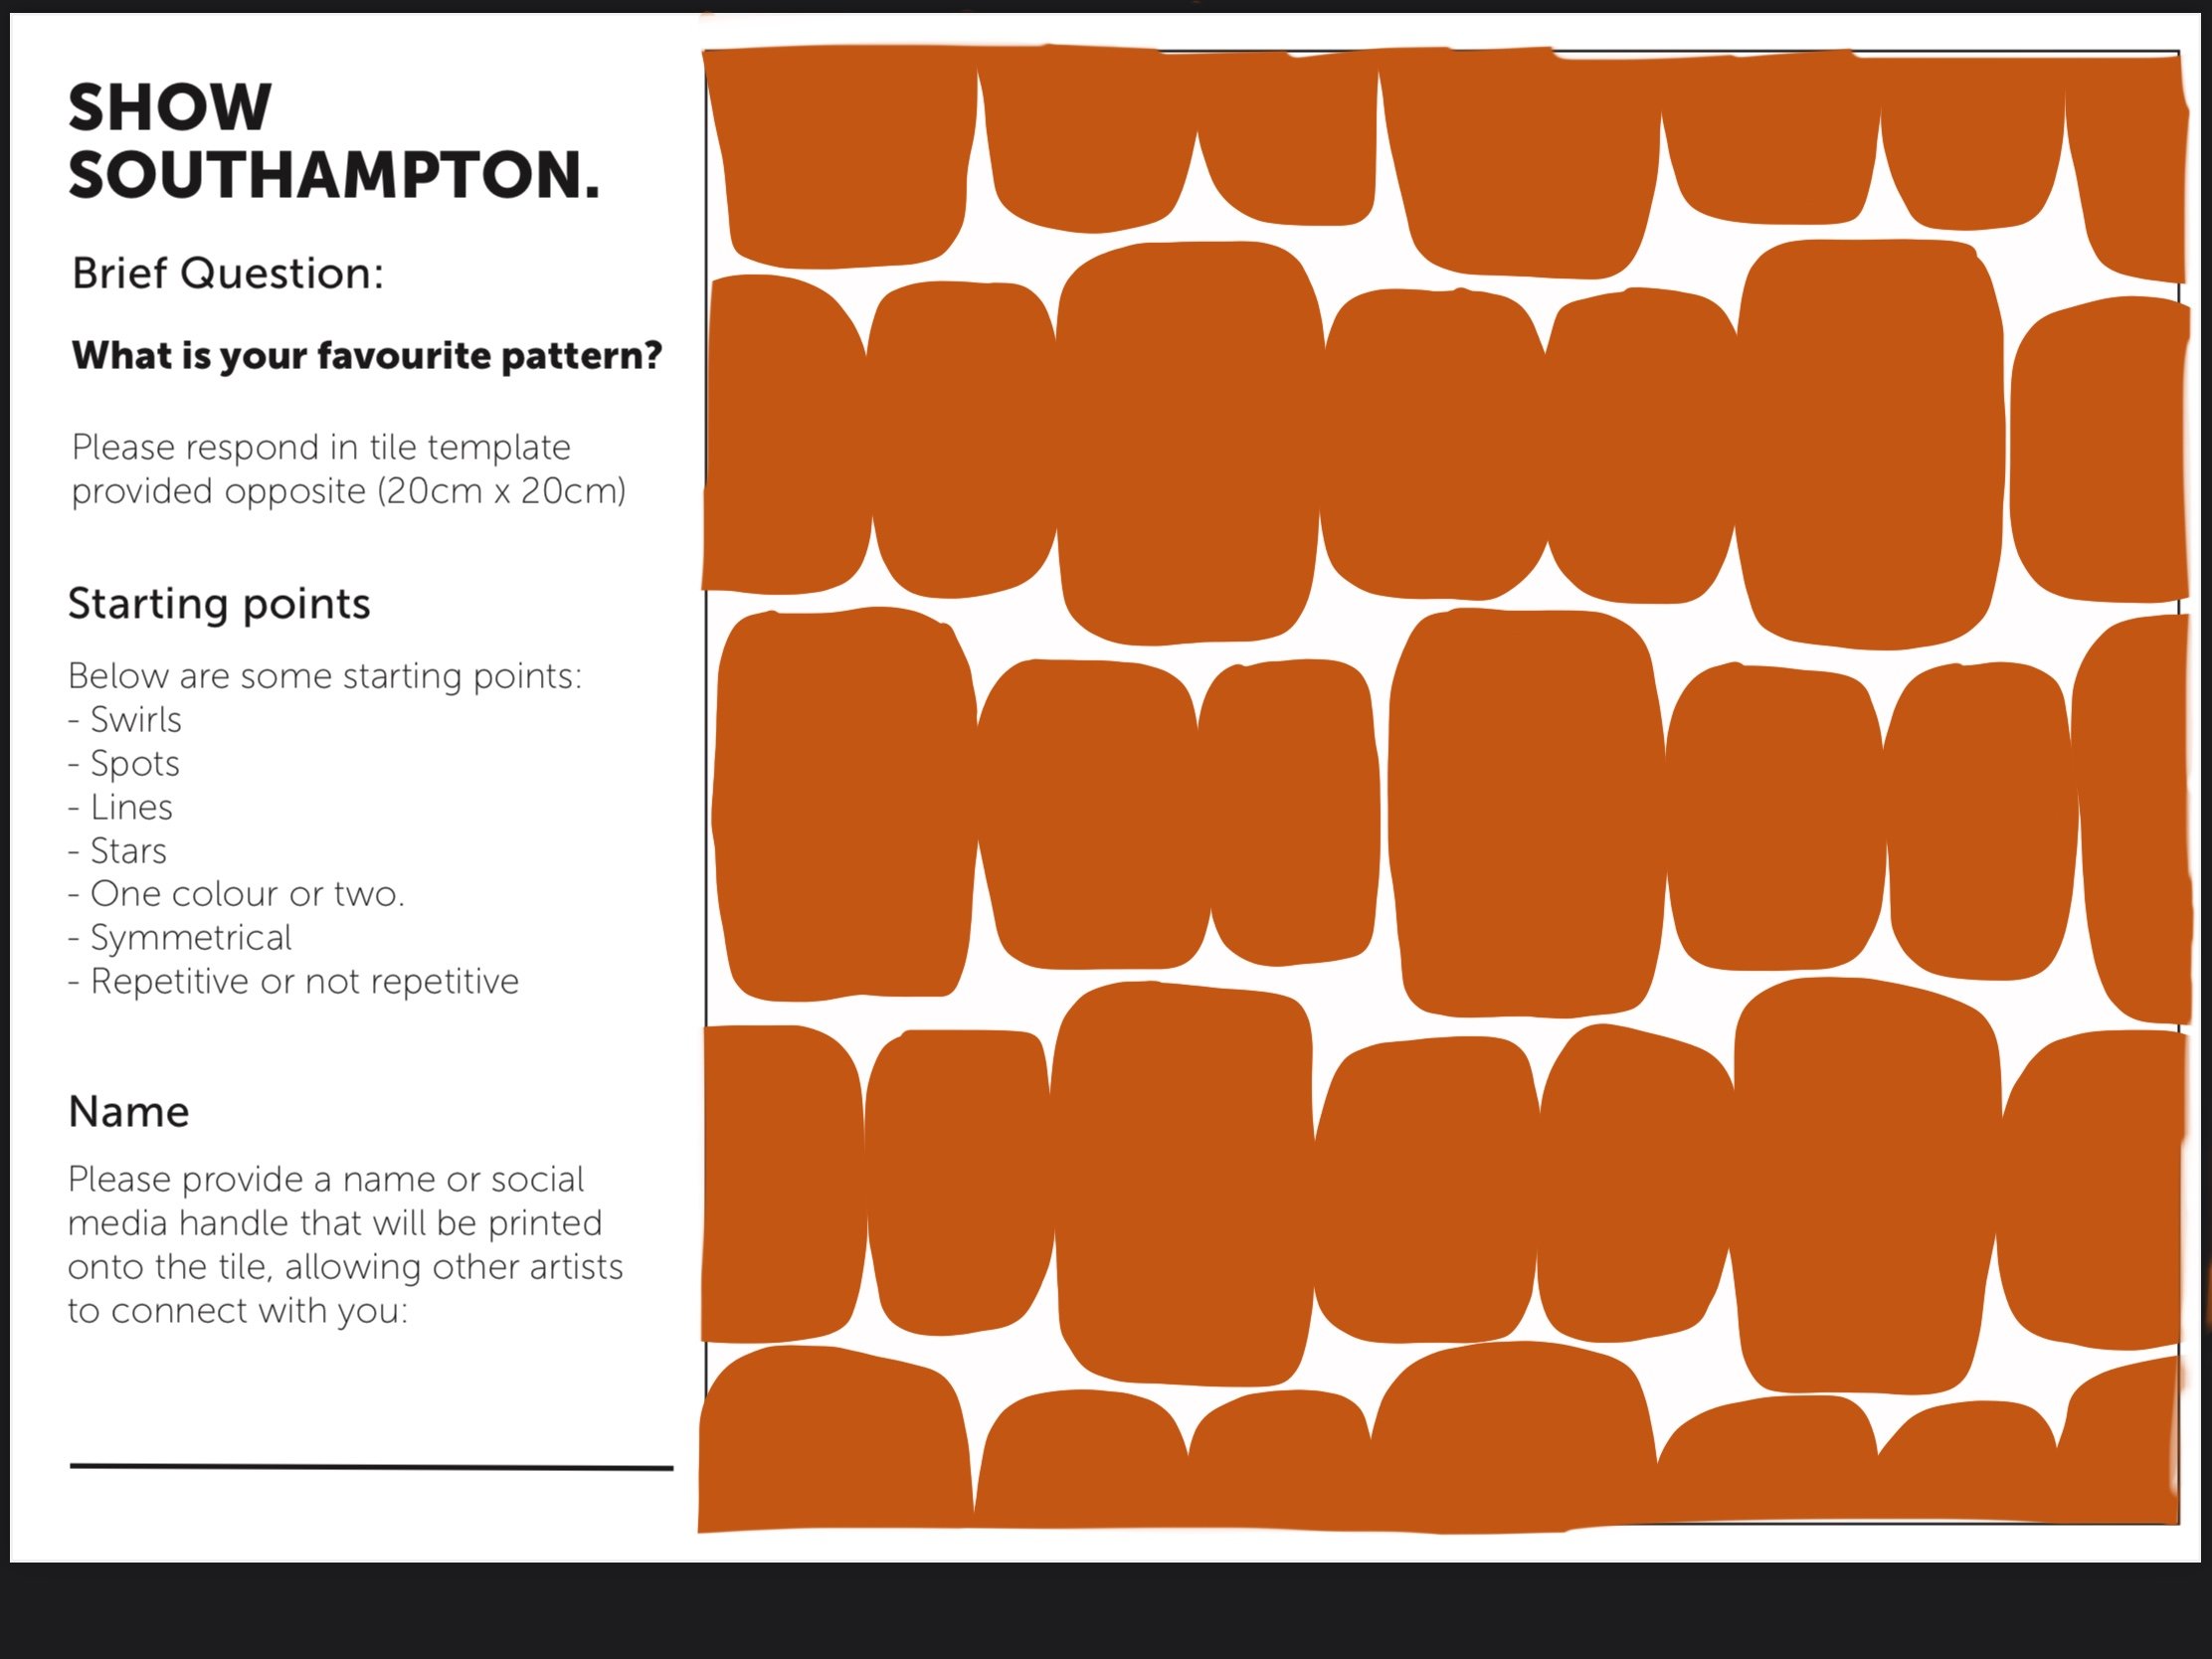
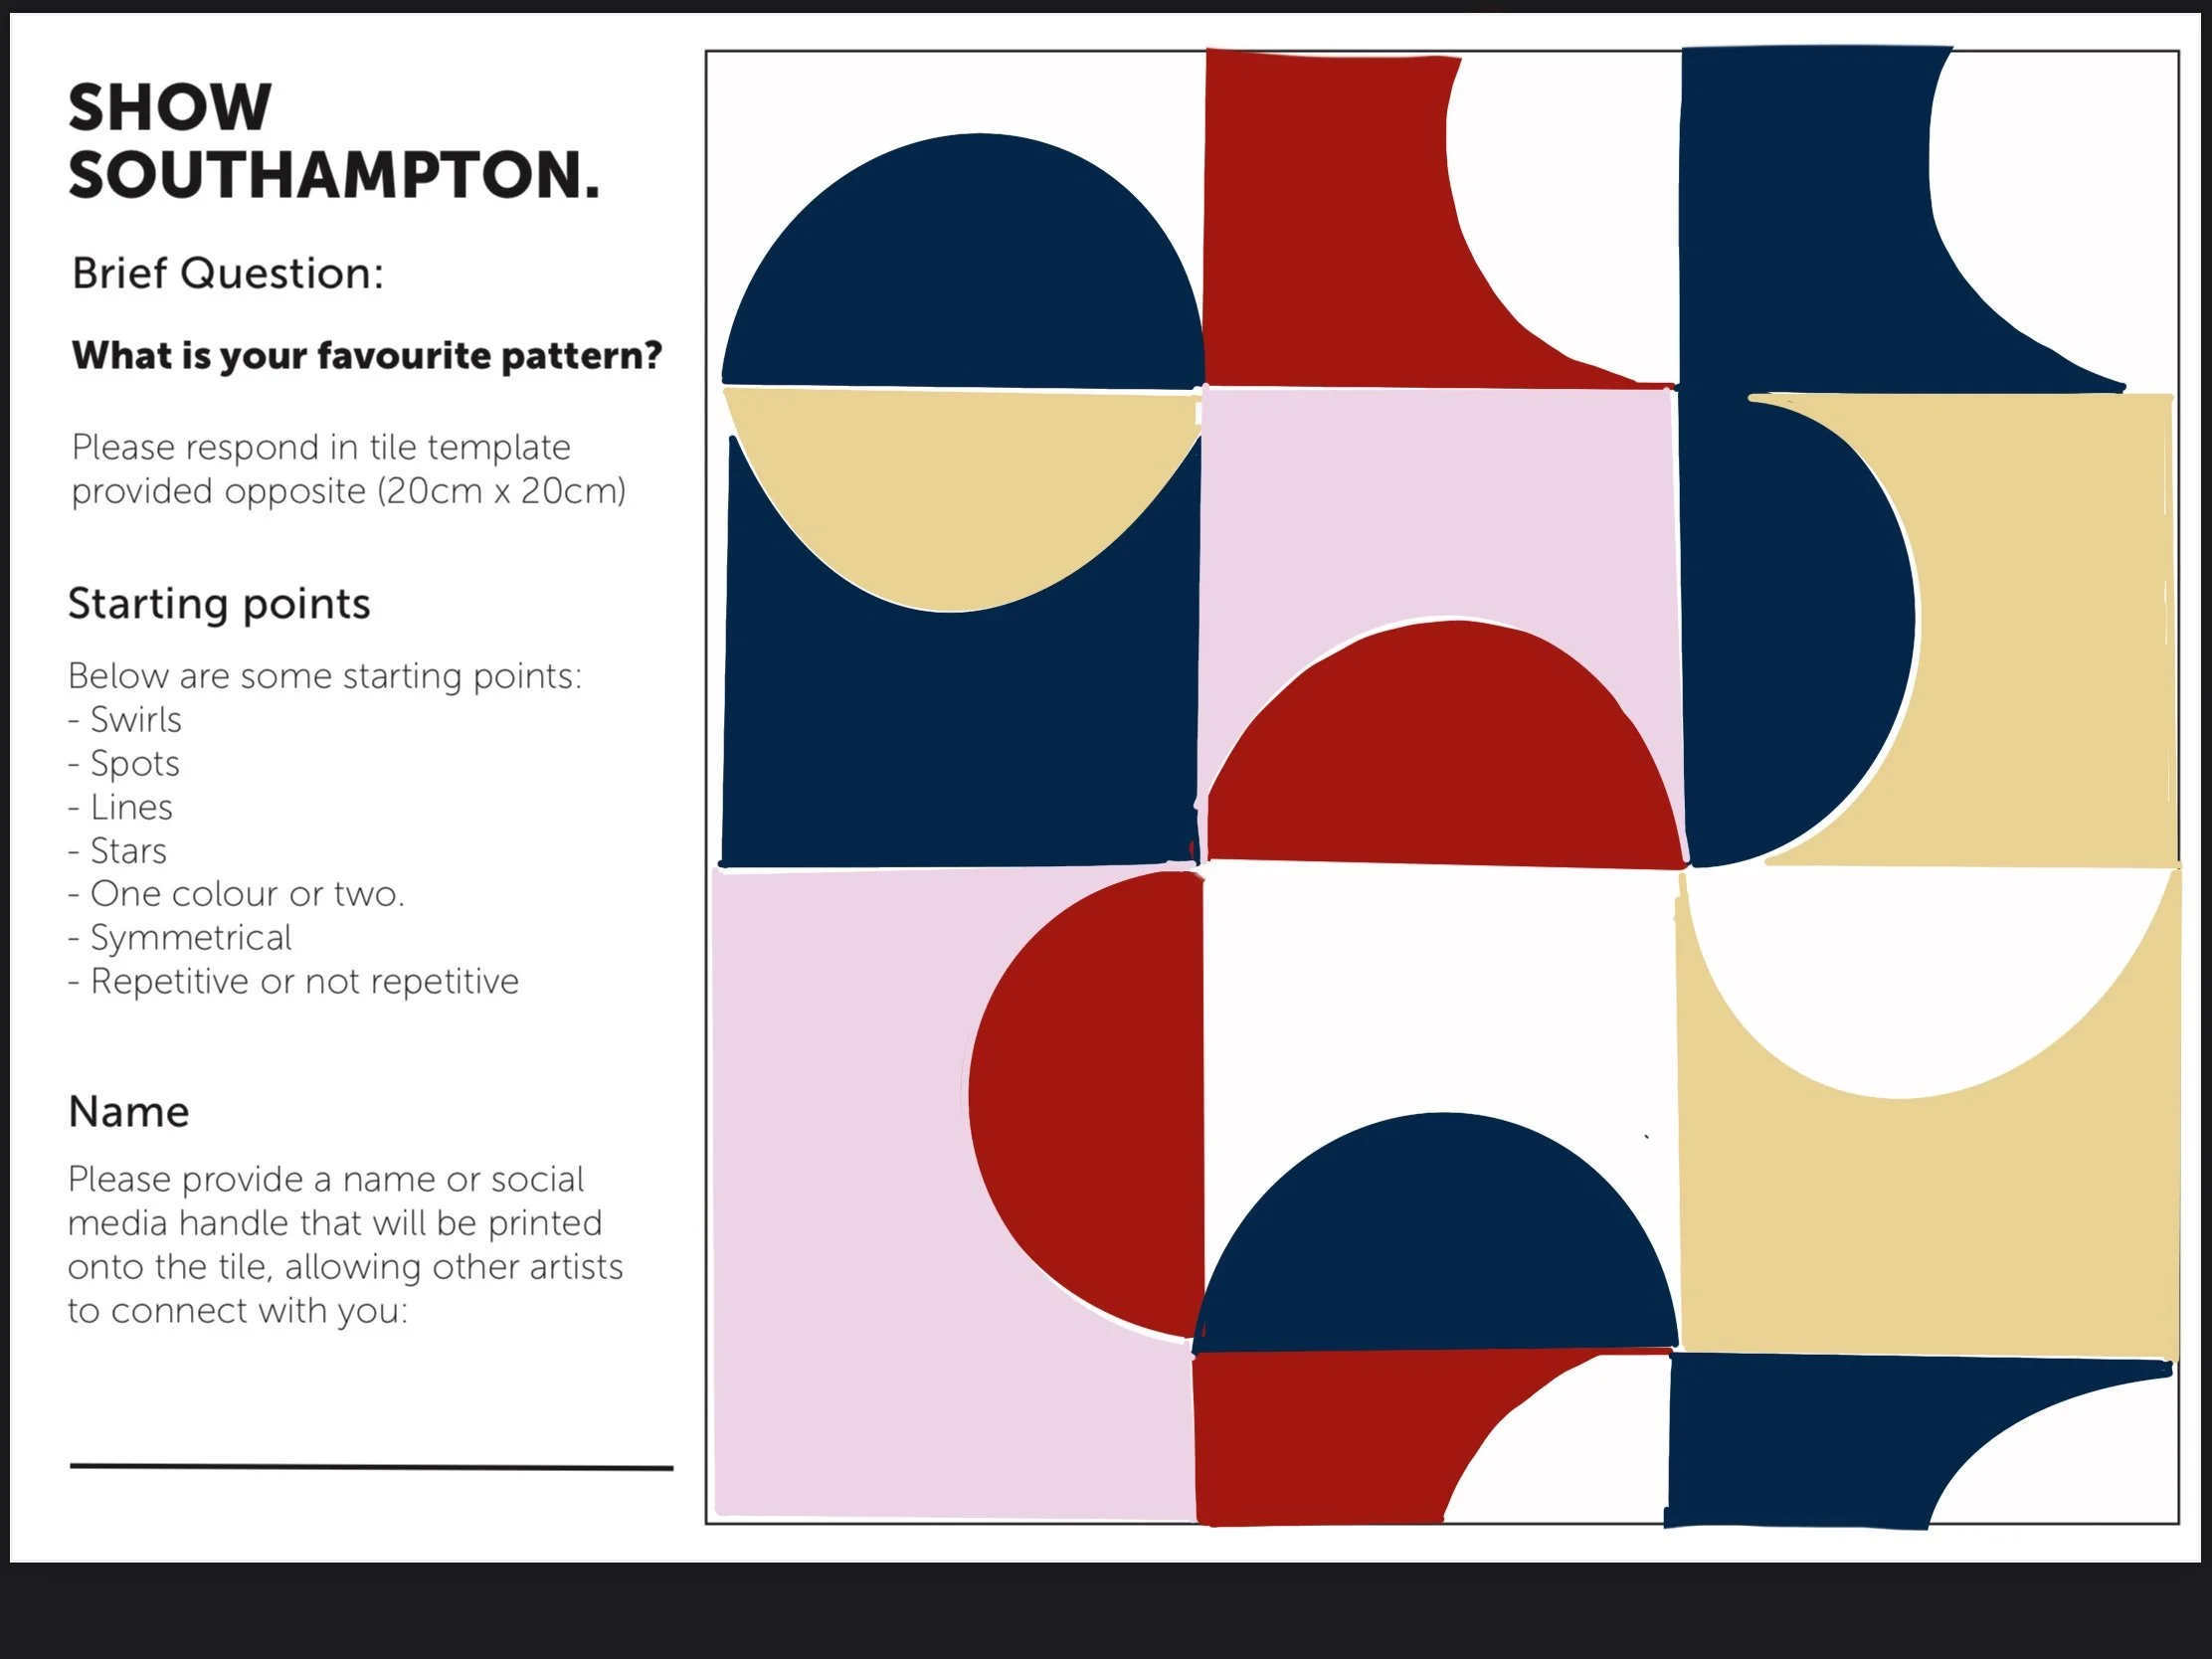
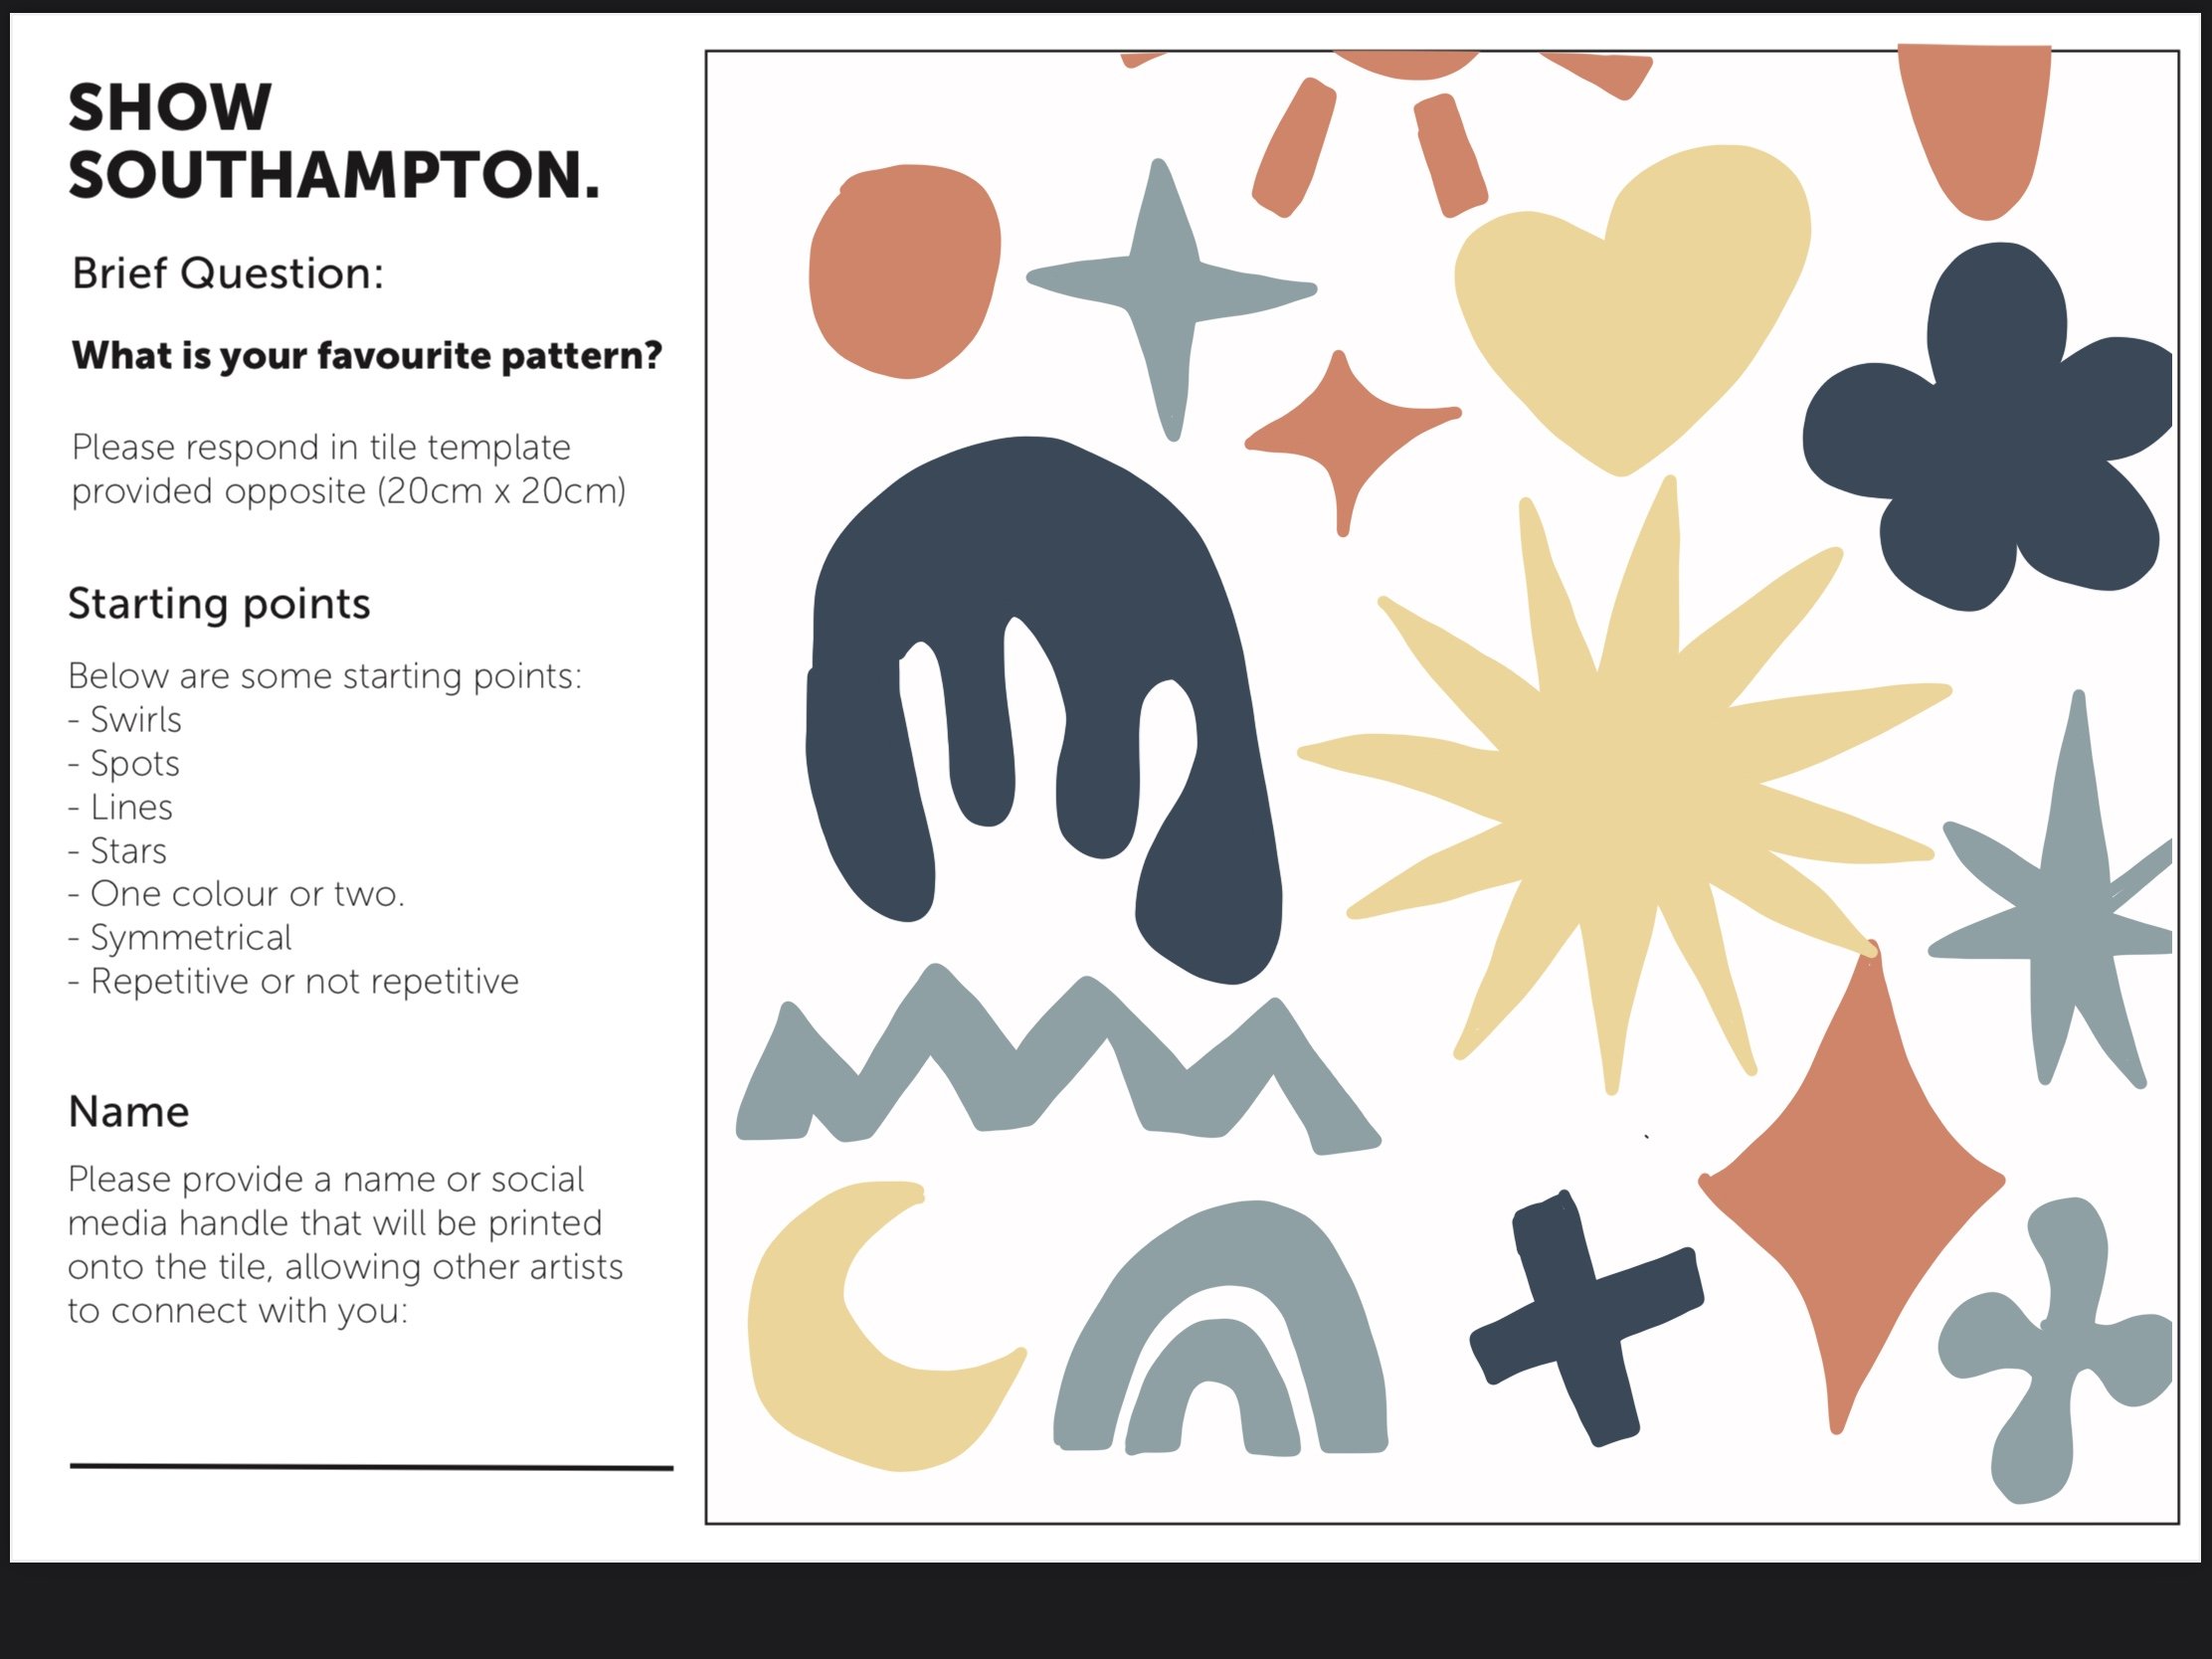
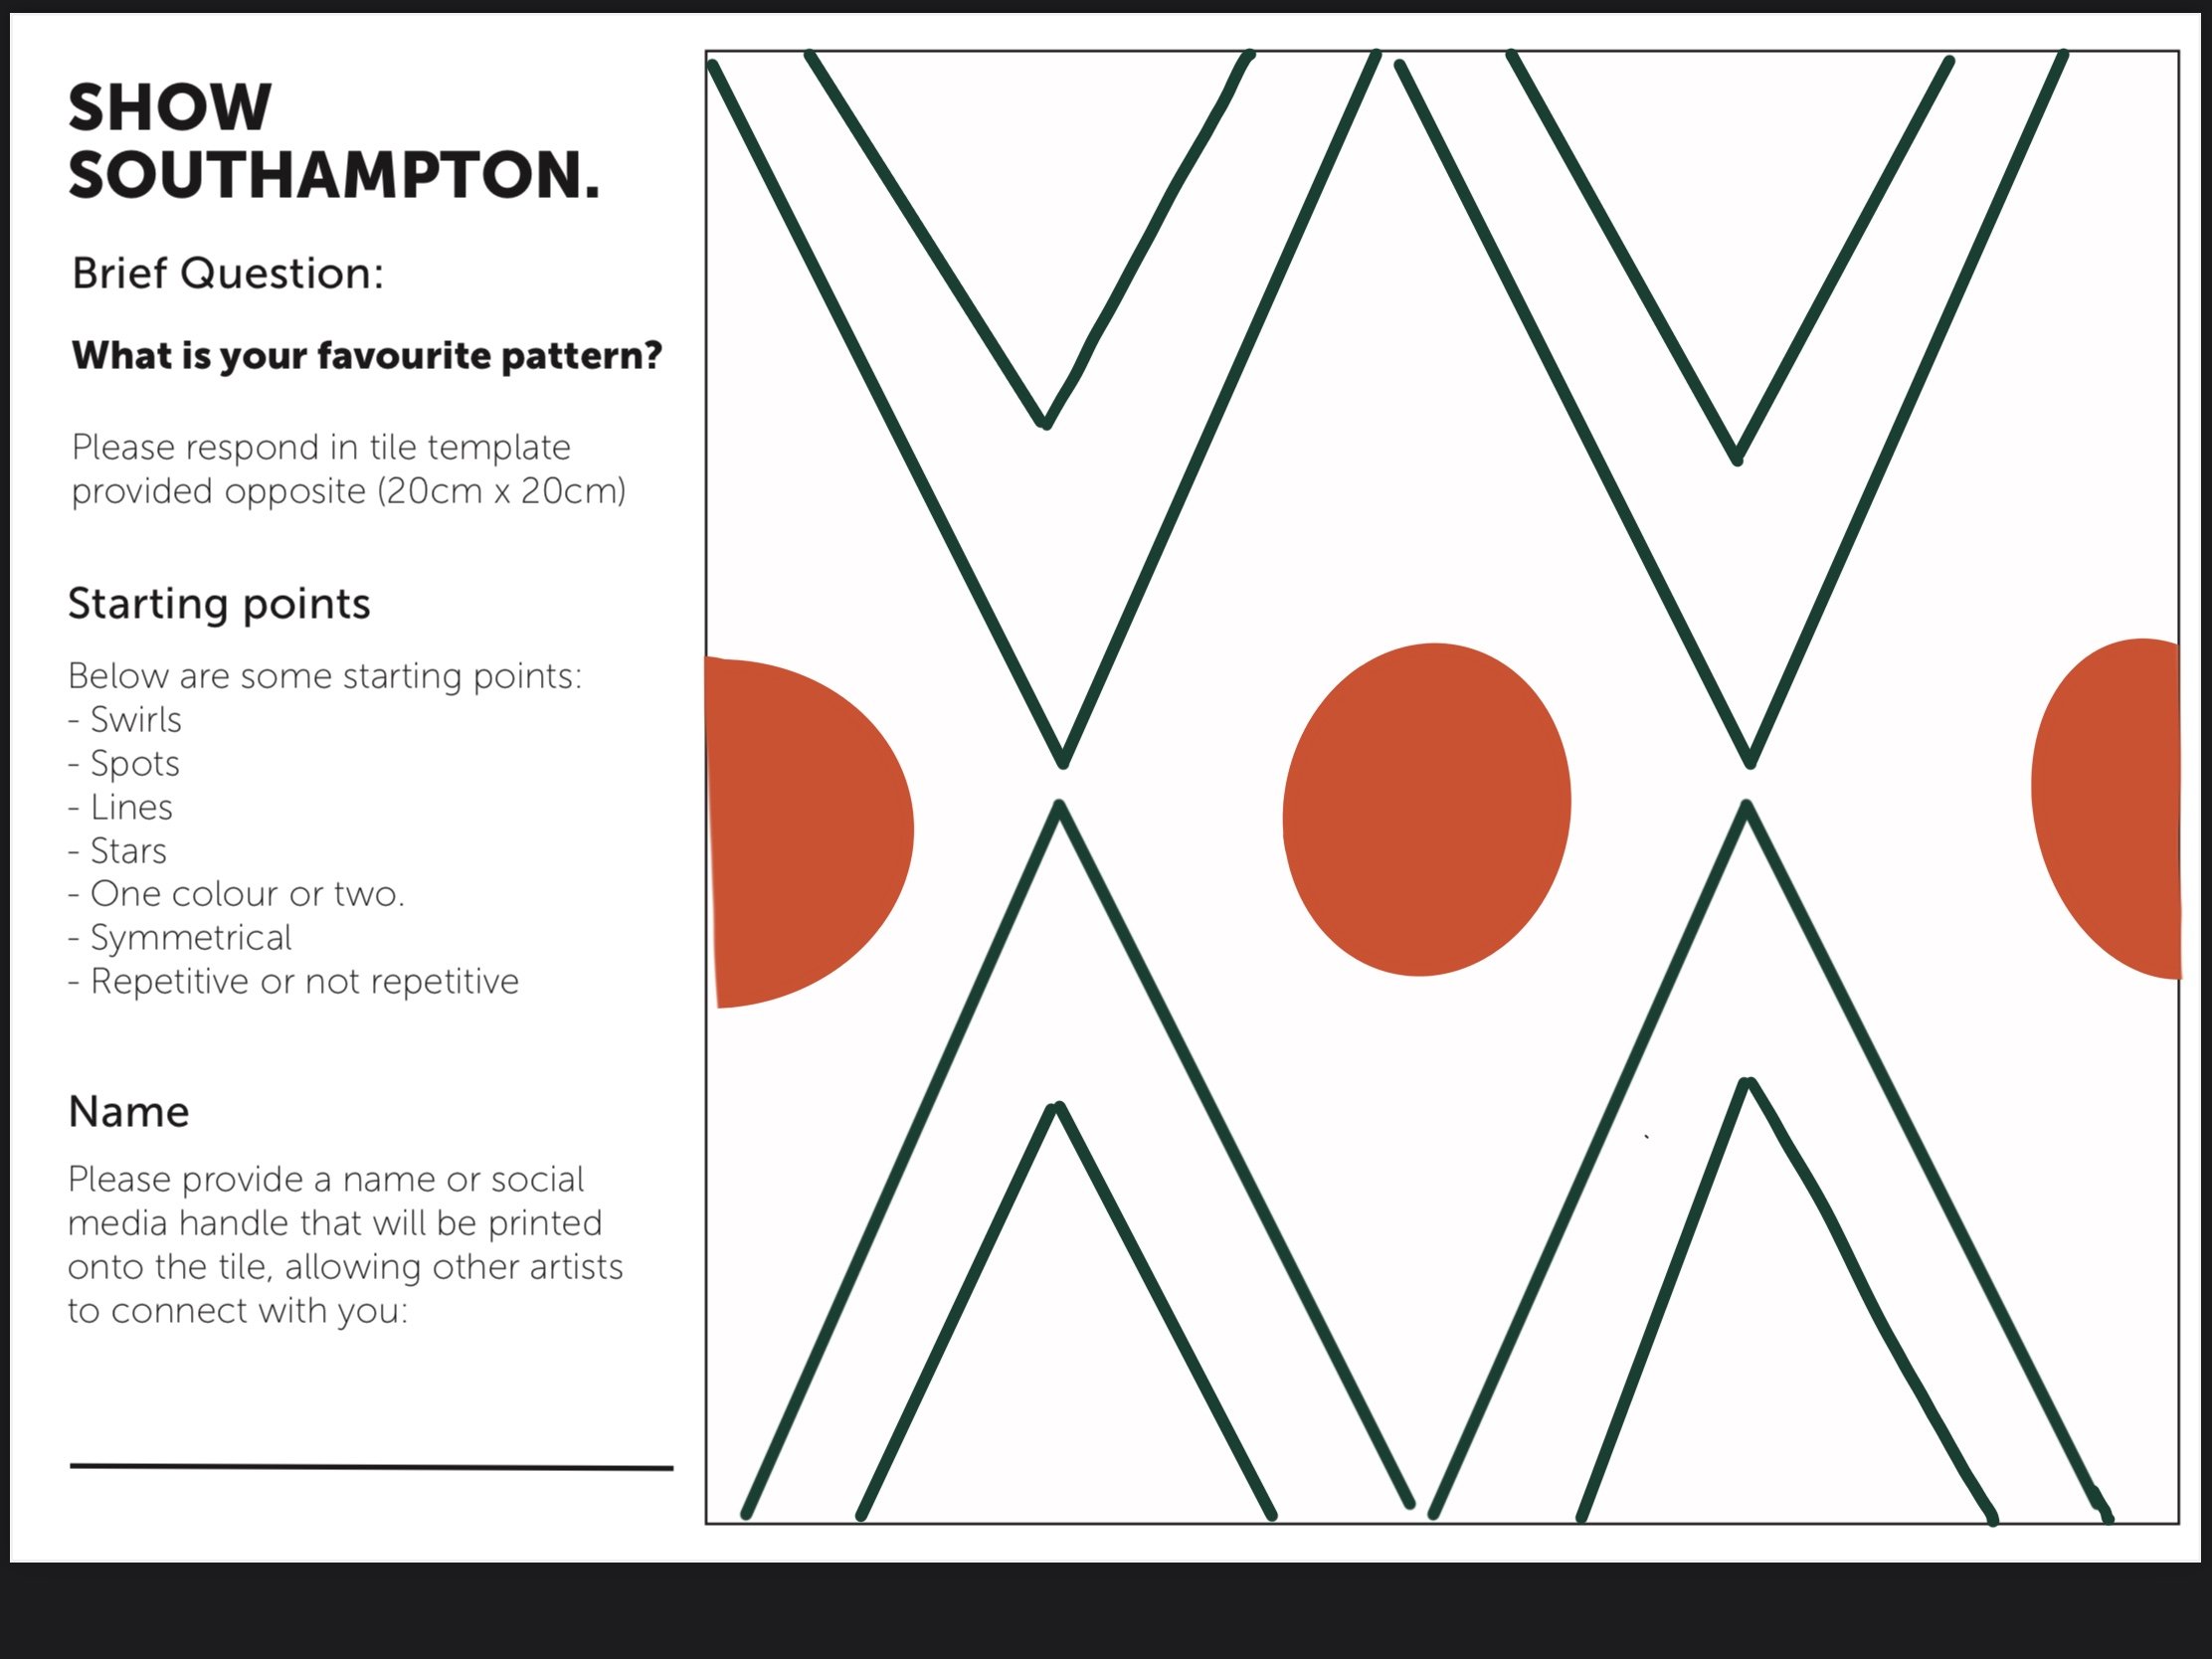
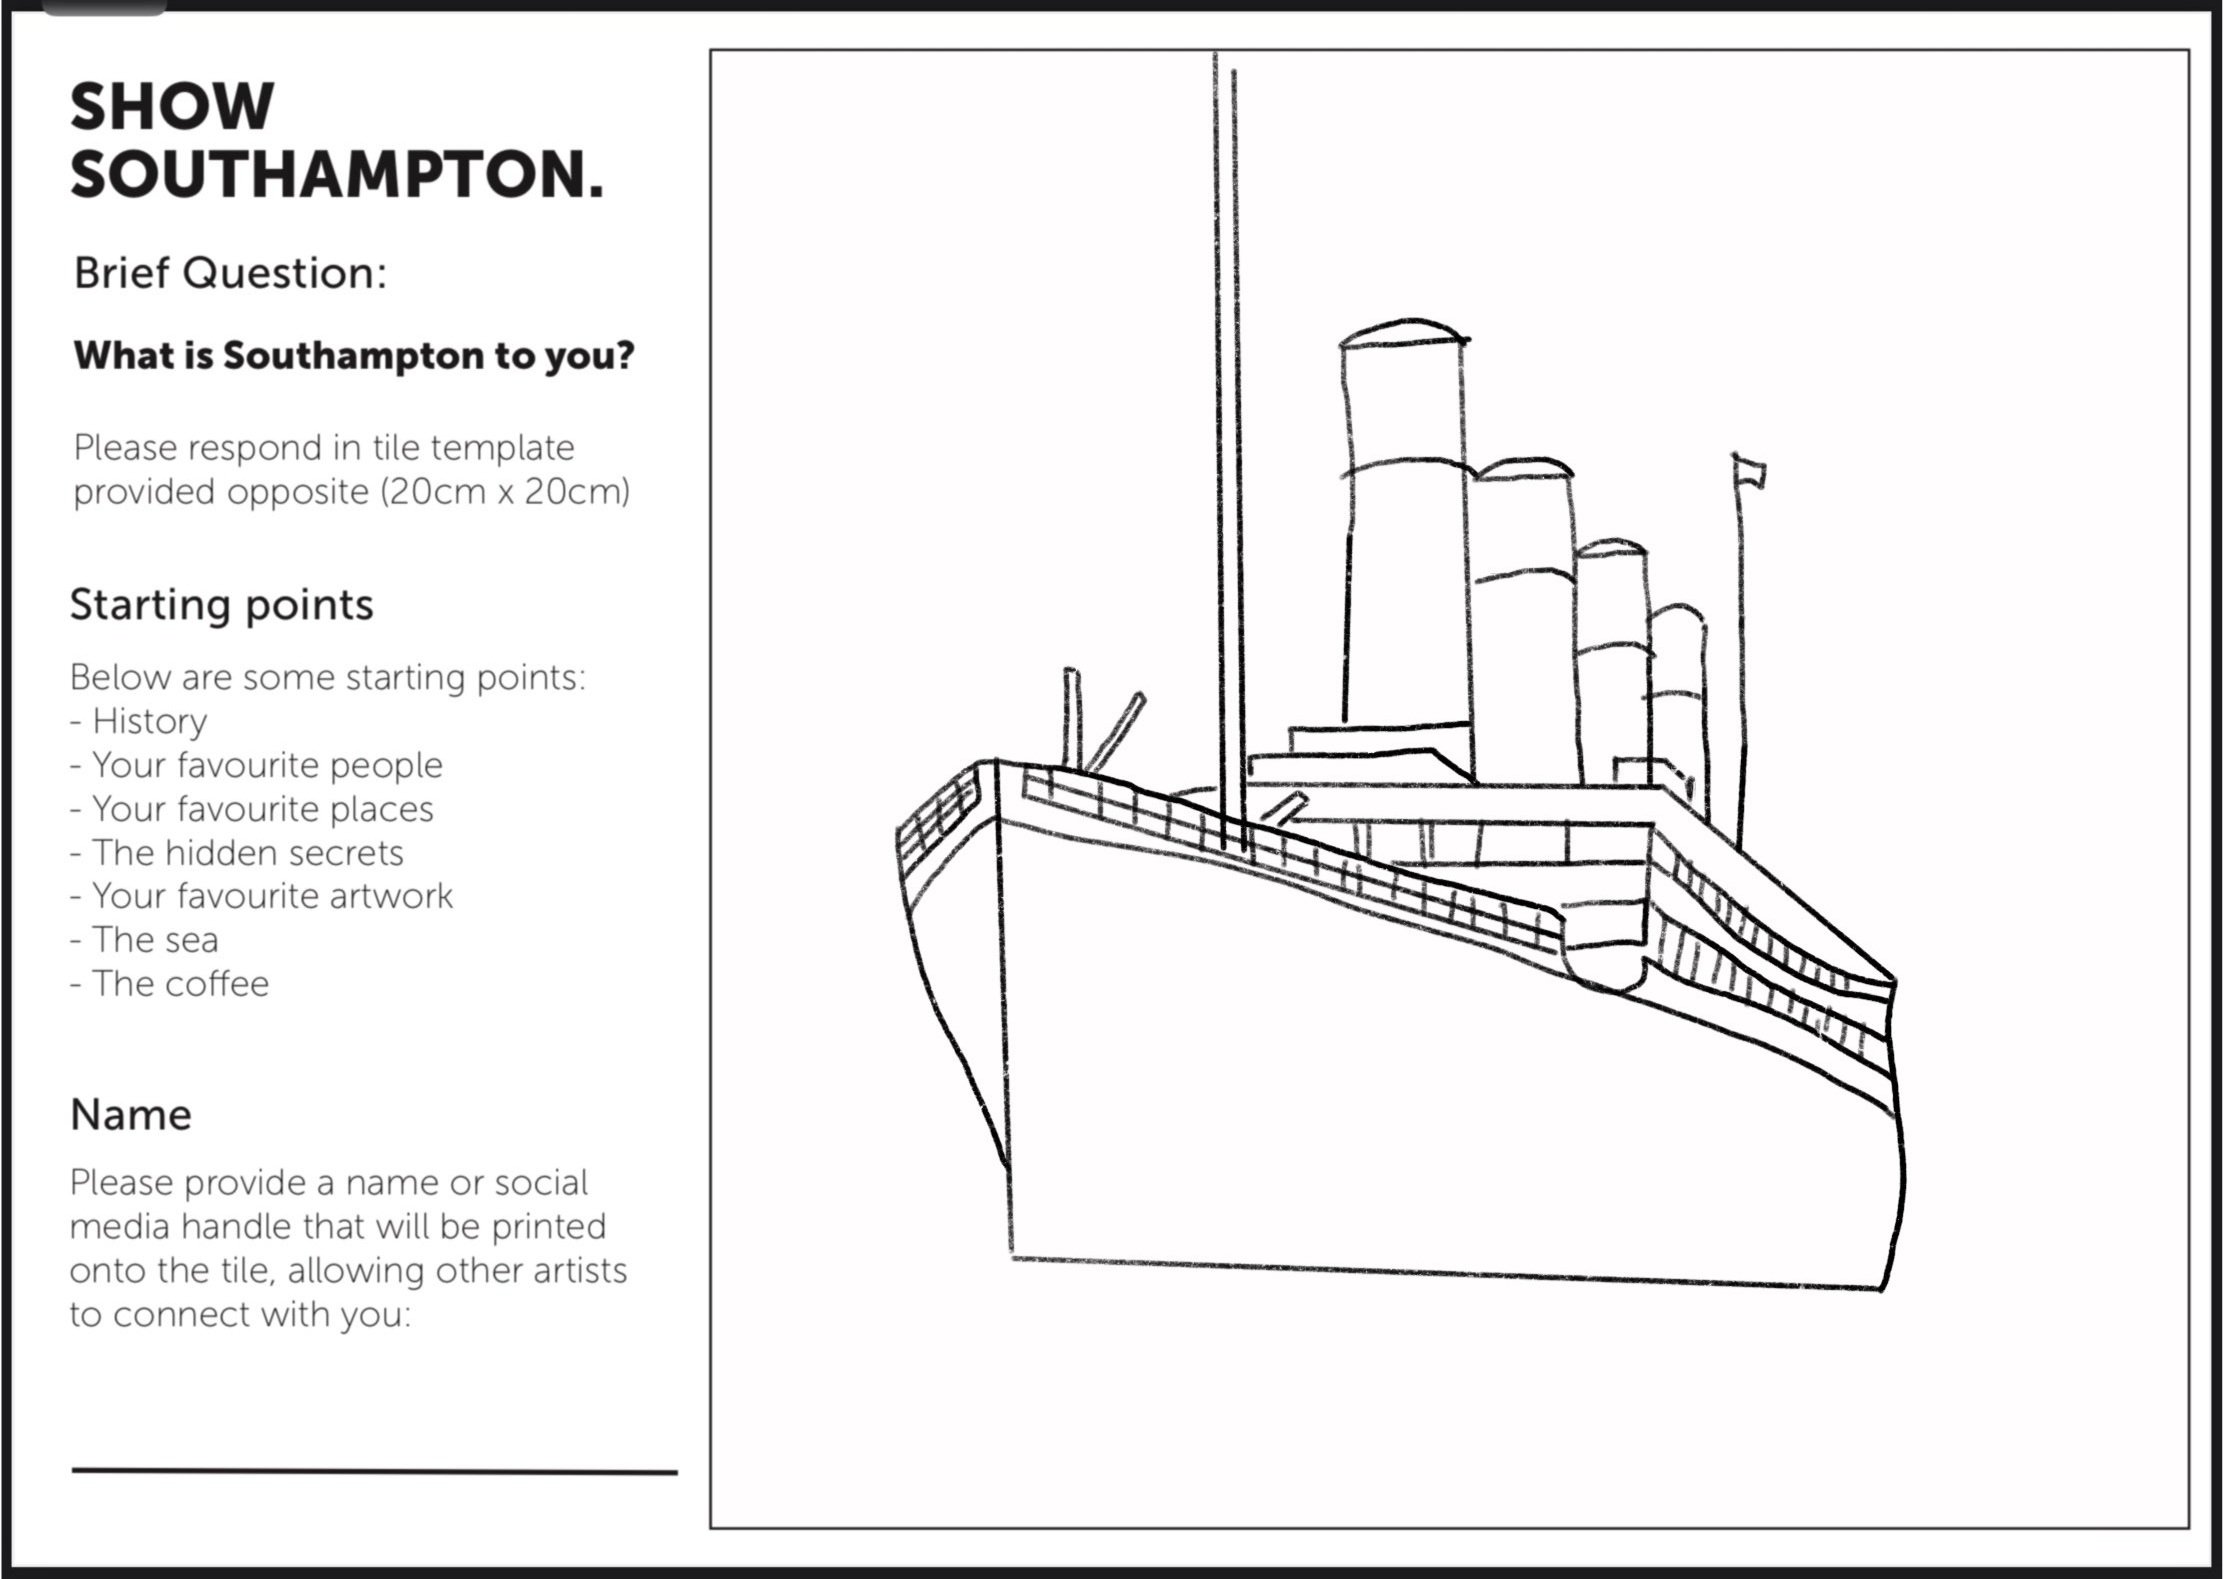
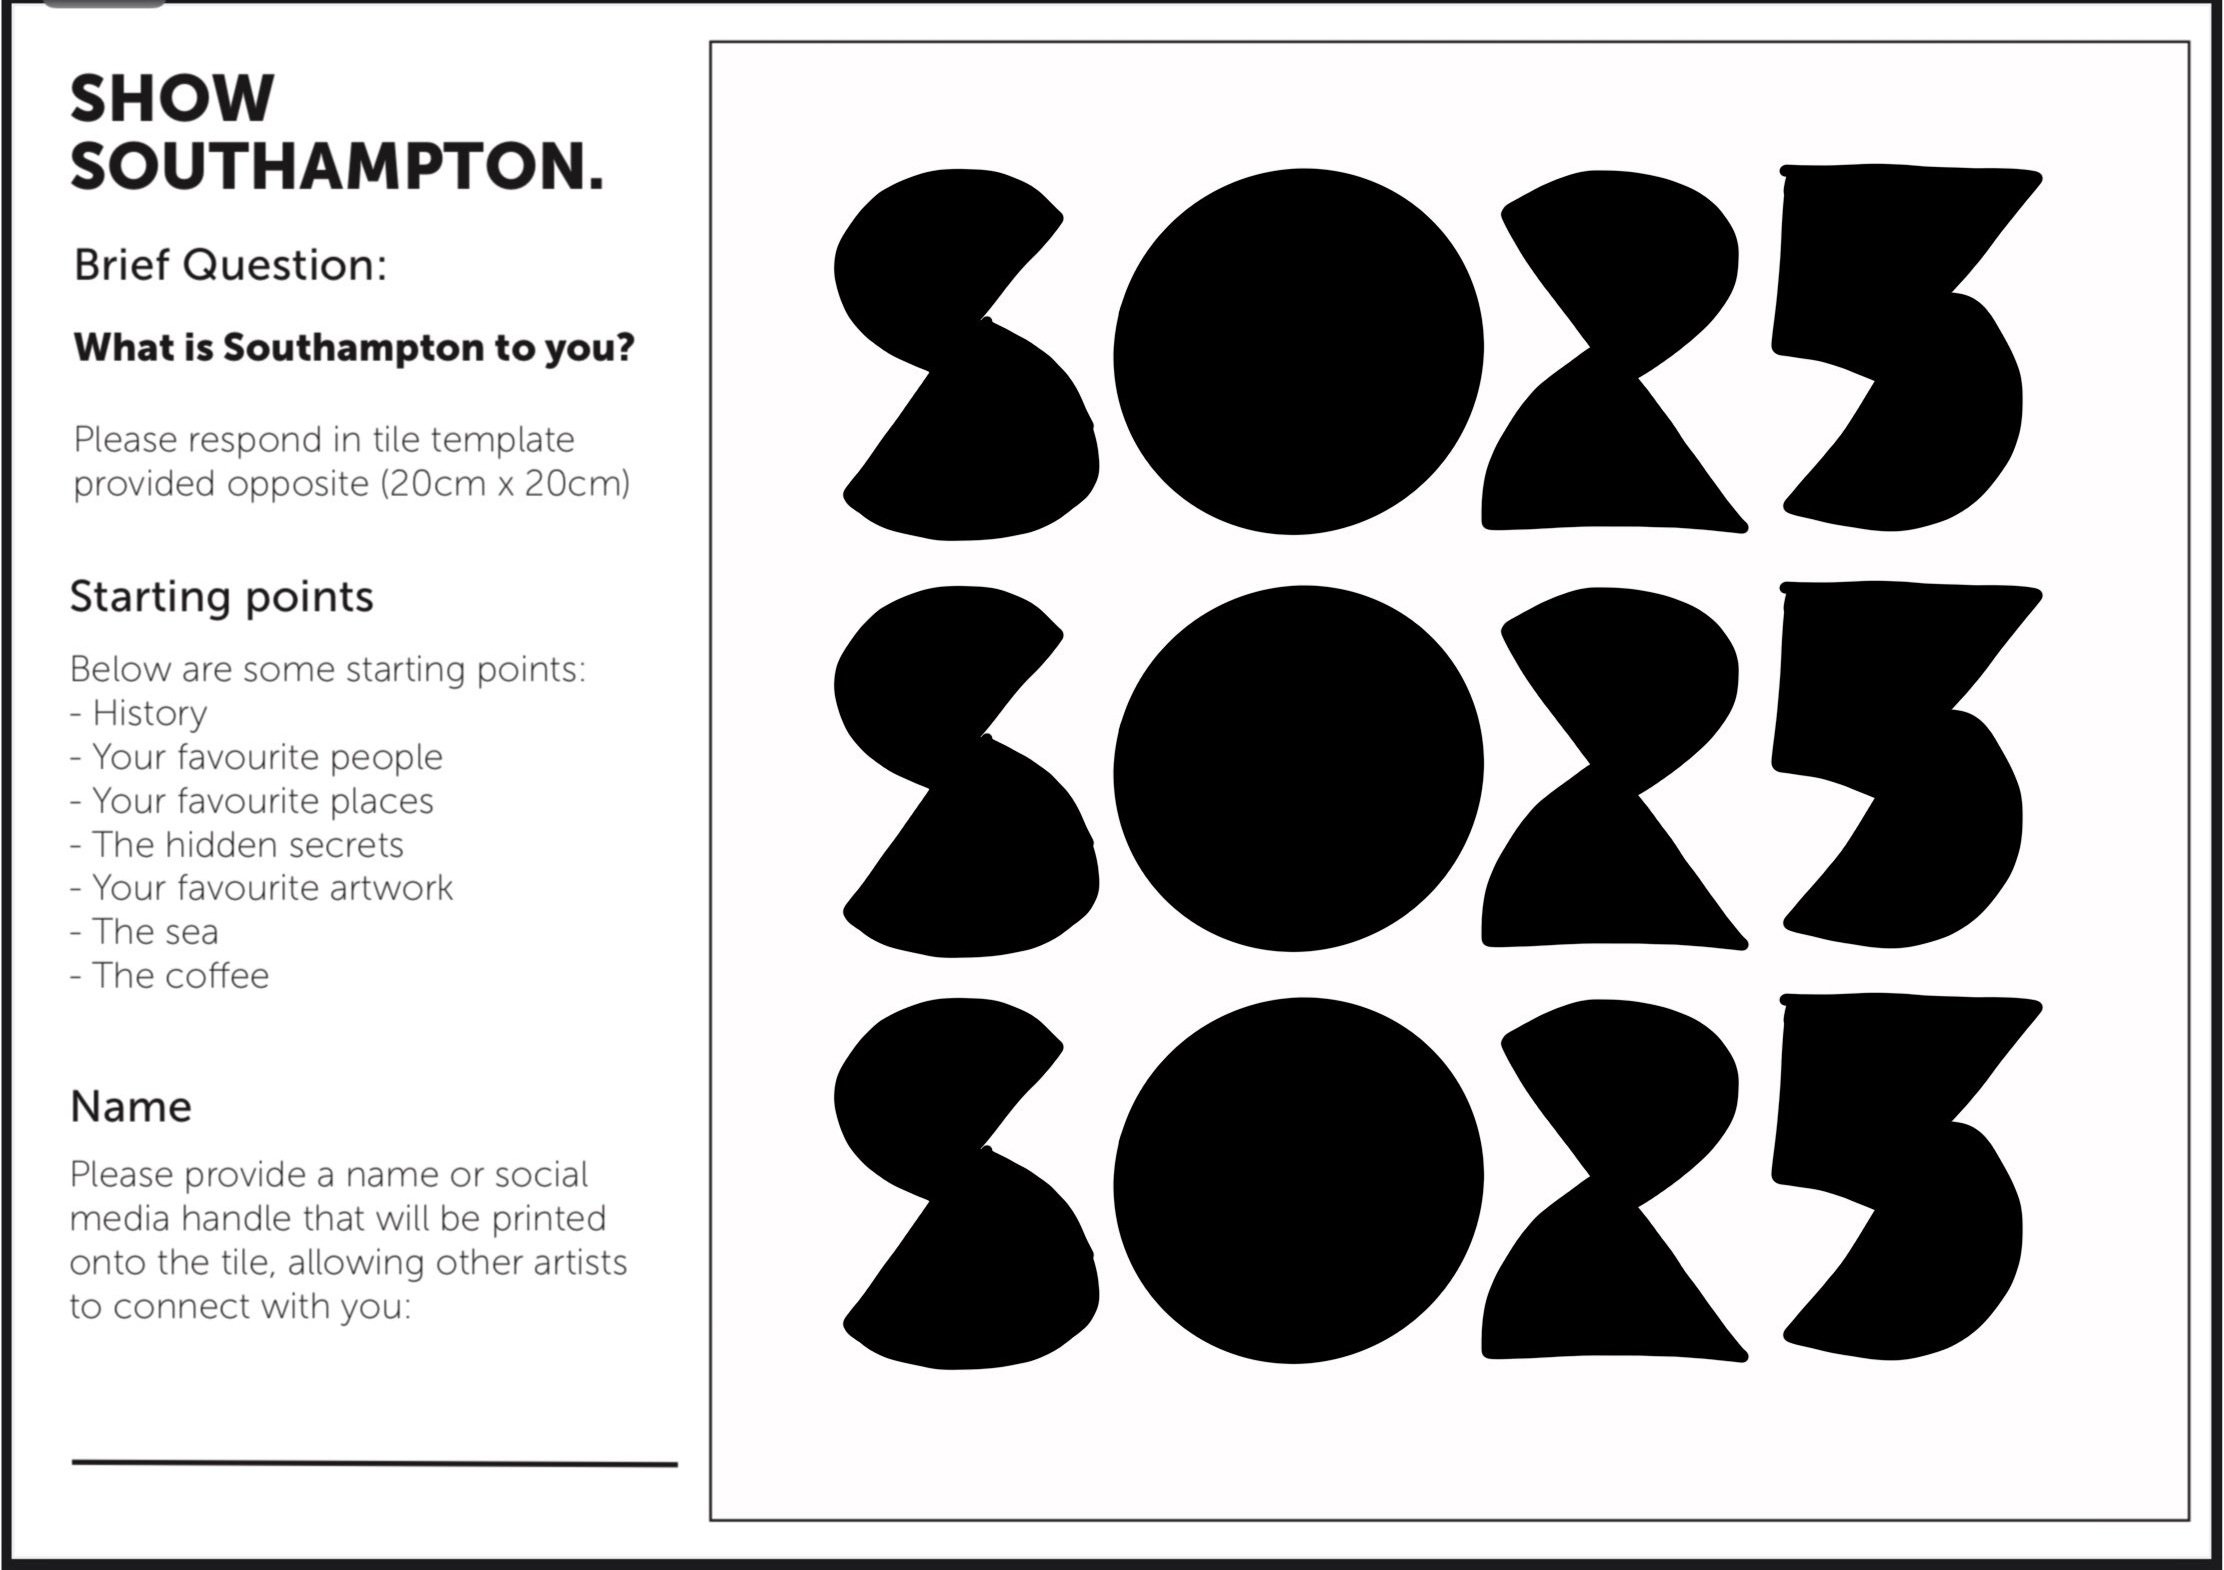
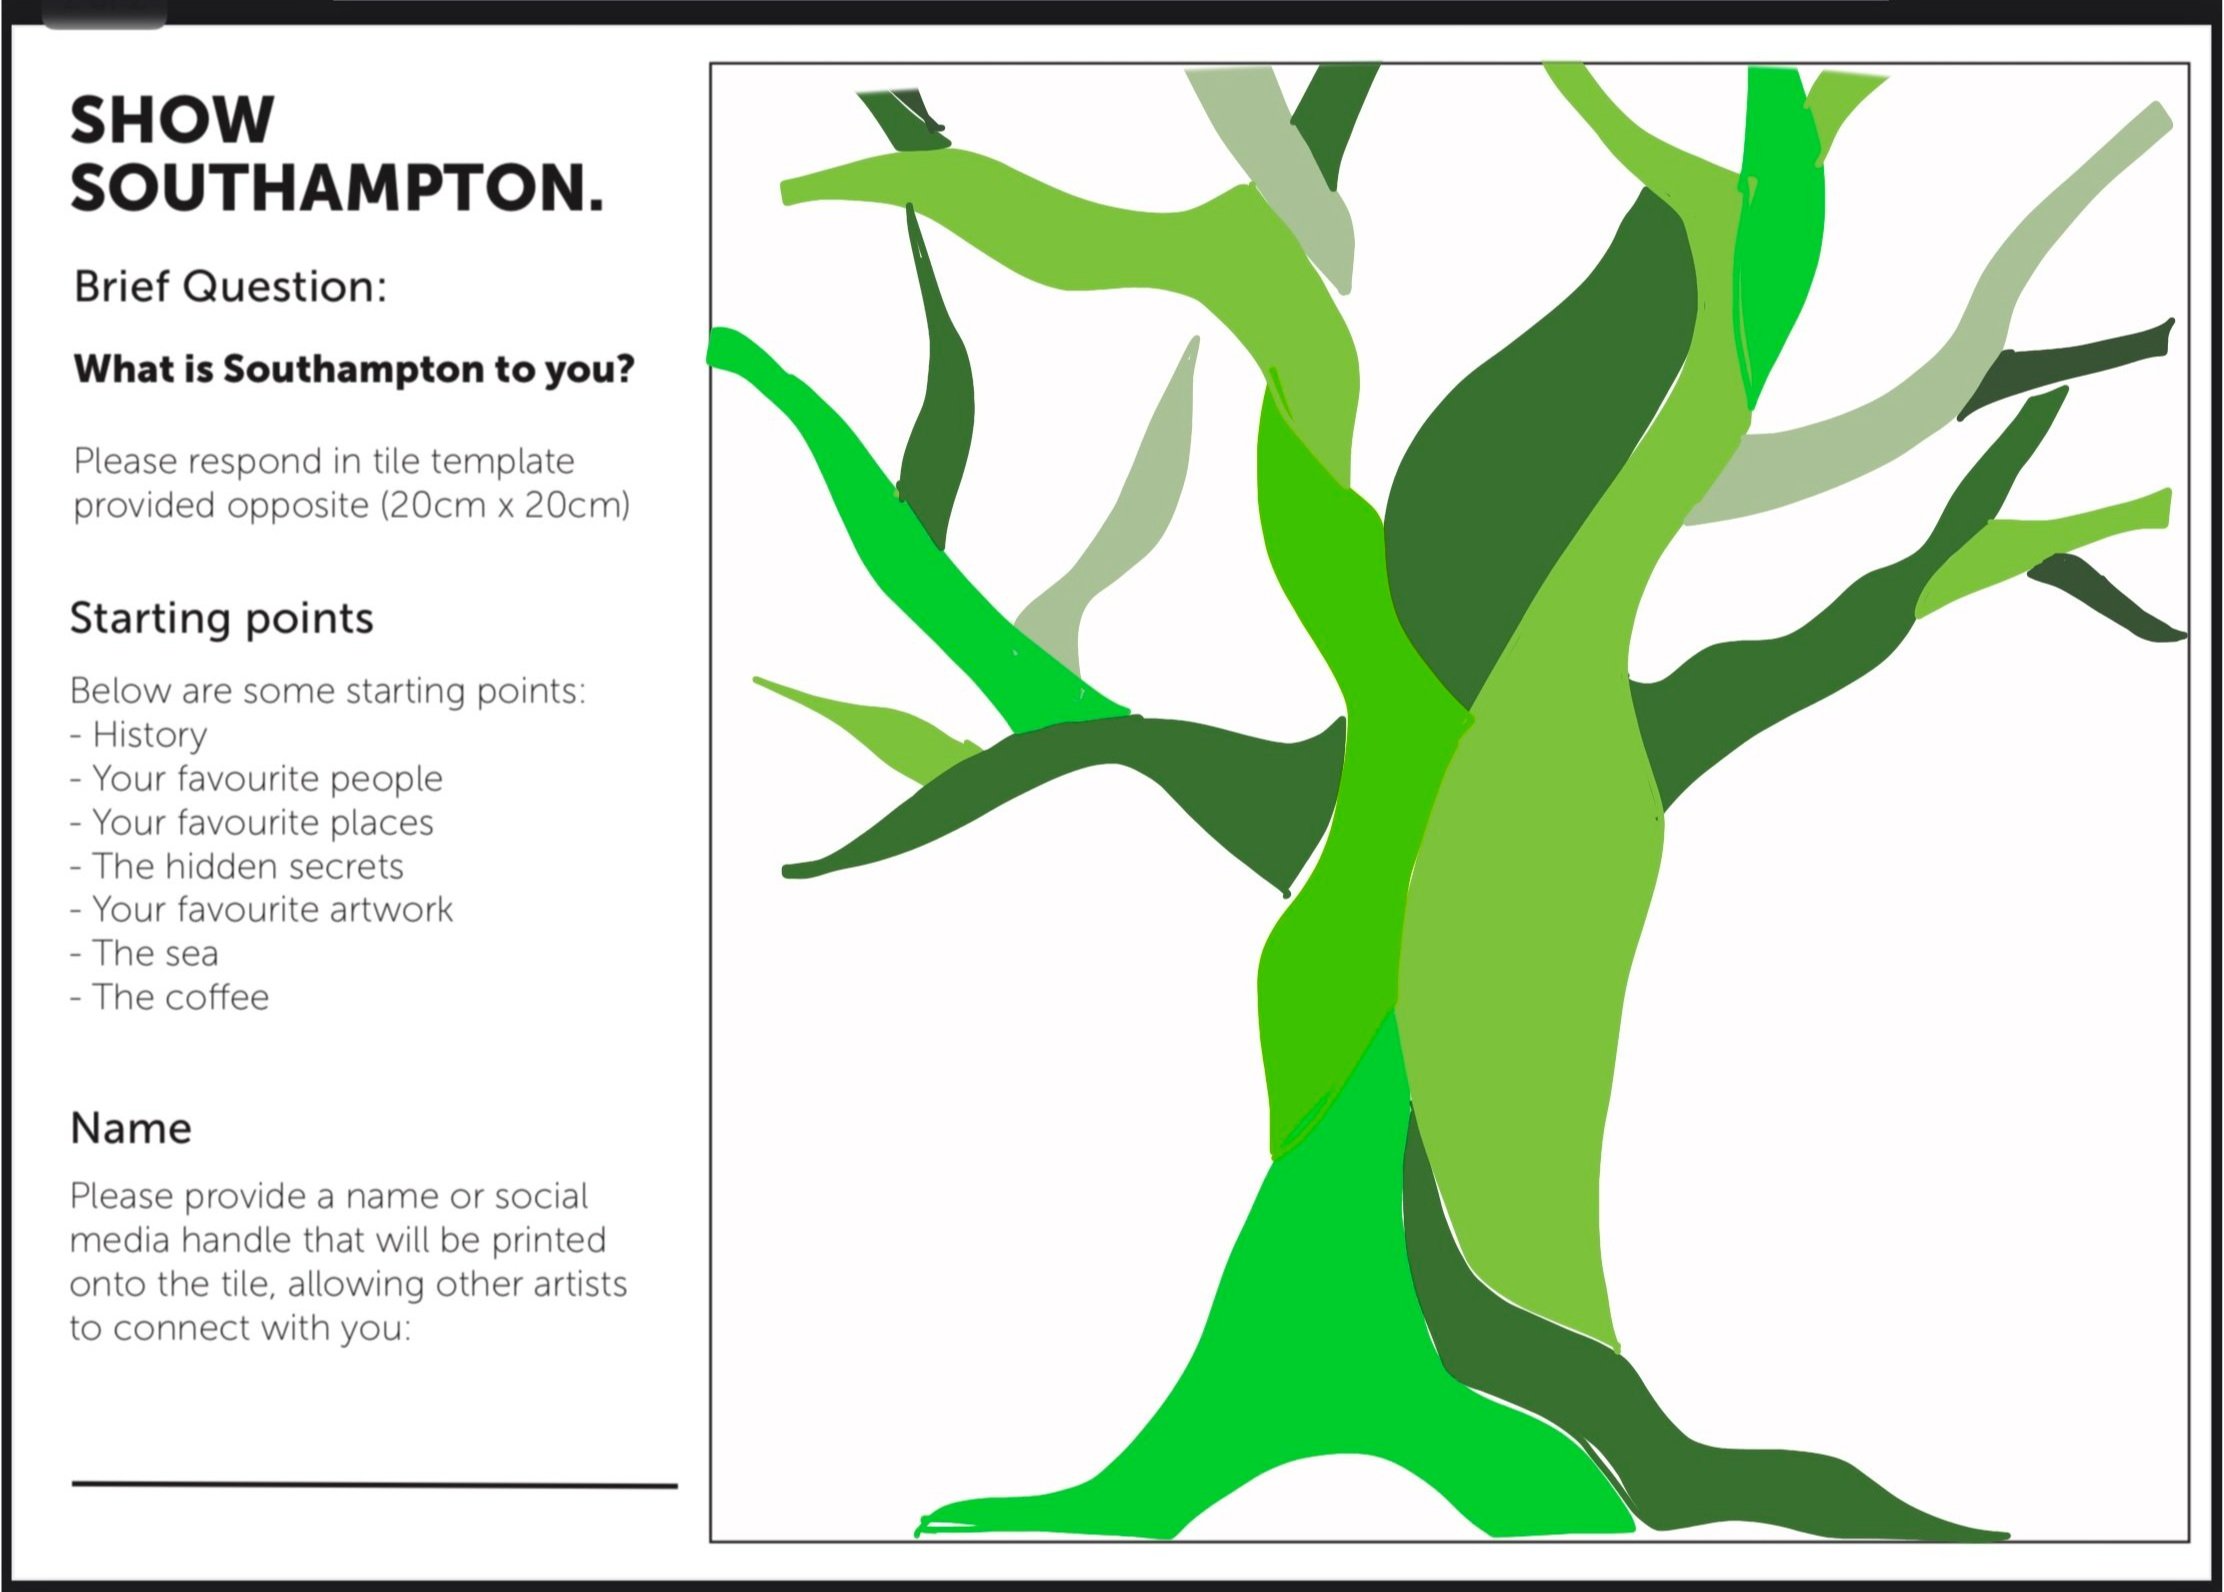
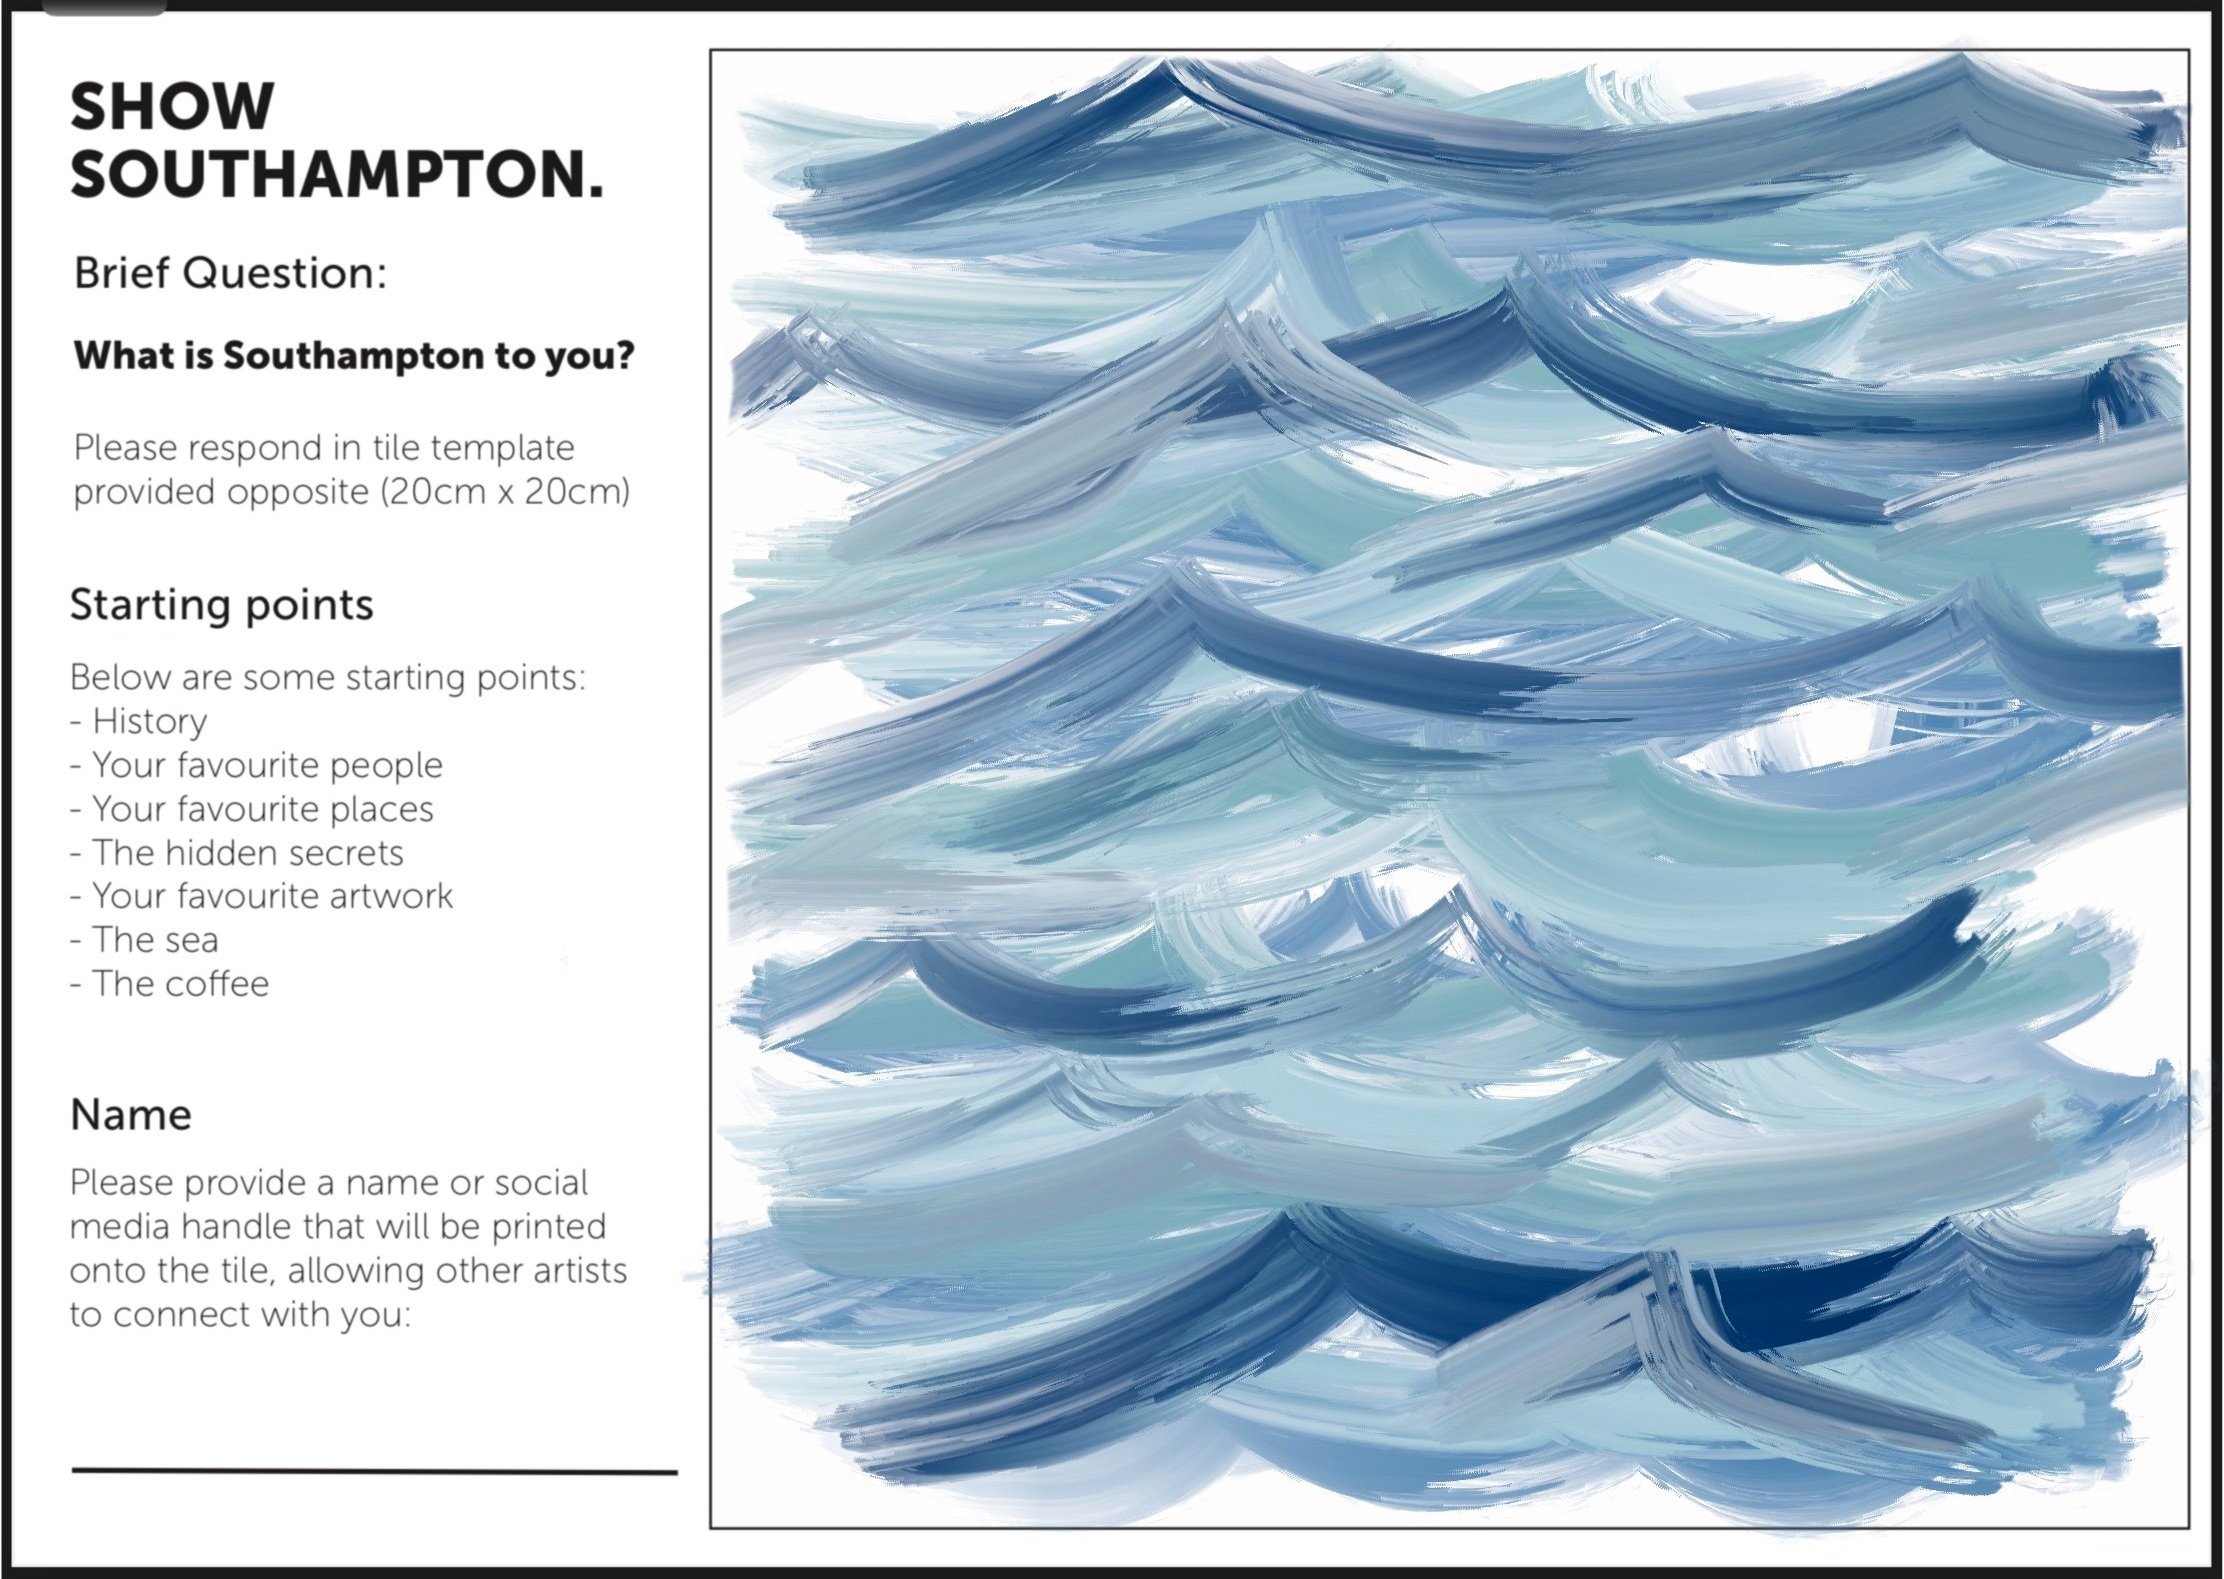
Briefs
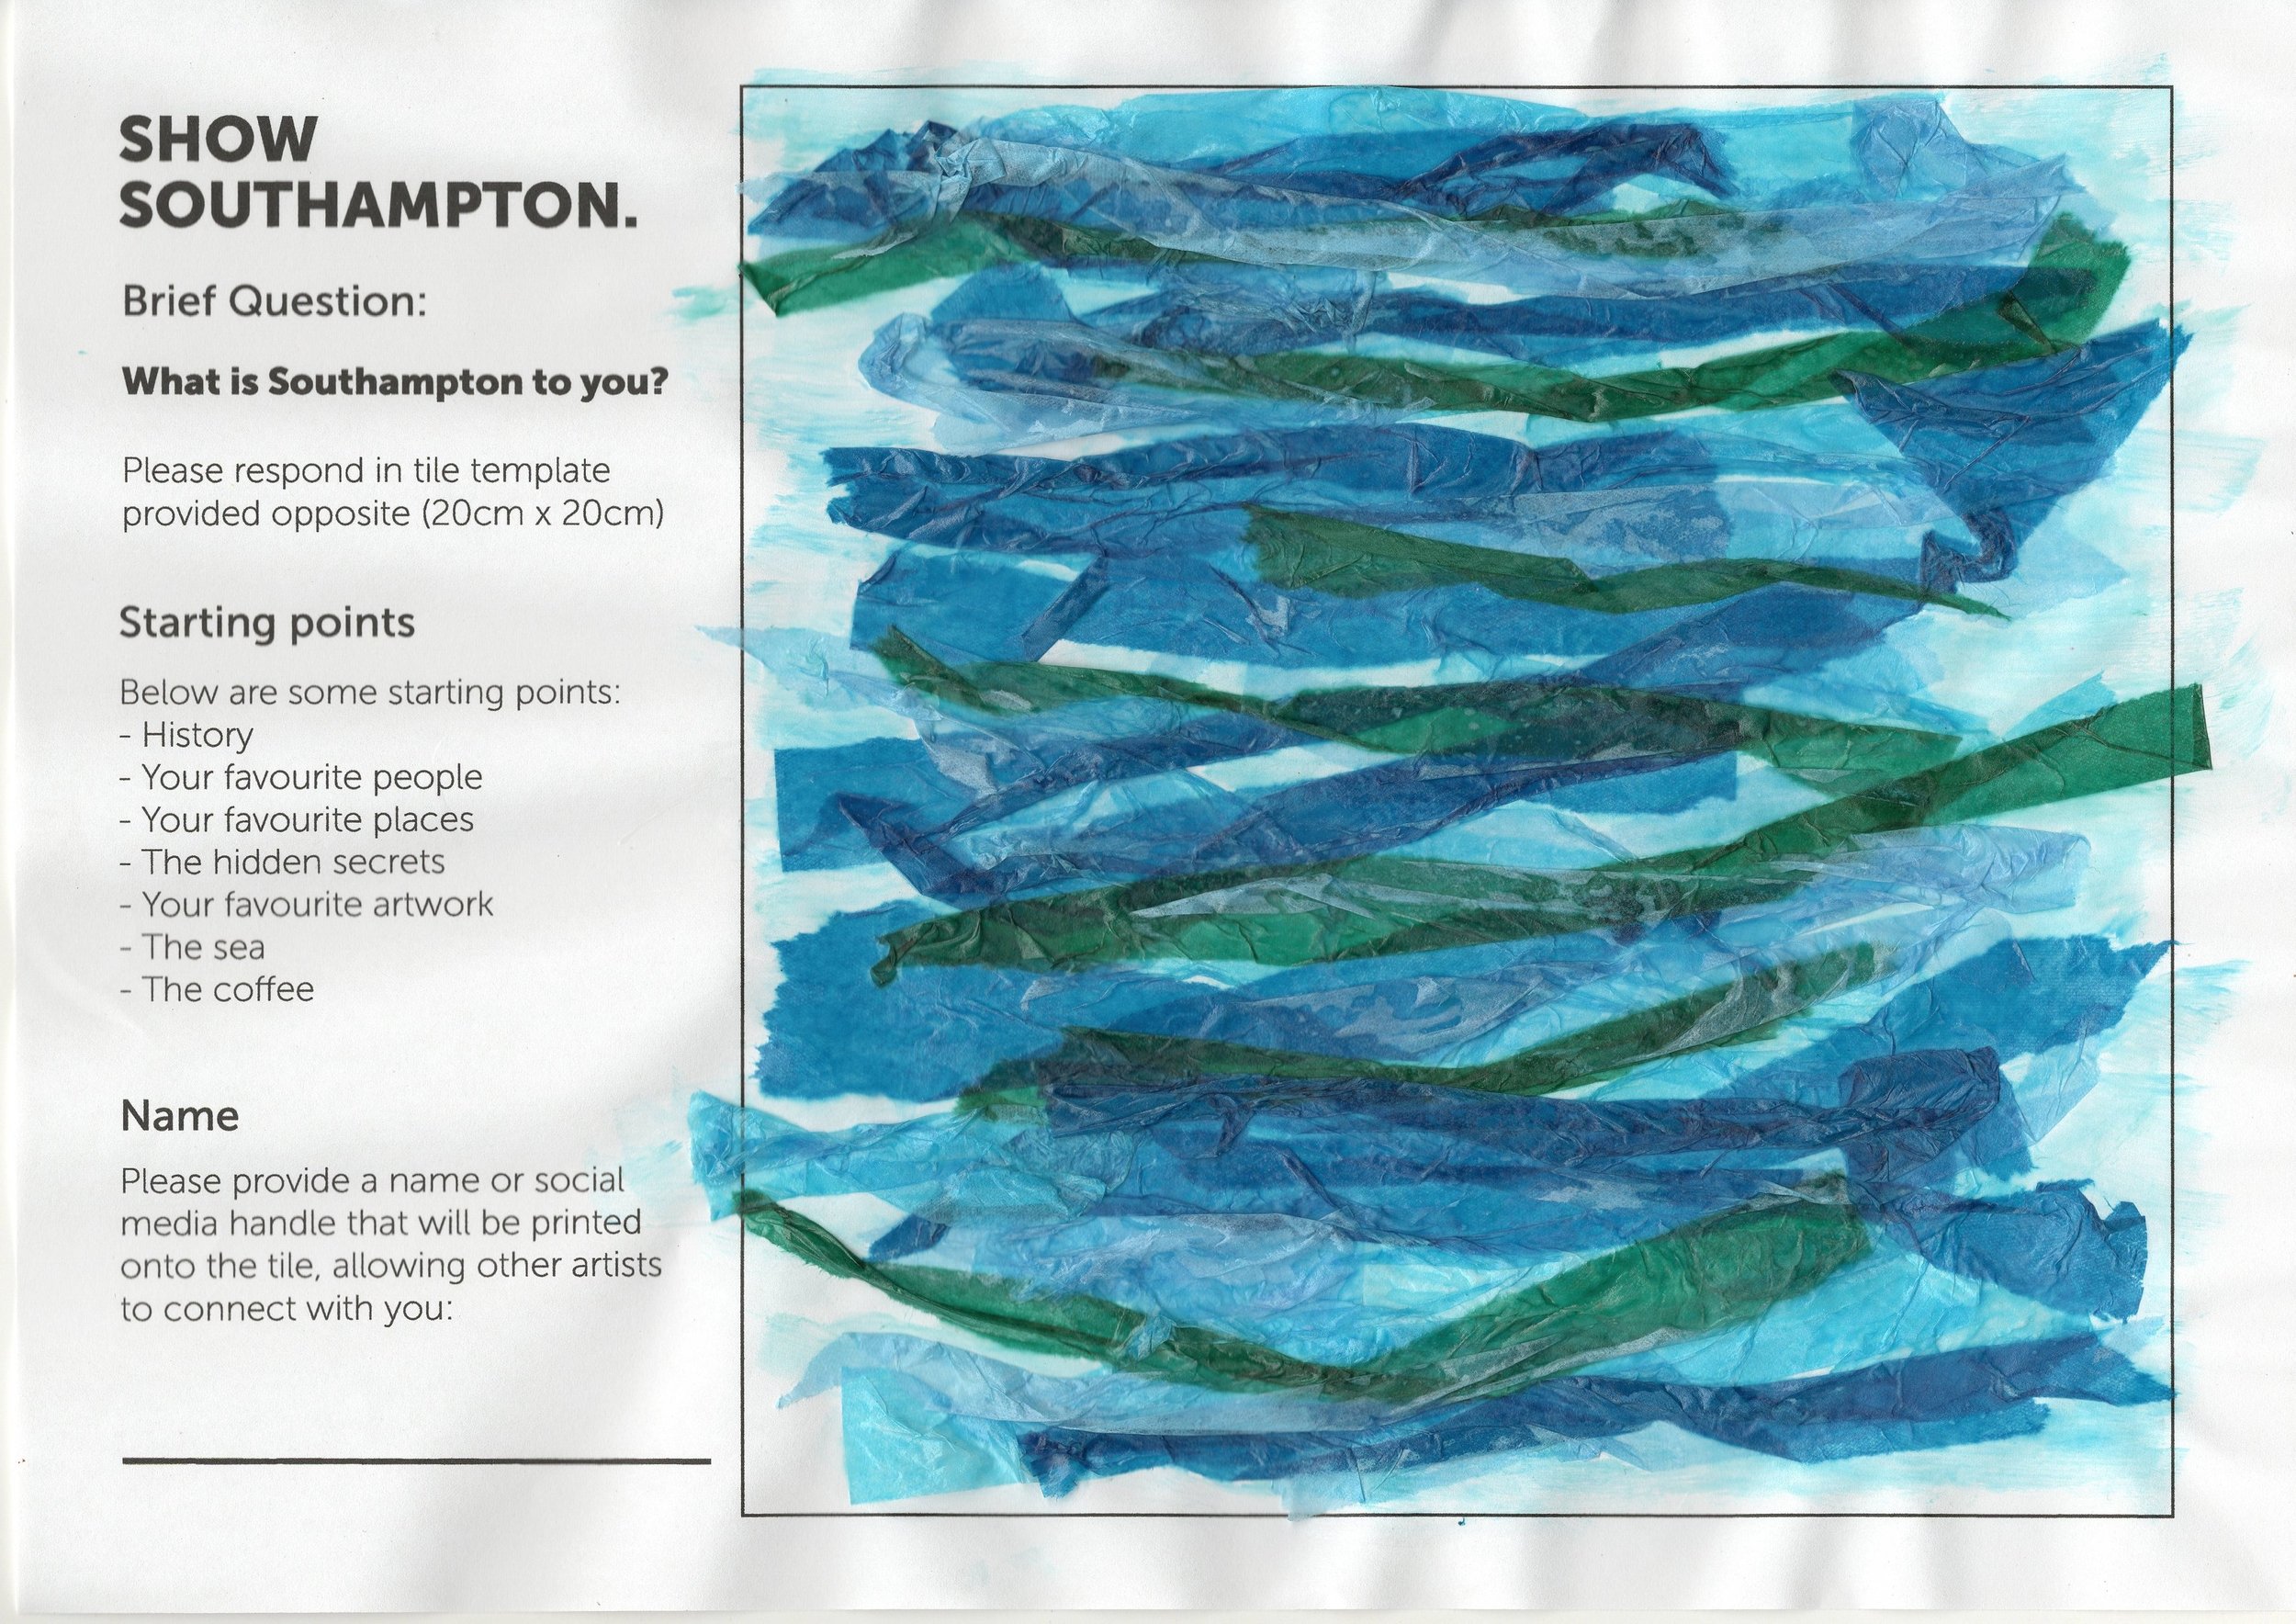
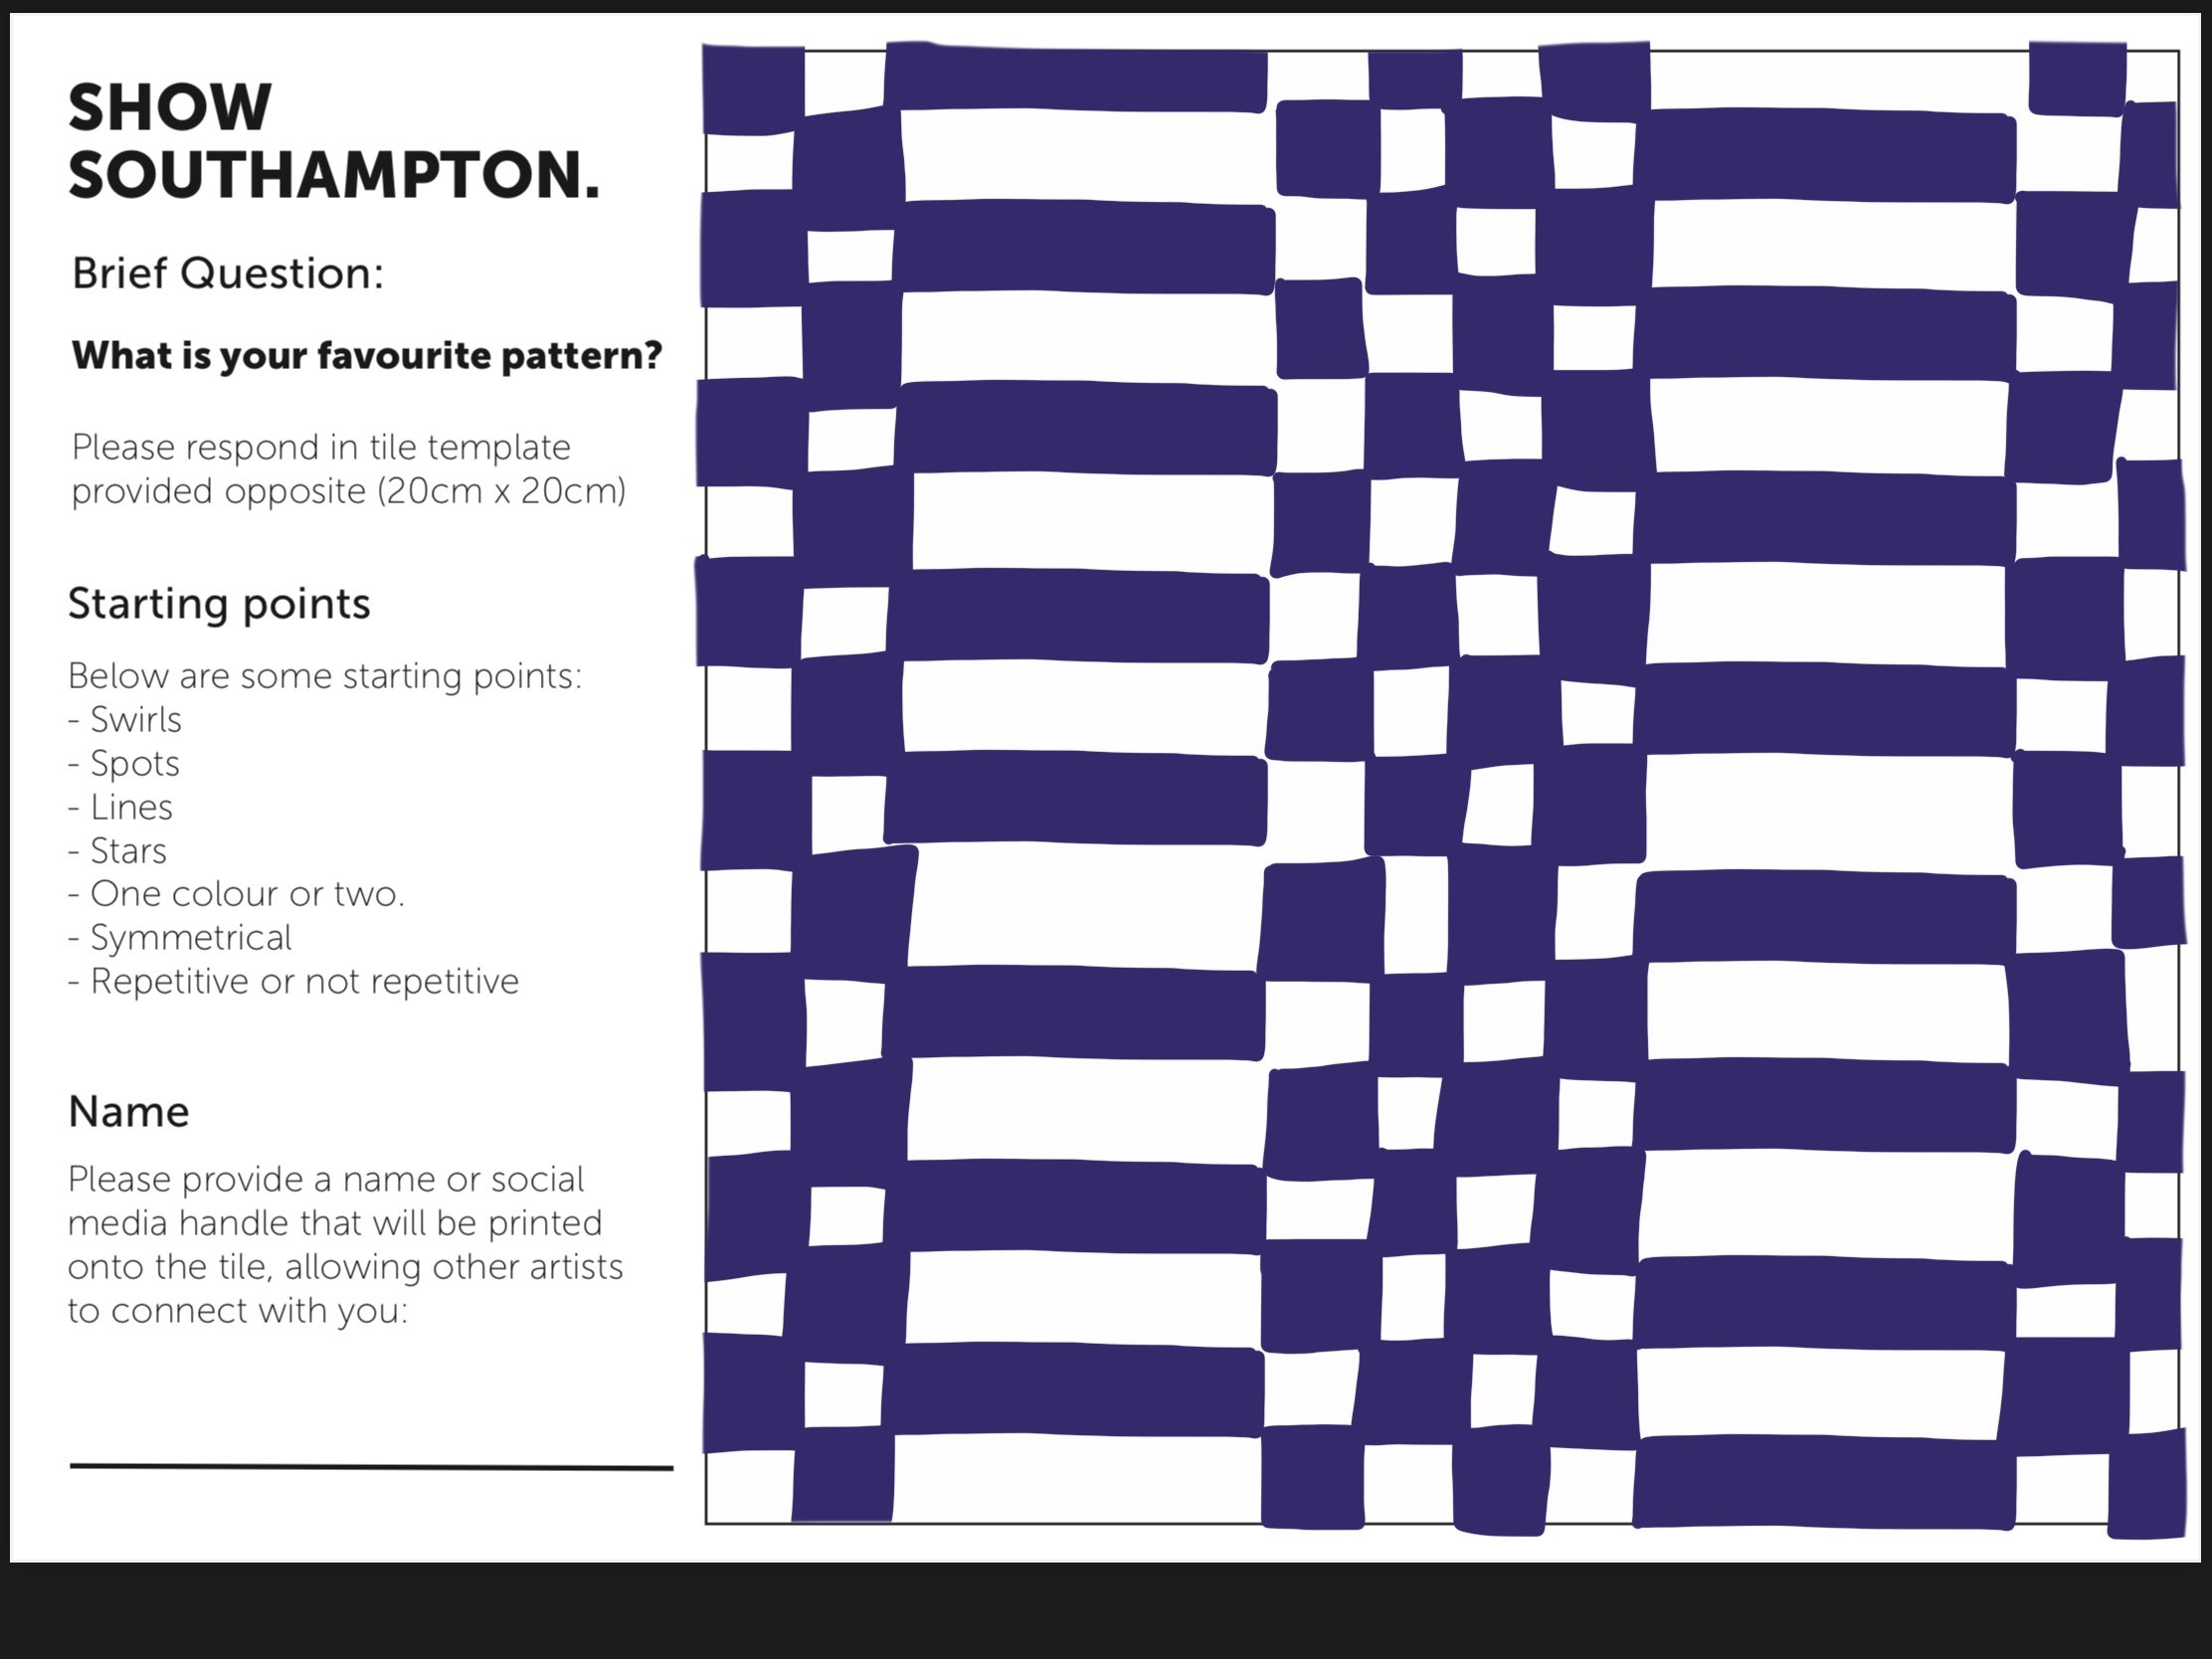
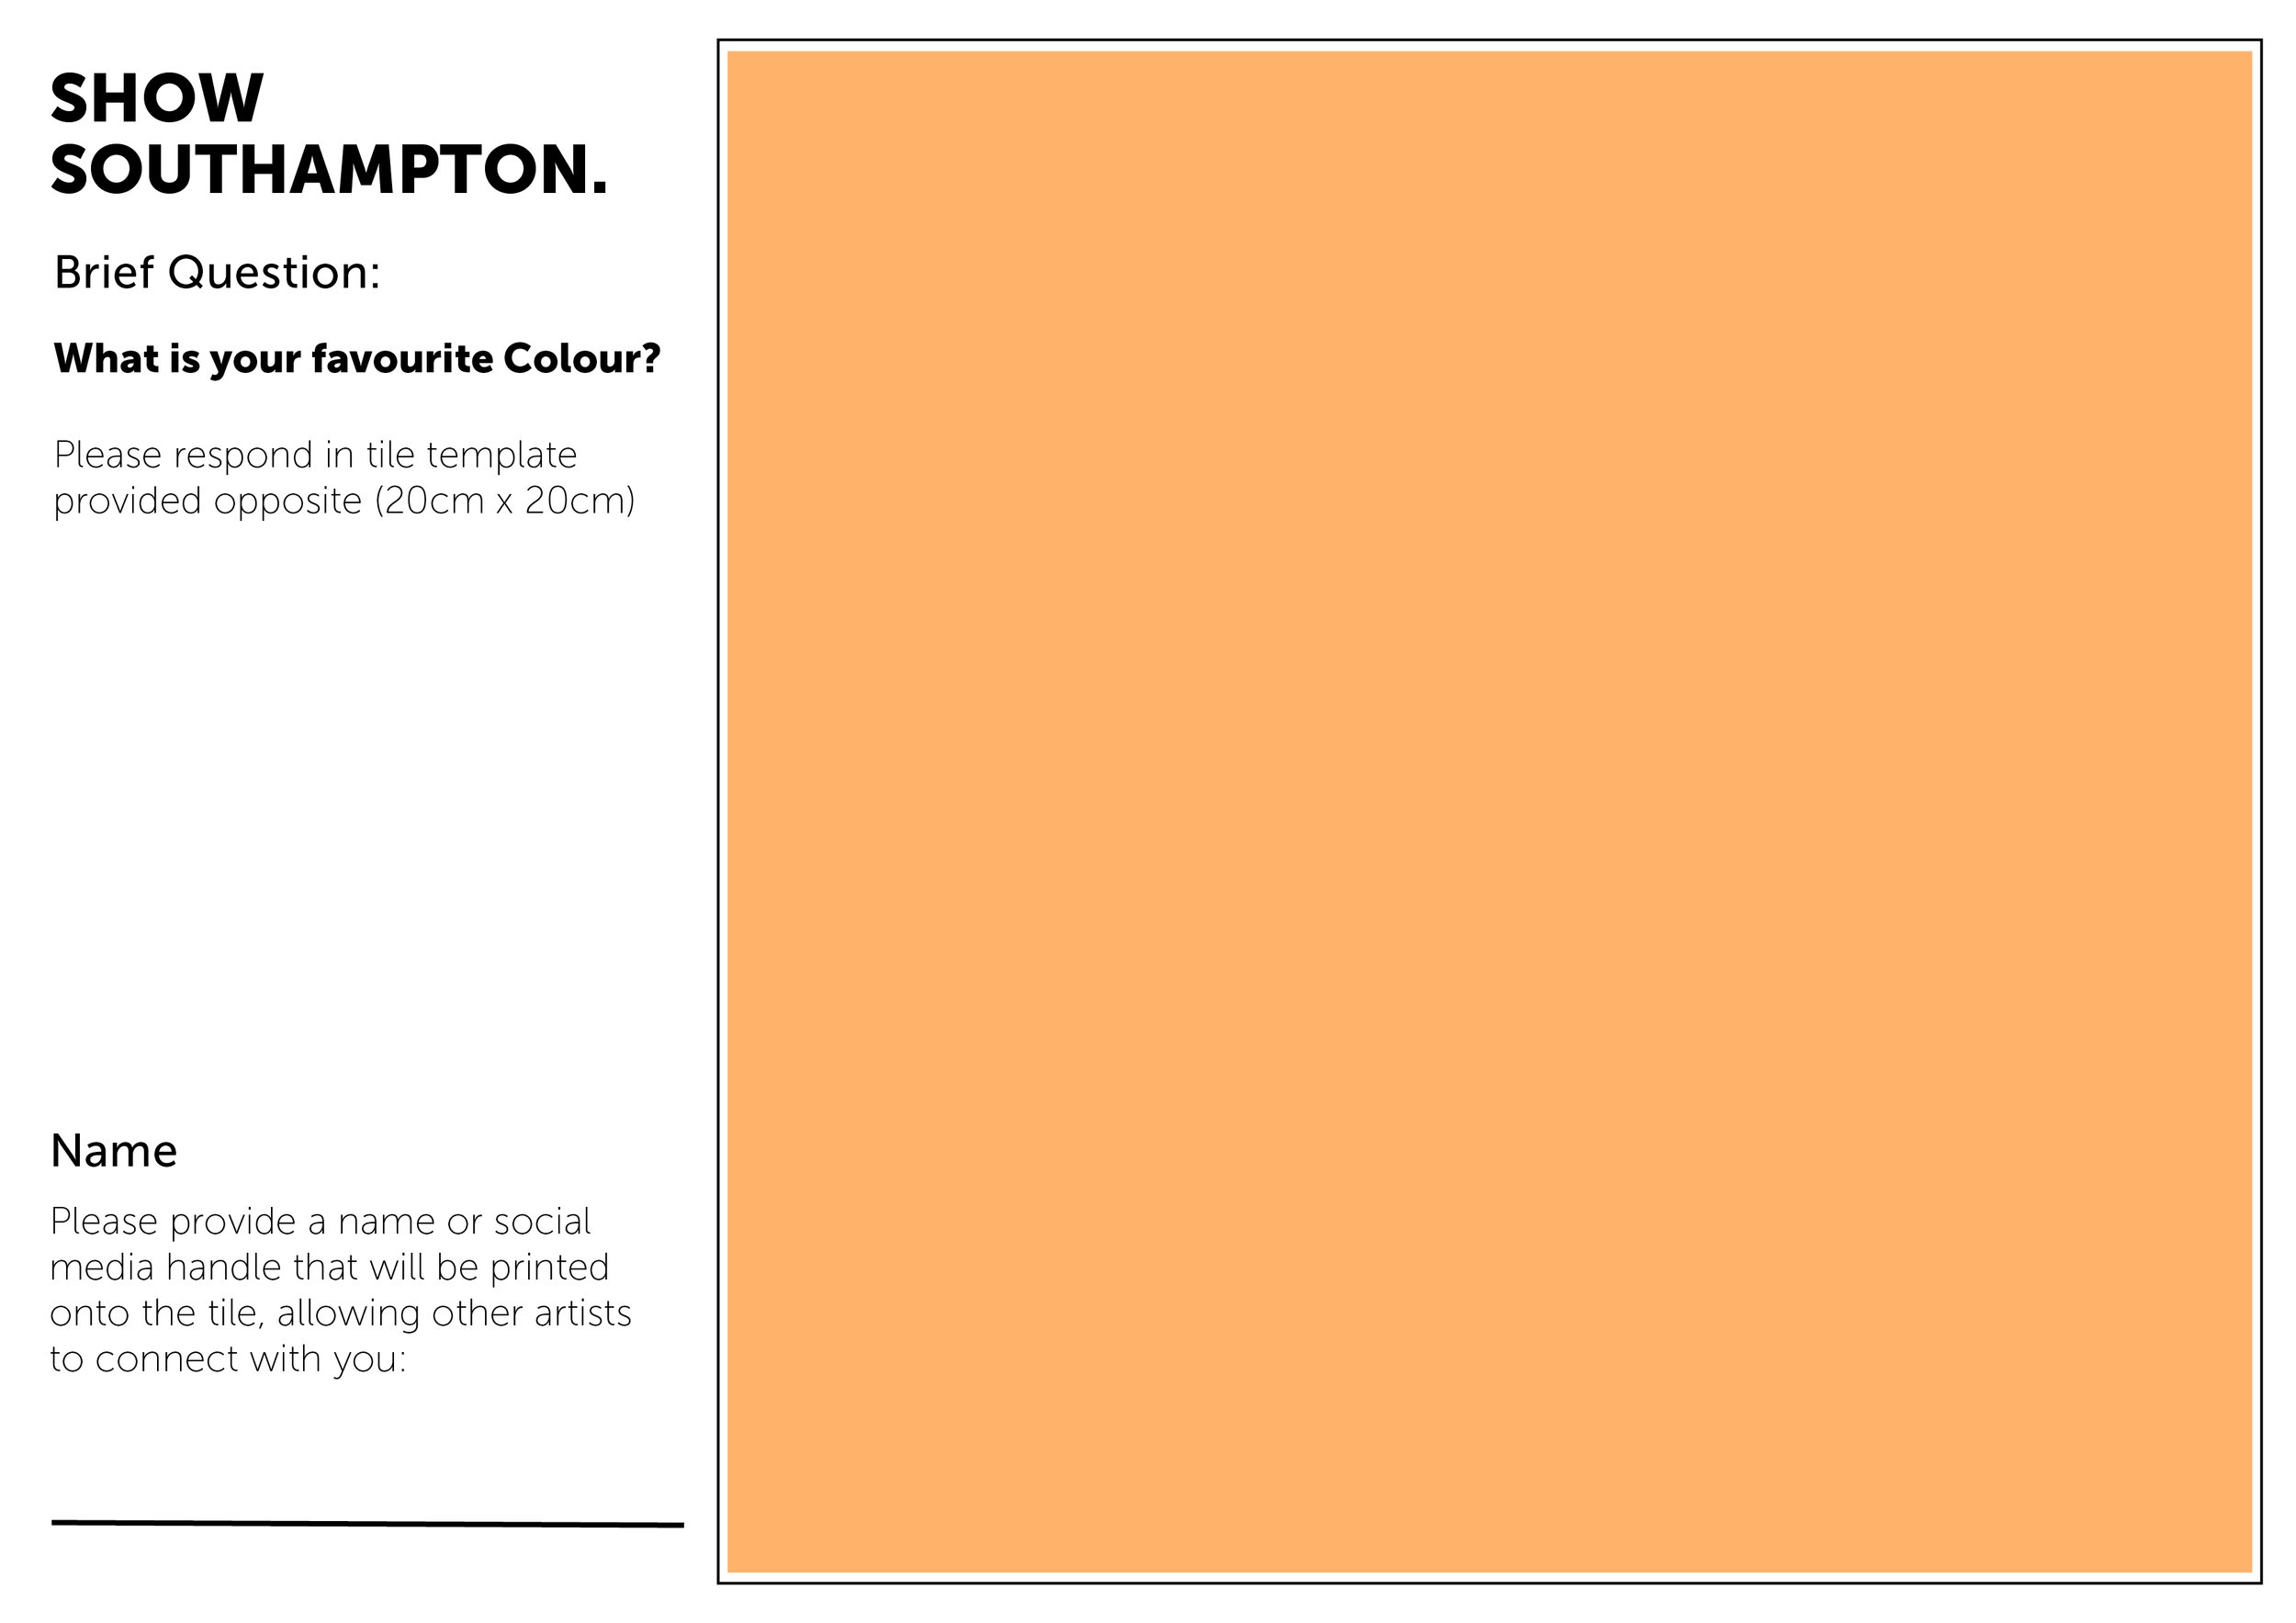
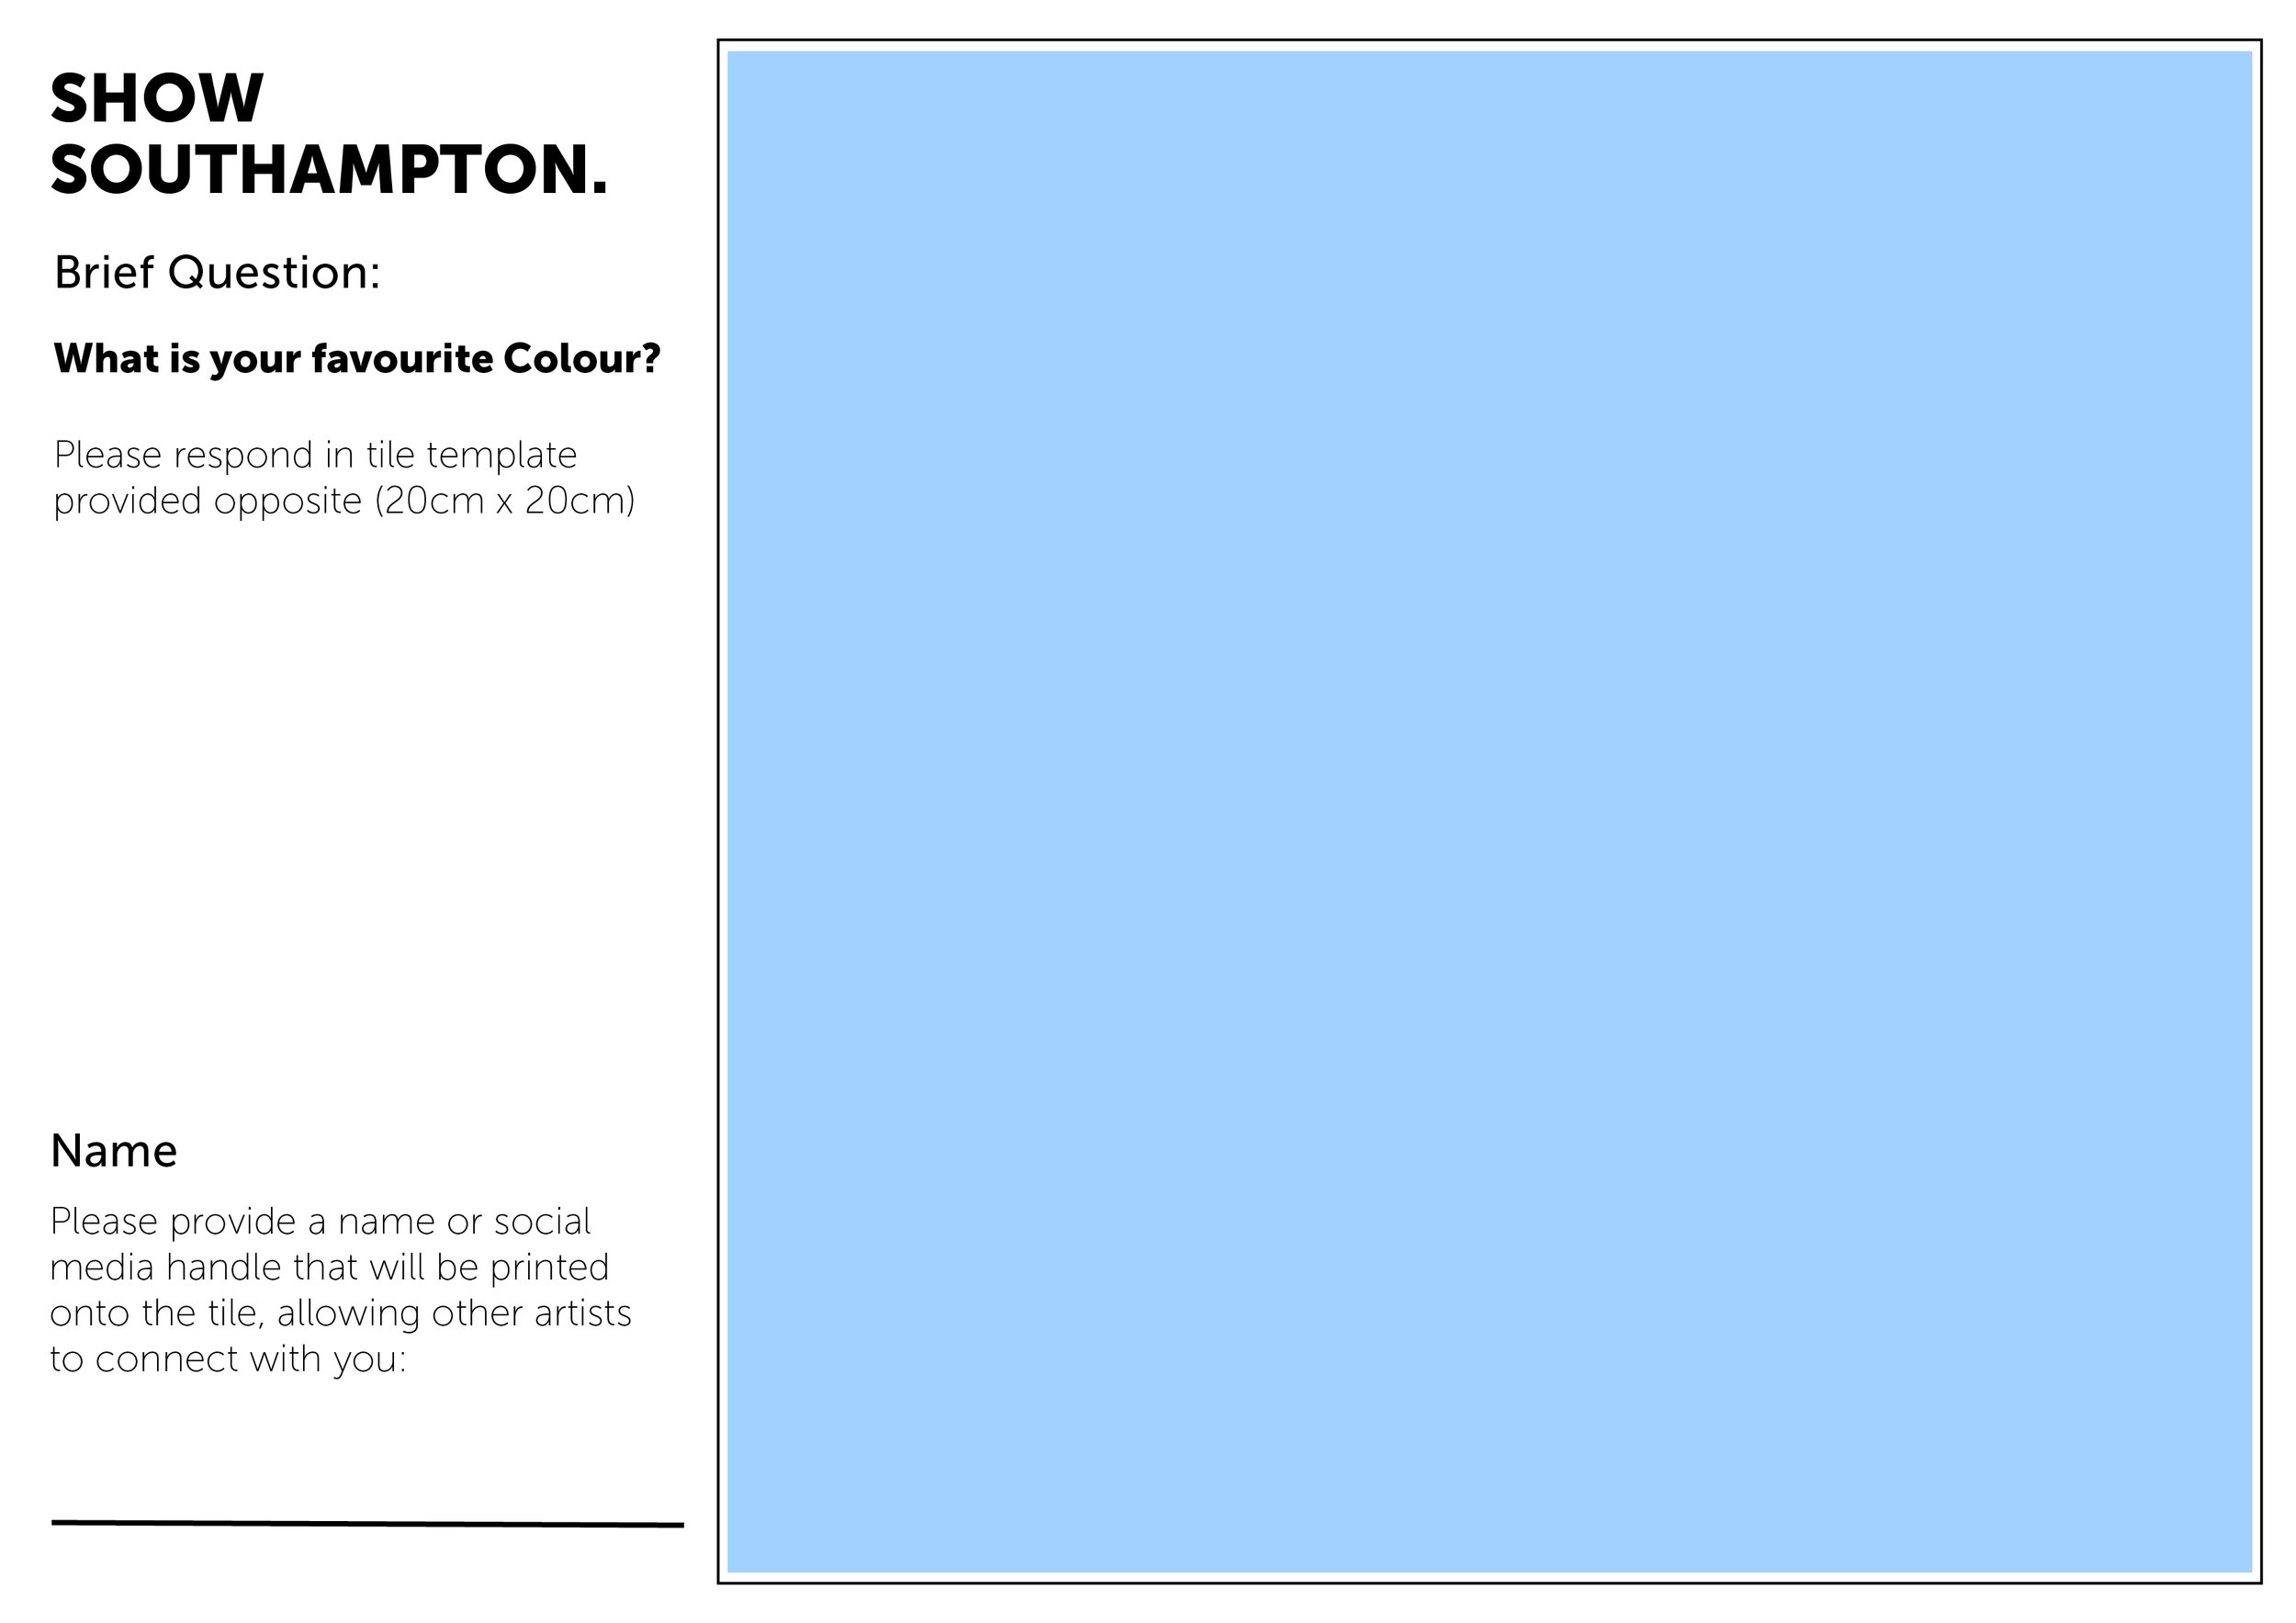
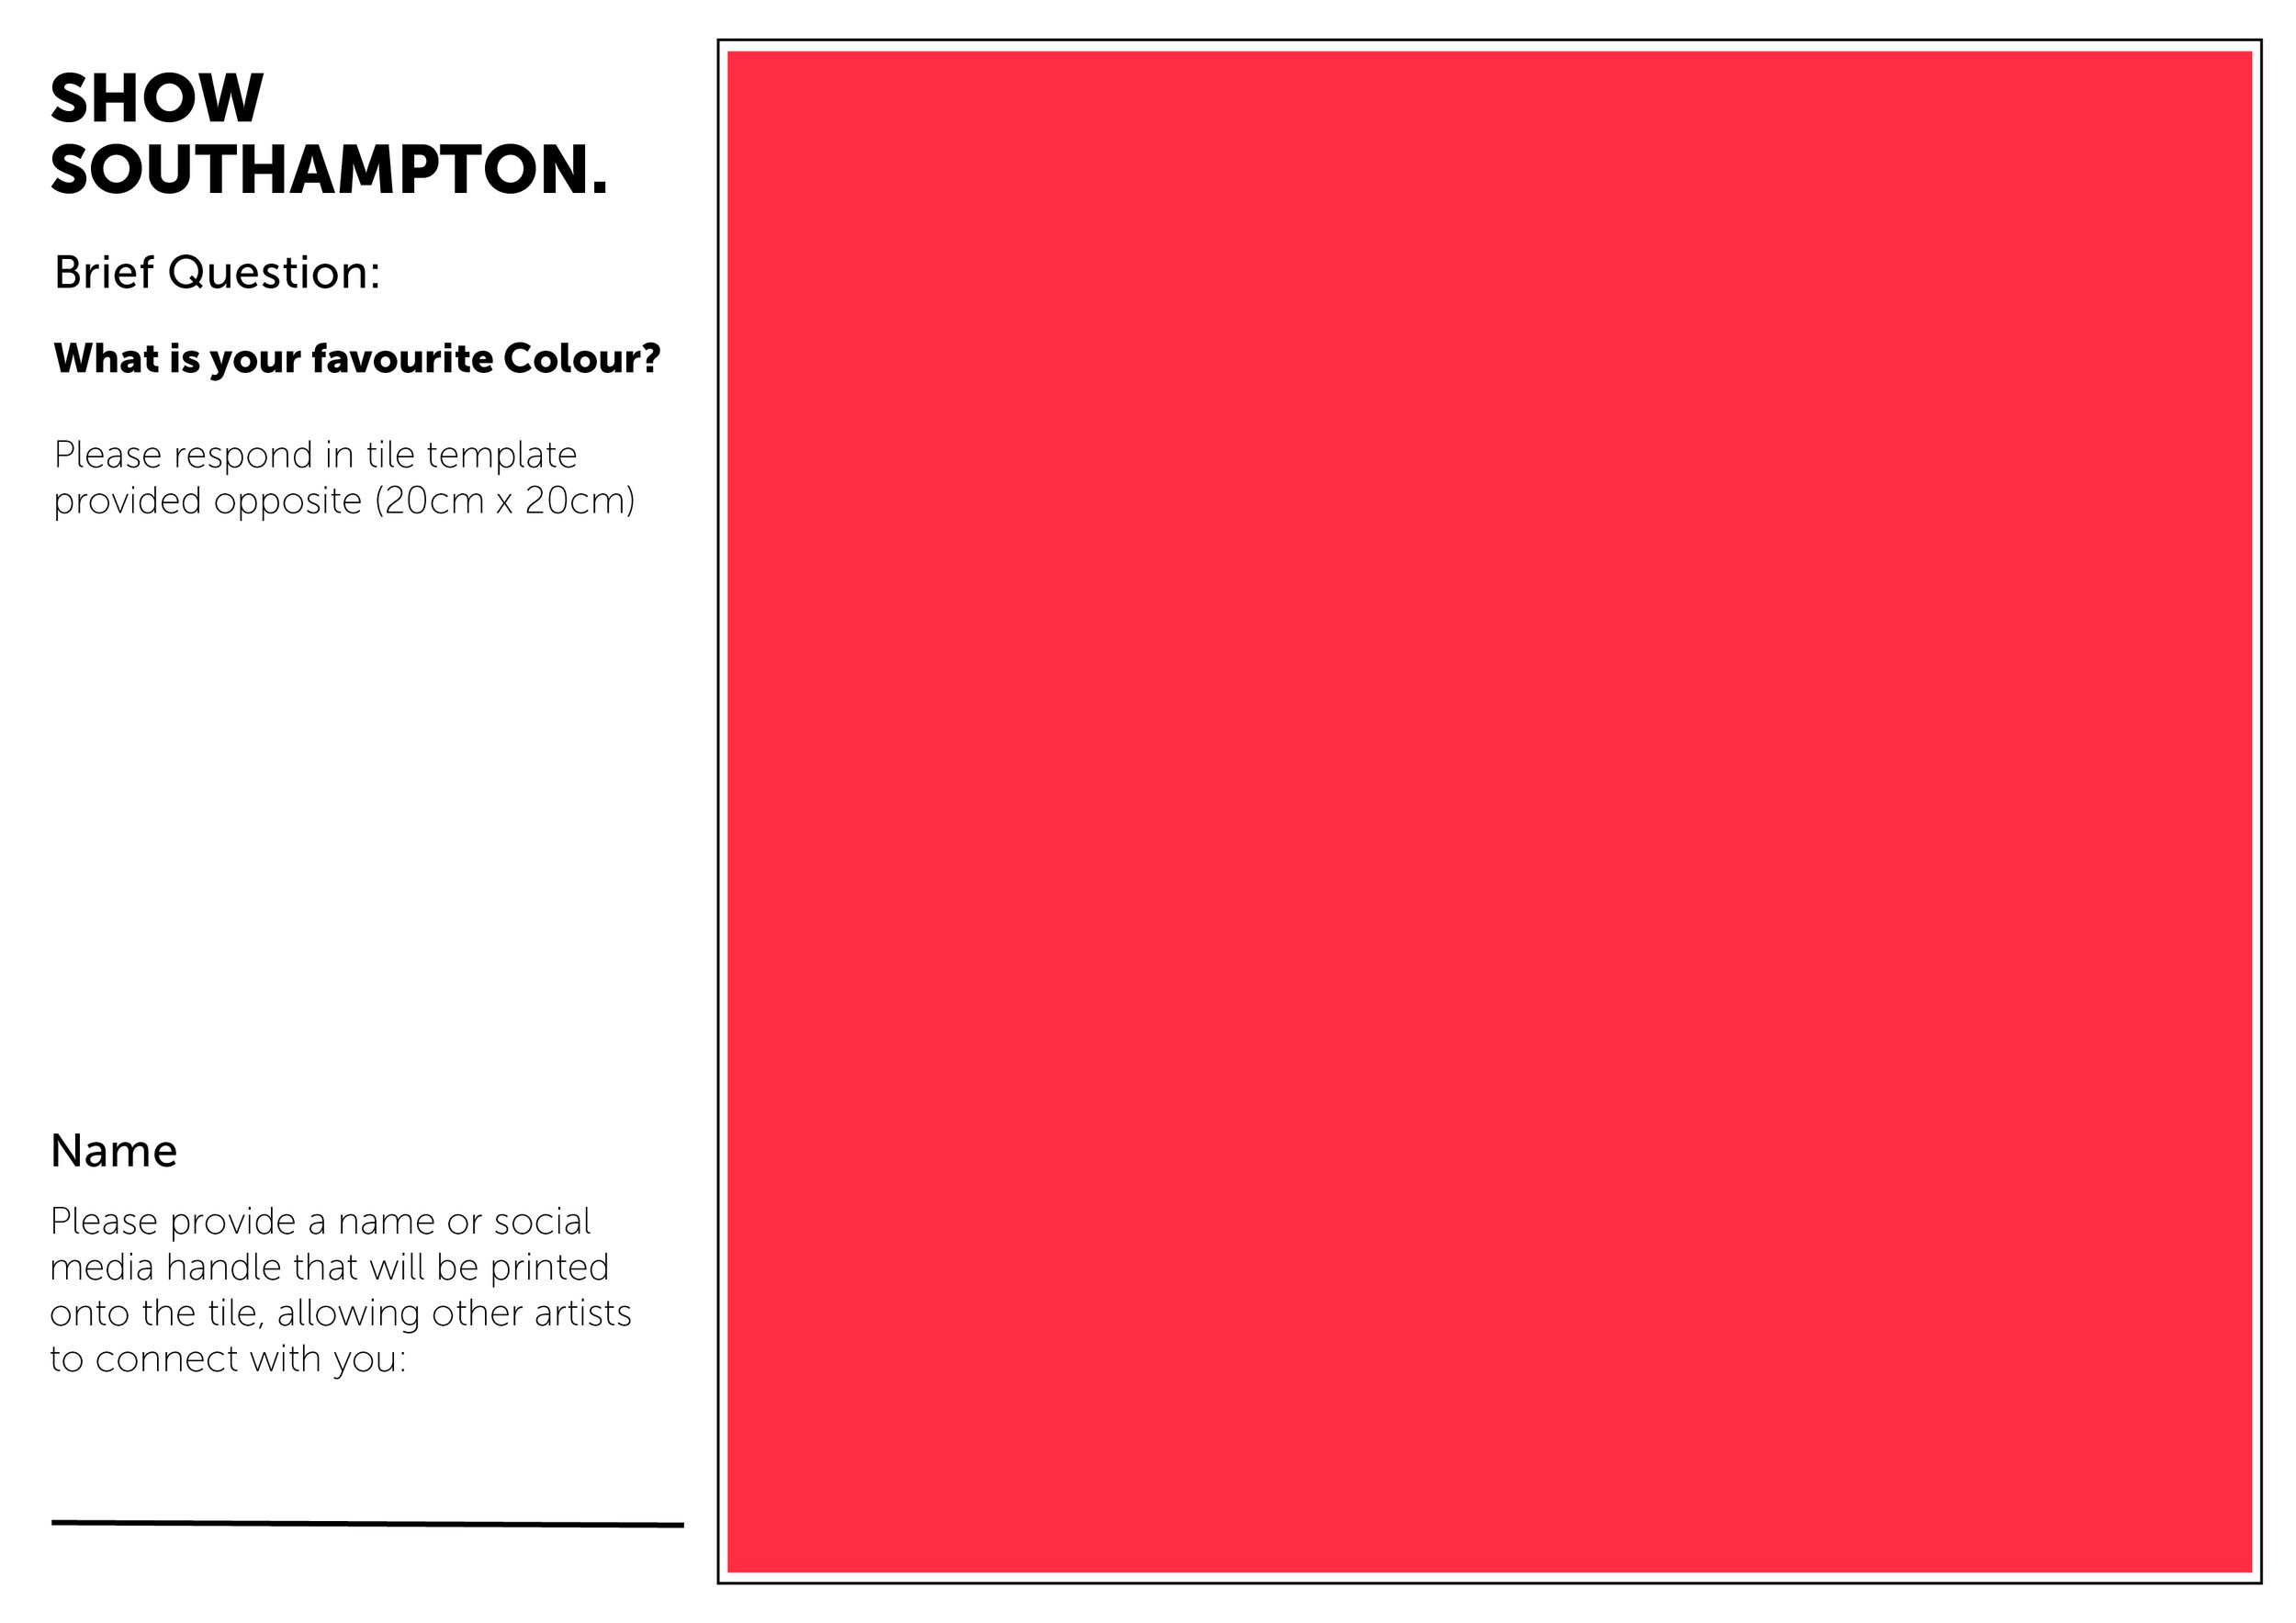
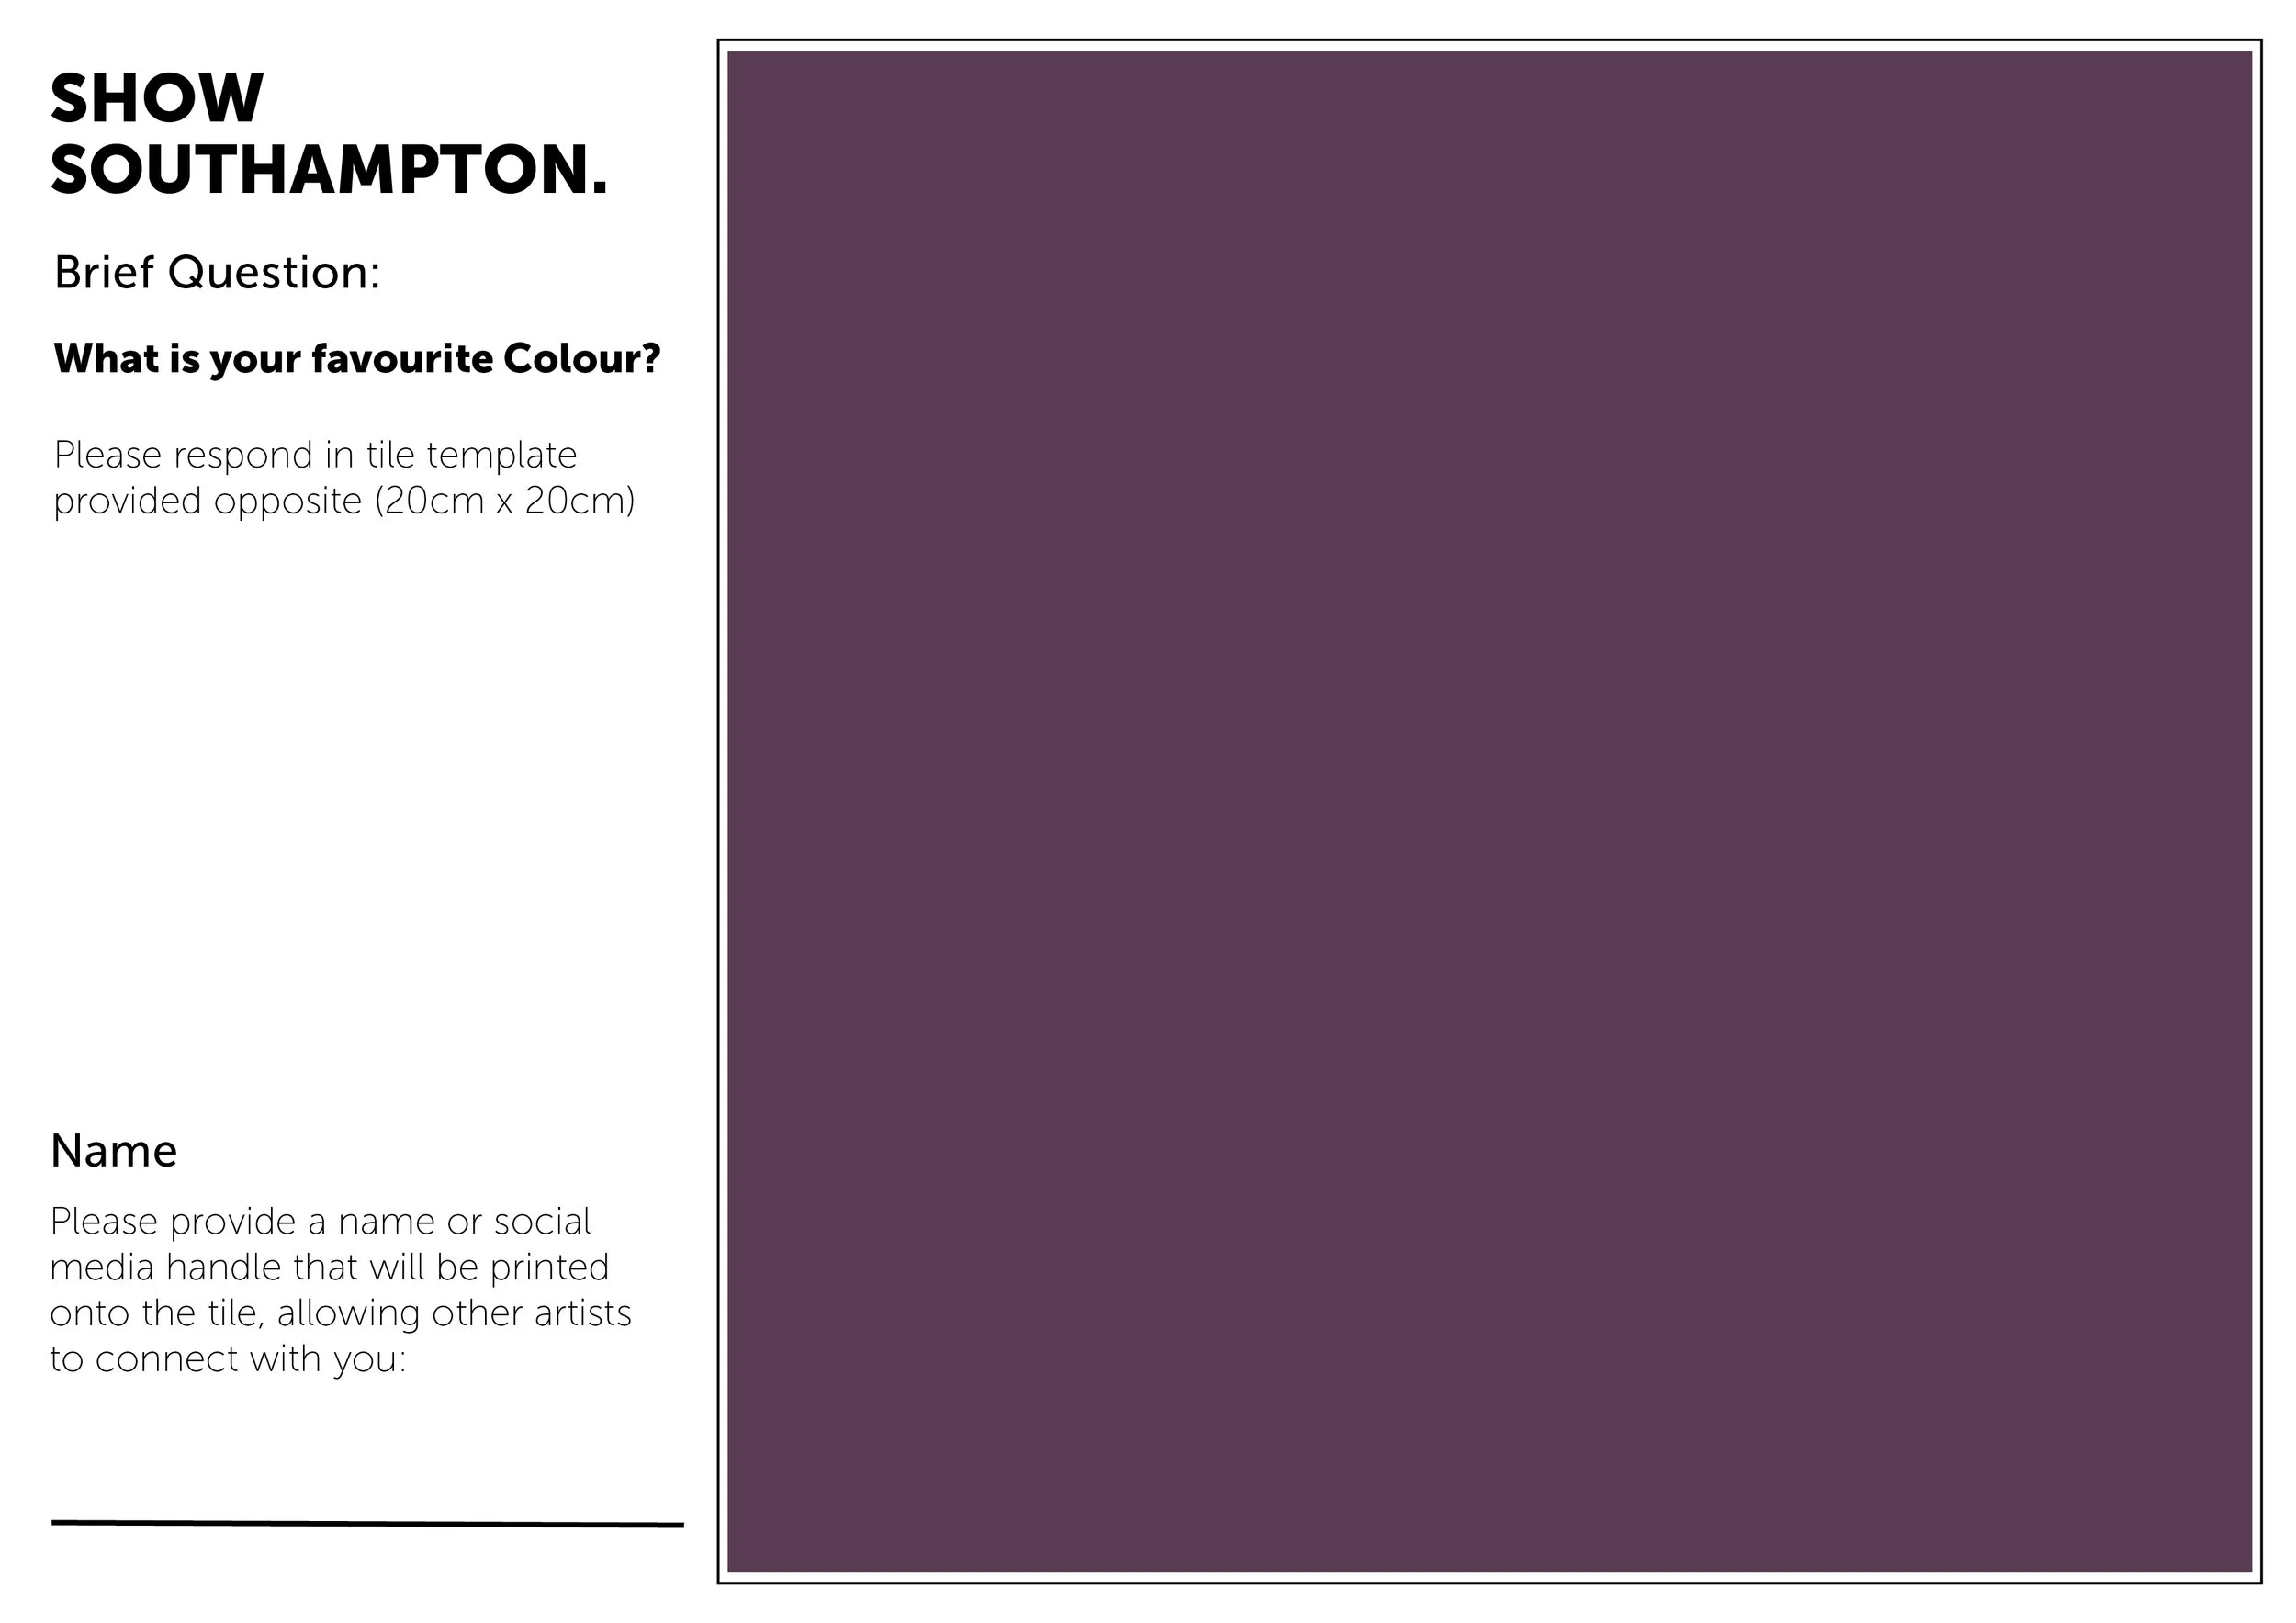
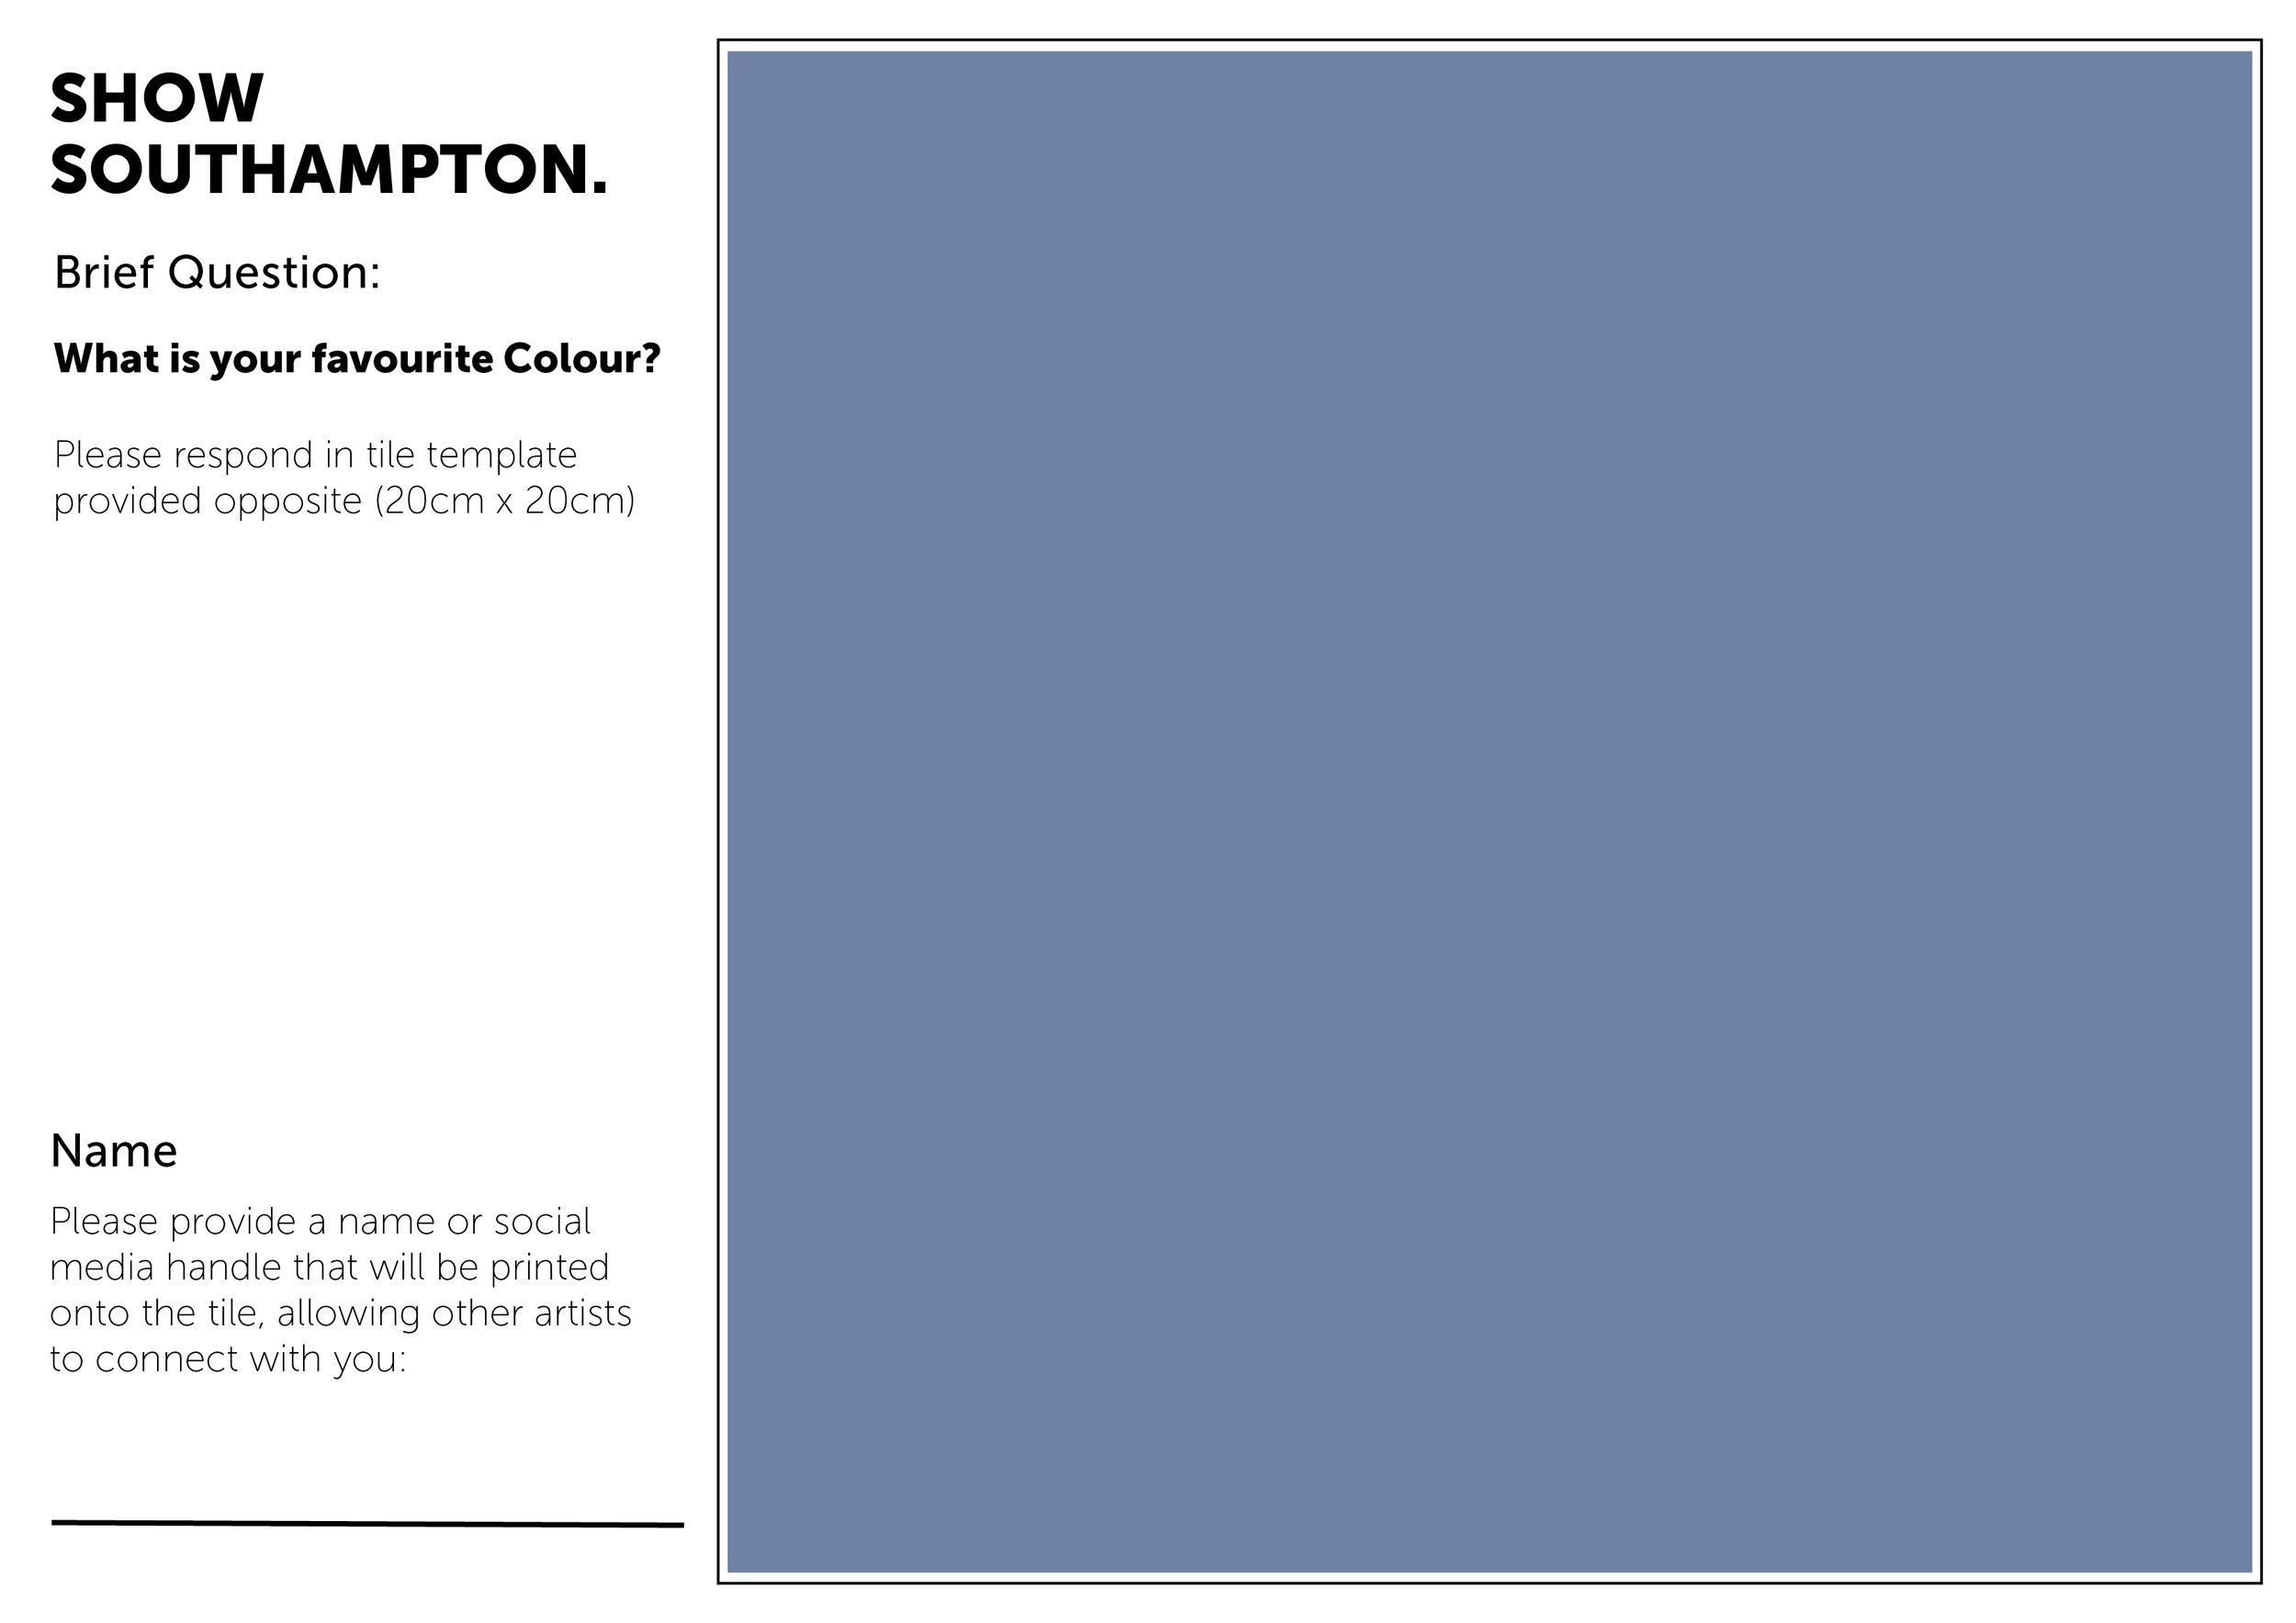
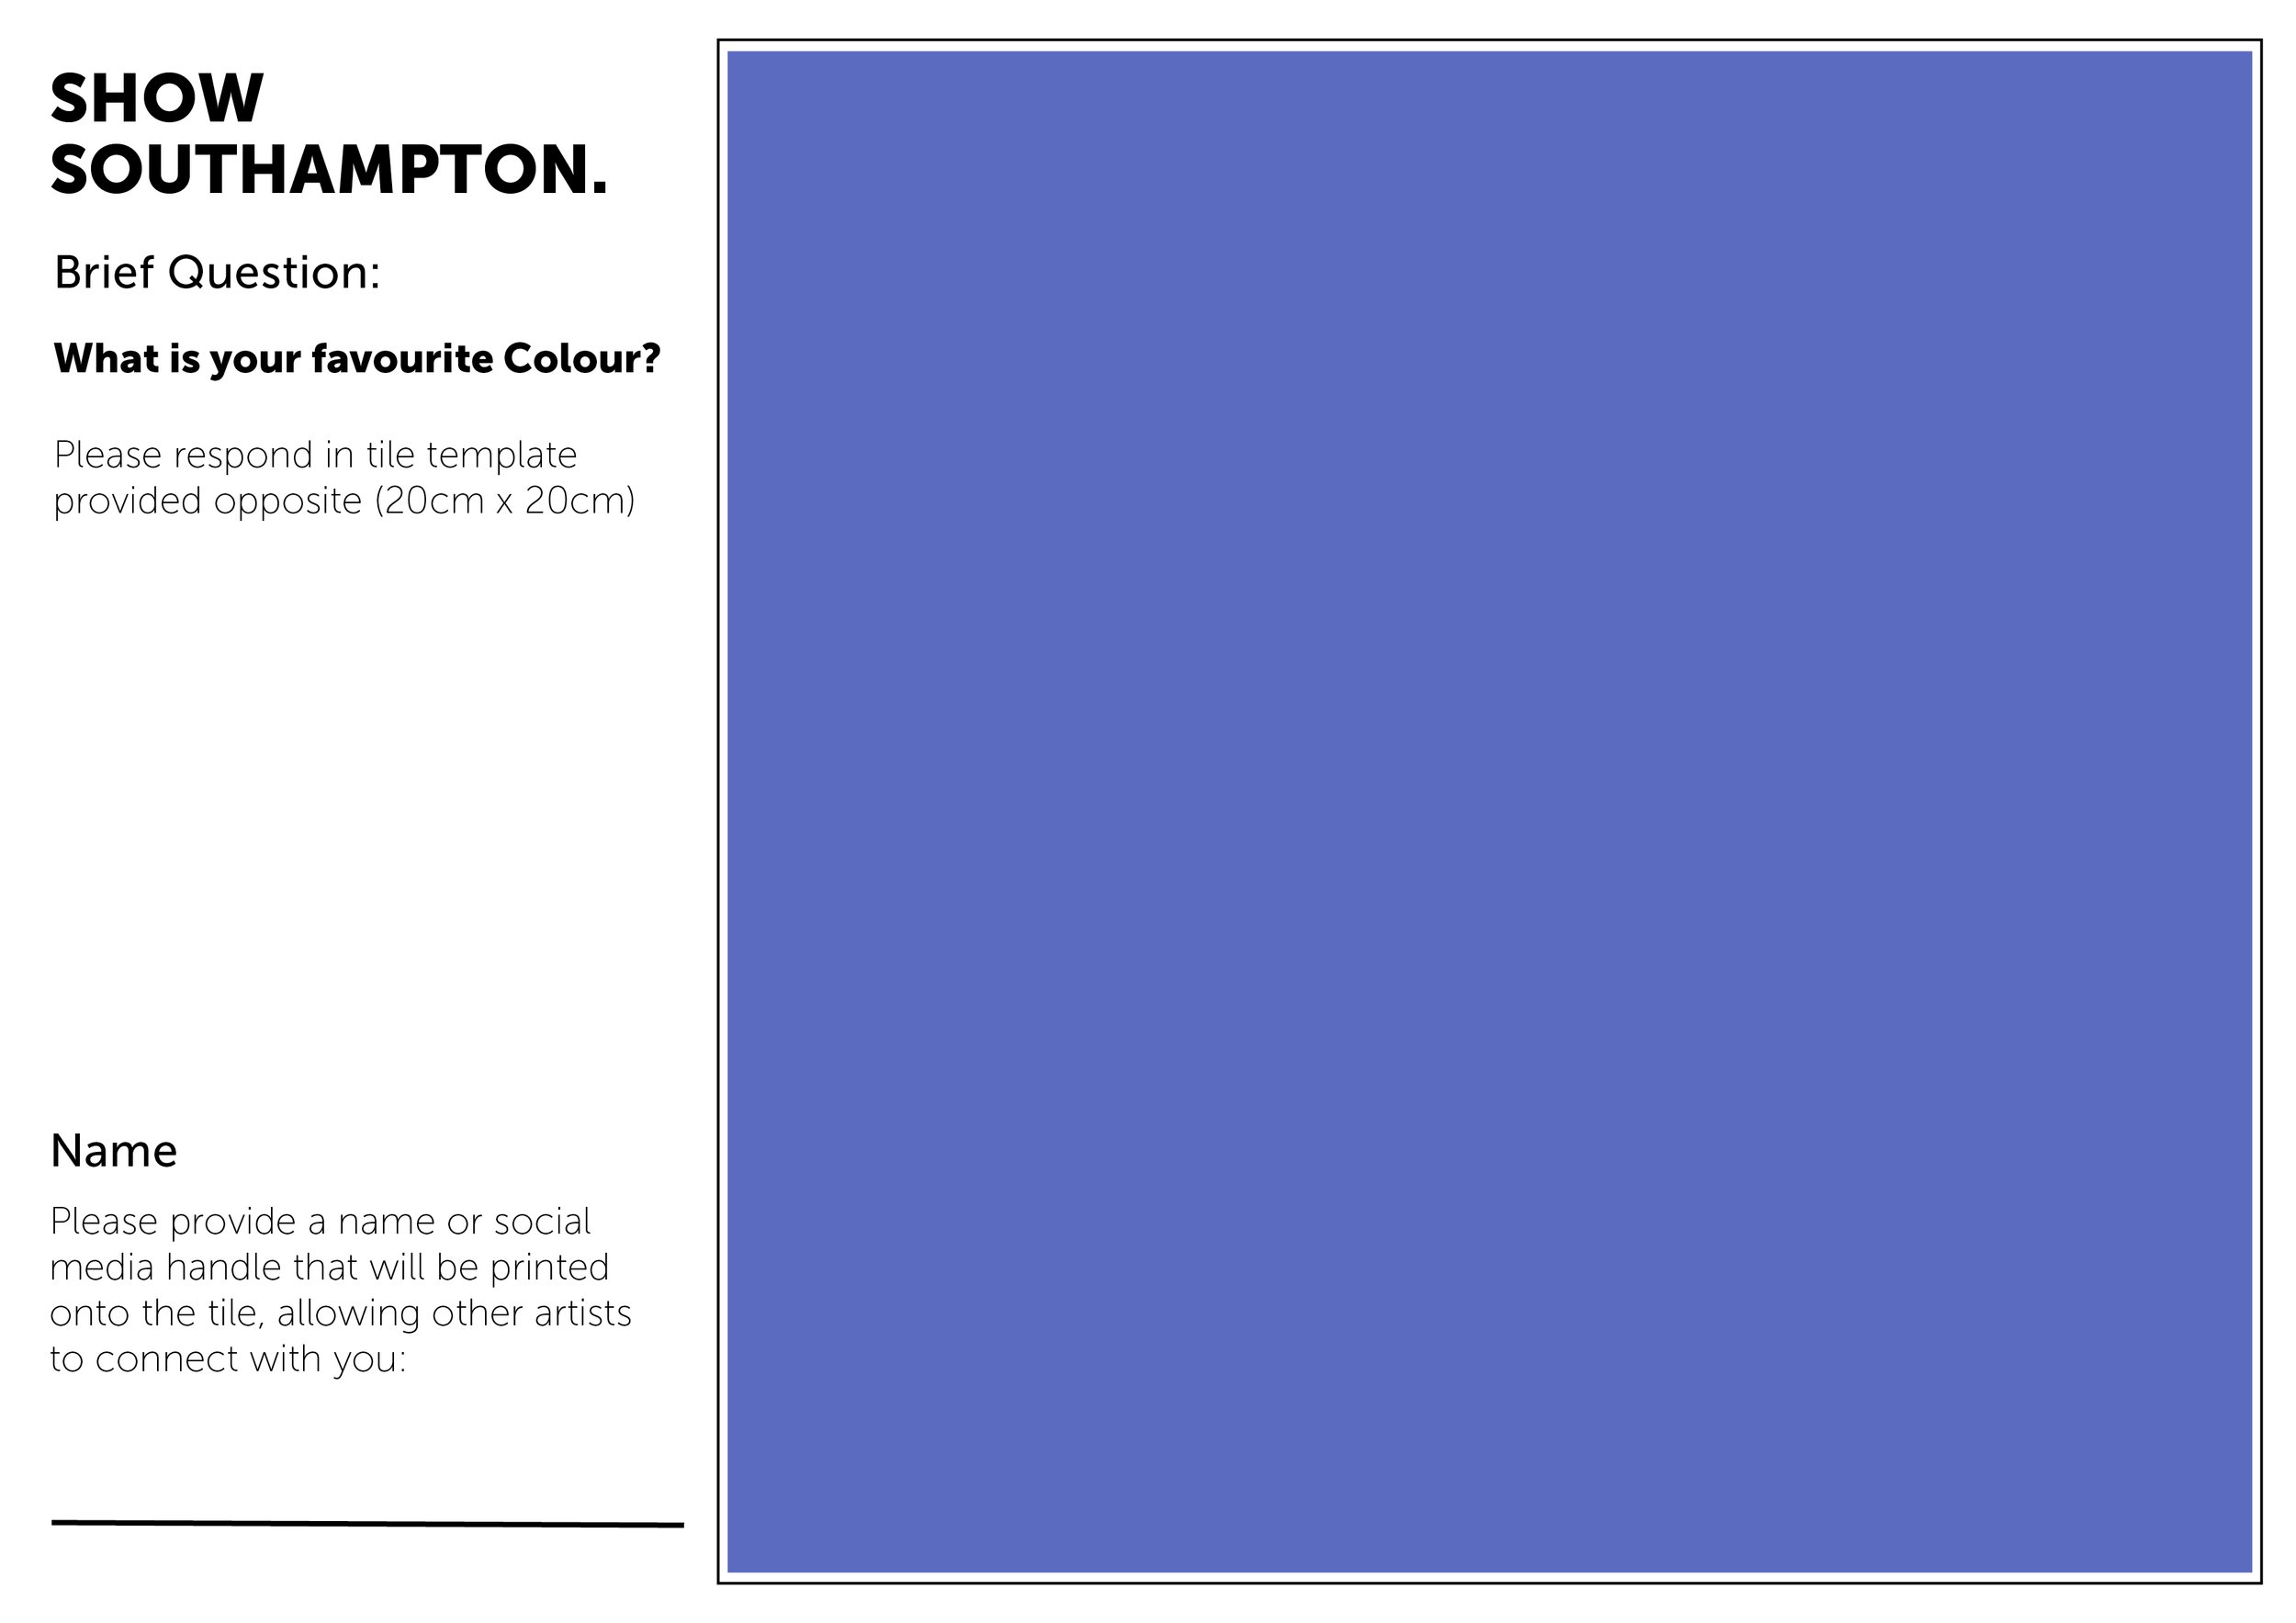
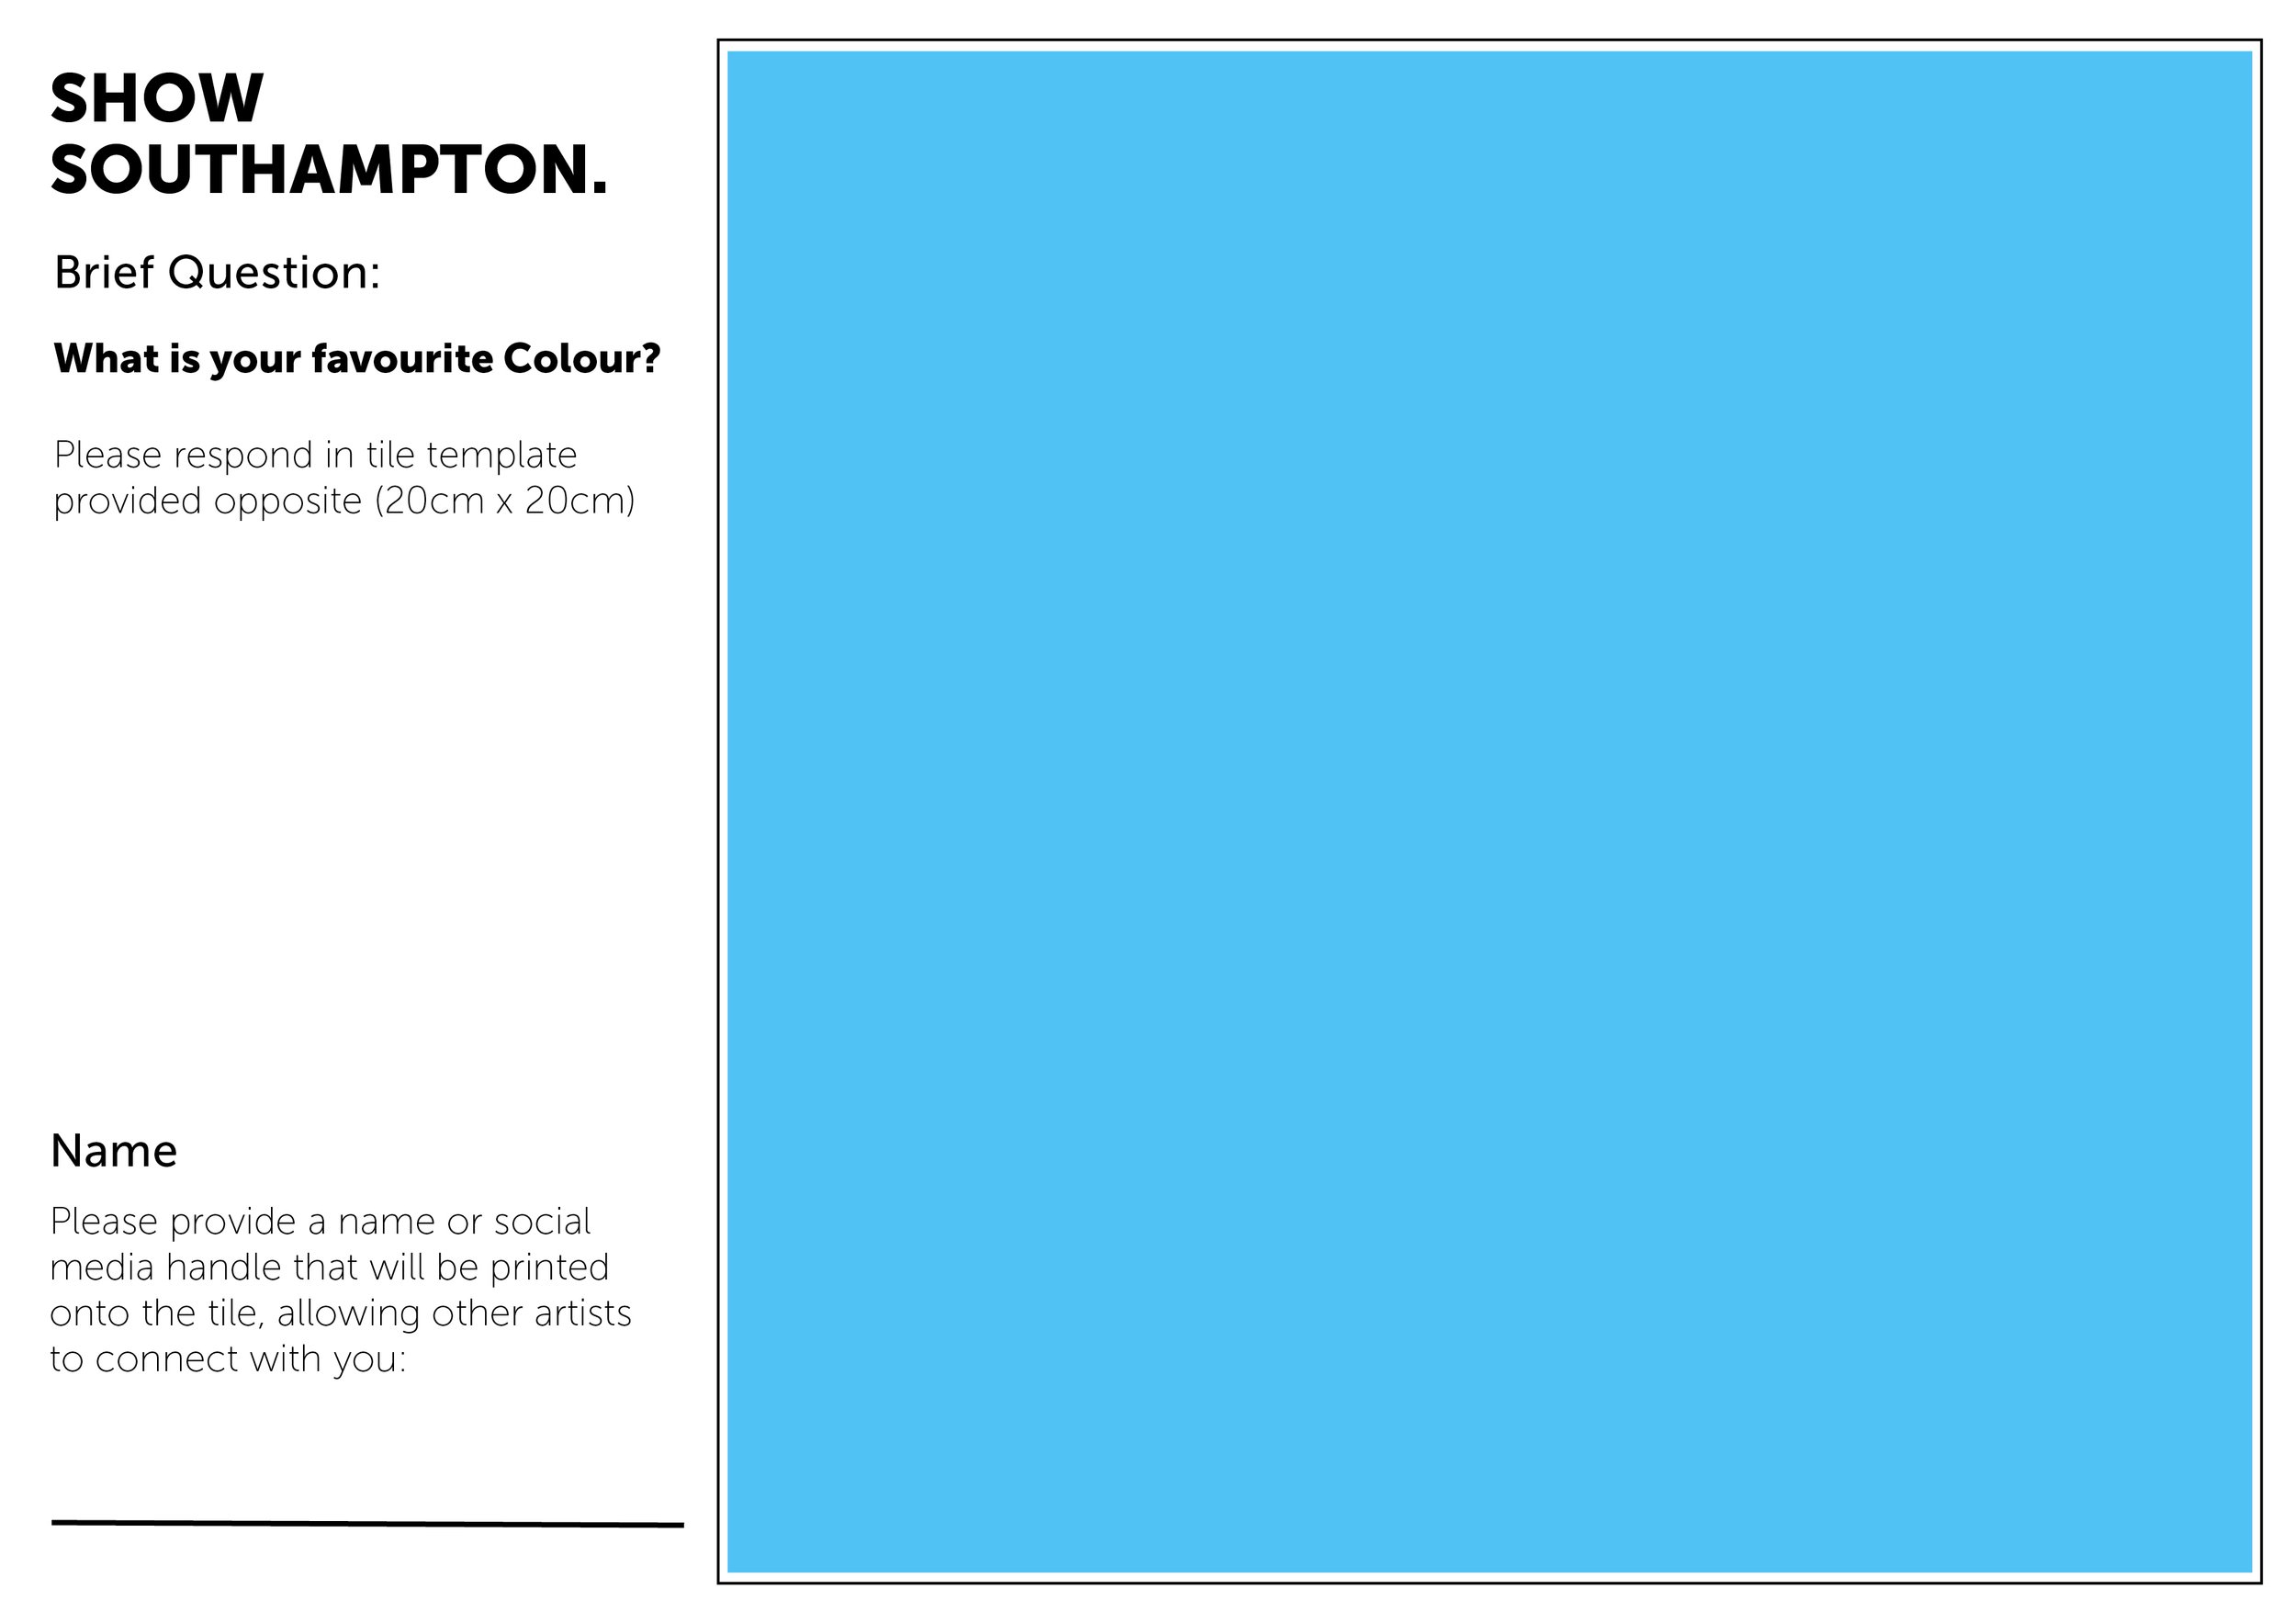
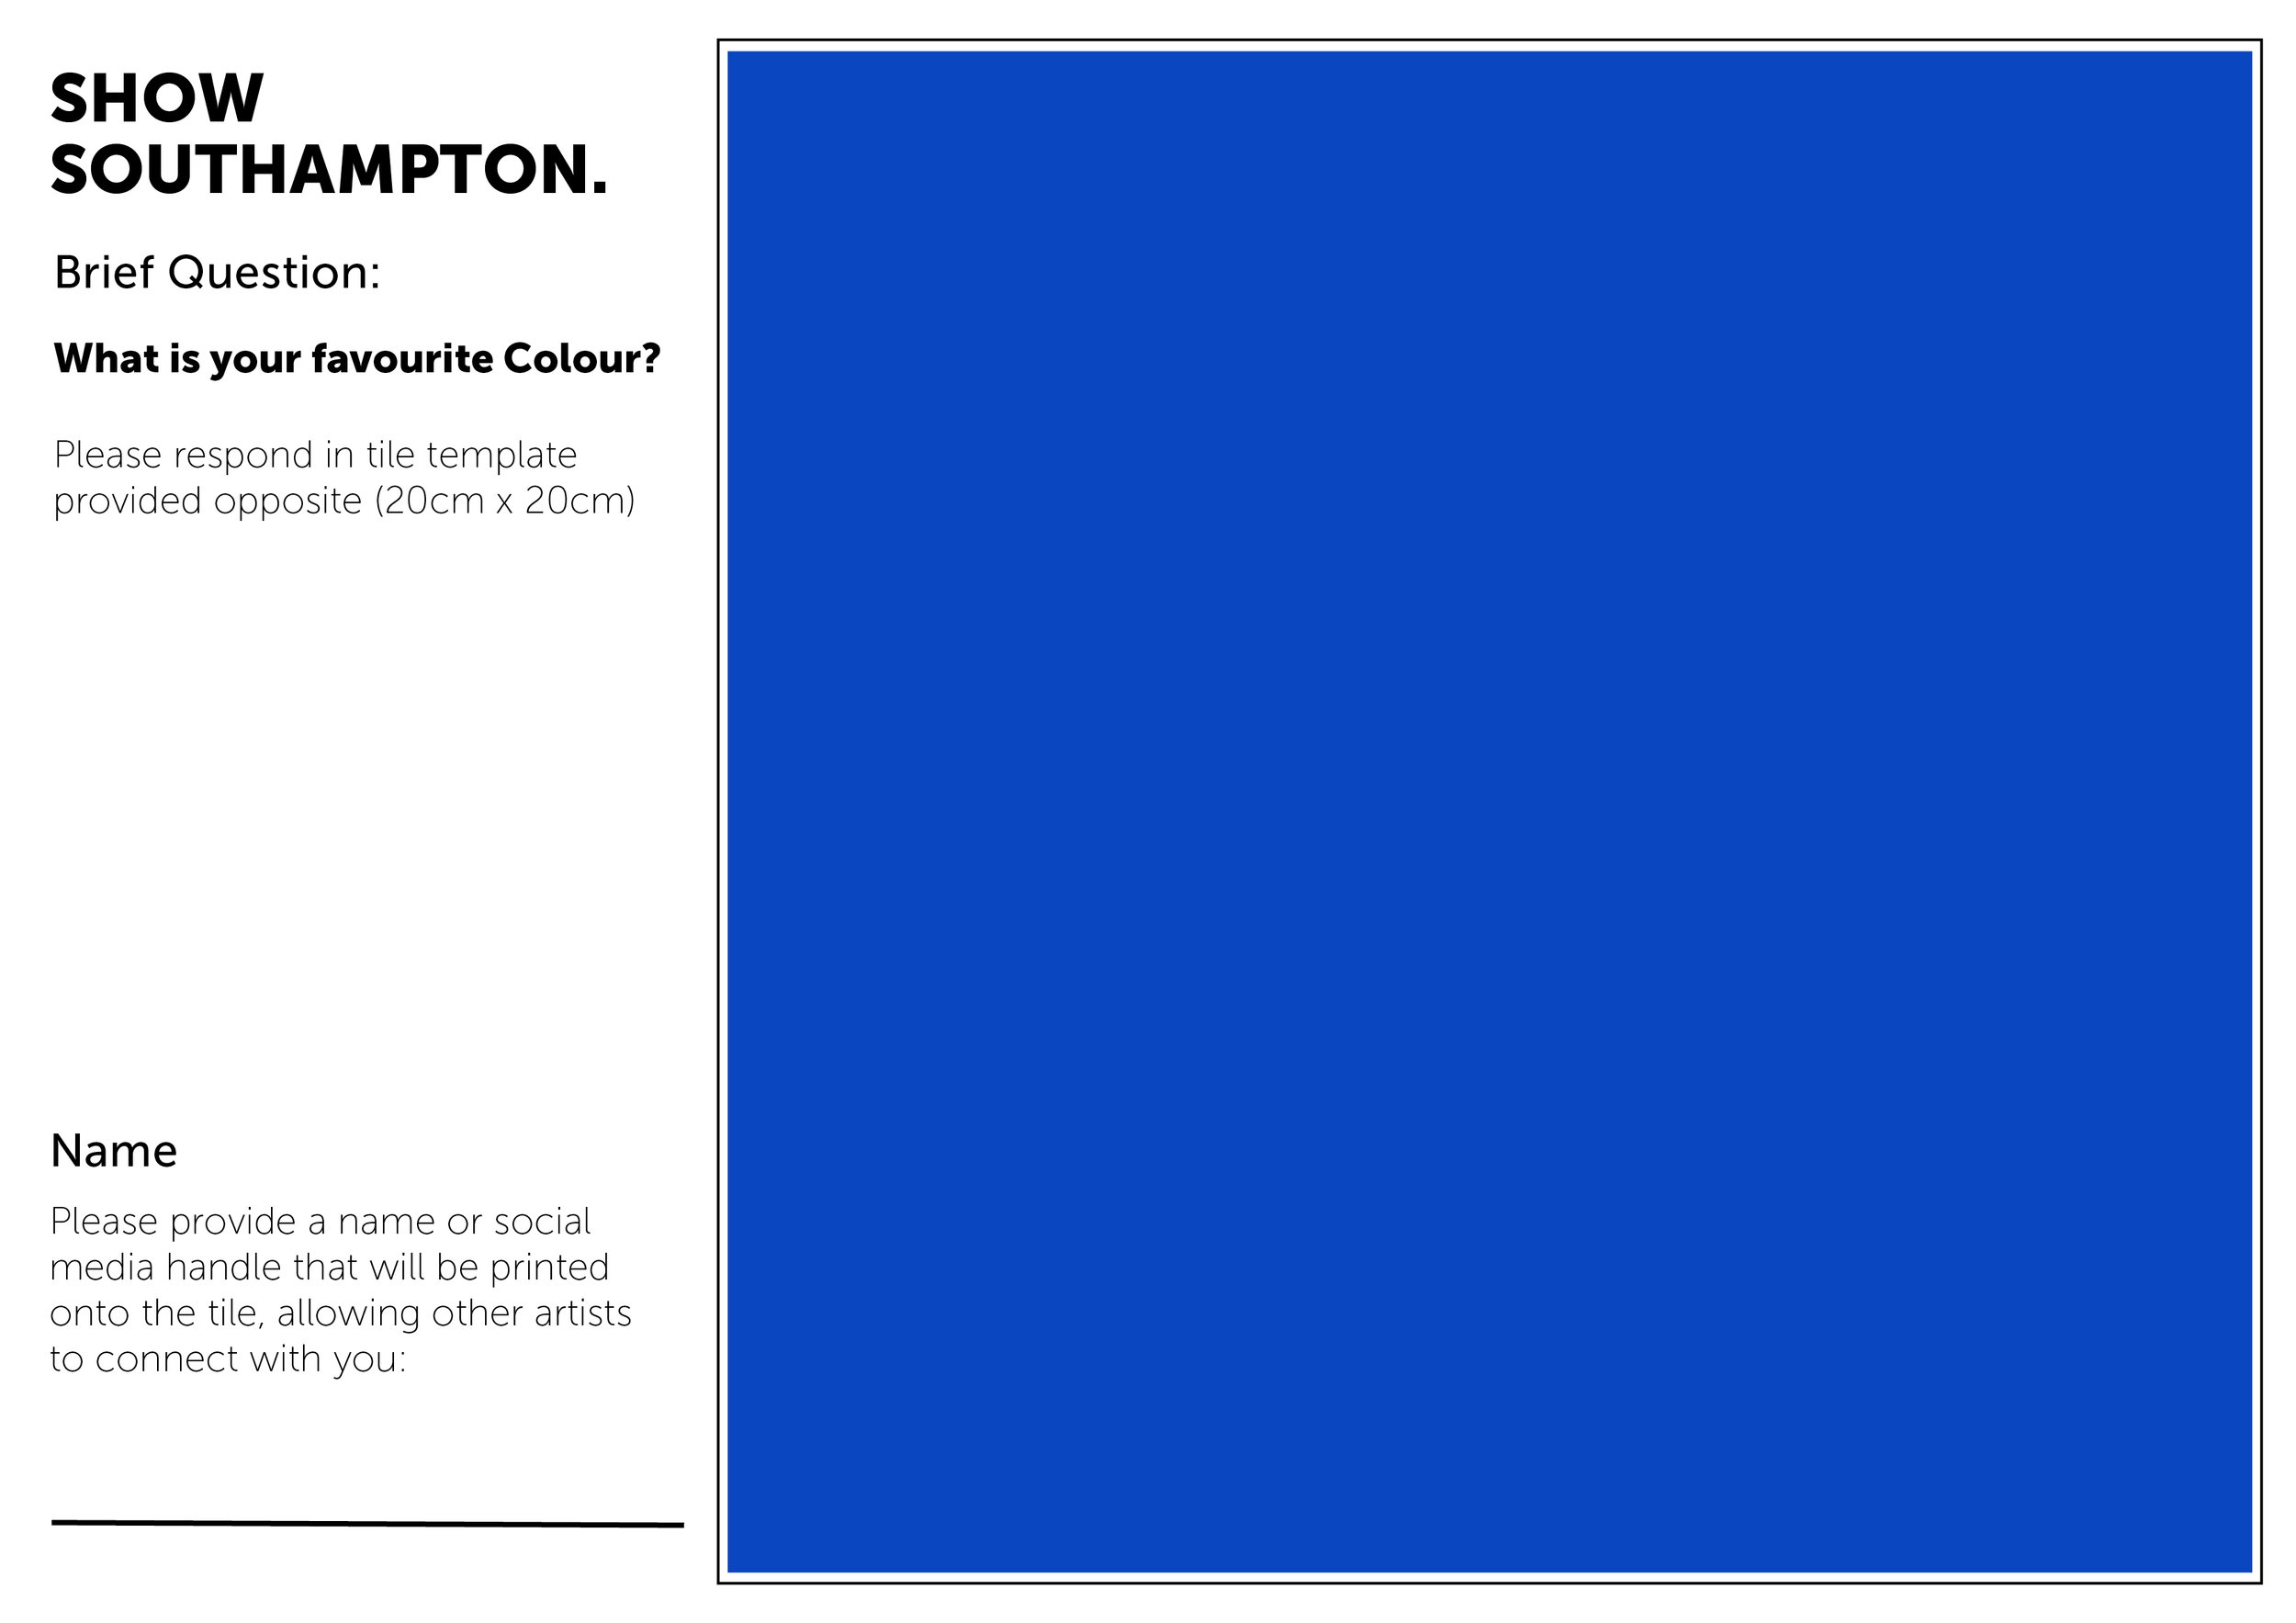
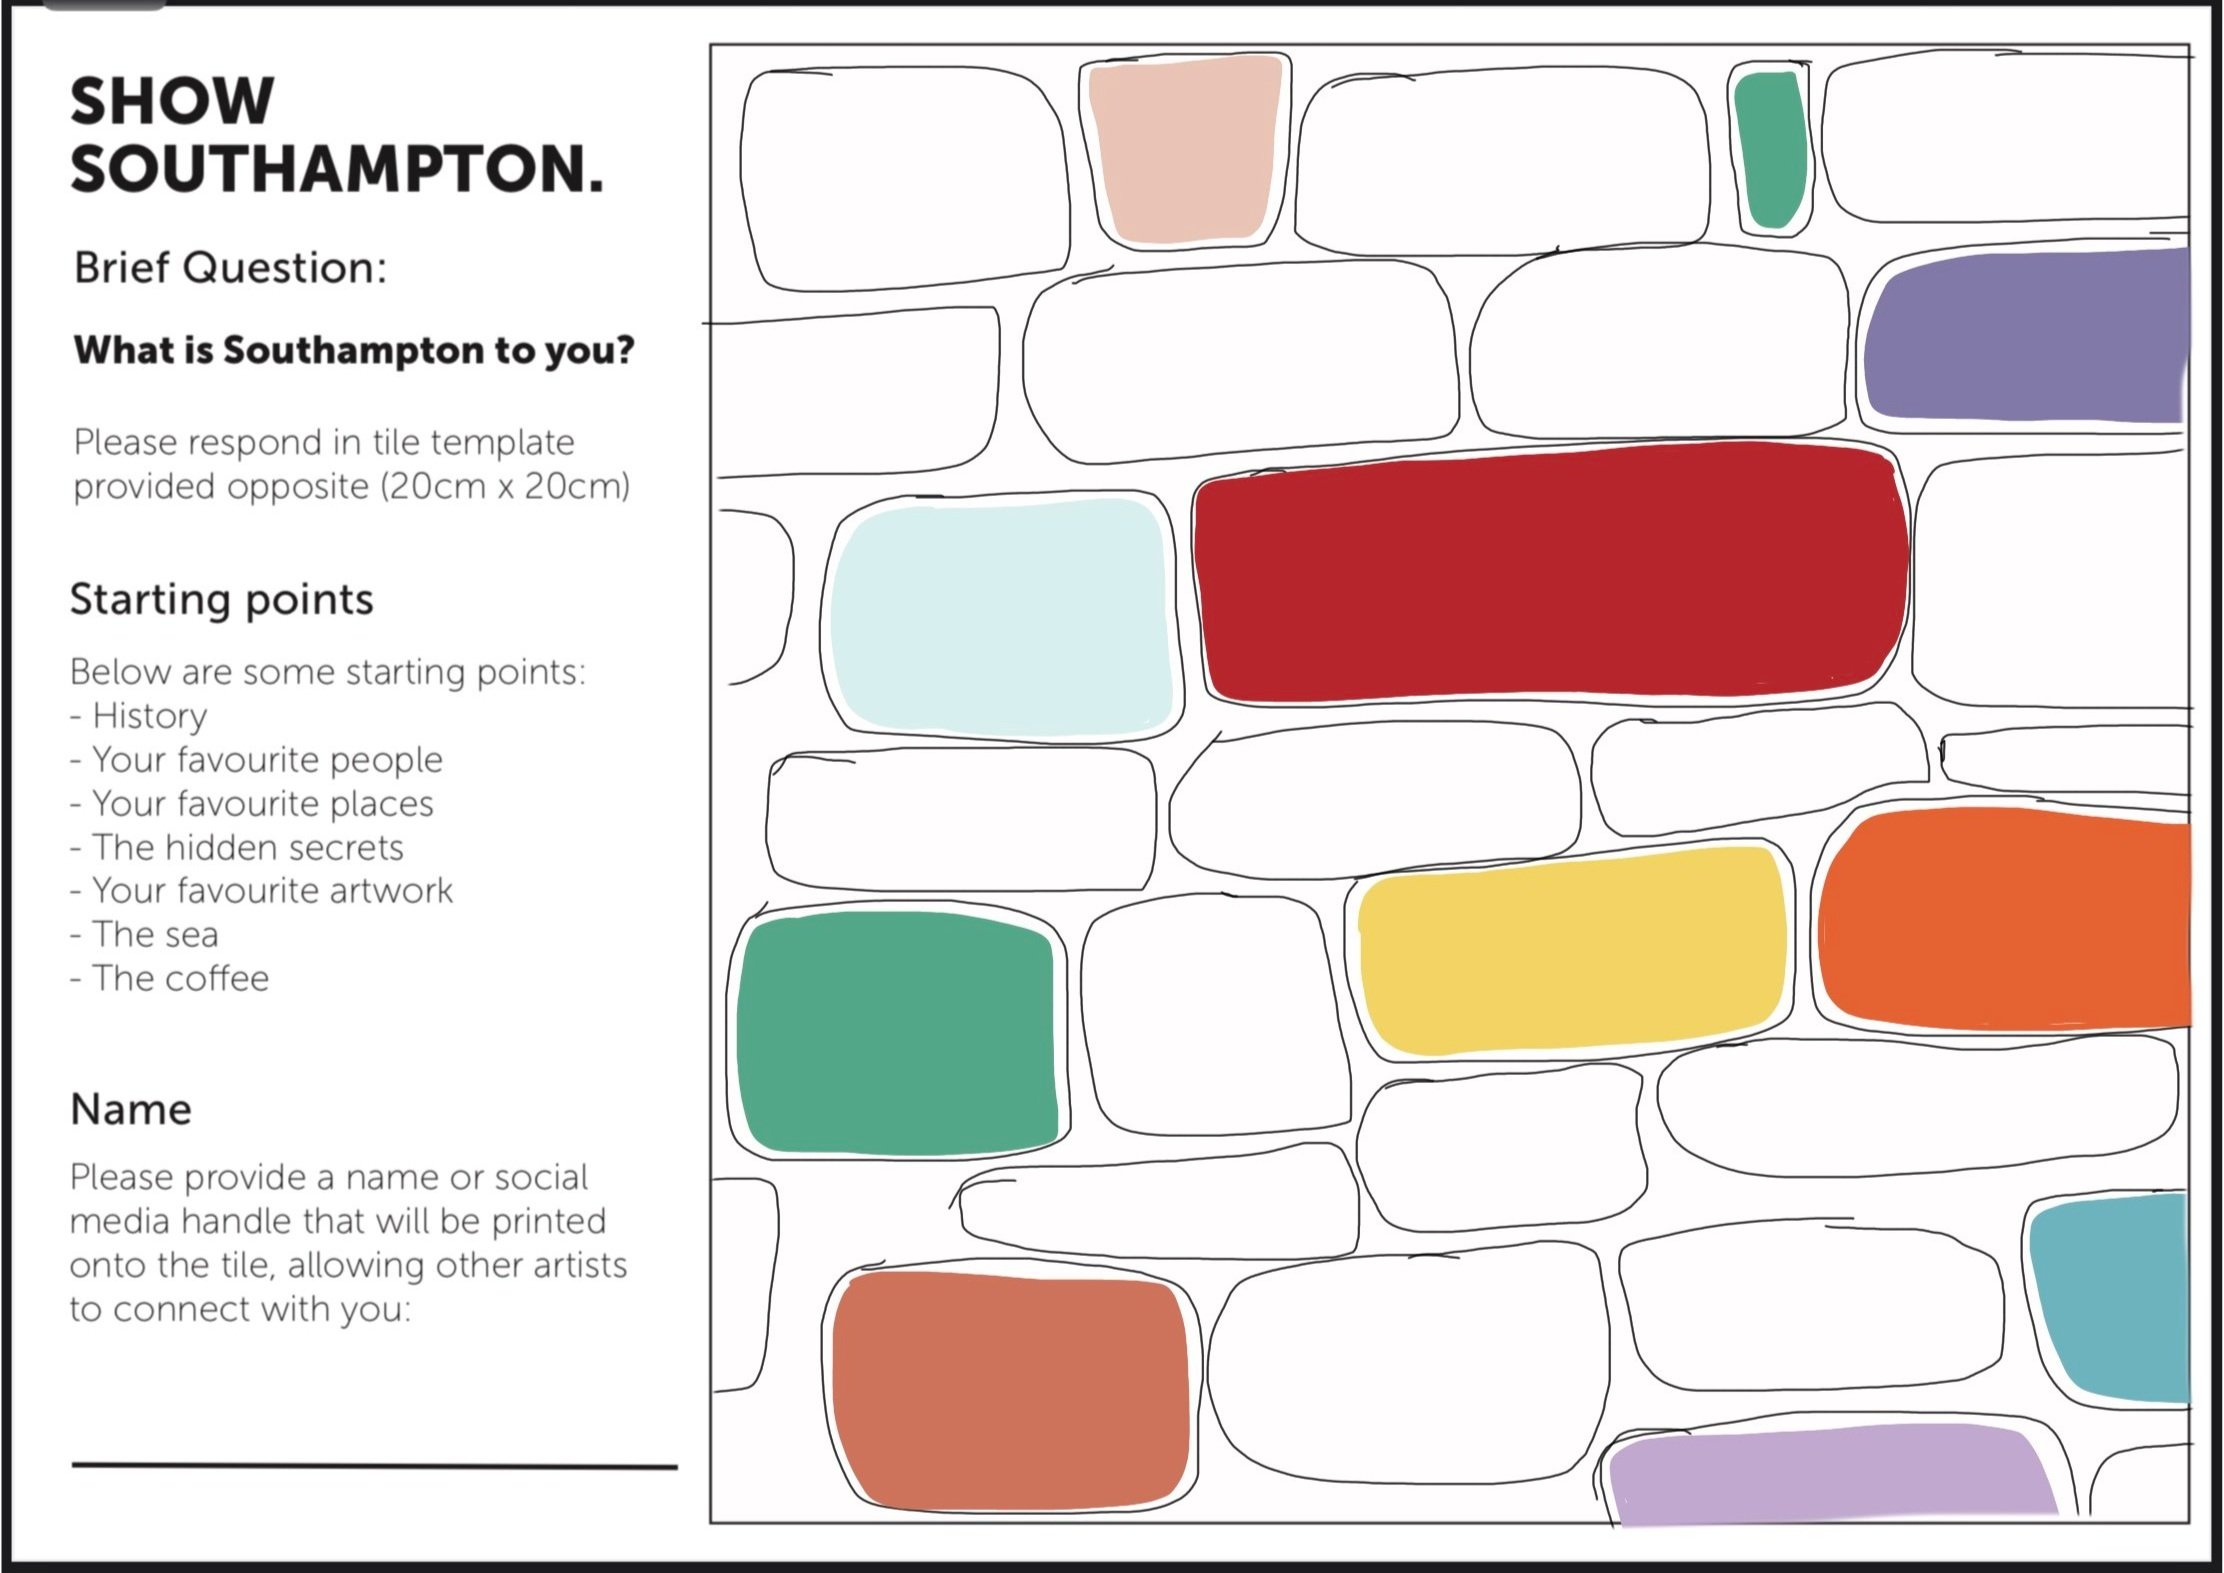
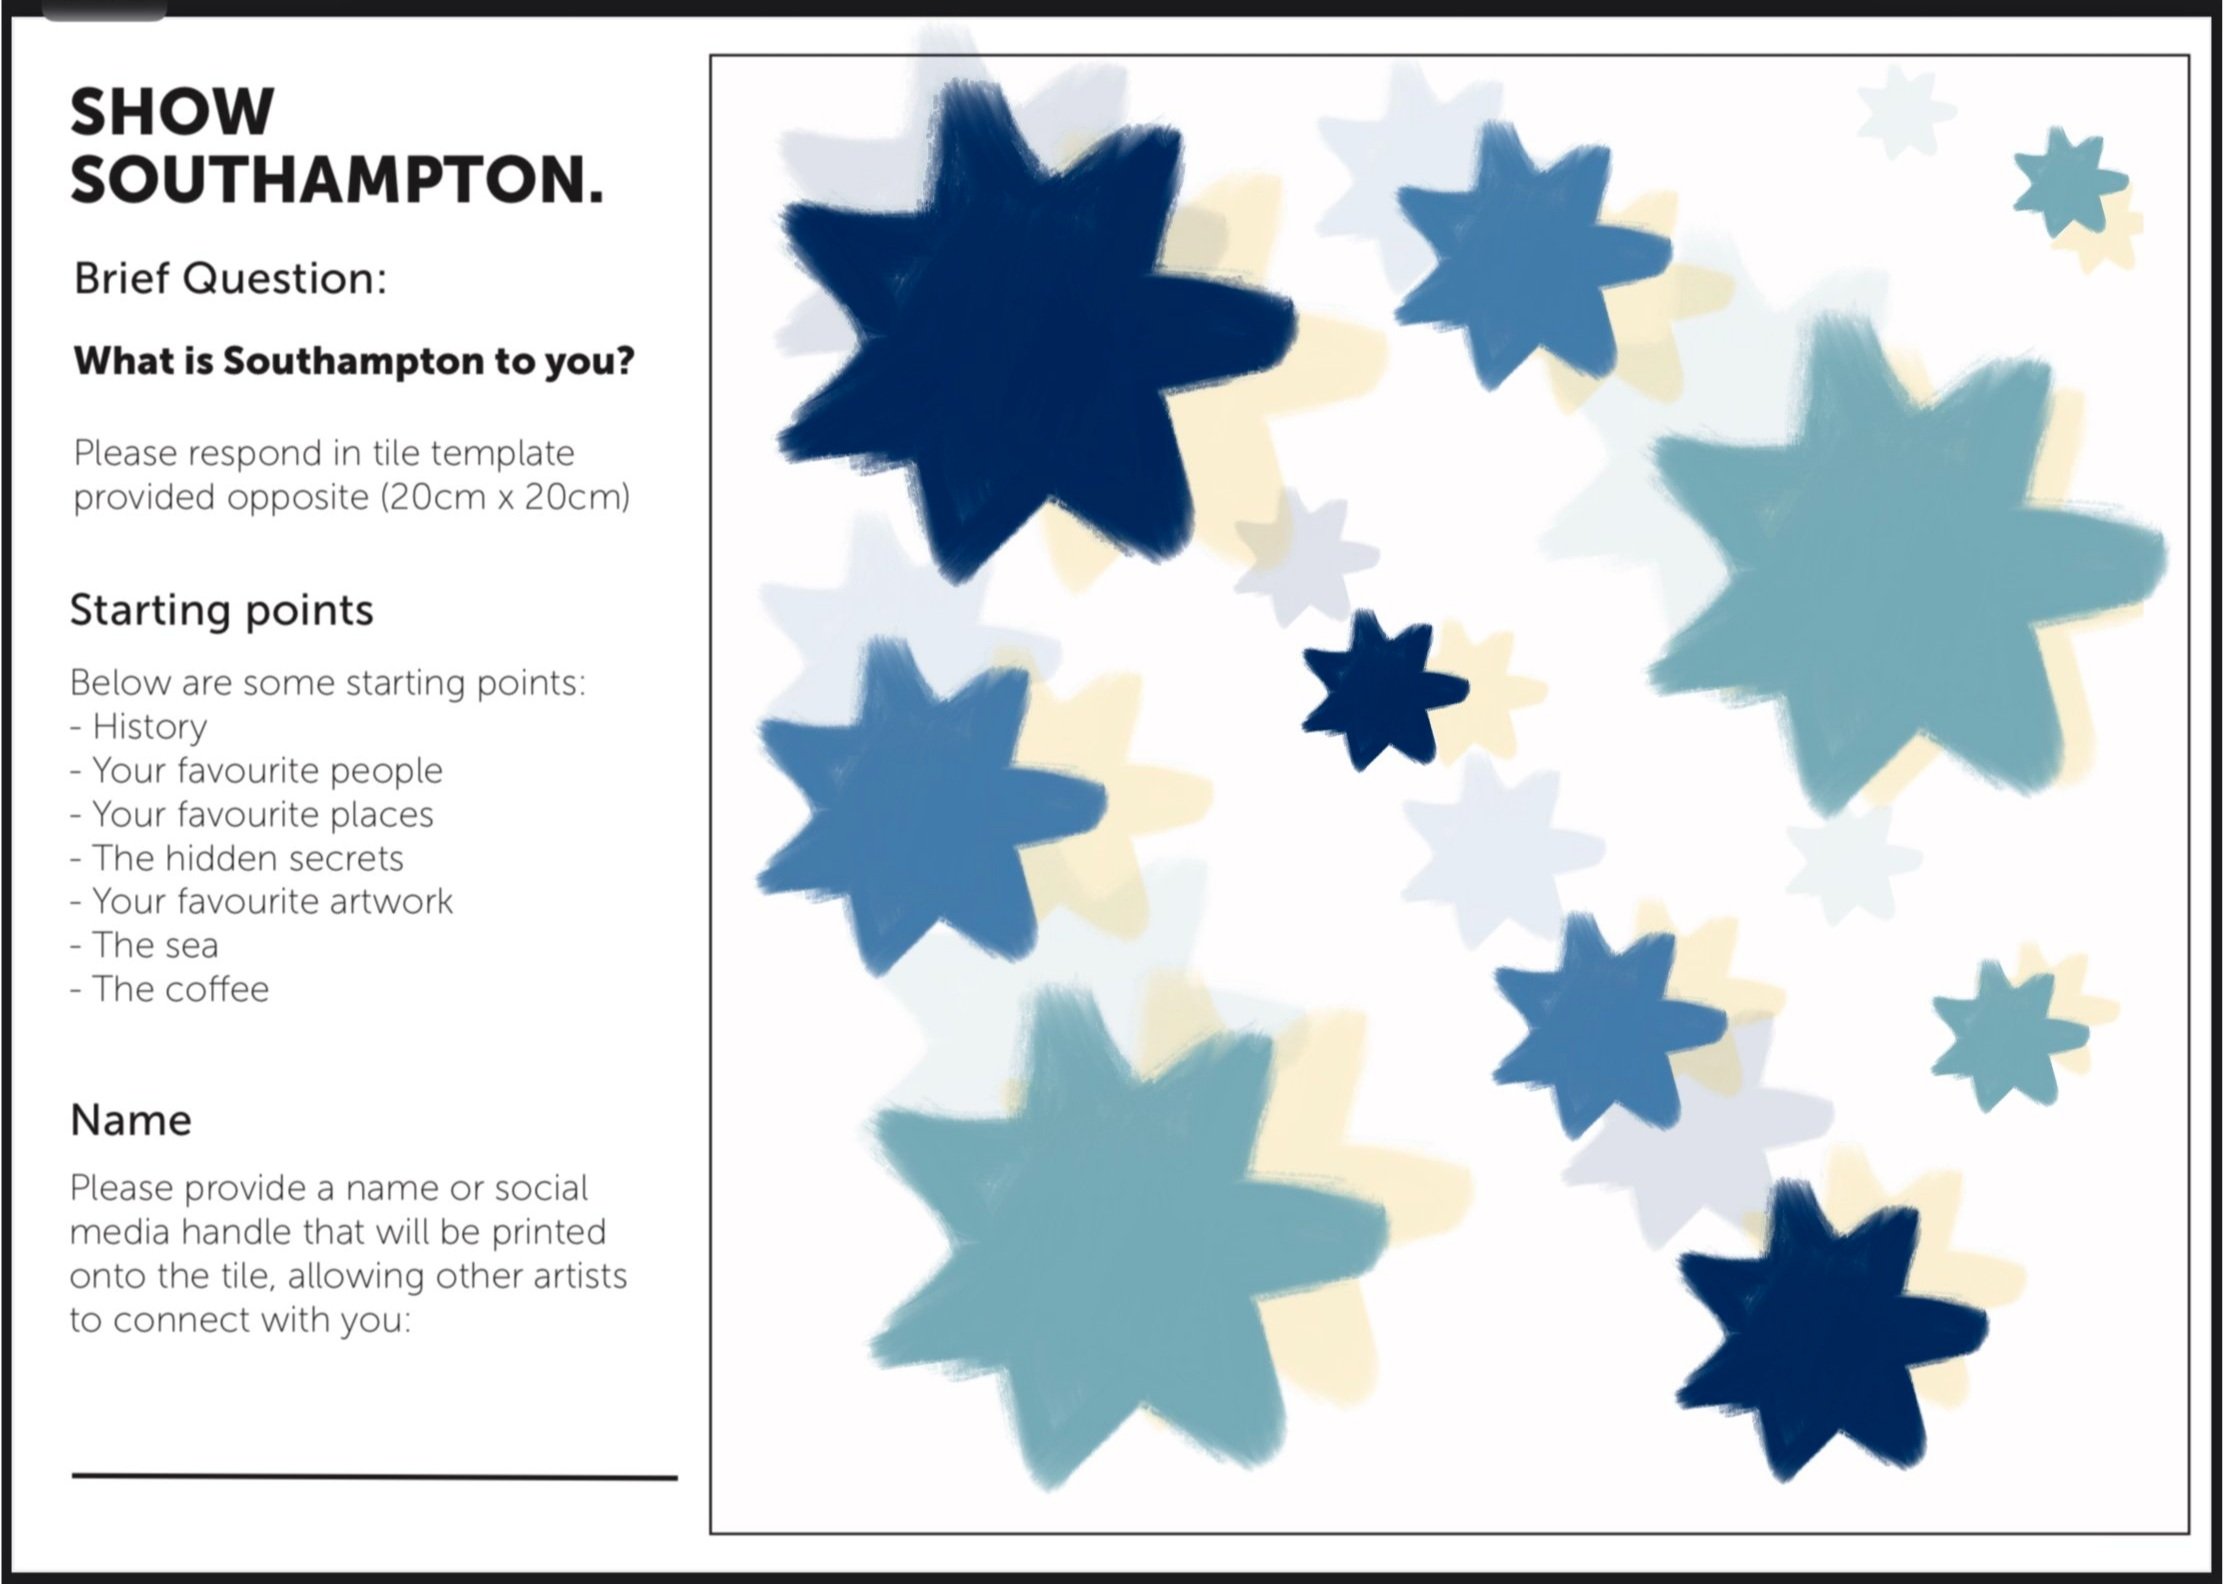
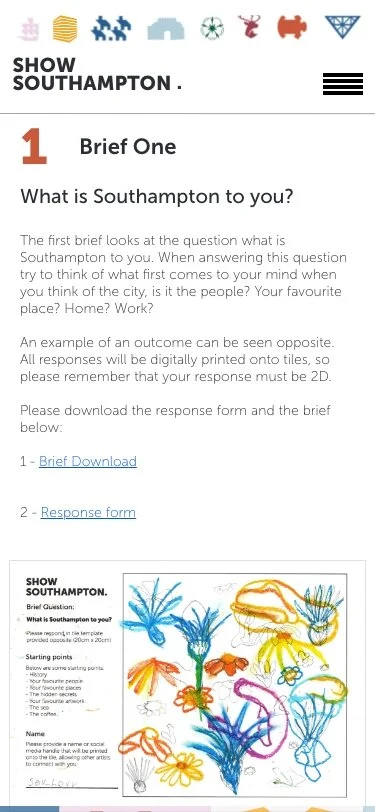
I began by making a simple 2 page brief document that outlined the project but also directions with how to engage and what the question was:
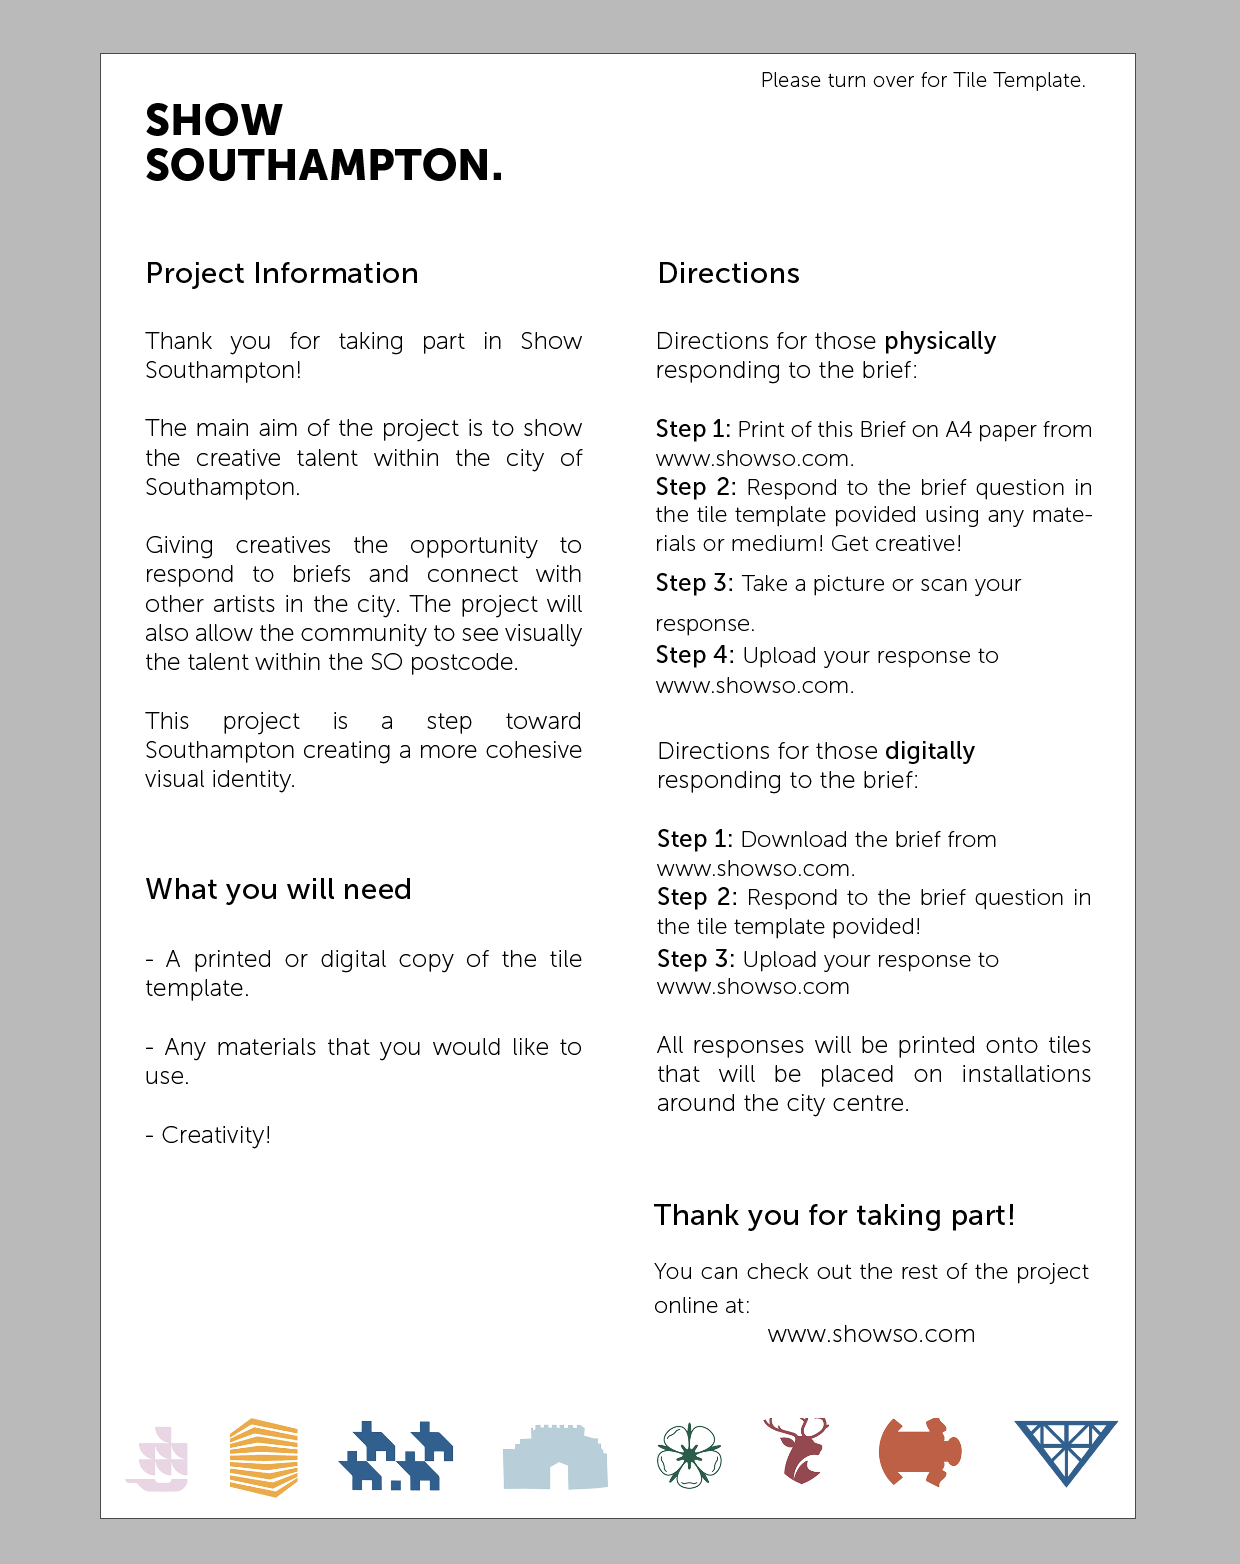
I wanted to make sure that they were kept as simple as possible but also provided the basics of information for the project. I want to also make sure there is another option of just having the tile template on a page on the website that I go onto create. This is the brief for the first and bigger installation but I want to also create the ones for the smaller installations on colour and pattern.
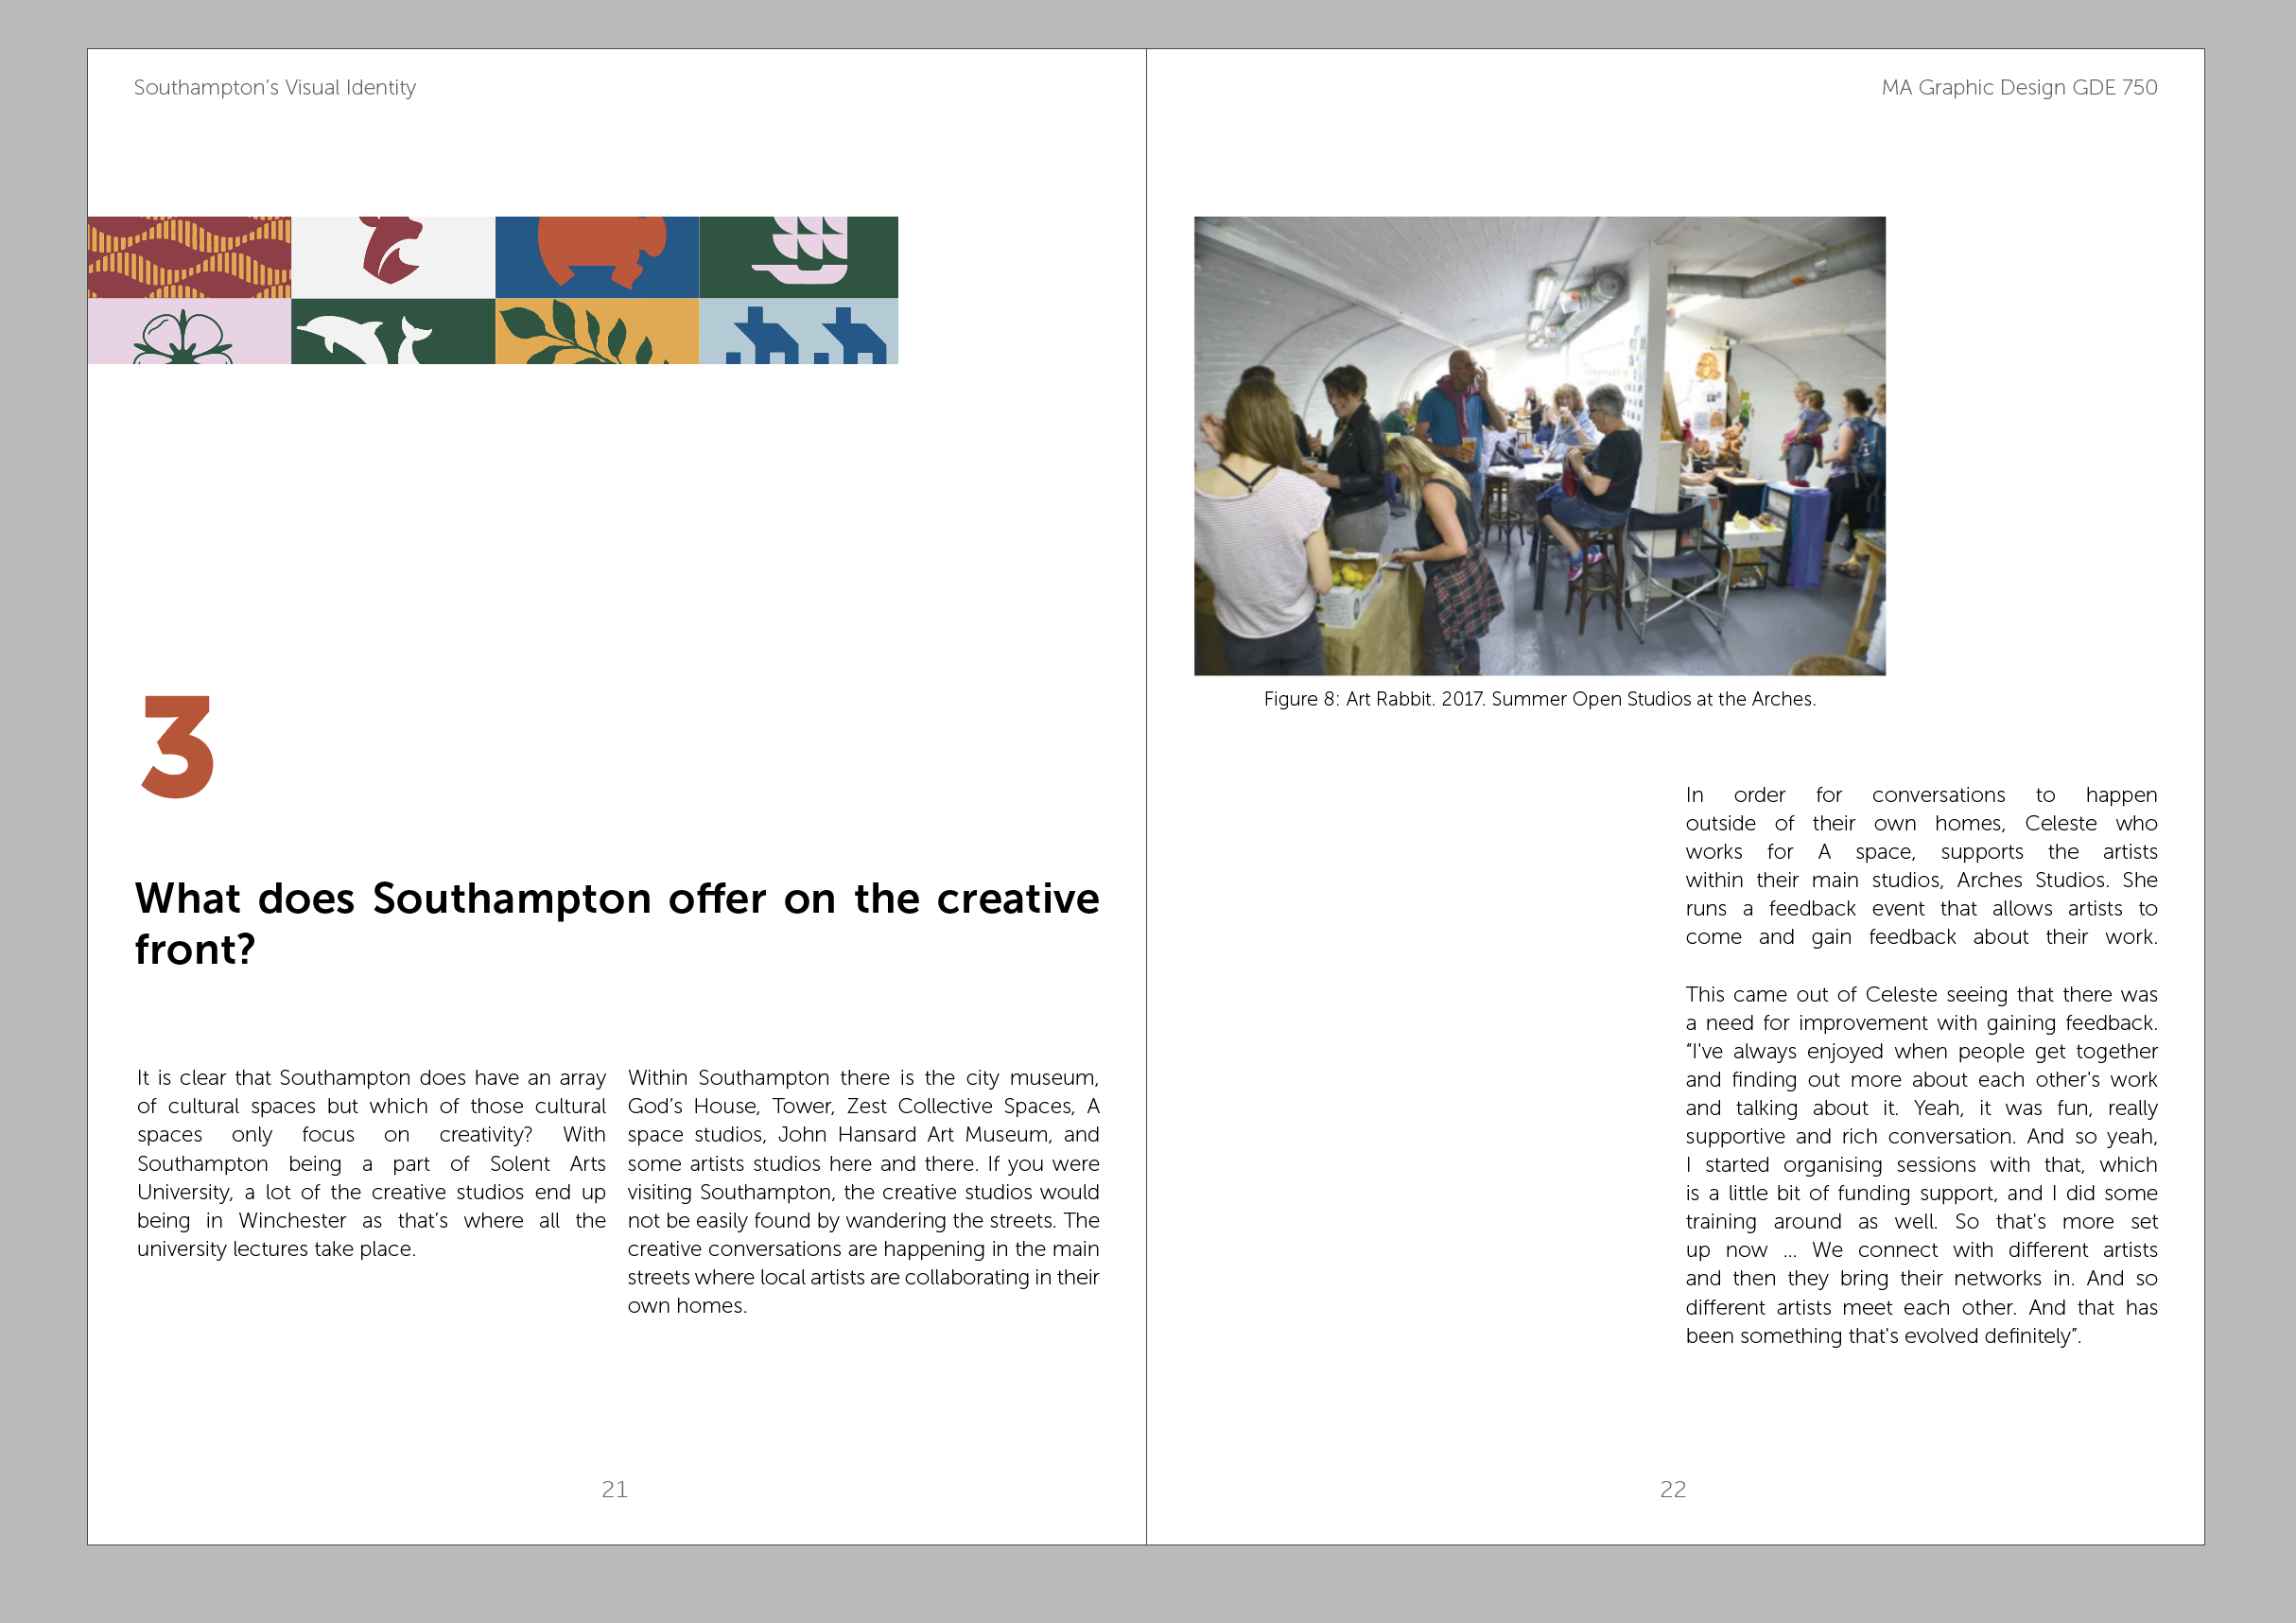
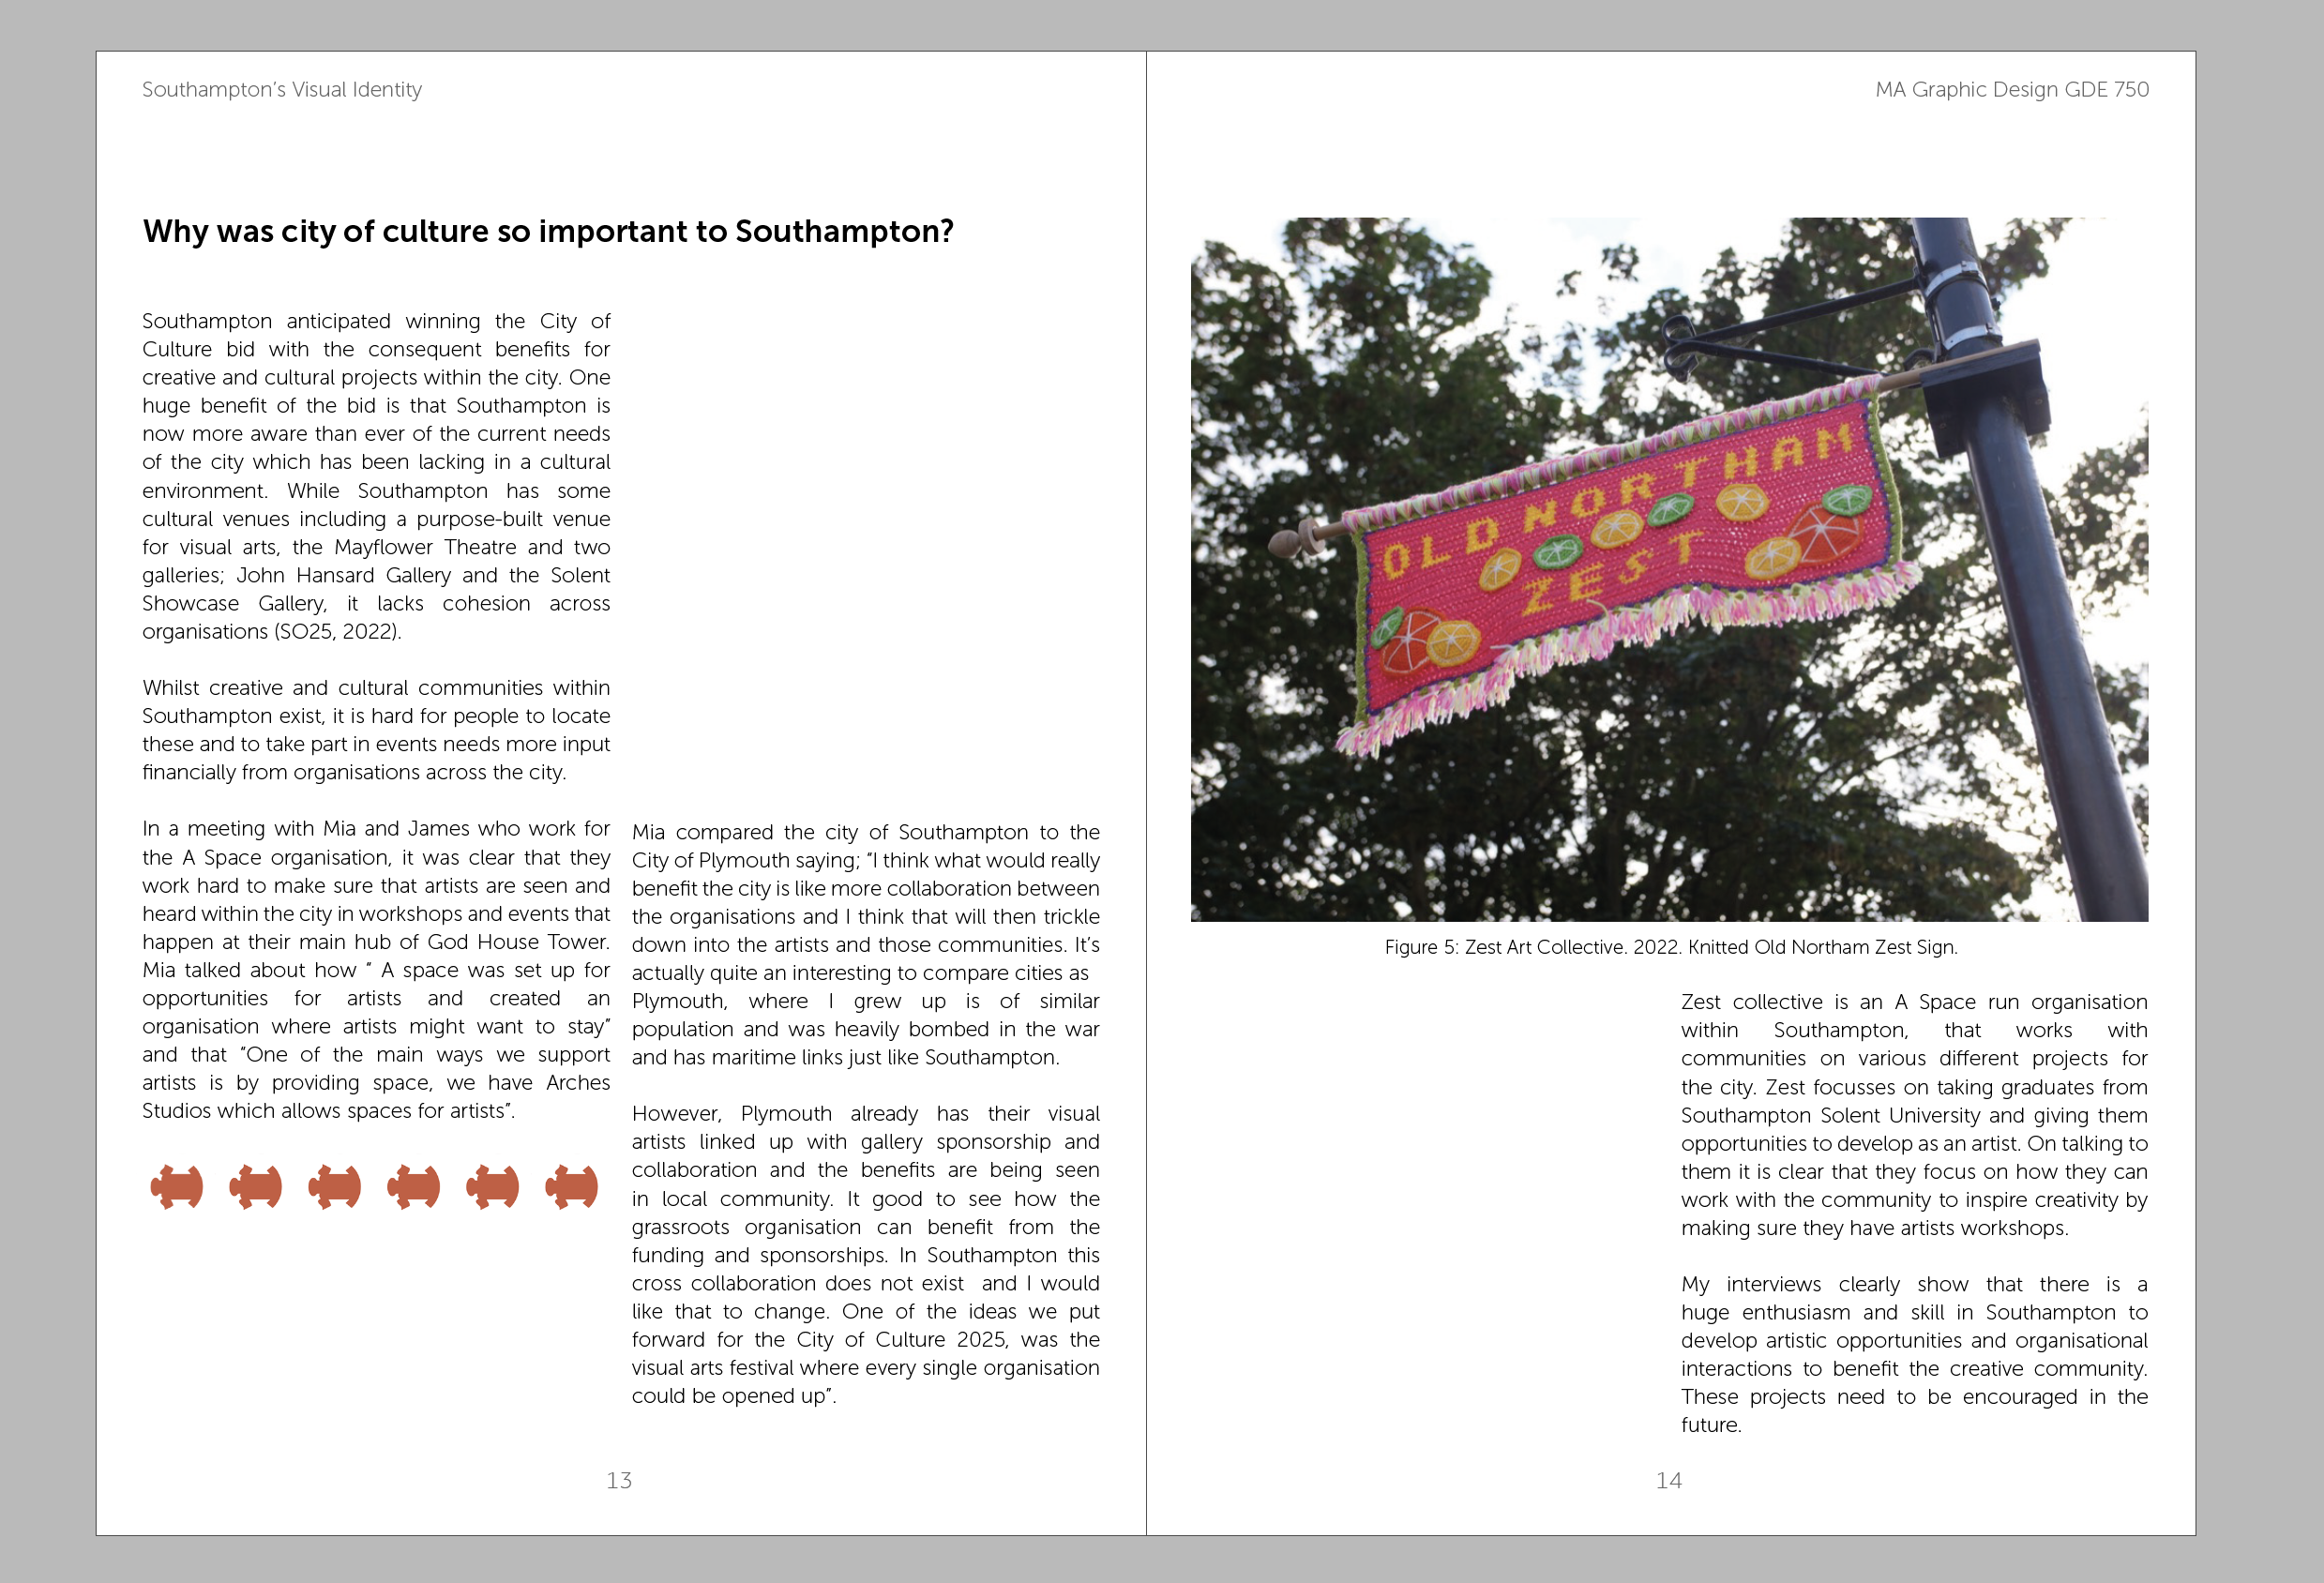
Workshop with Zest:
This week I will also be running a workshop with zest to see their responses to the brief that I have created for the bigger installation above:
For this workshop, I will be bringing loads of different materials as well as physical copies of the brief that people will be able to use.
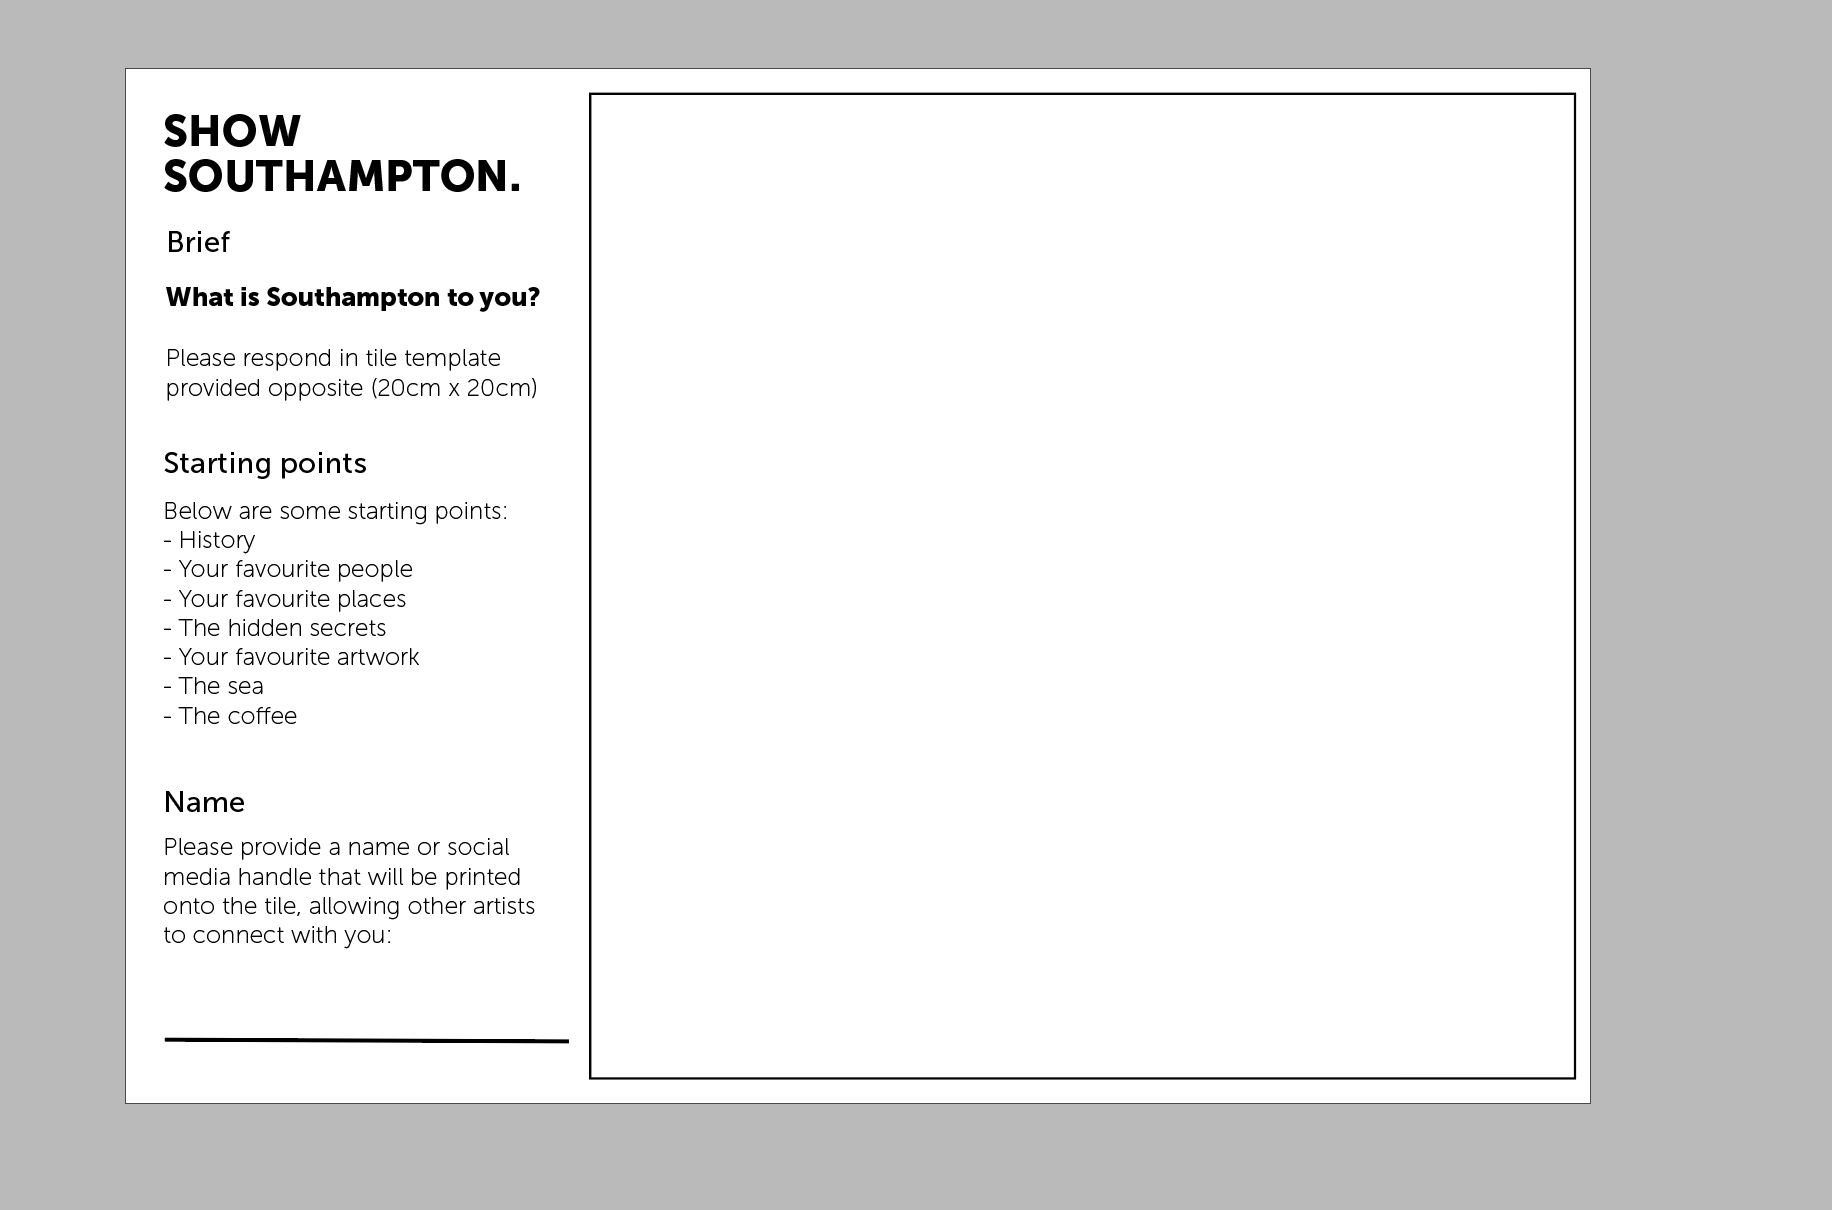
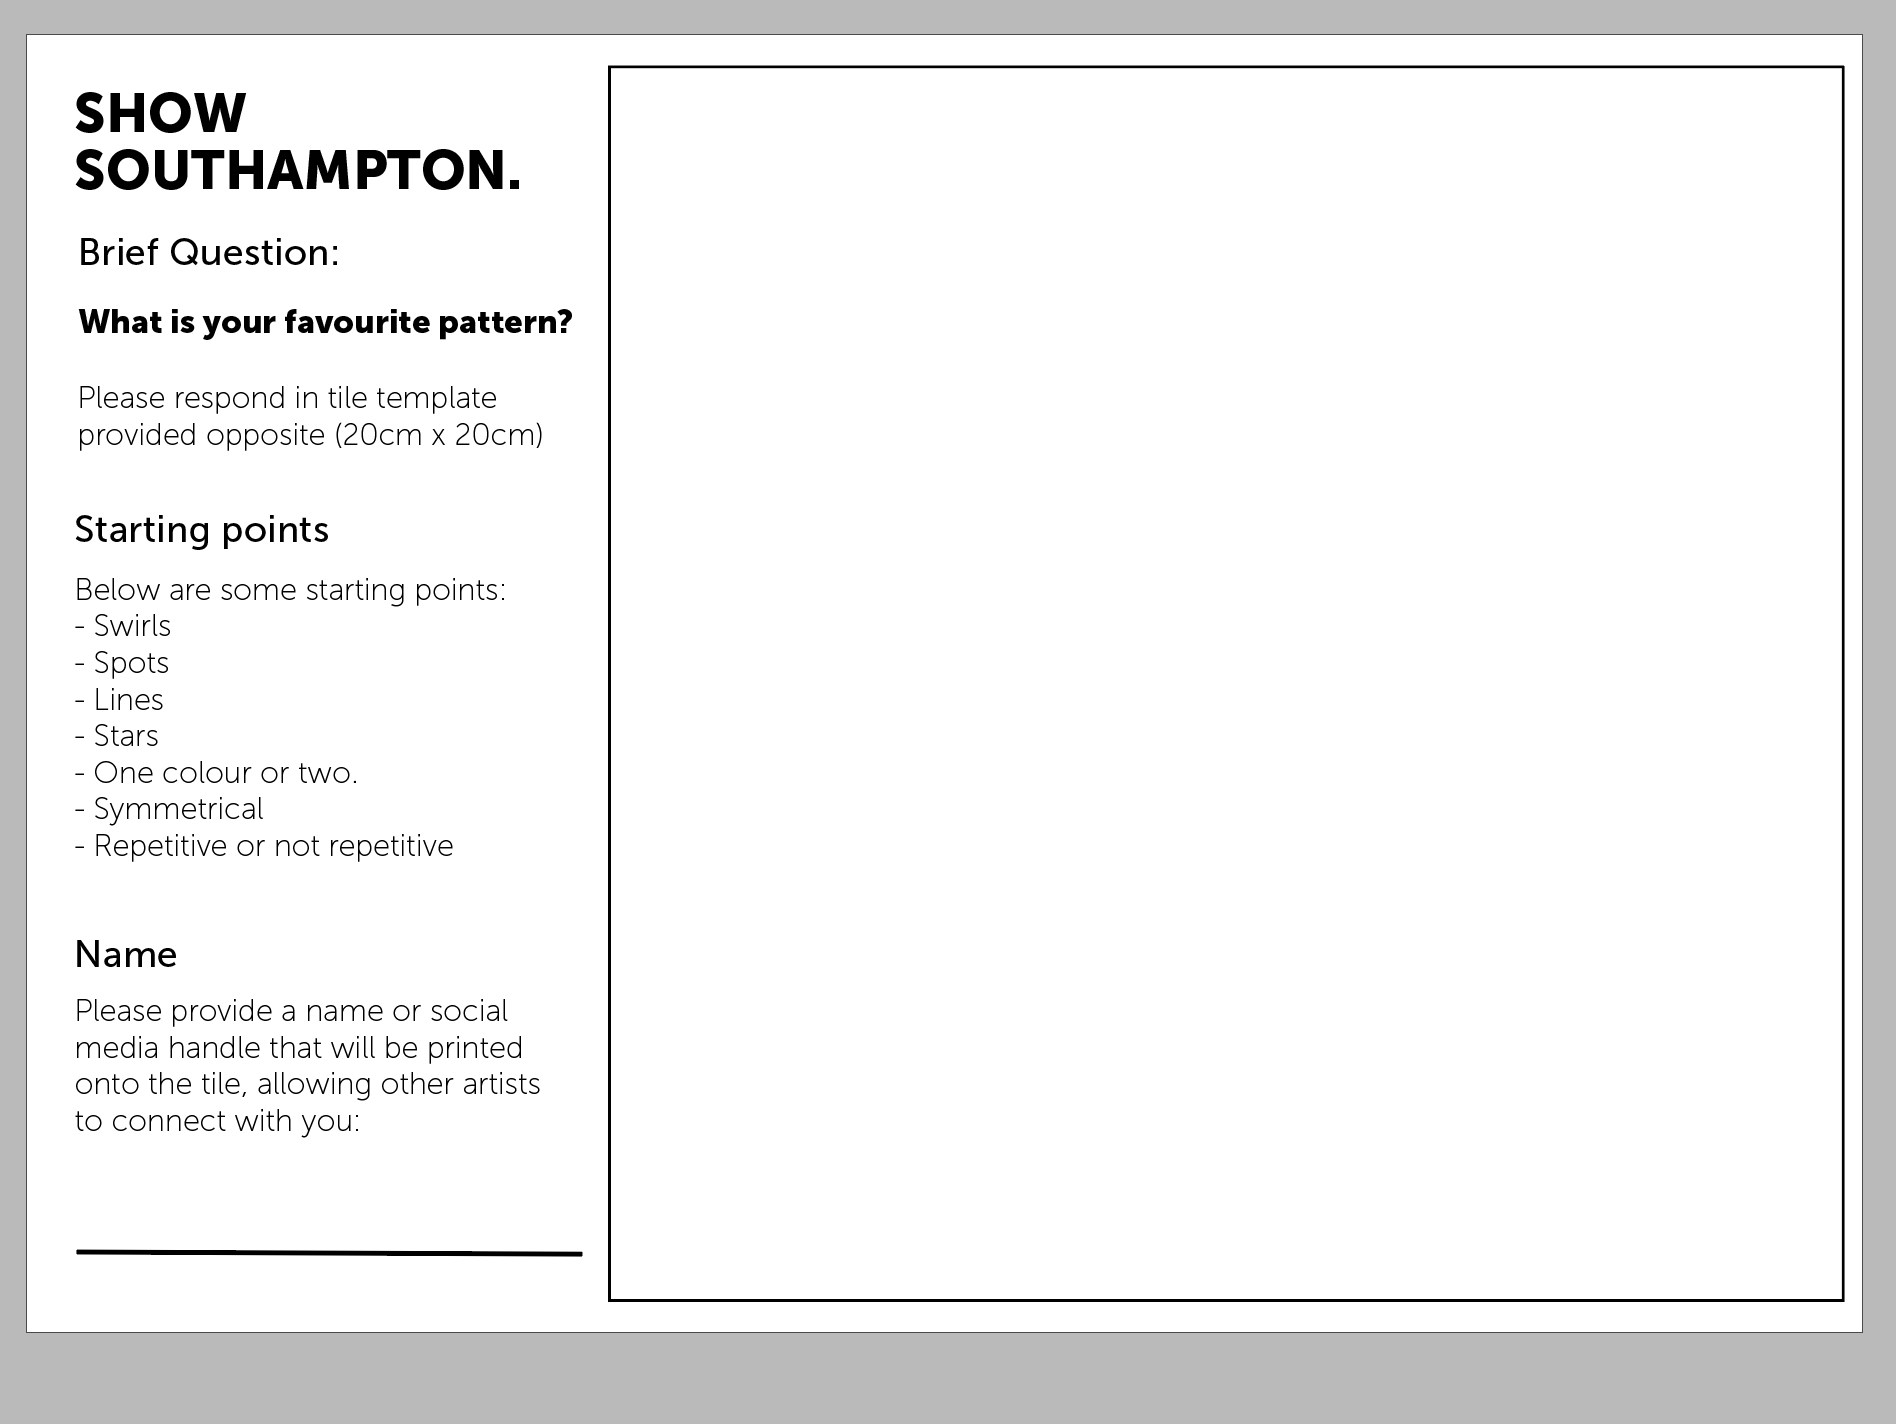
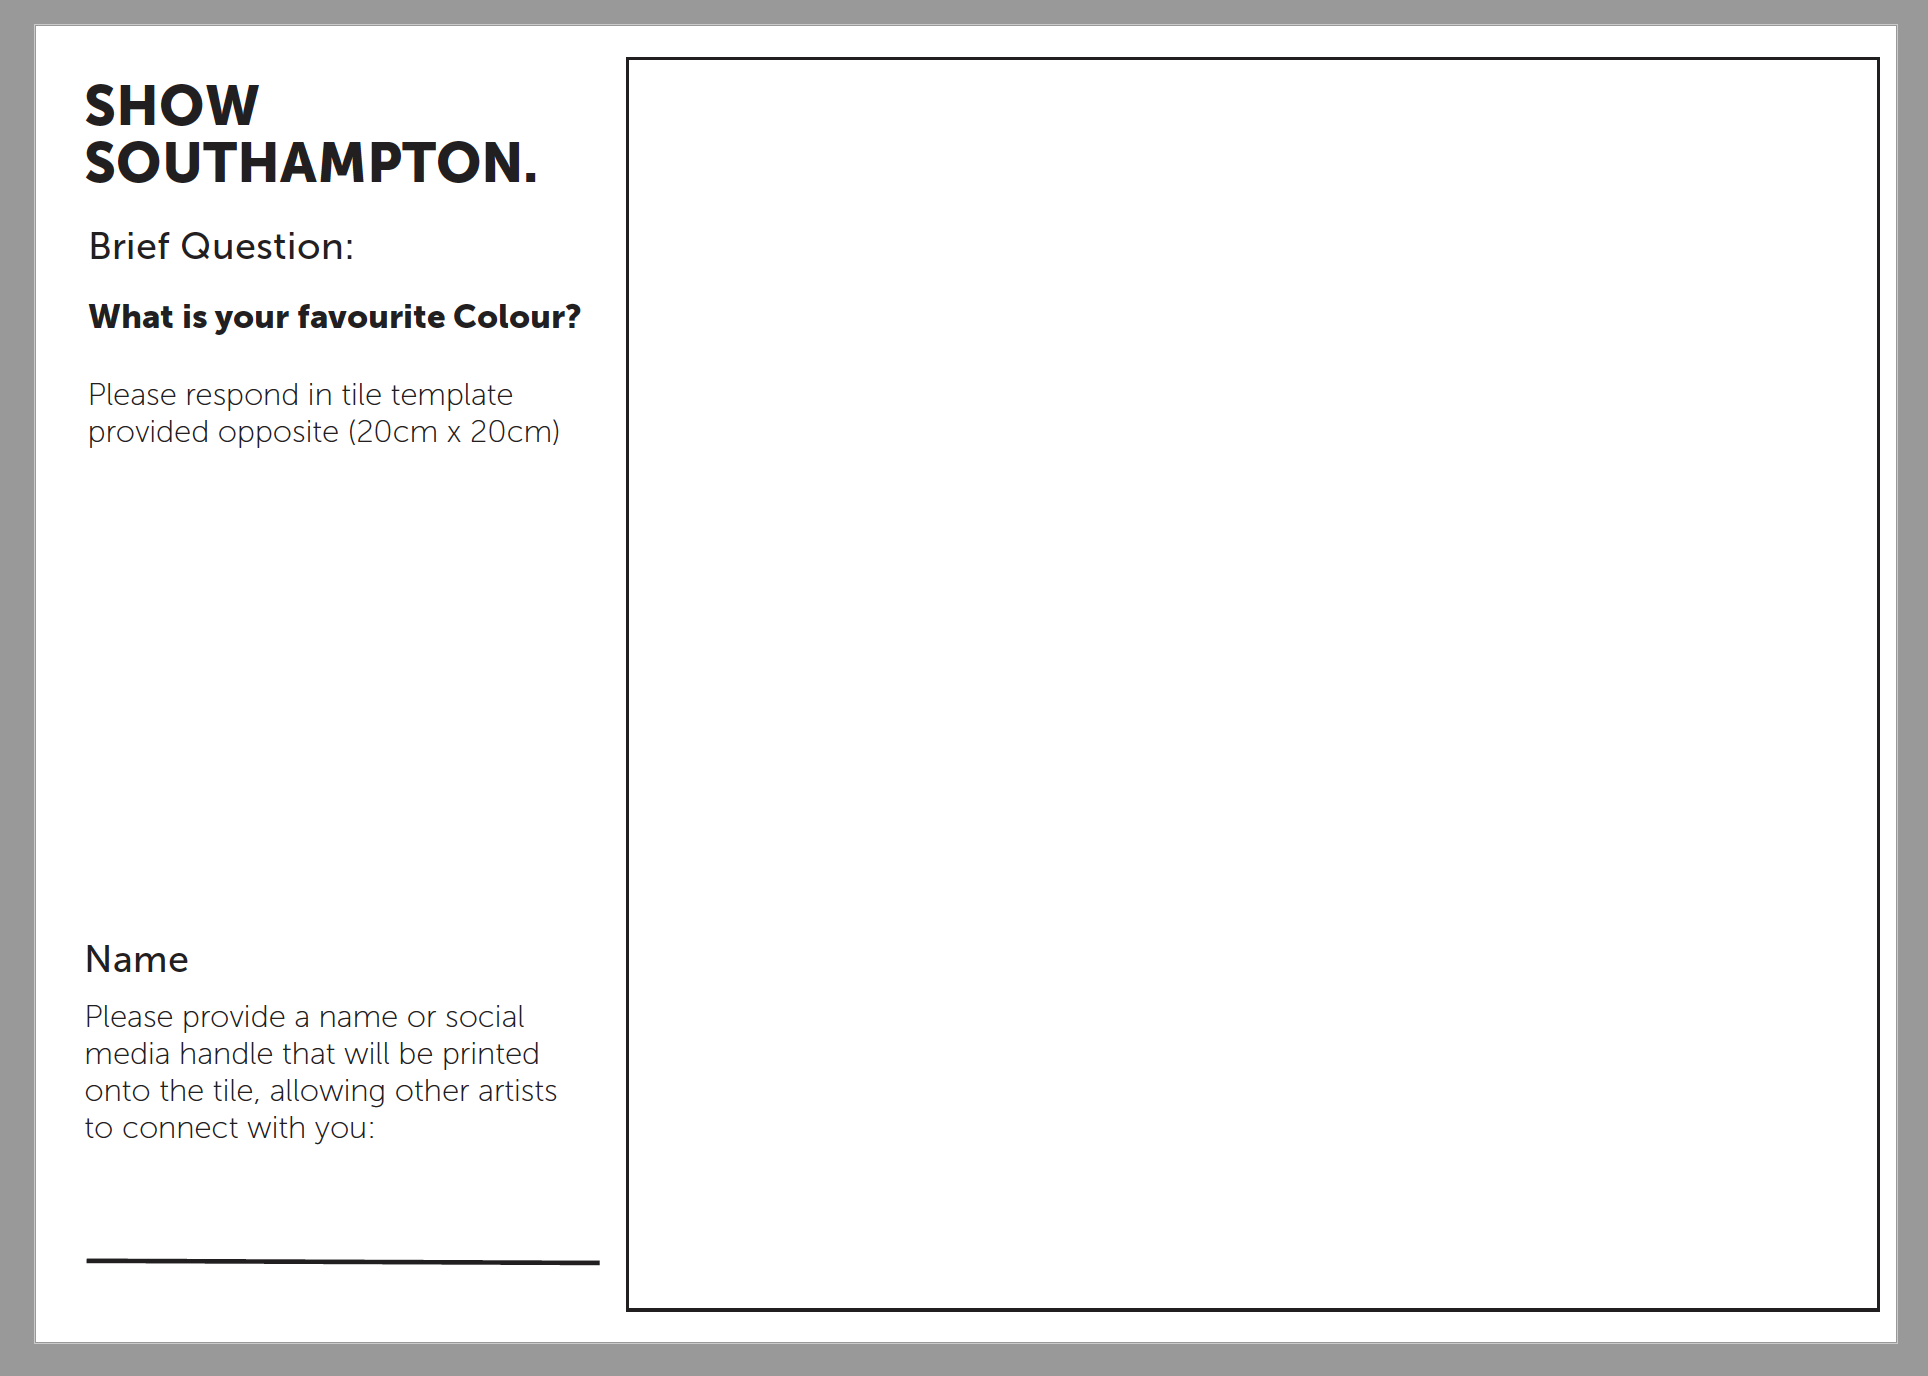
I will also be bringing other copies of different briefs that are asking favourite colour and pattern just to see their responses too.
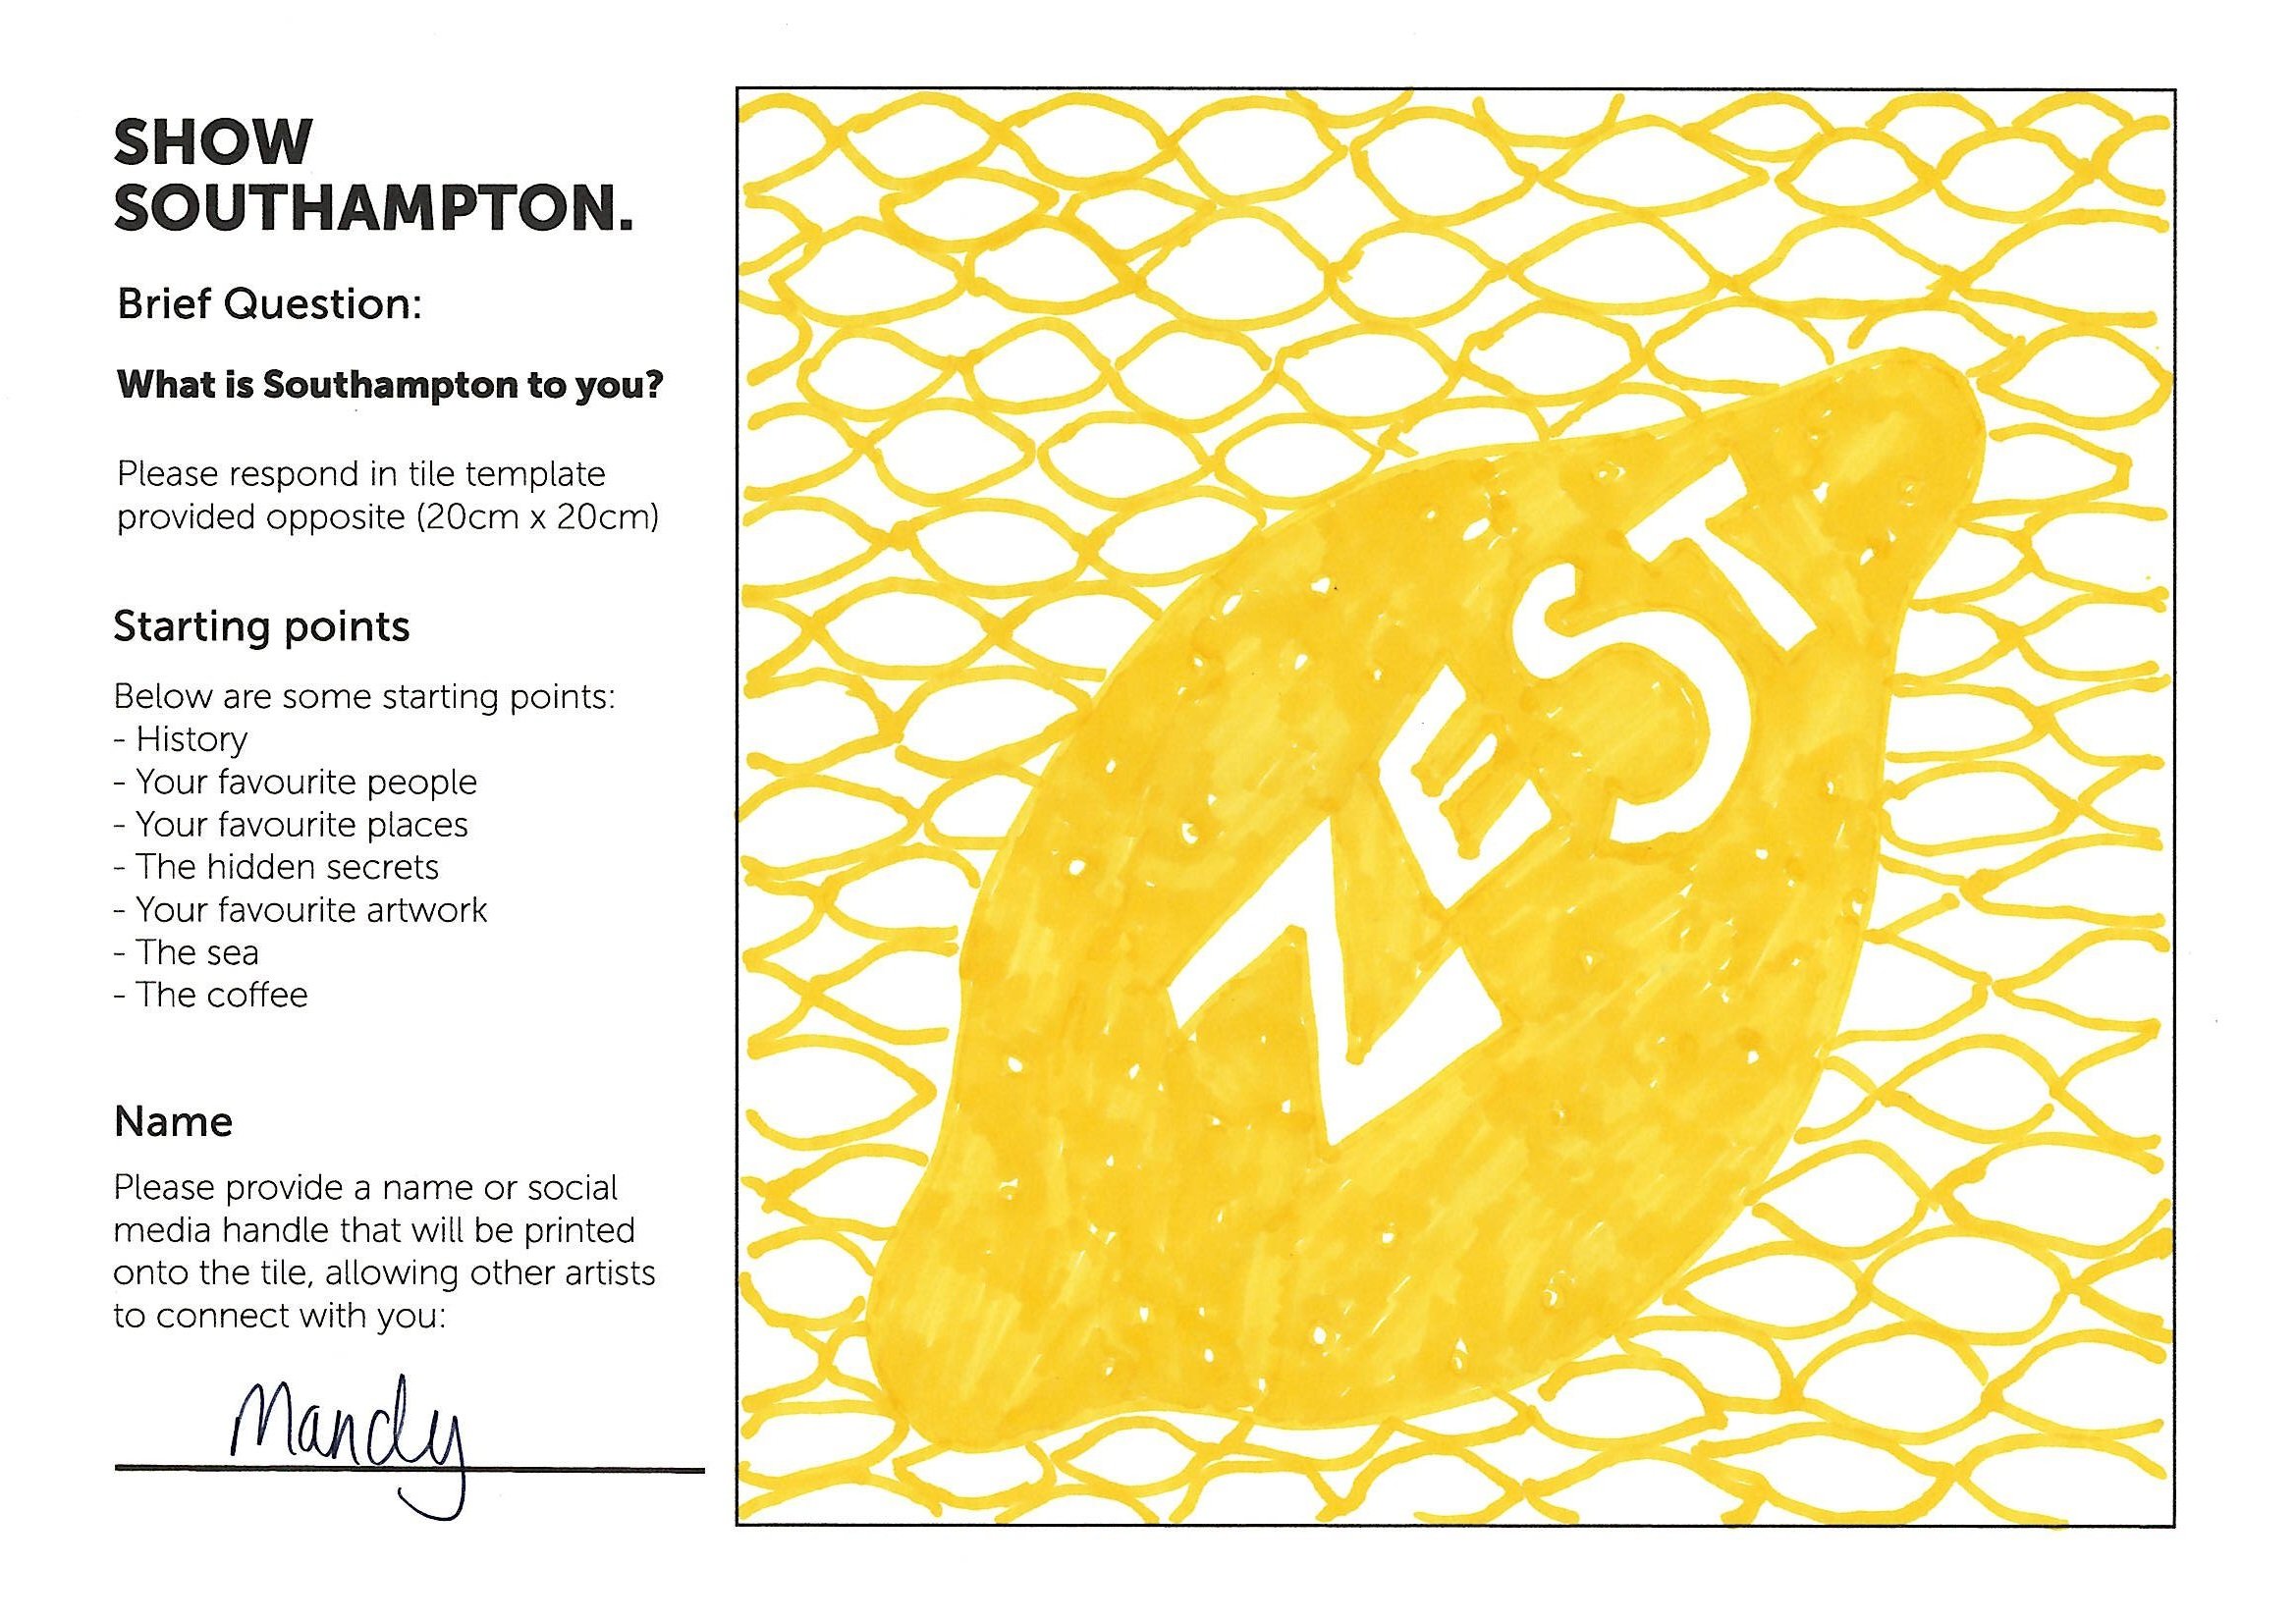
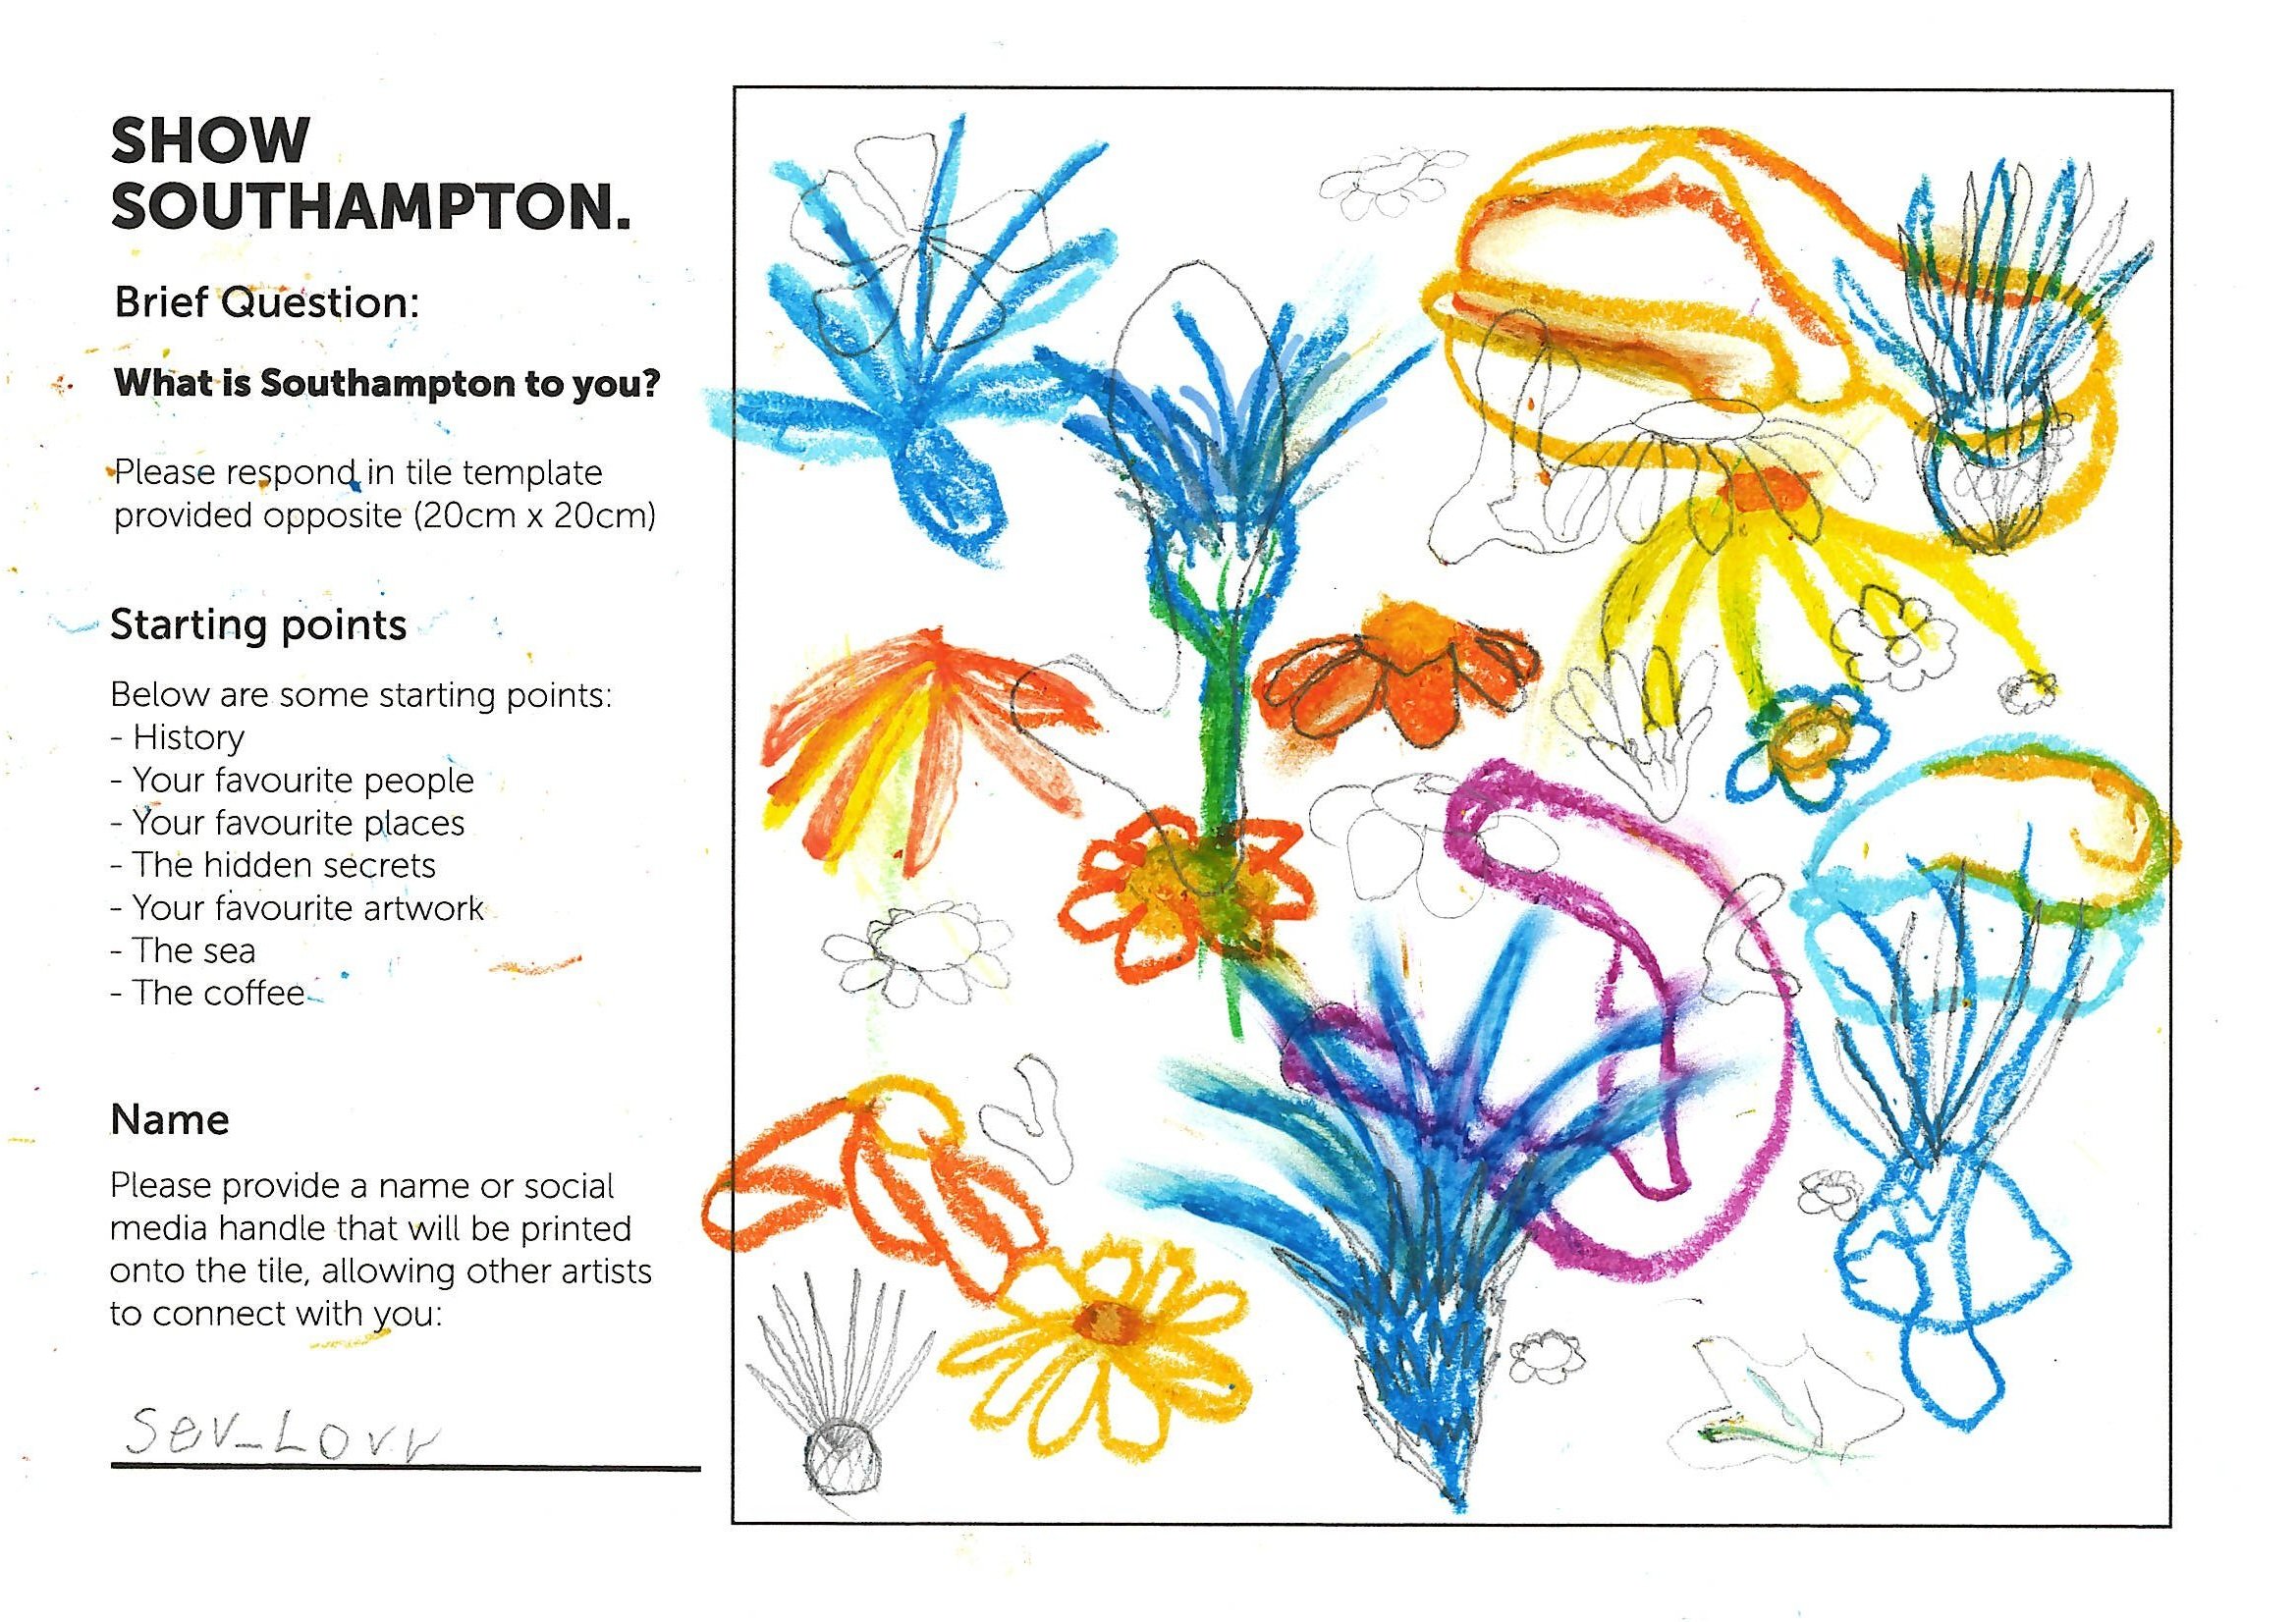
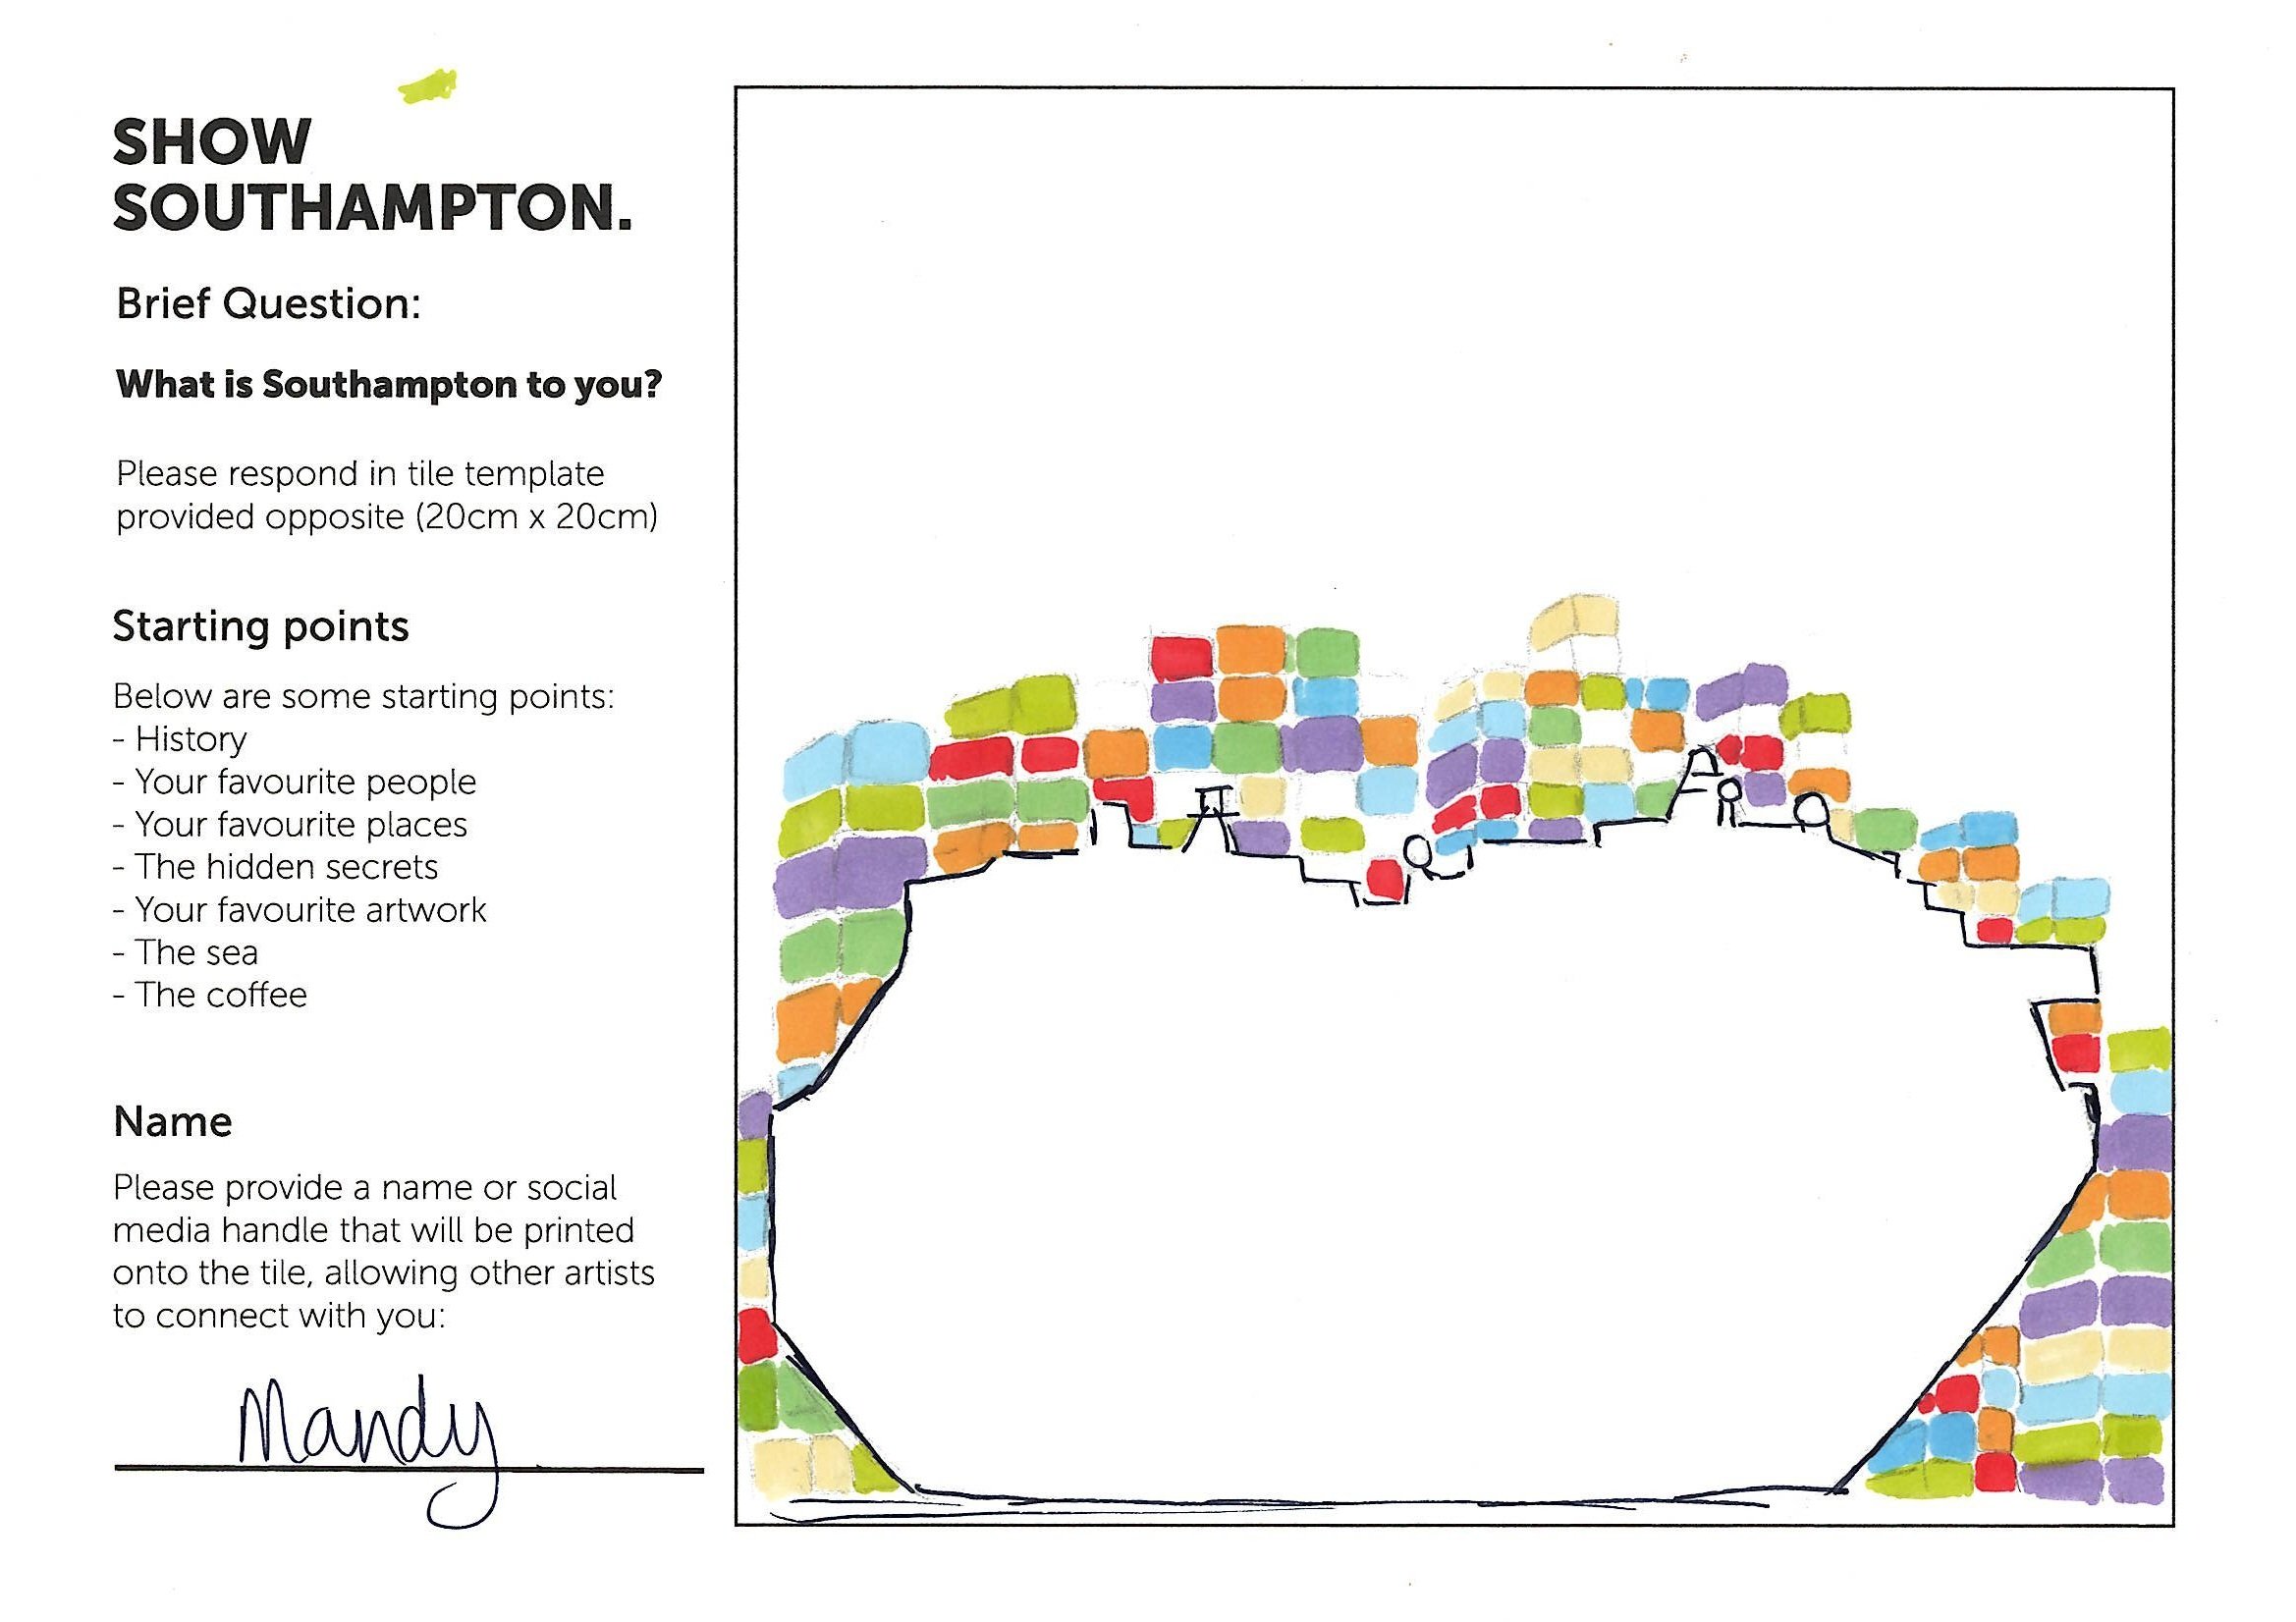
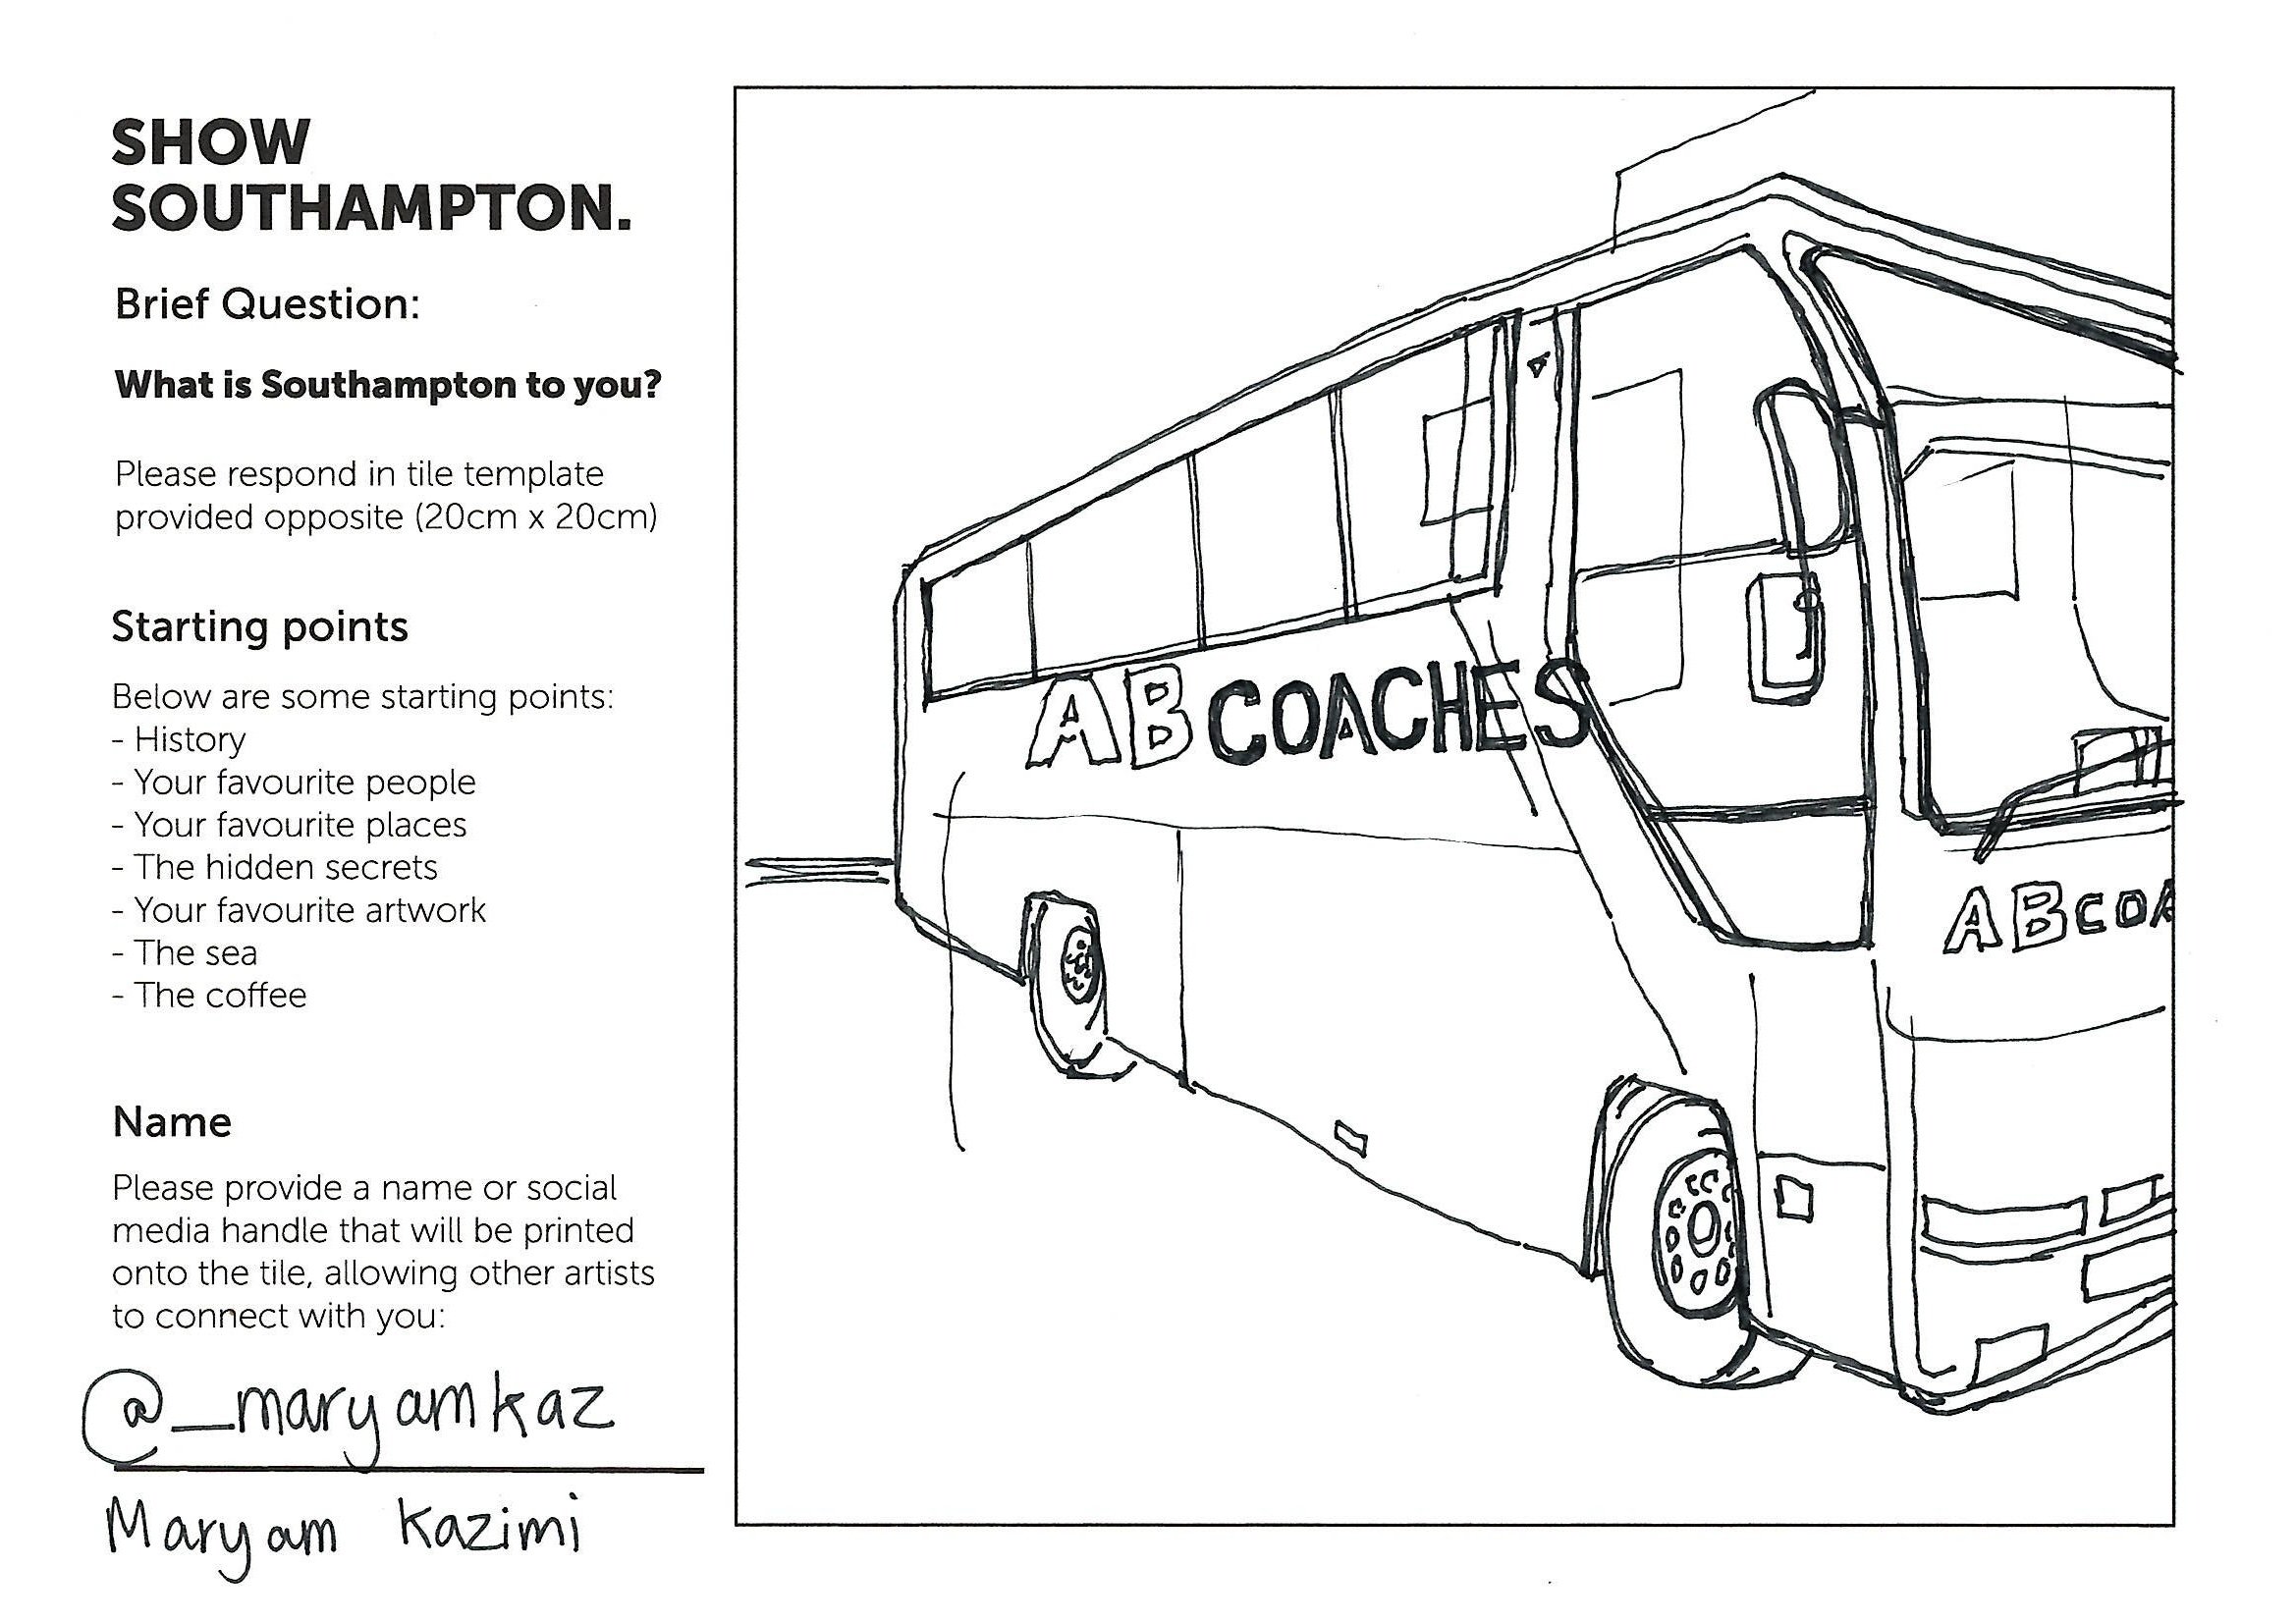
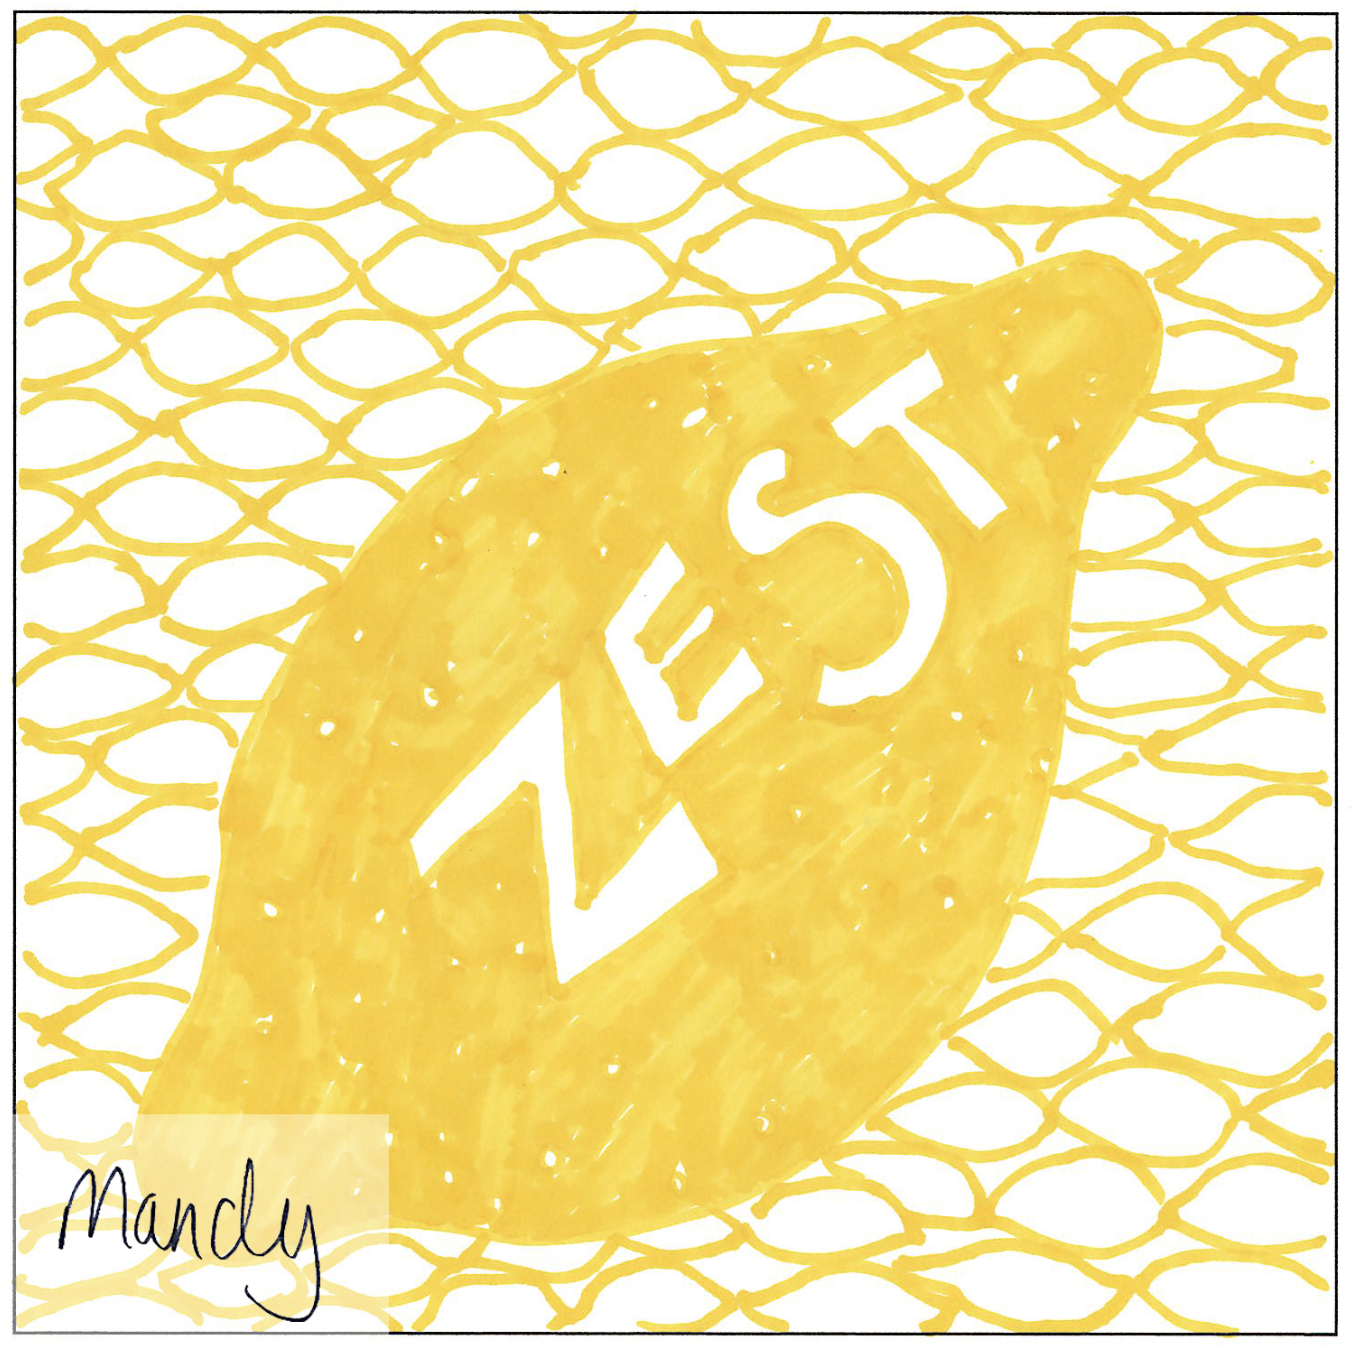
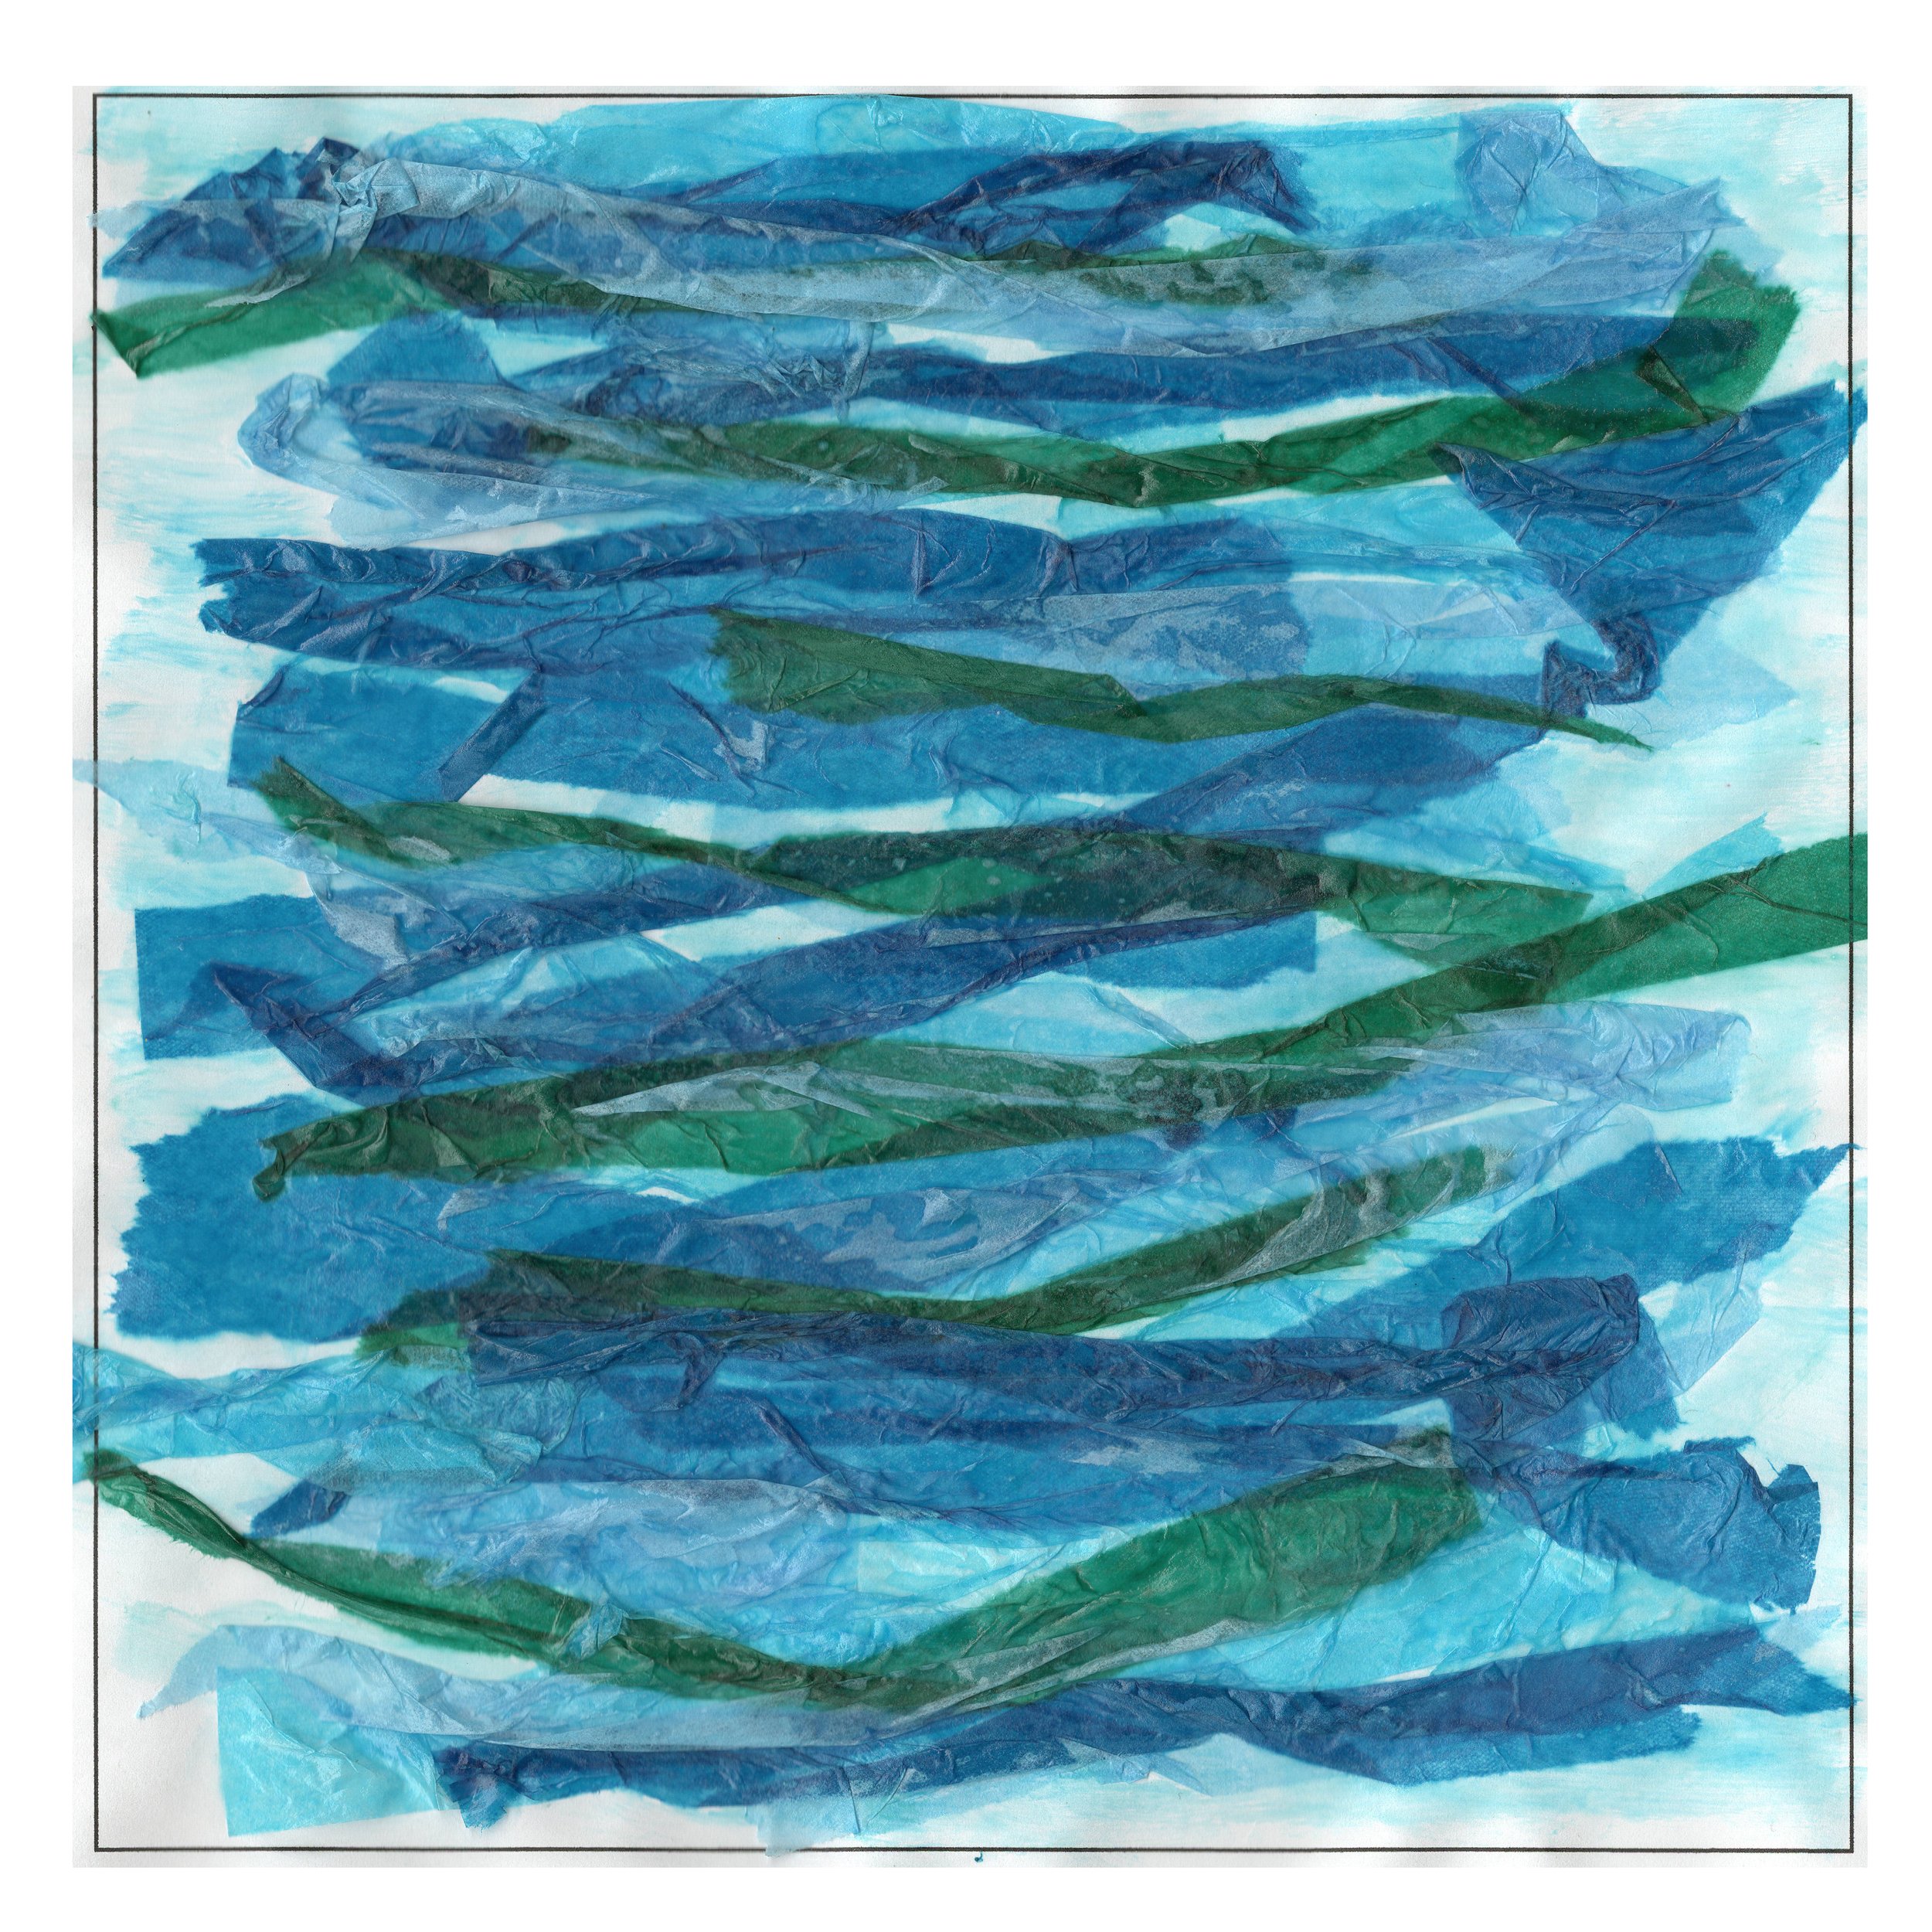
Above were the responses from the workshop, I was actually really disappointed with the turnout for the workshop but I am glad that I atleast have some responses that I am able to use as examples. I also created a response as part of the workshop.

I edited the tiles together even though they were from different questions and briefs, I went onto experiment how the tiles look when you put the name onto them.
I wasn’t sure whether to have a white background to the name - but also copy the name that they wrote or to have a standard type which is used for the name.

To make all the tiles consistant and the same with the name, I have decided to add text to them instead of using the handwriting that they write their name with which can be seen in the image below. I feel this makes it look a lot tidier and neater.

Sending the brief to other artists:
From the responses session with Zest, I also wanted to initially reach out to some of the other artists I have interviewed to see if they would like to put forward a response for the project.
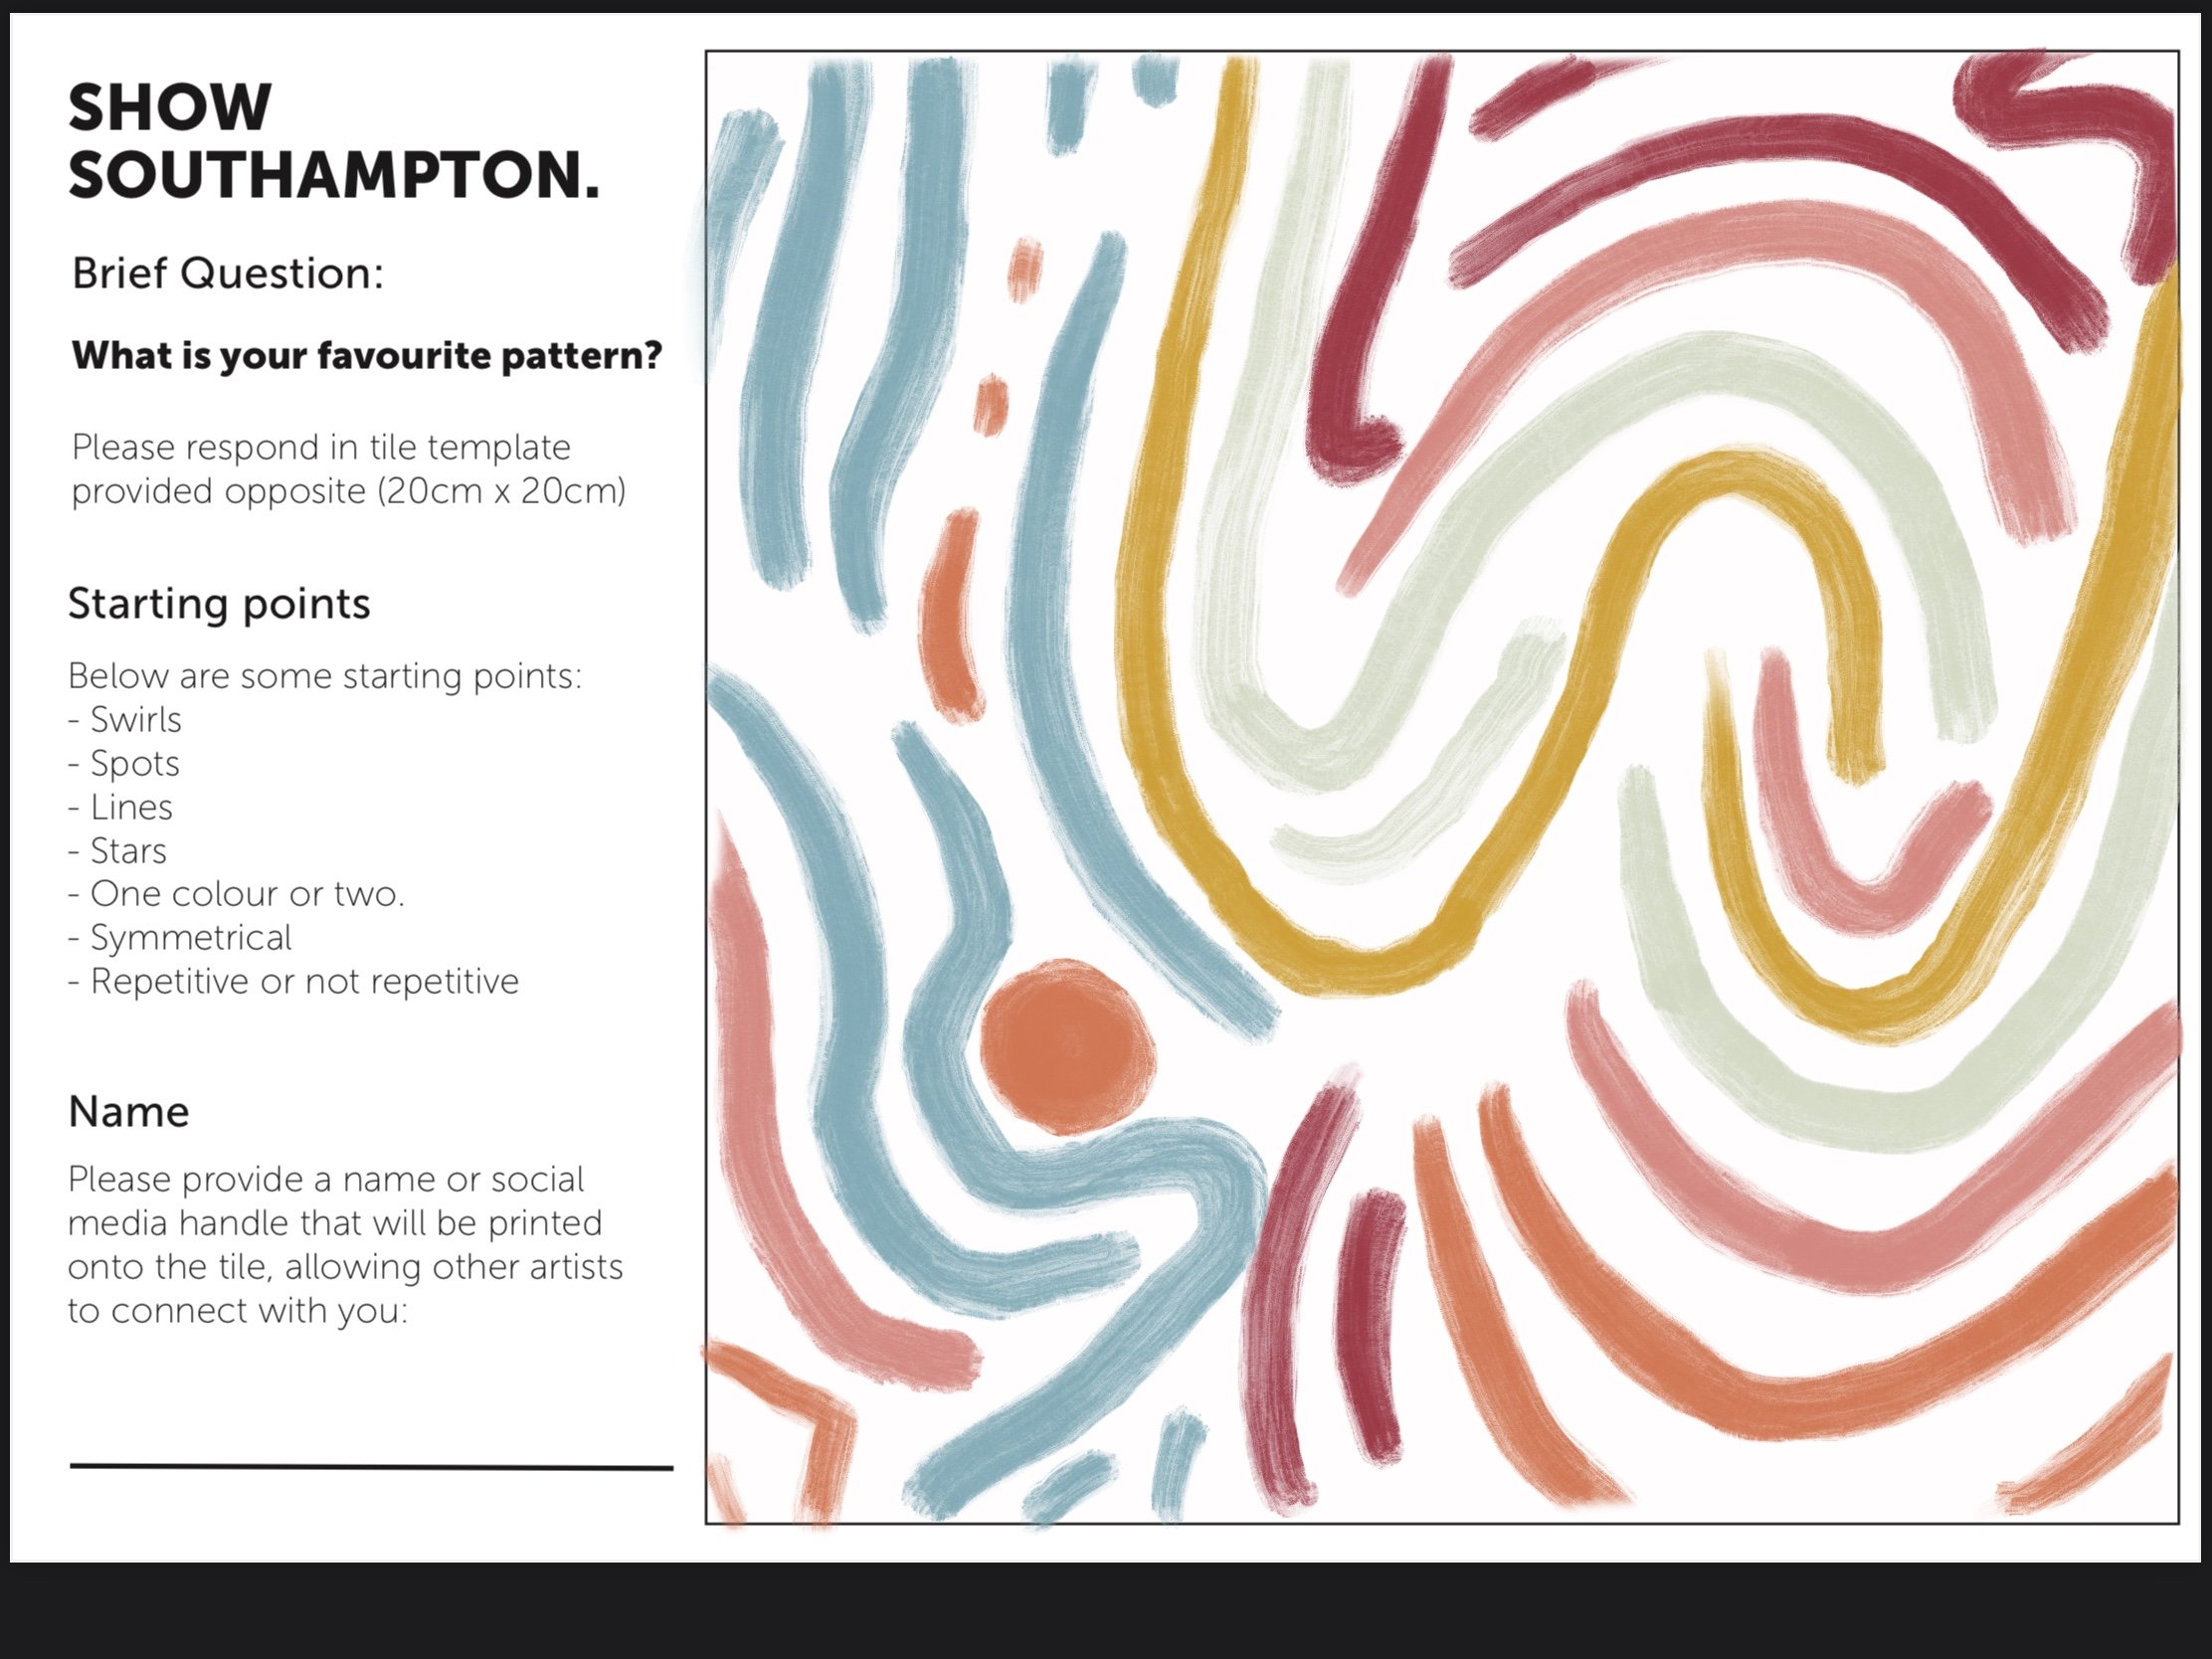
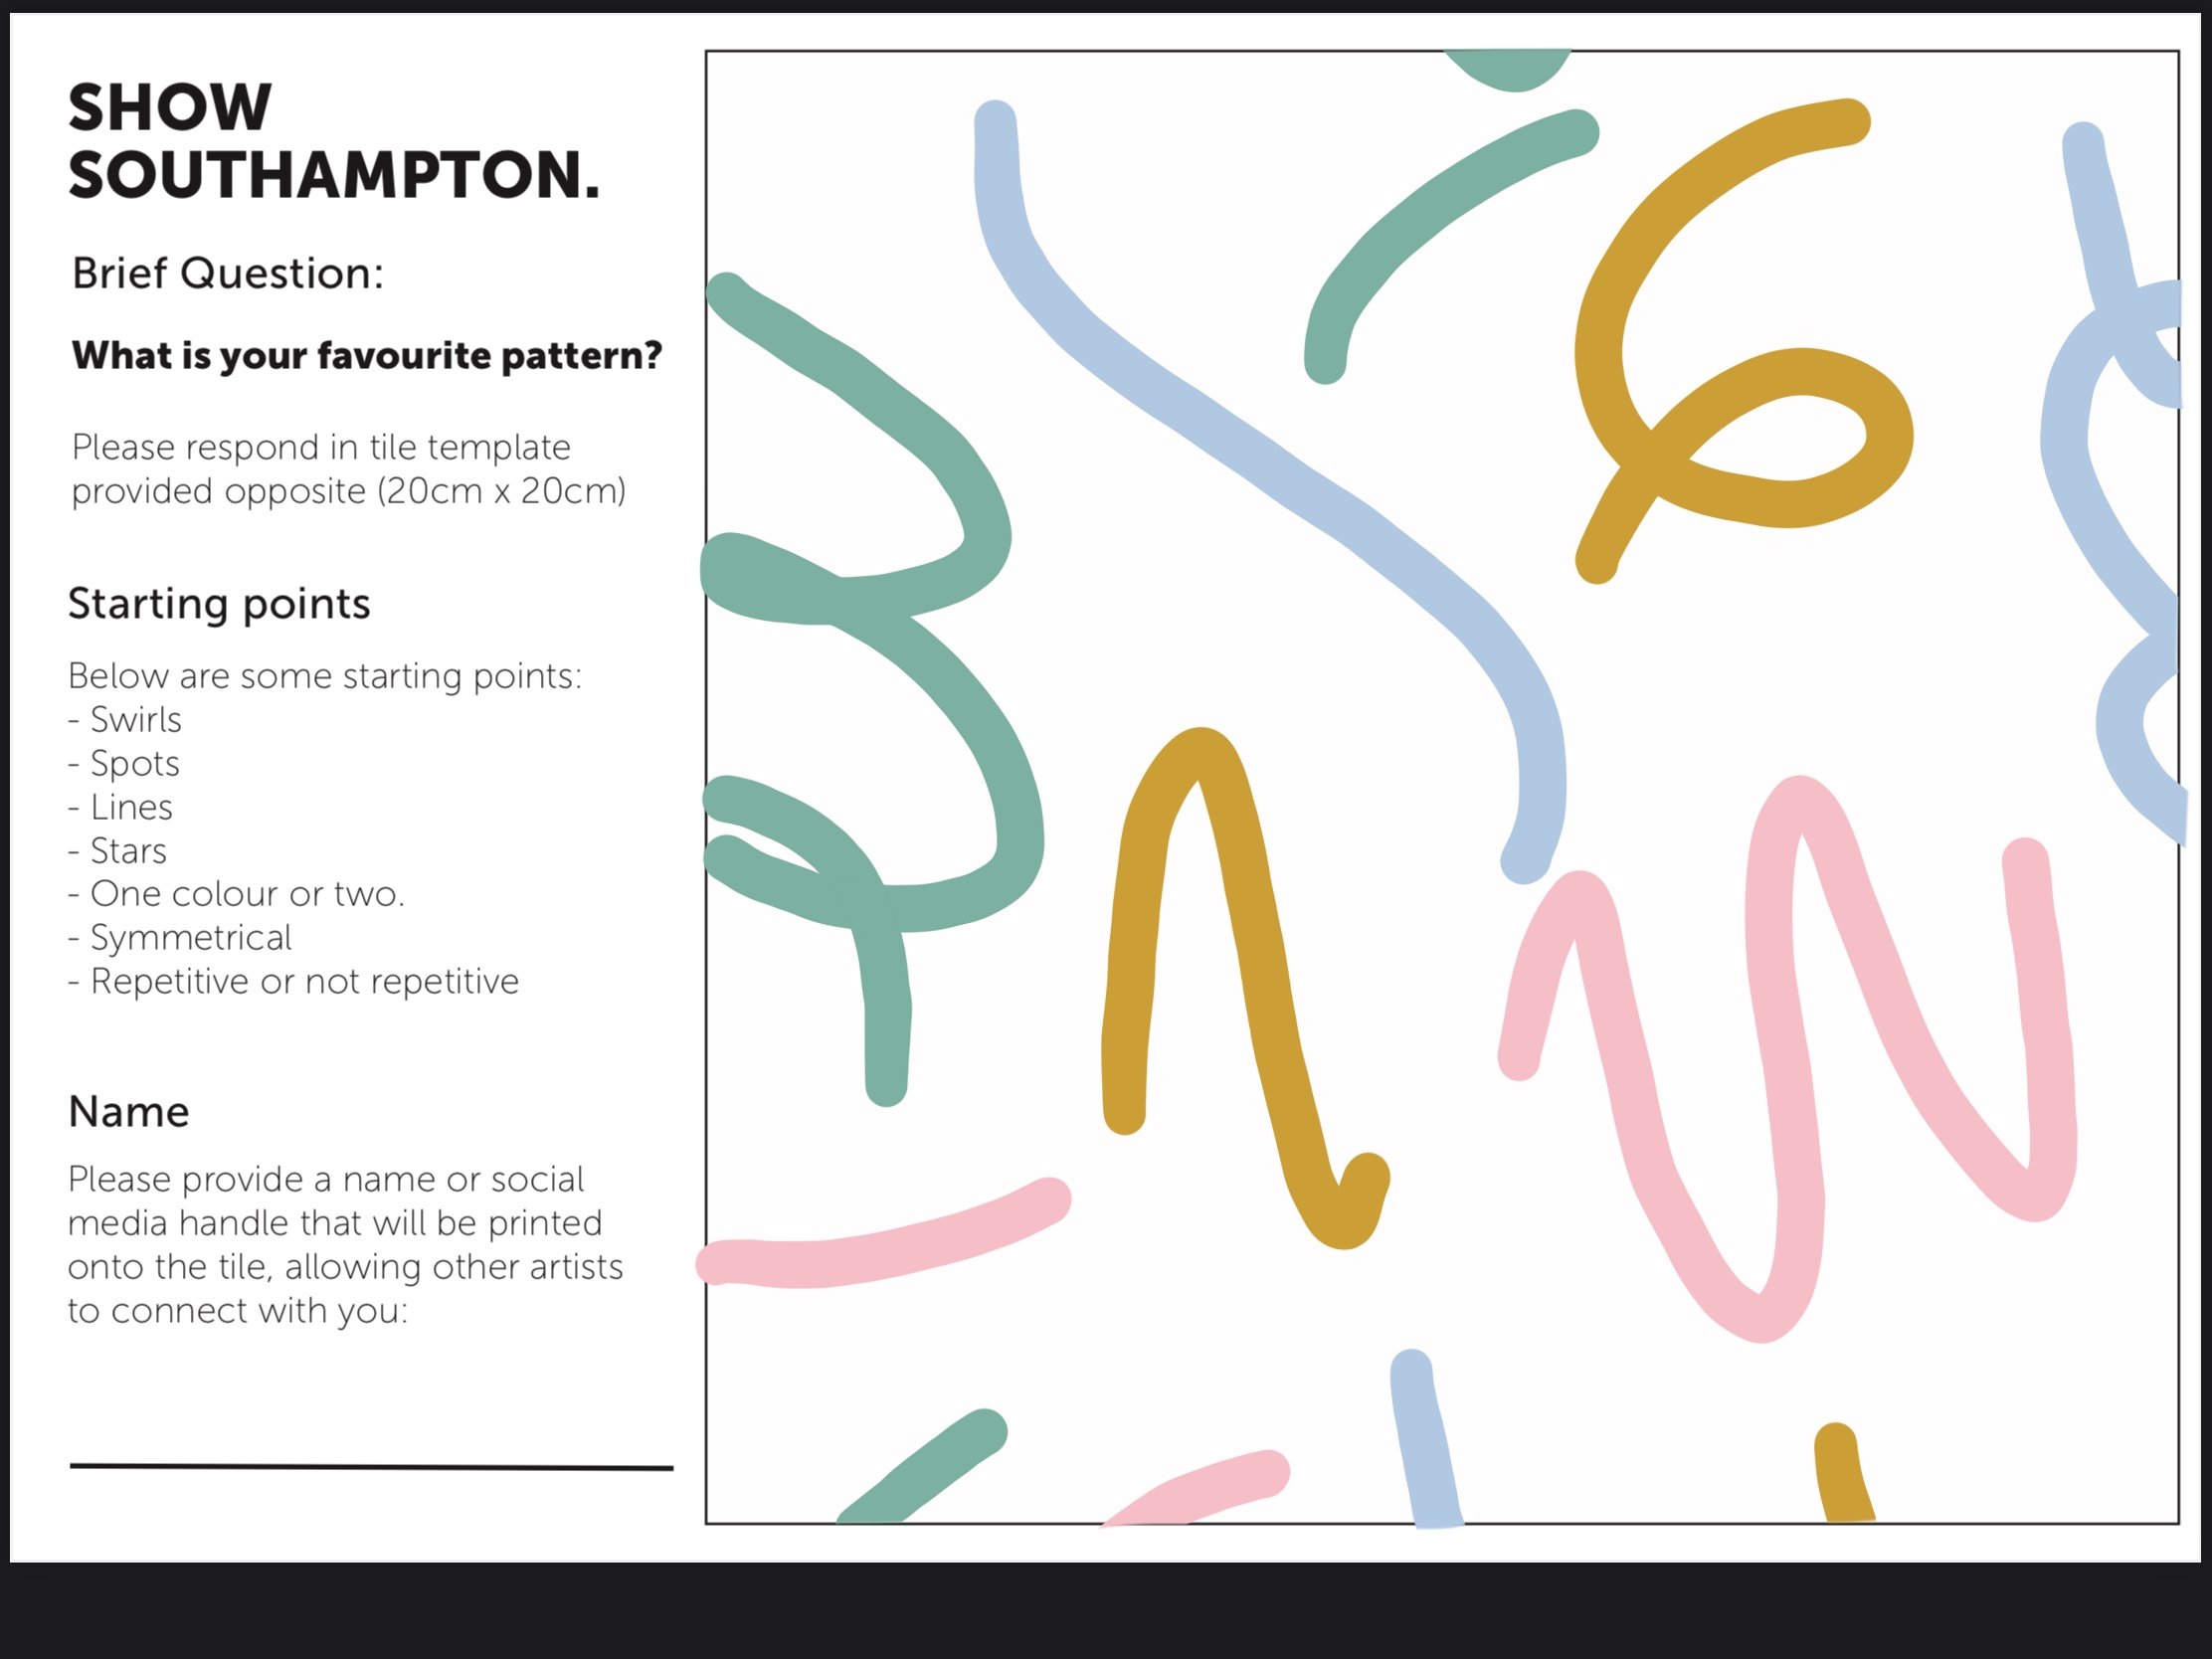
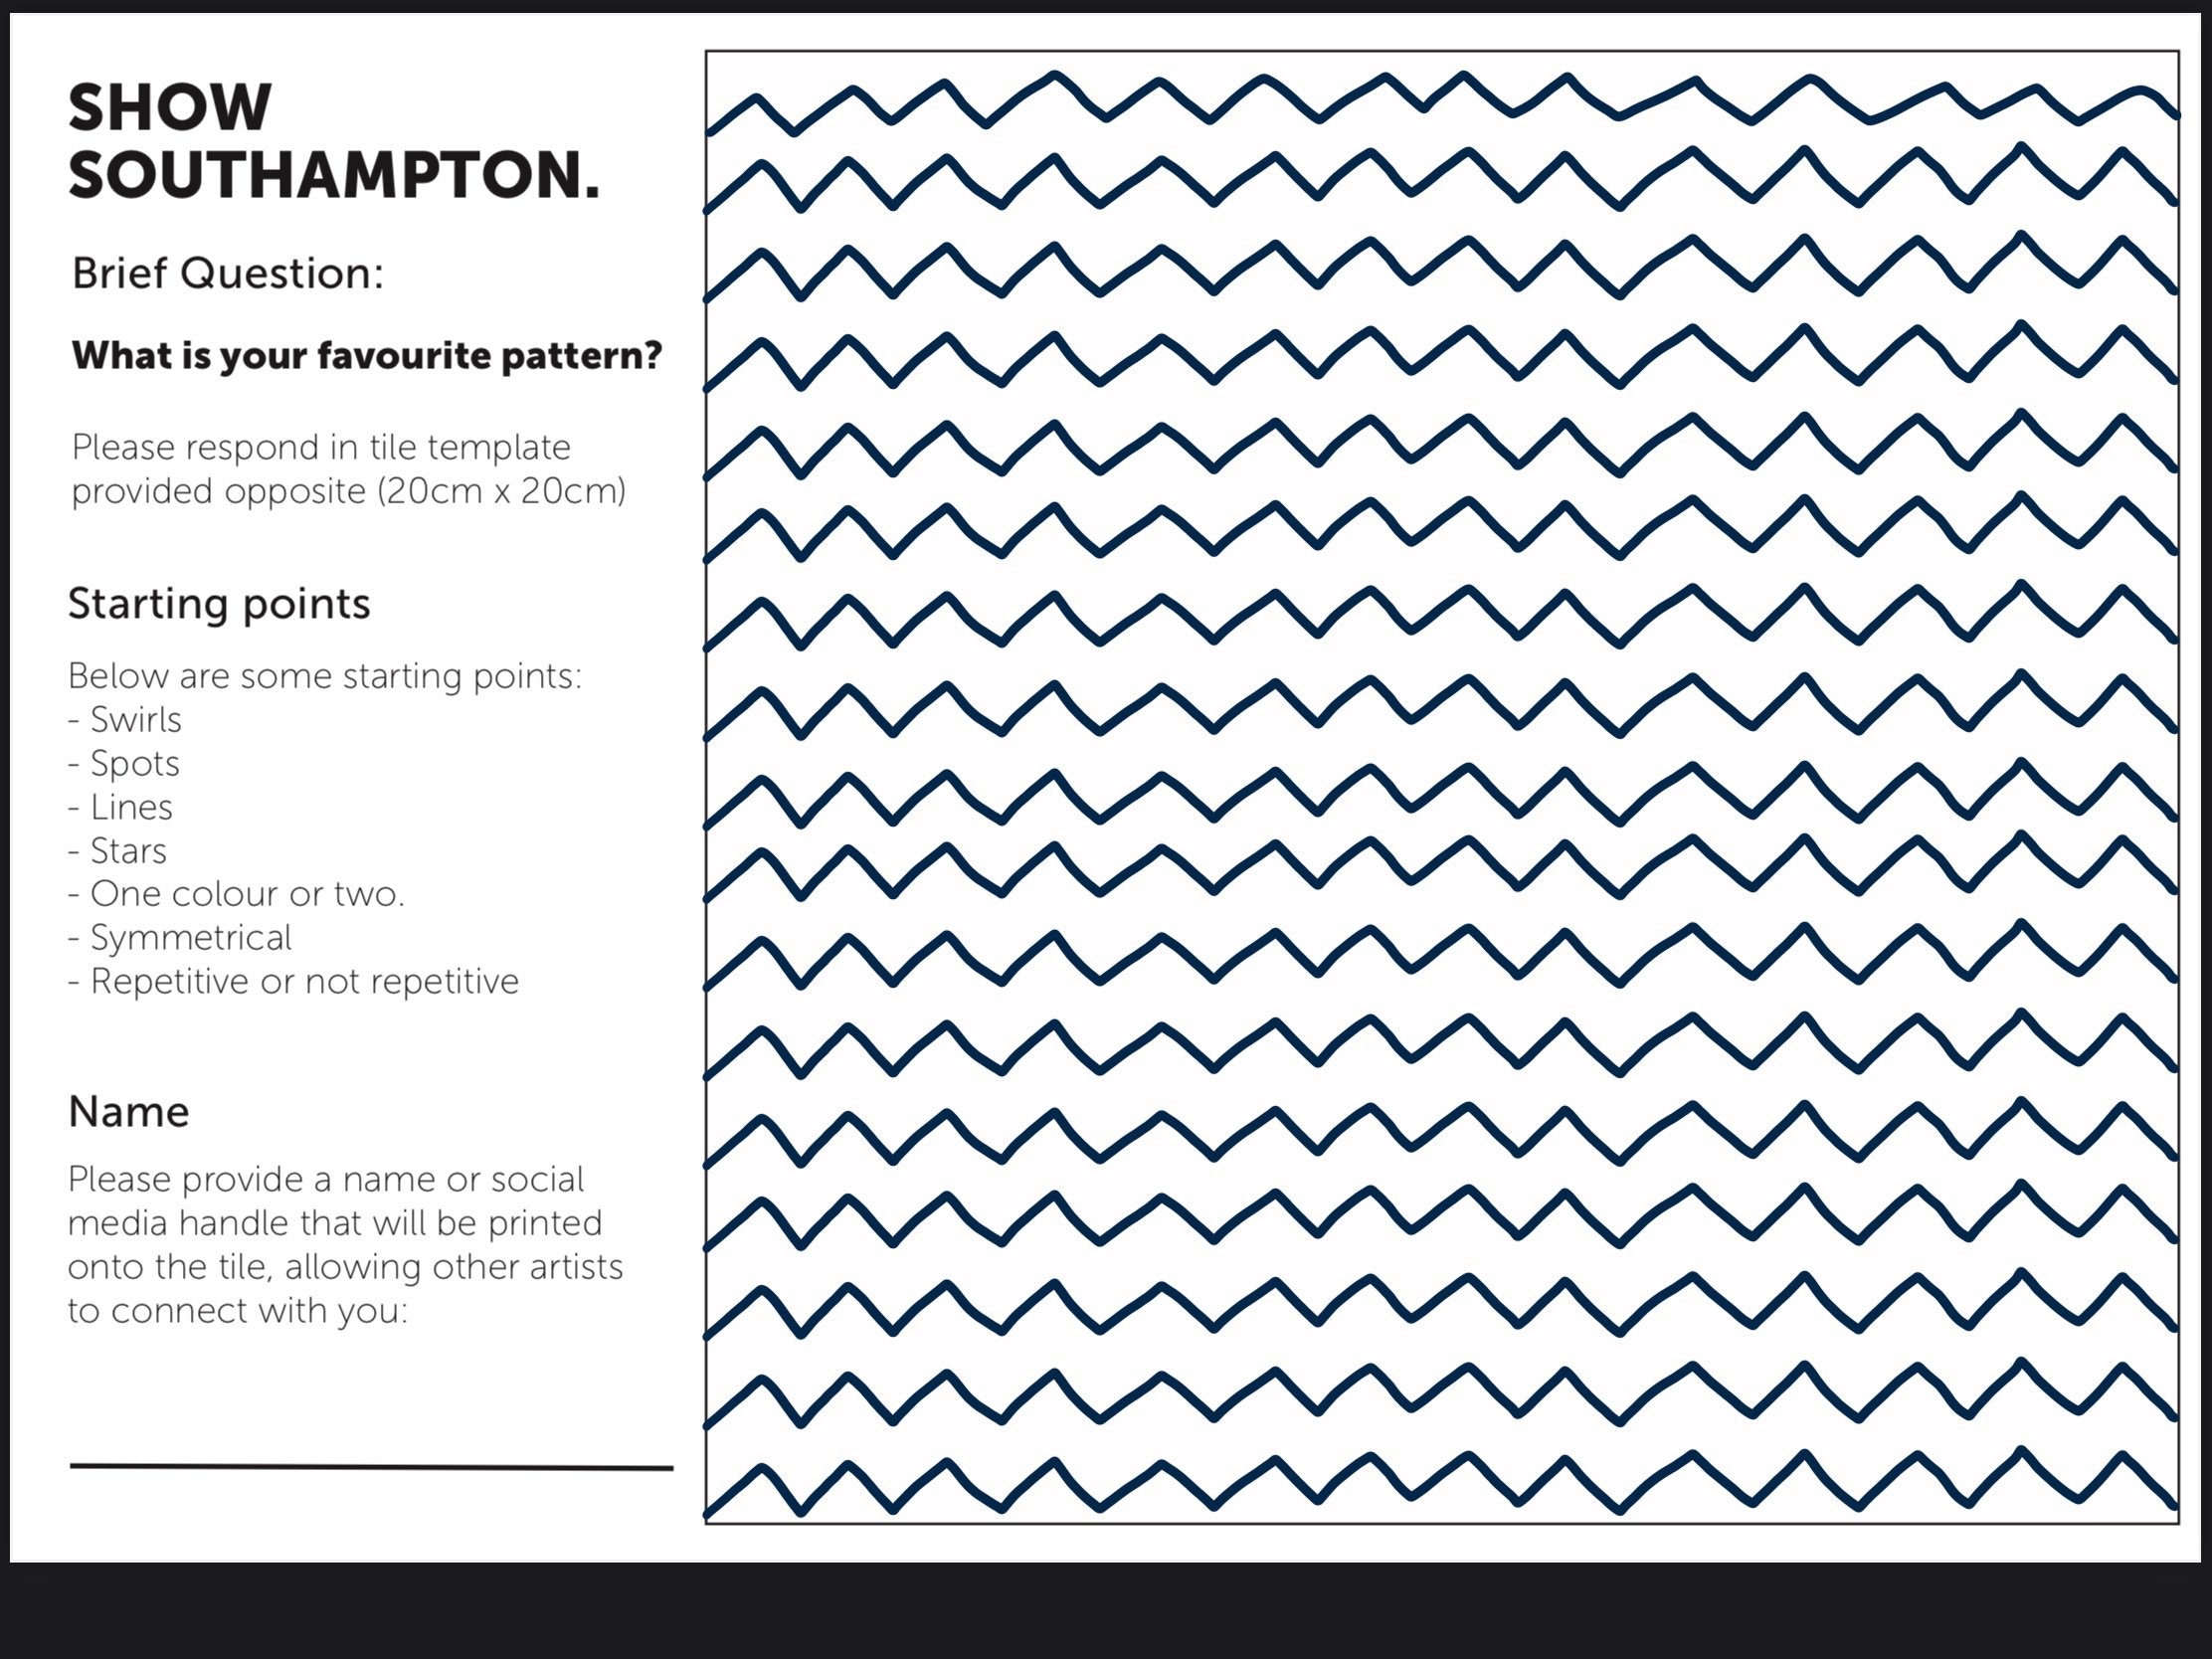
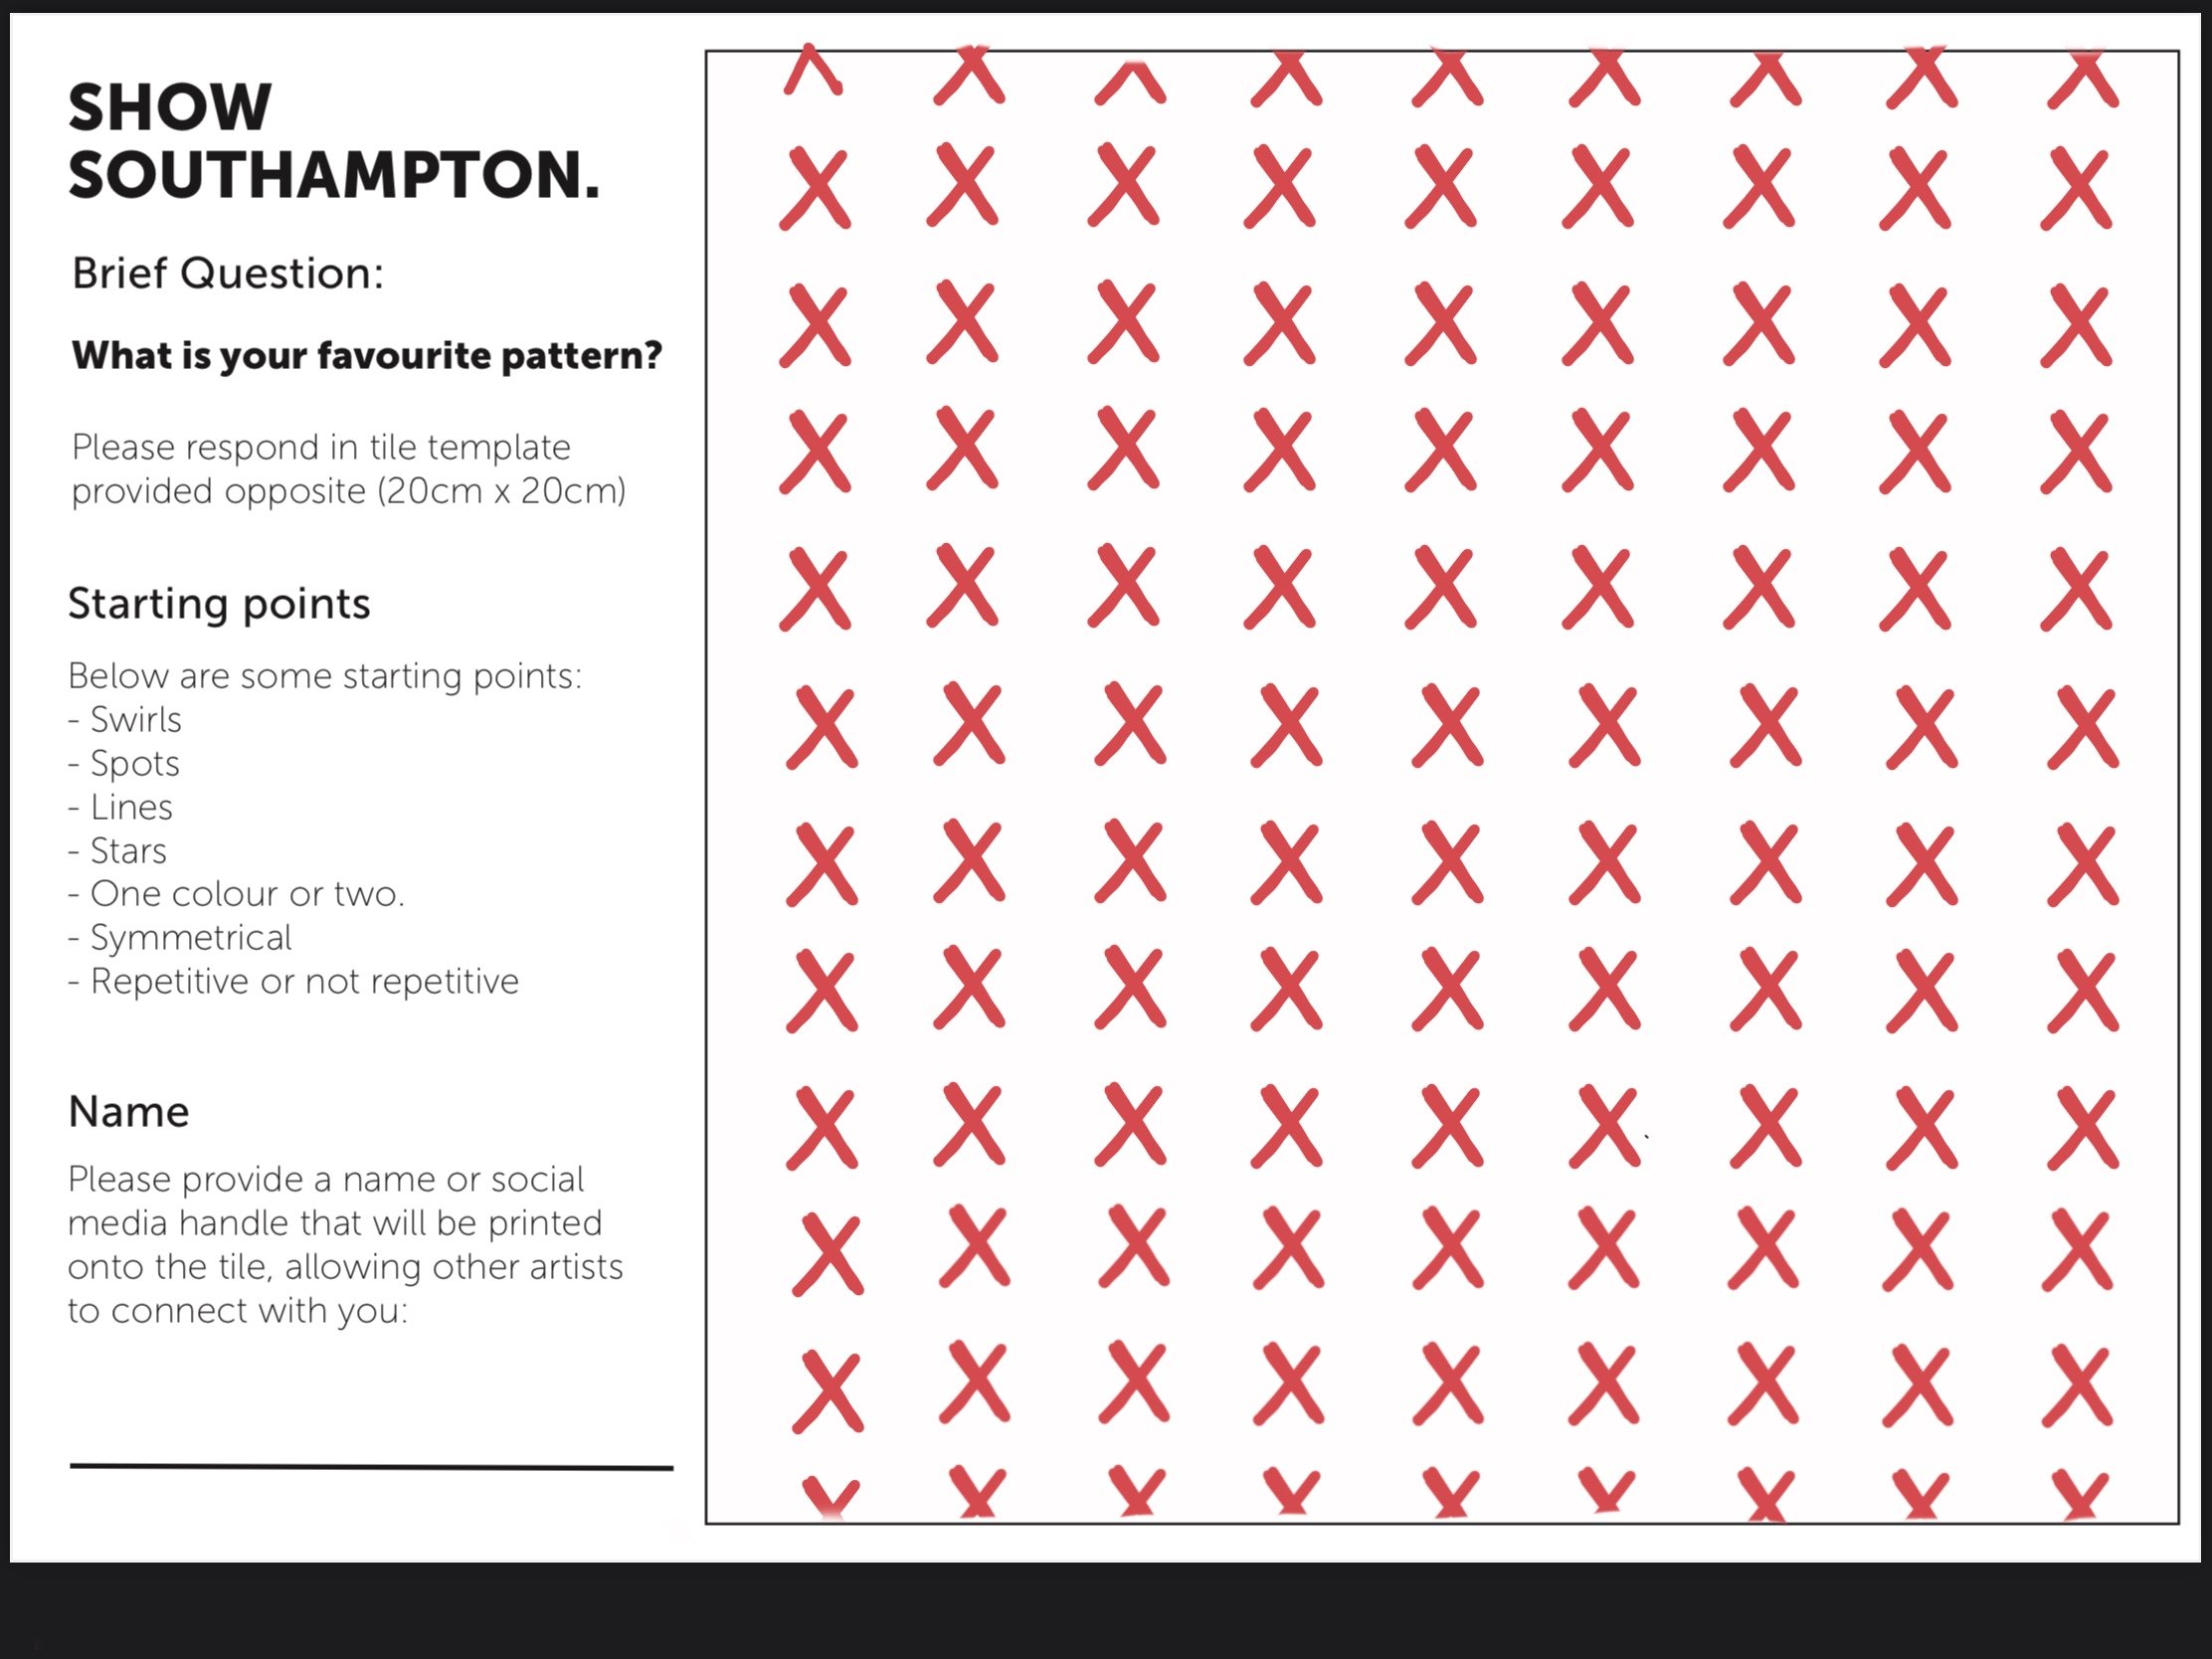
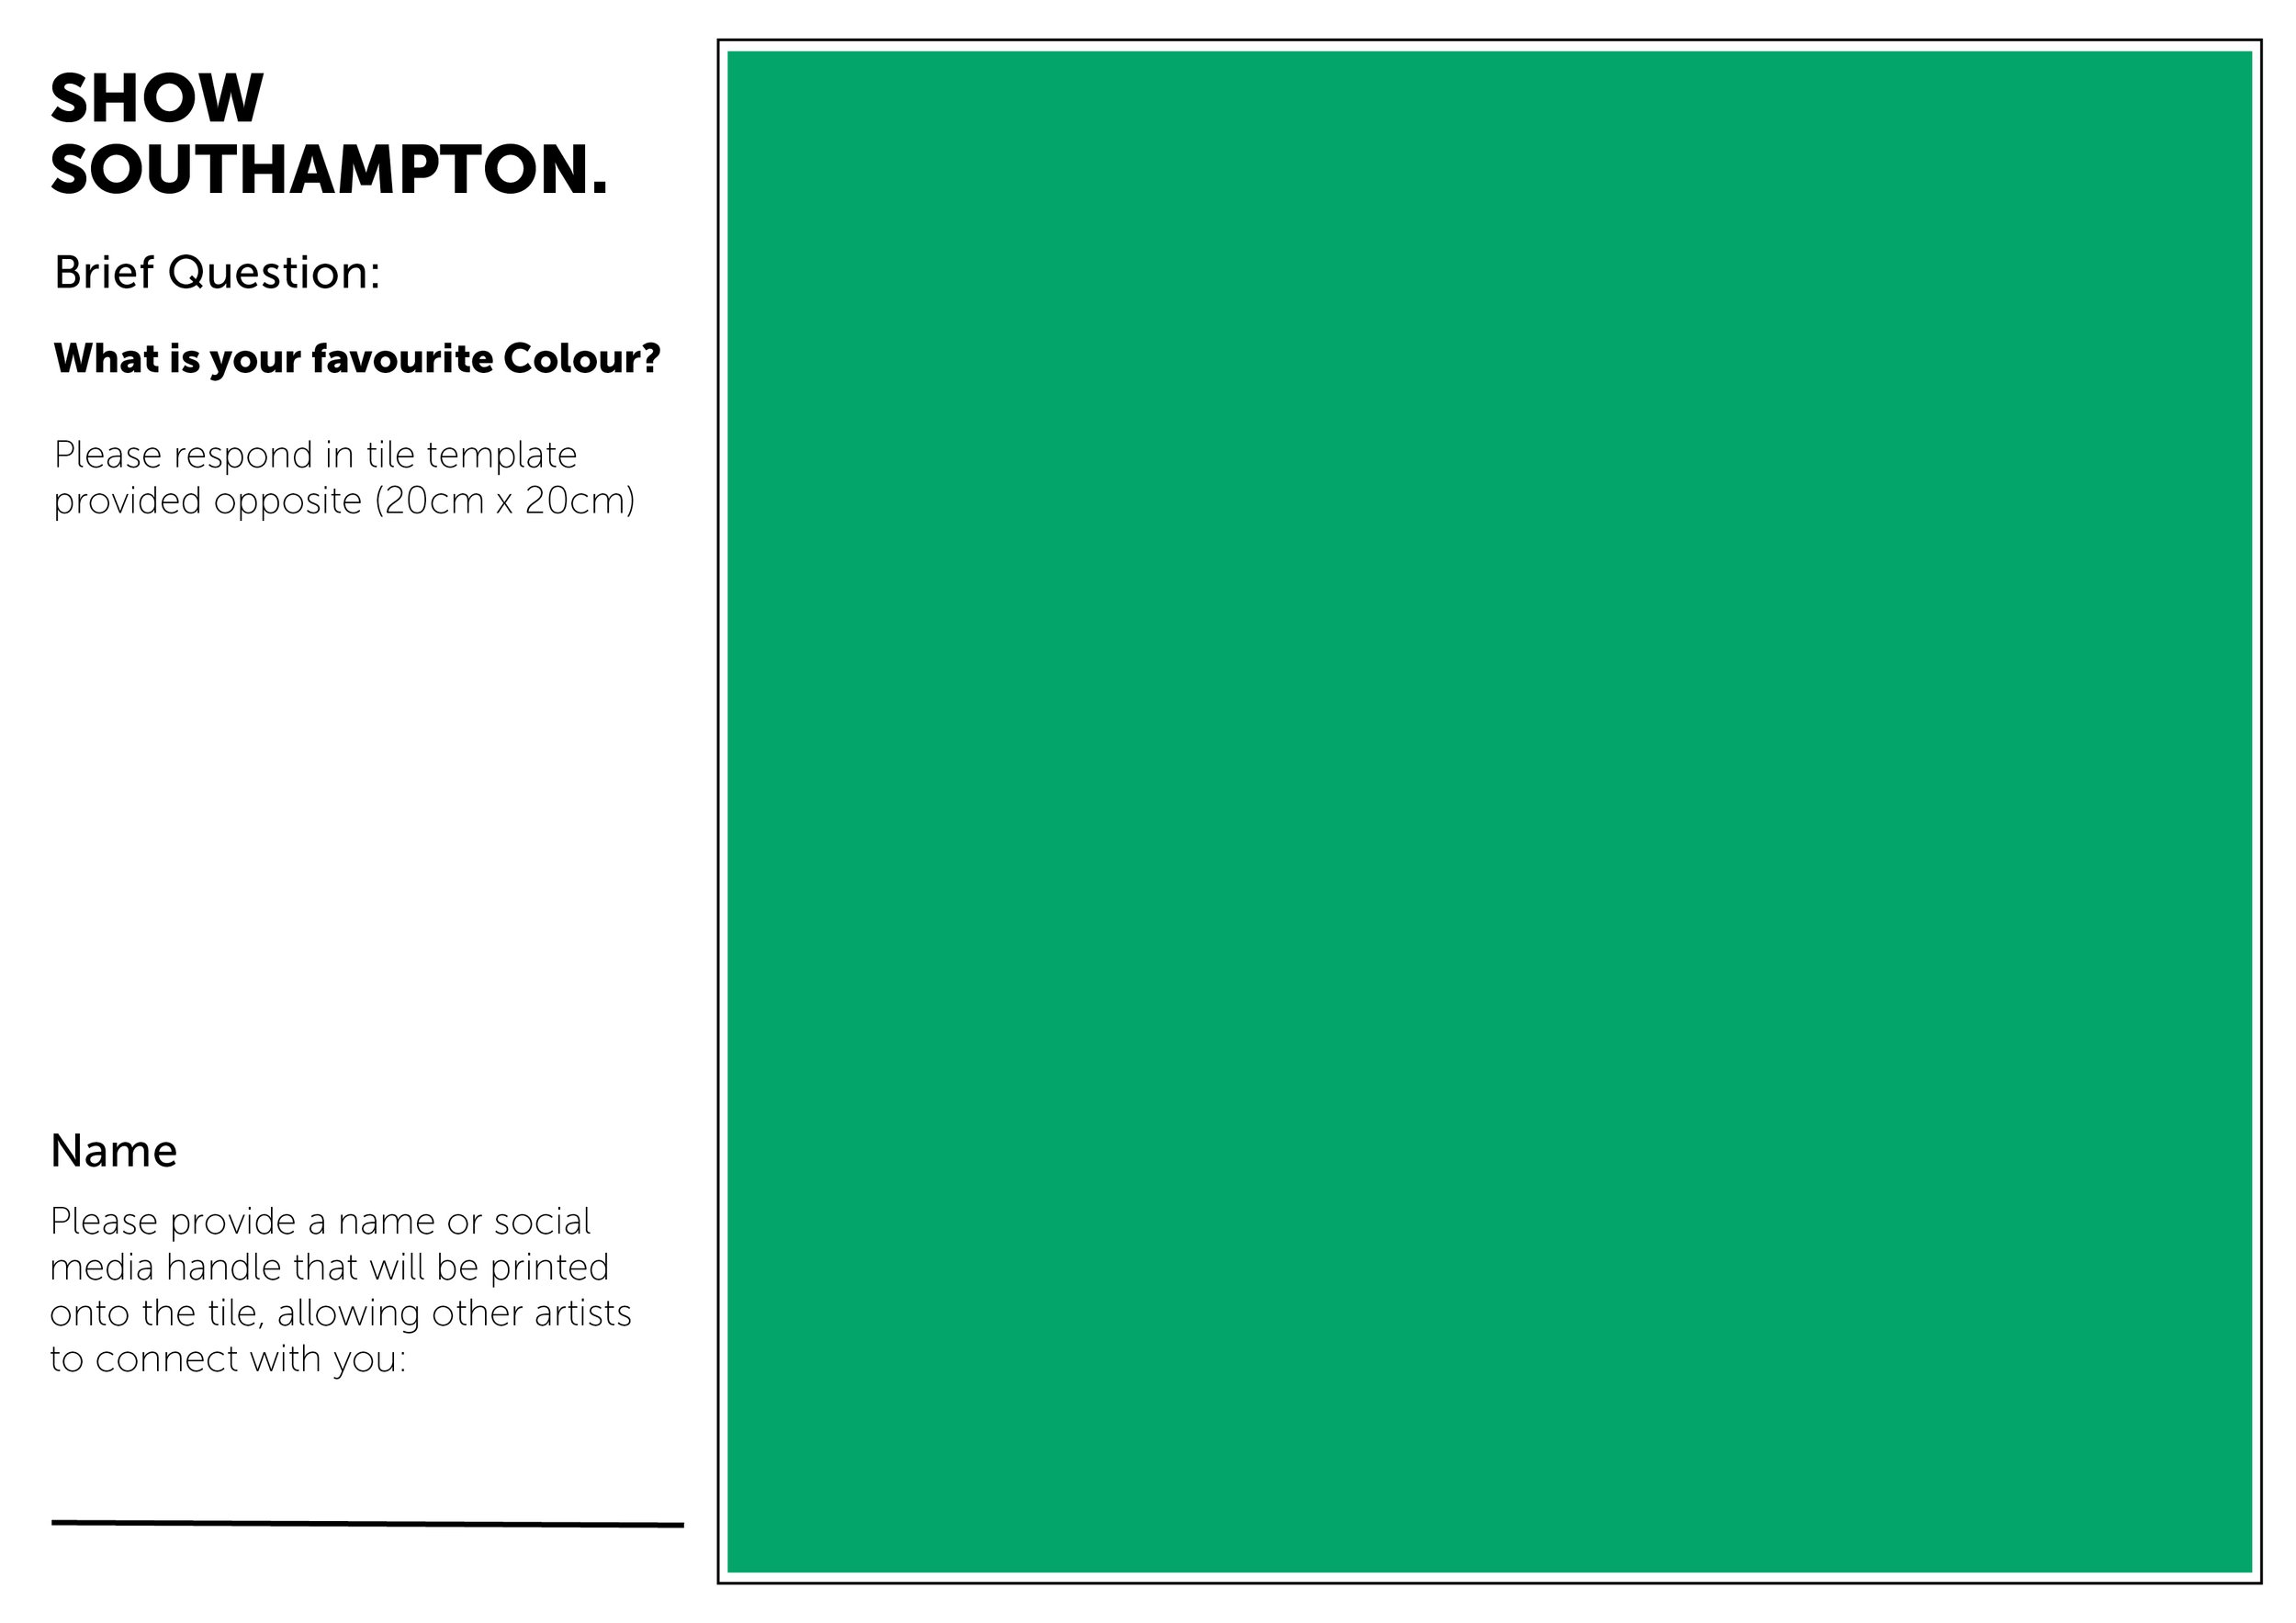
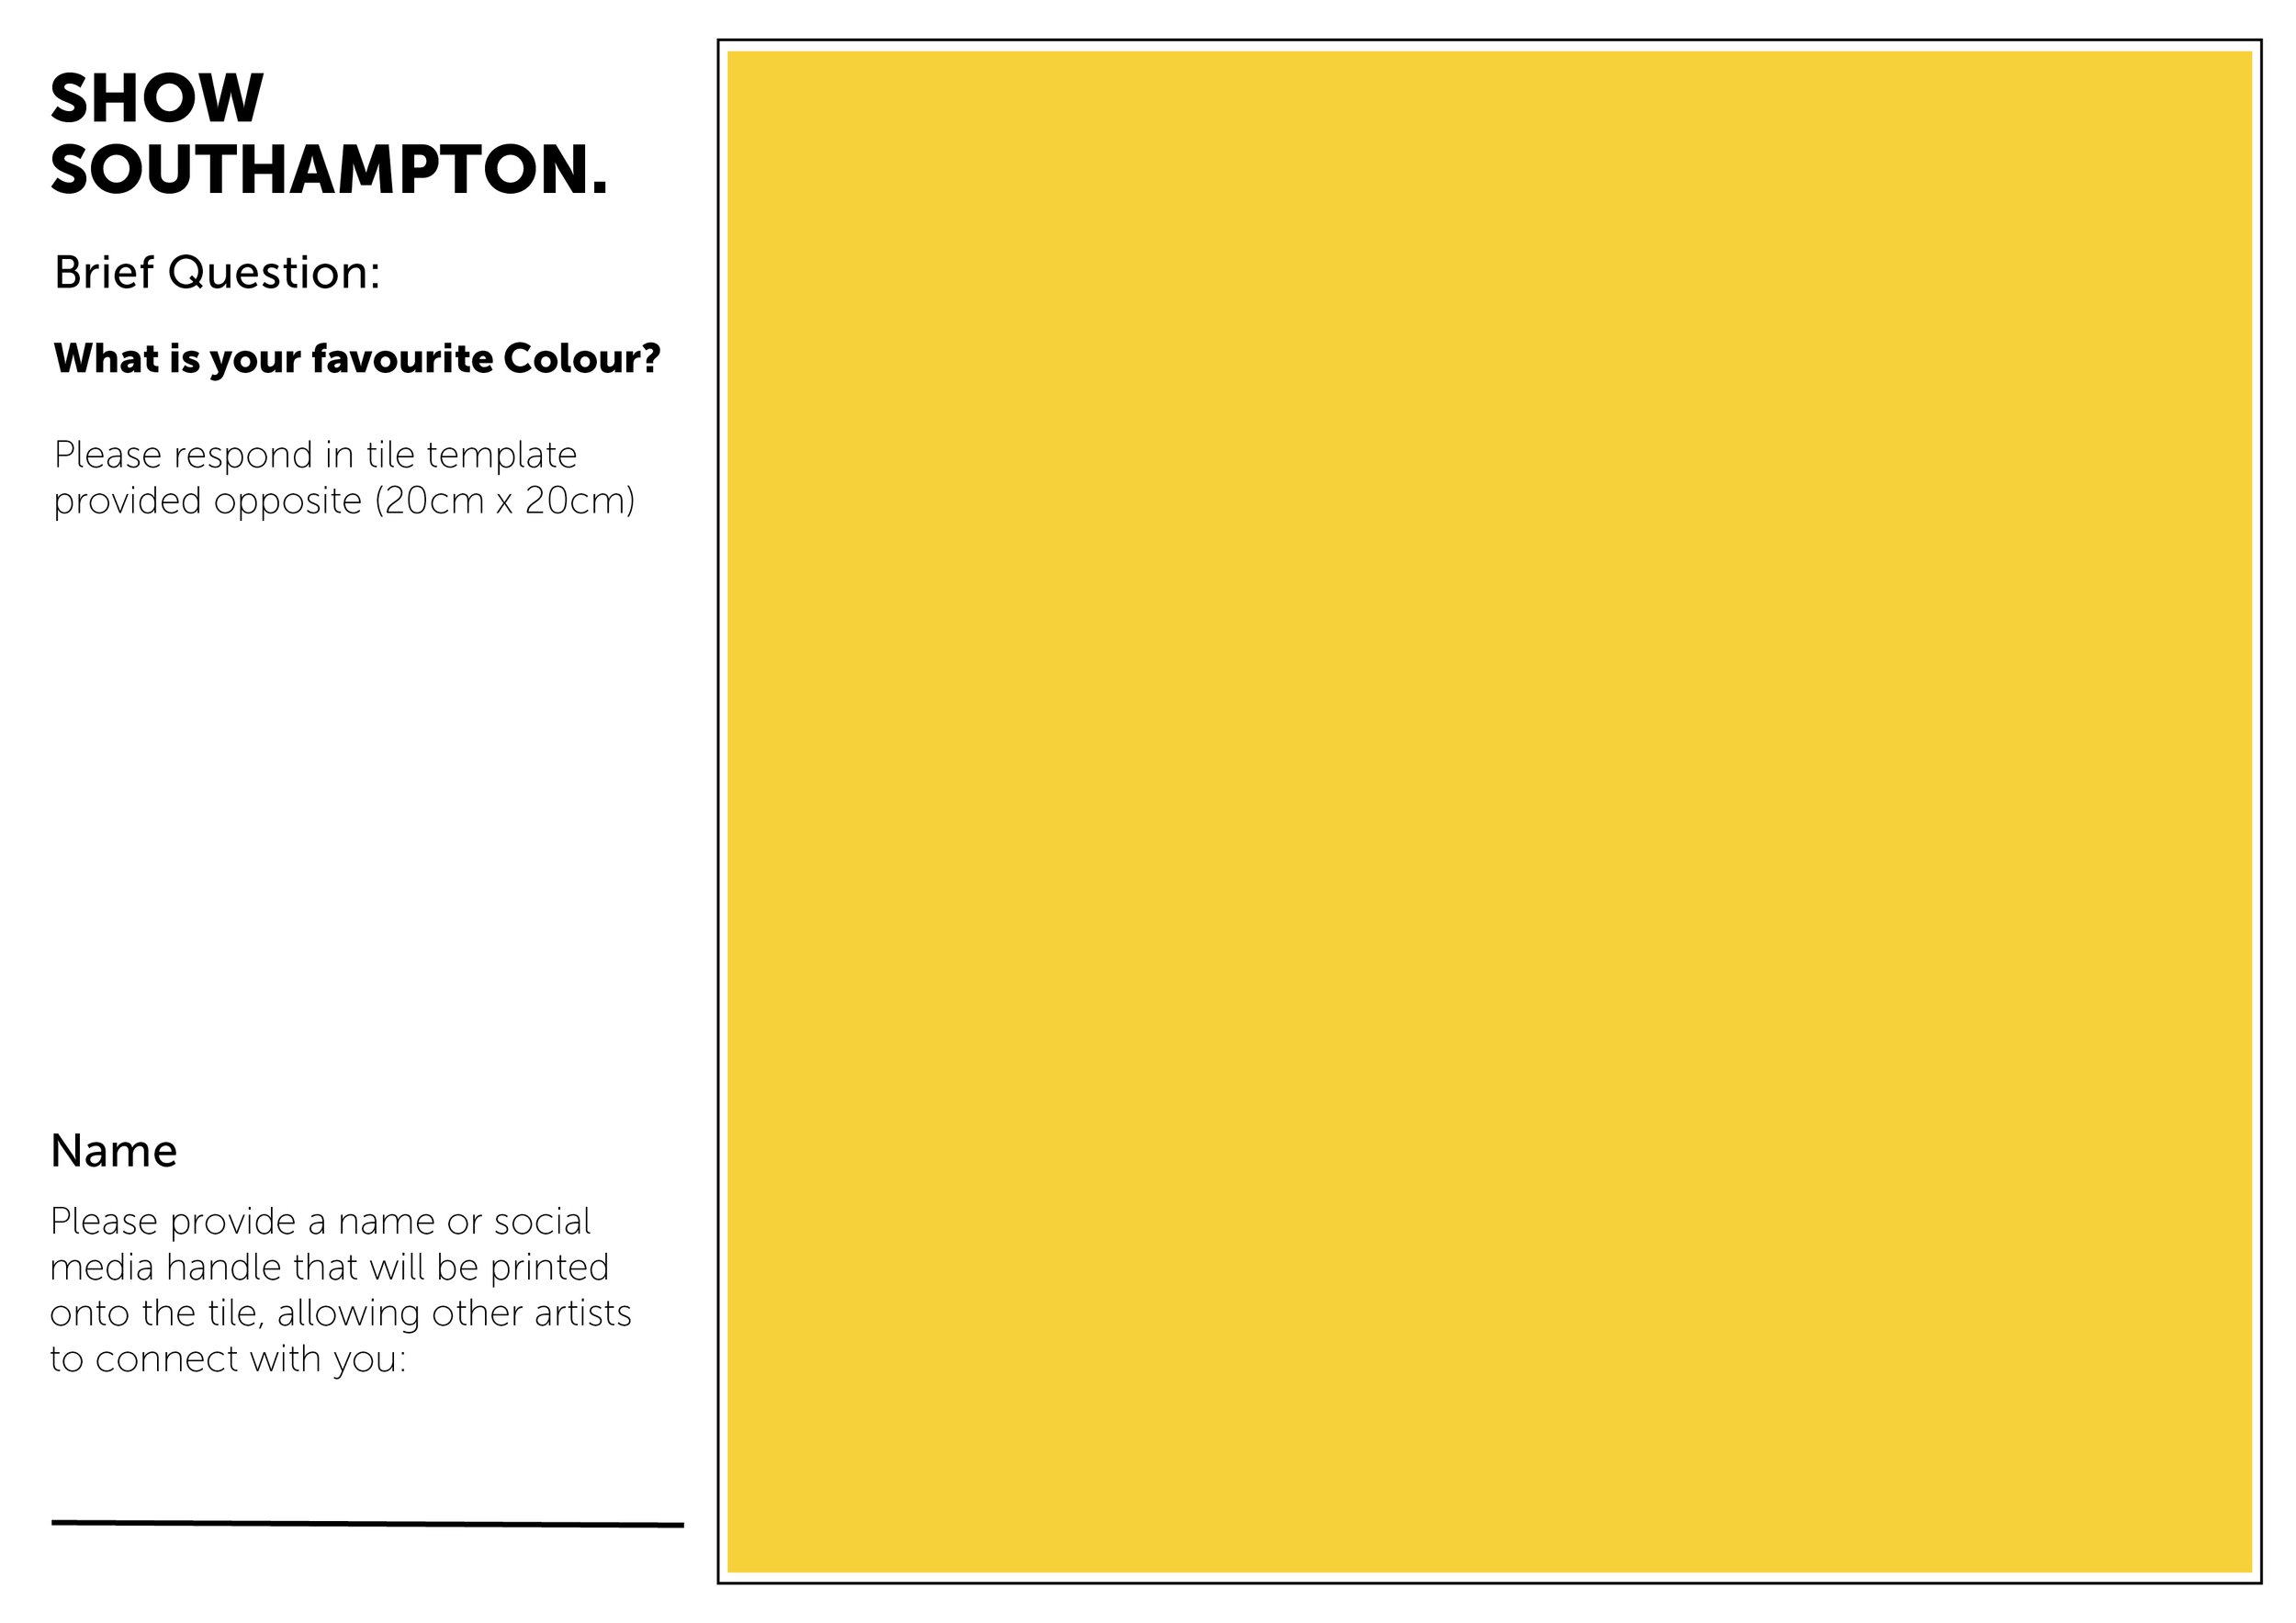
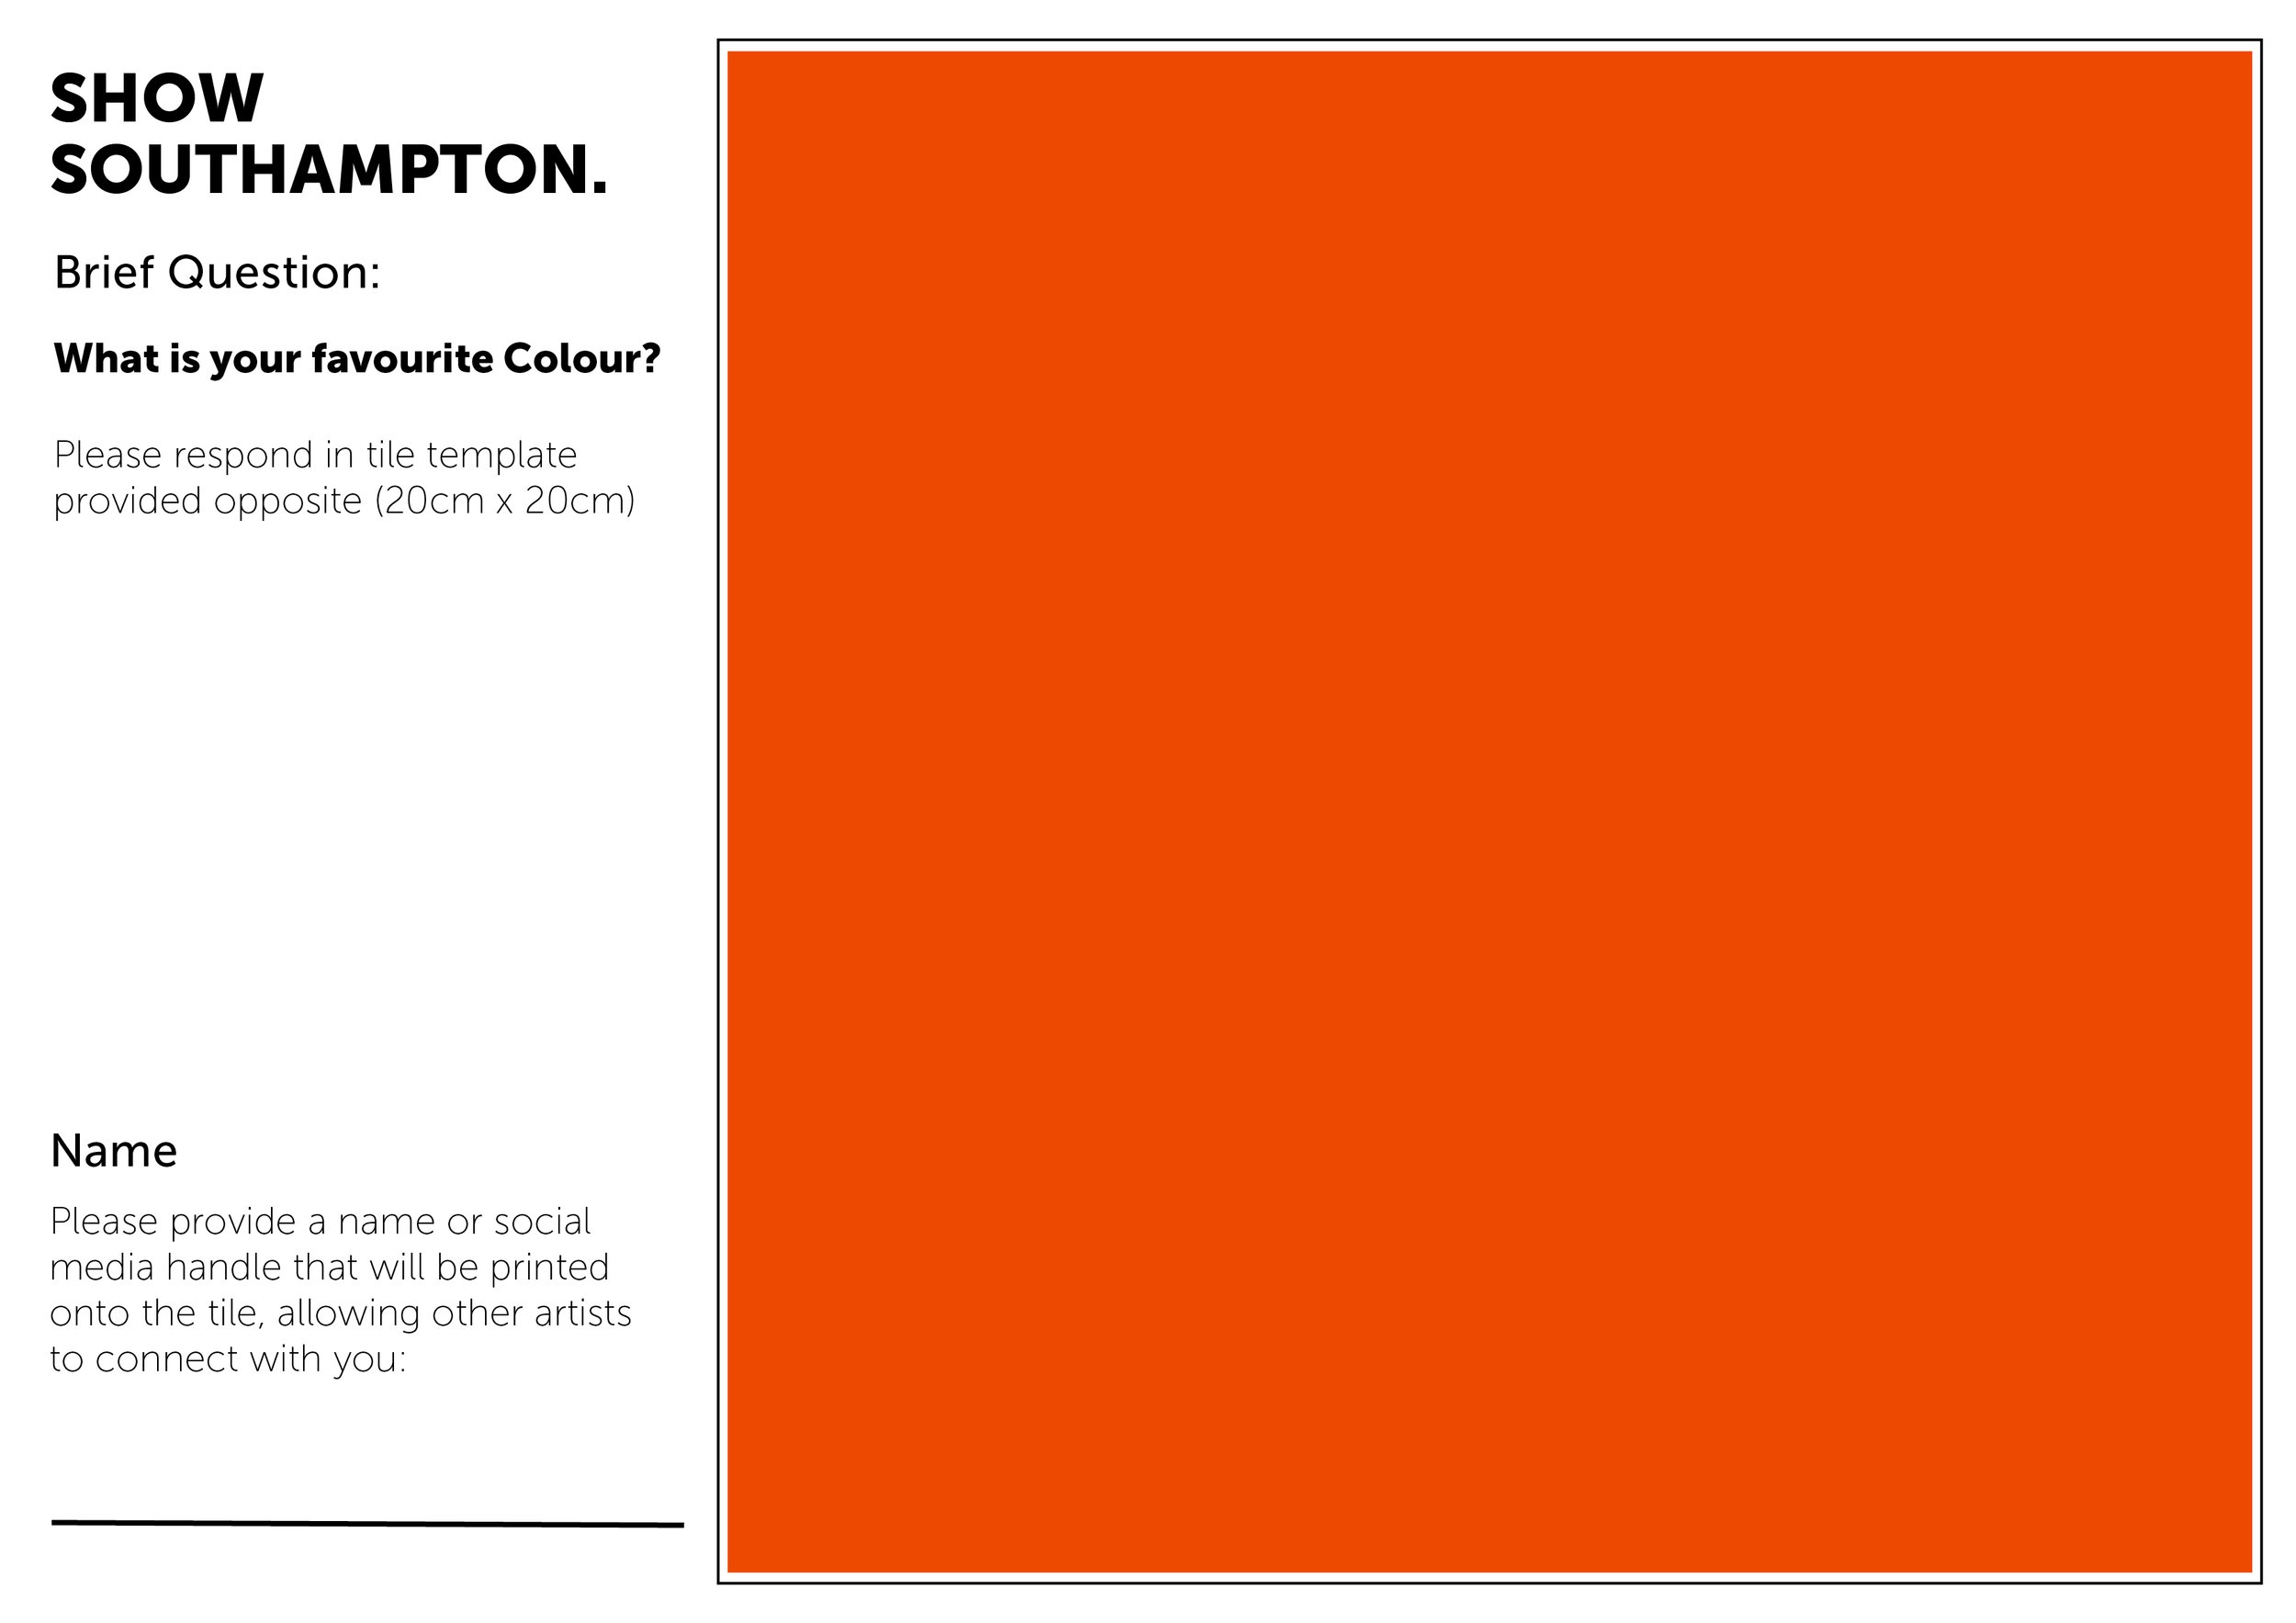
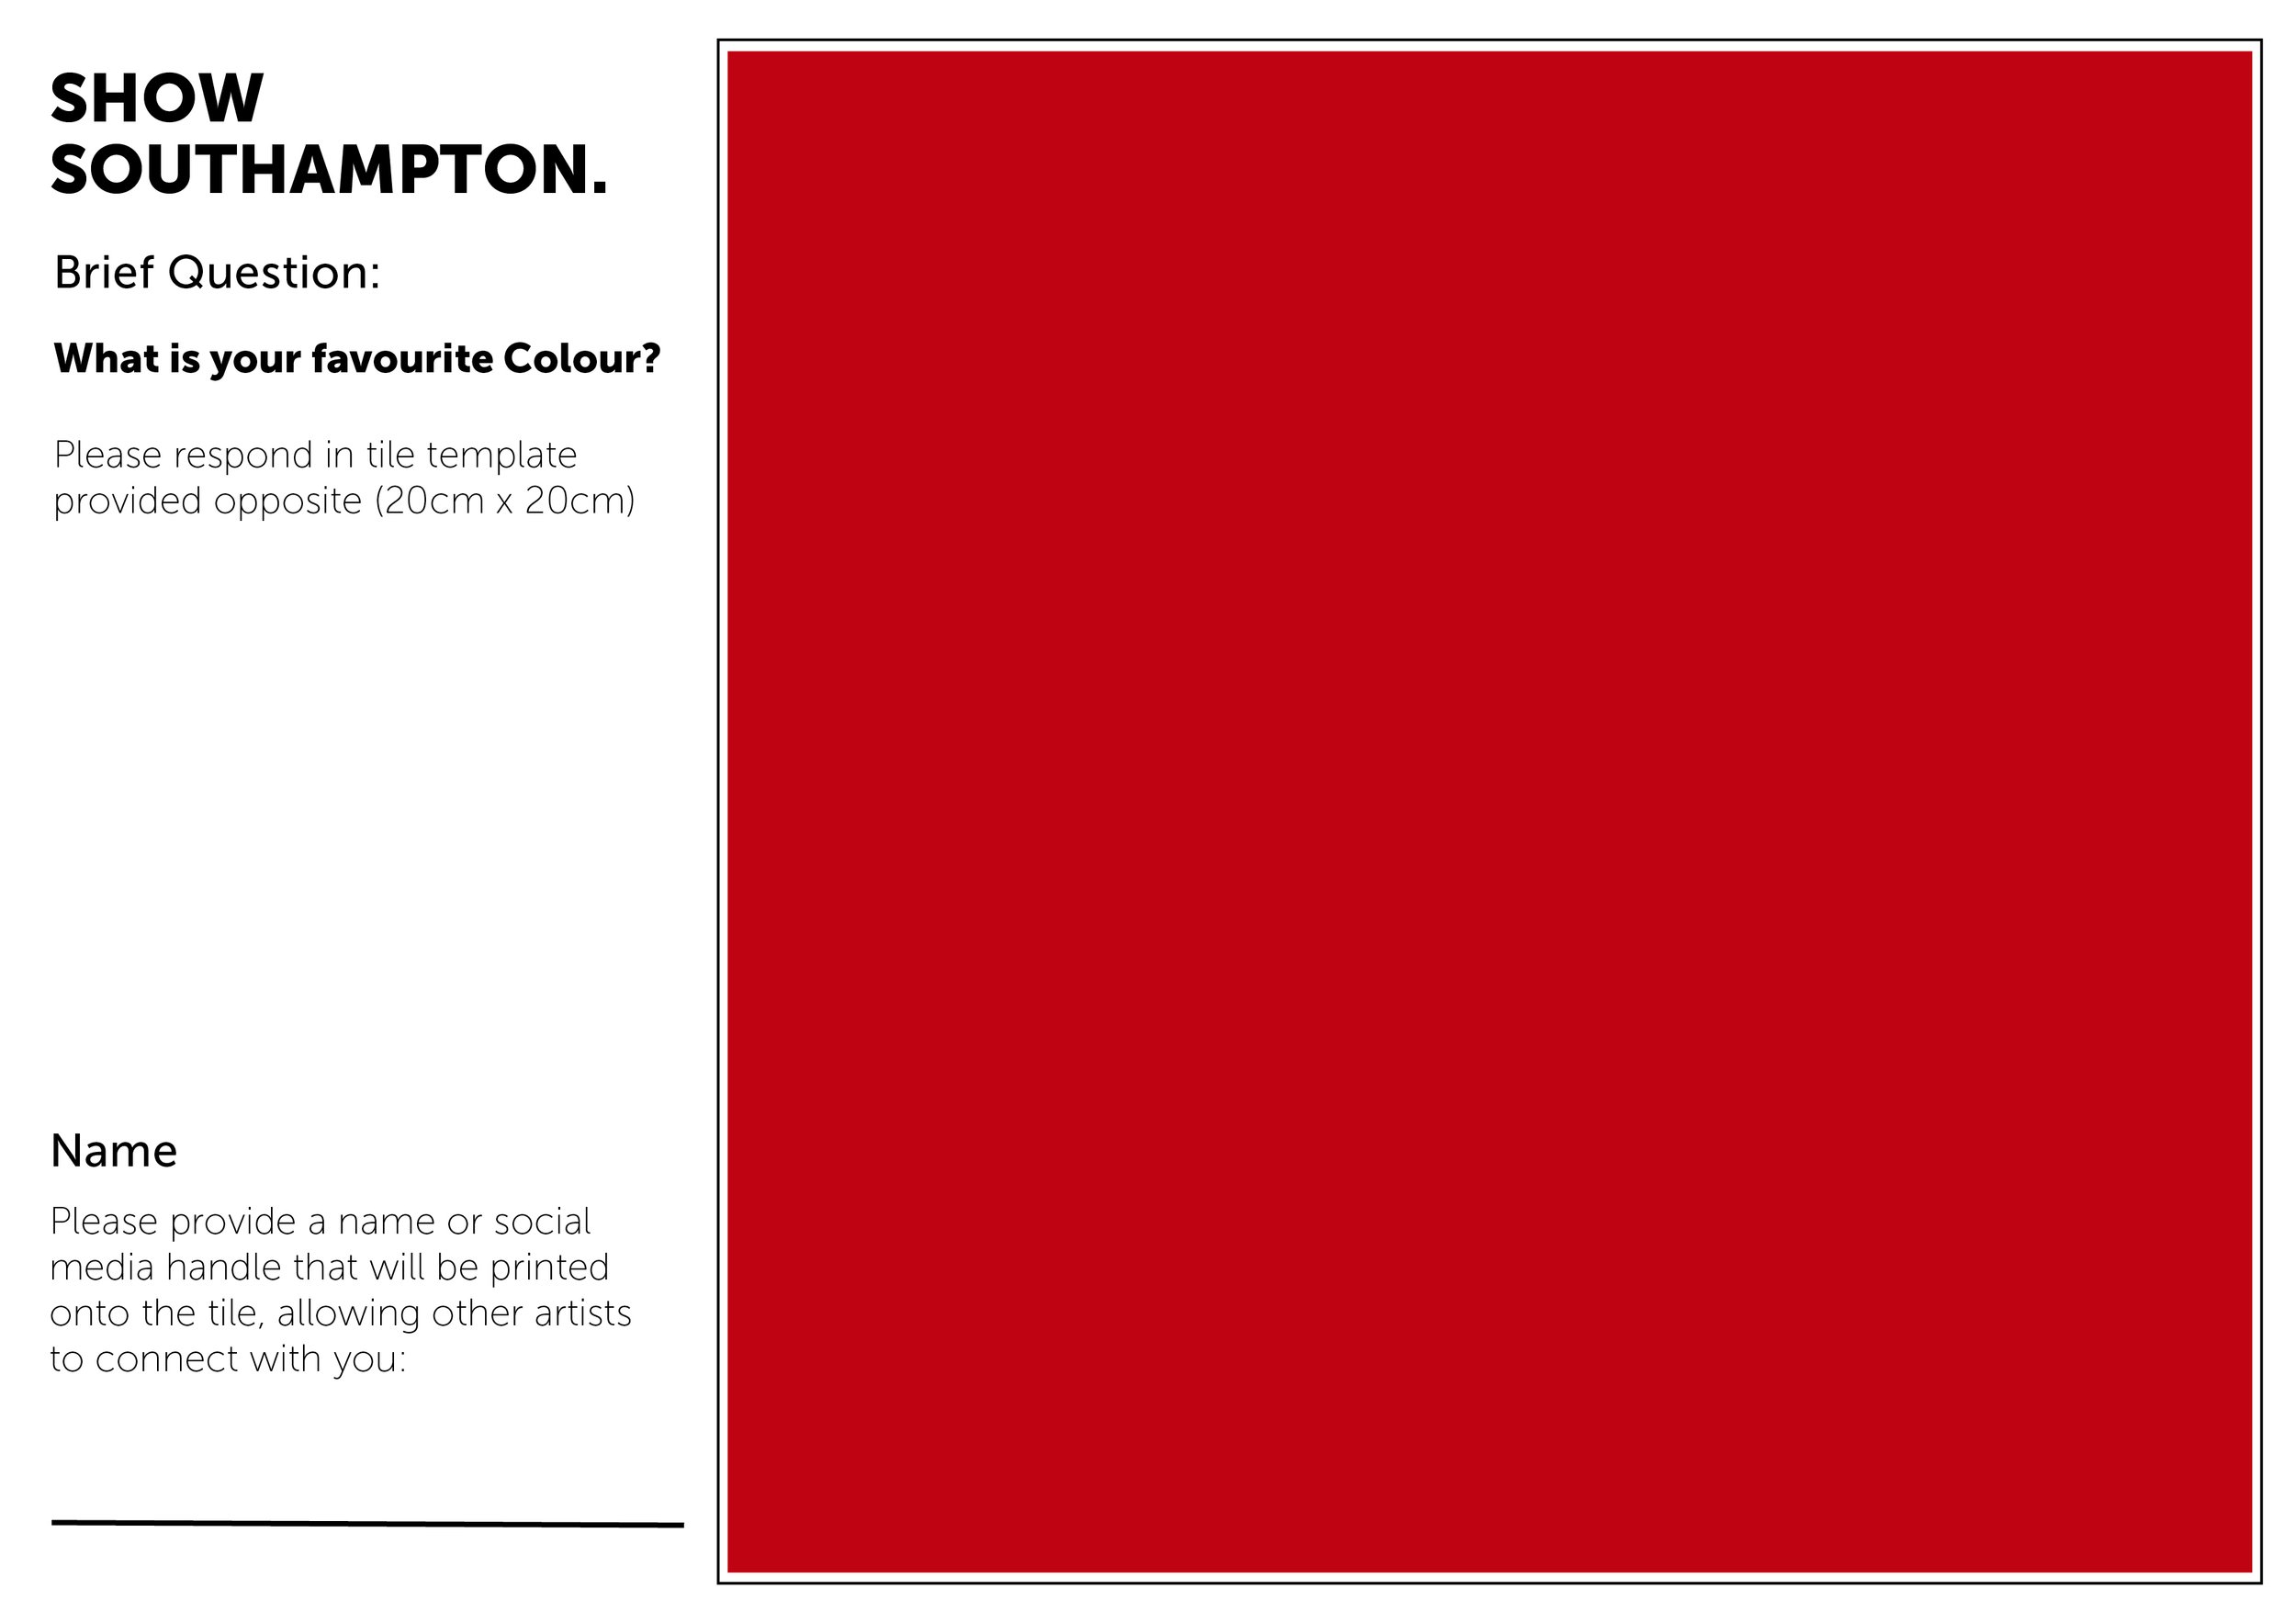
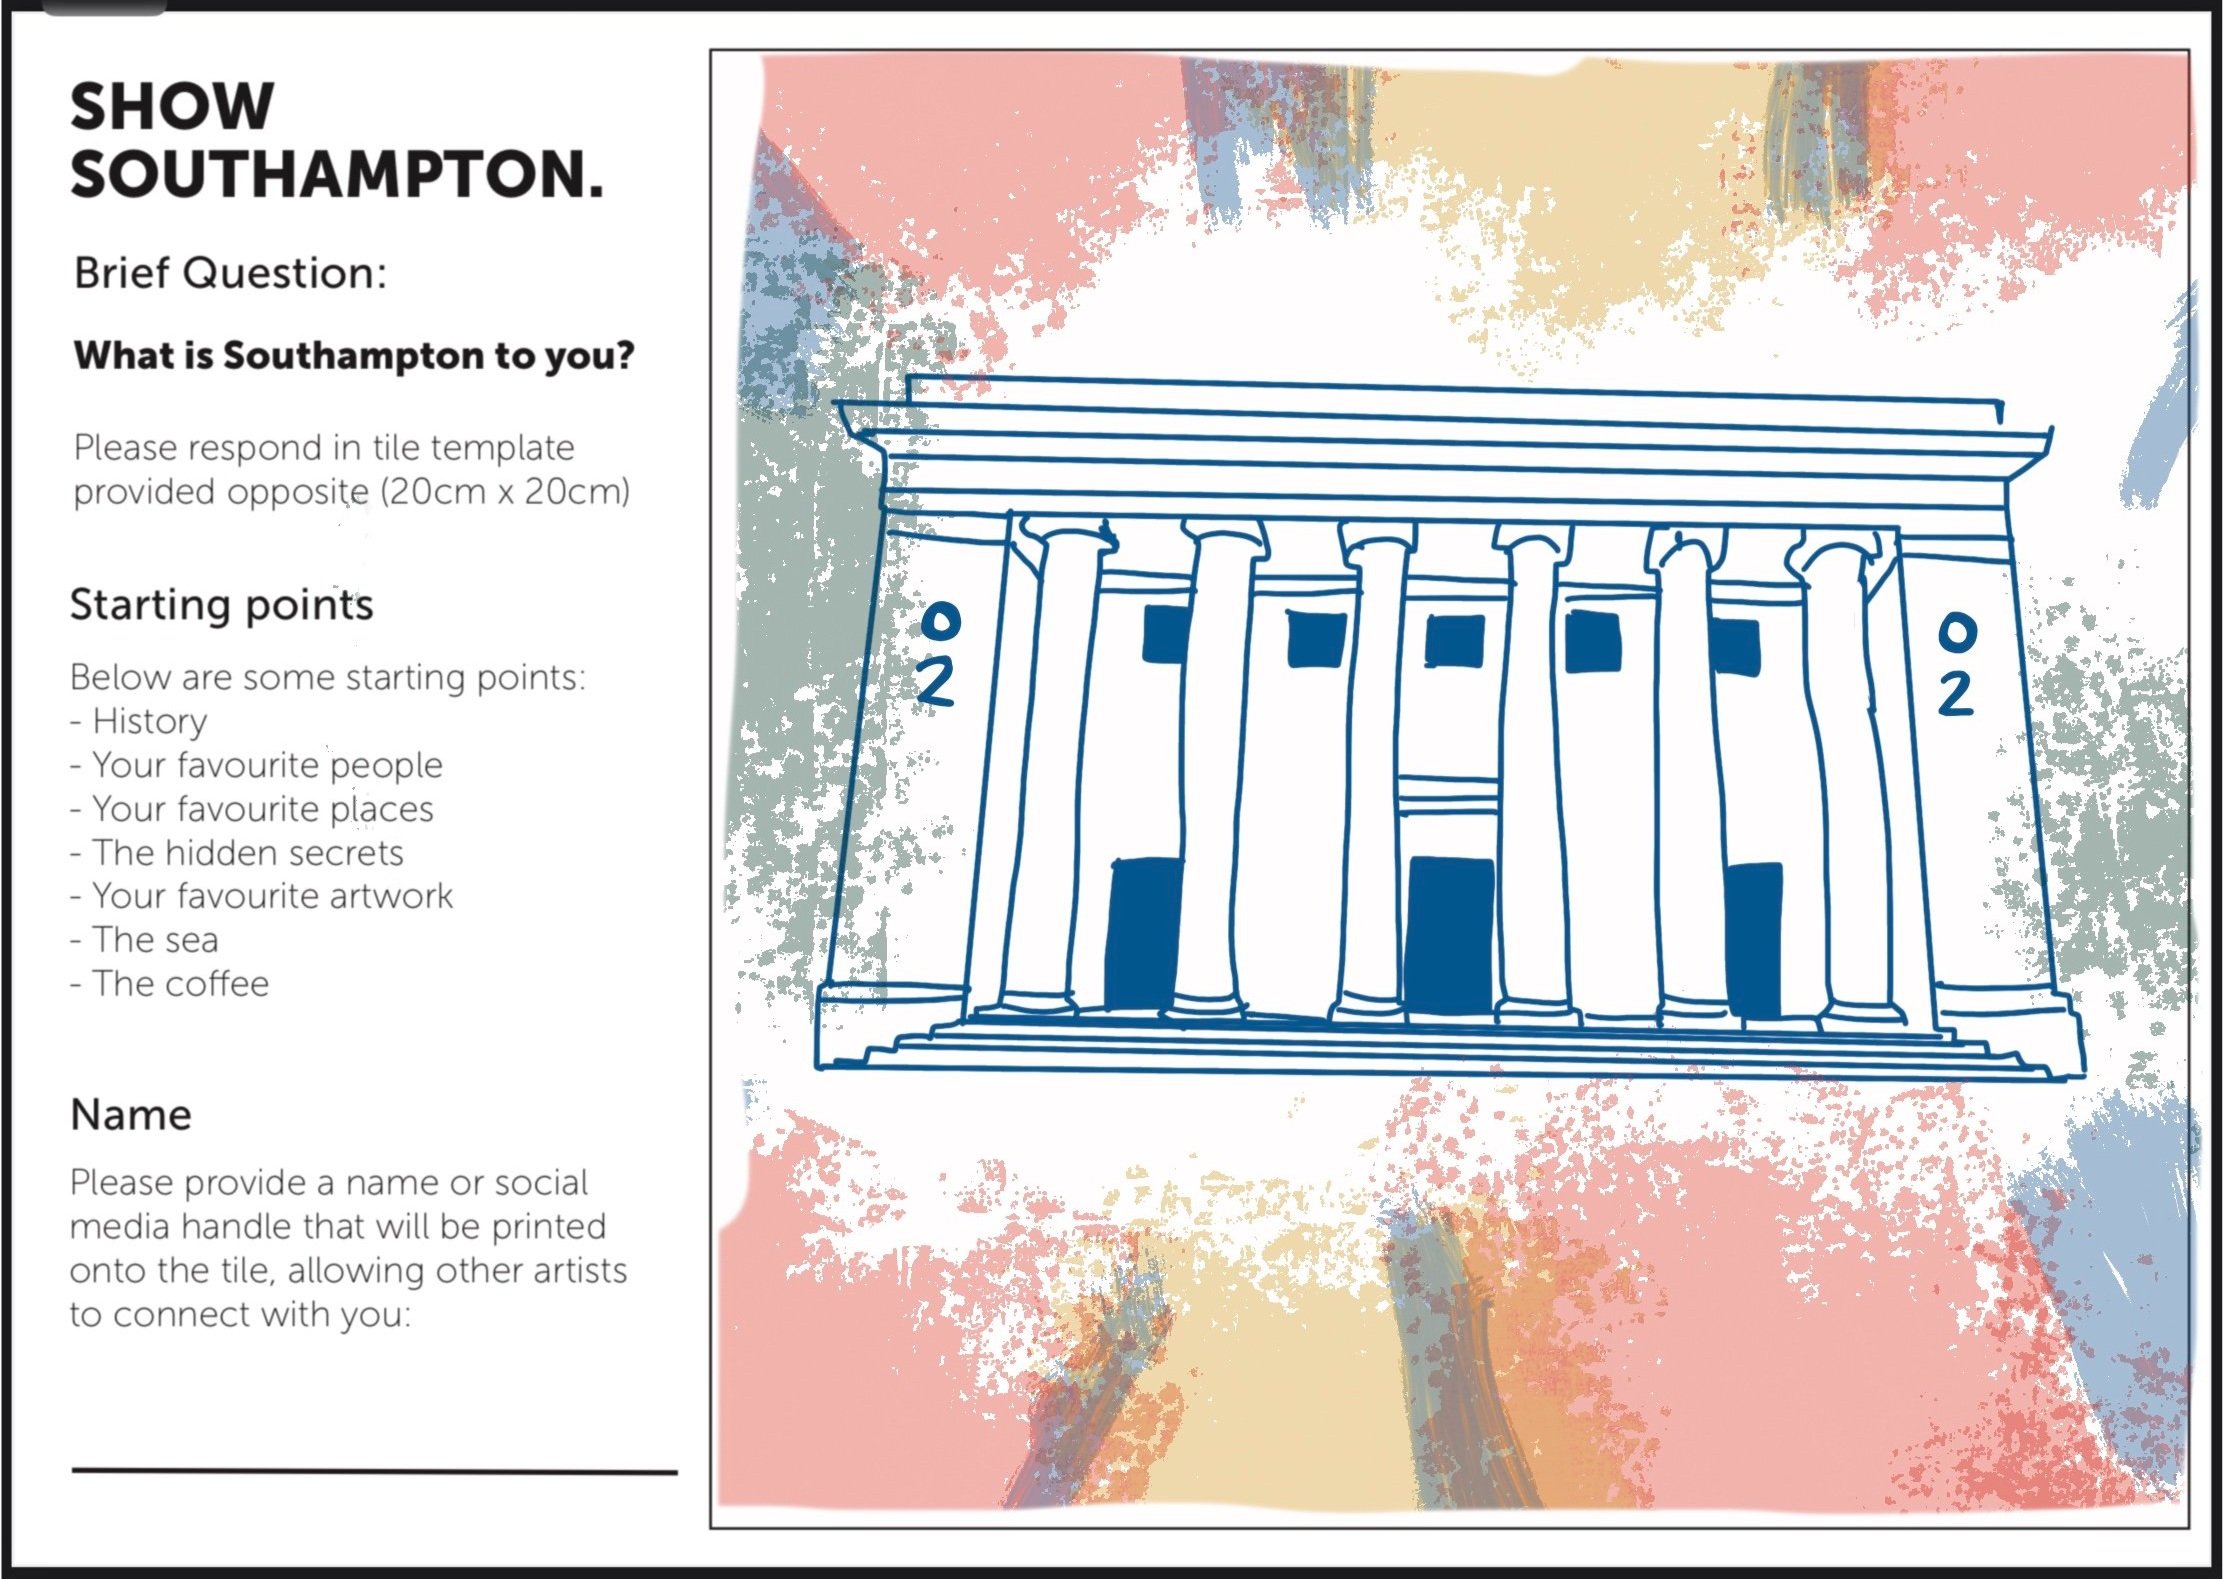
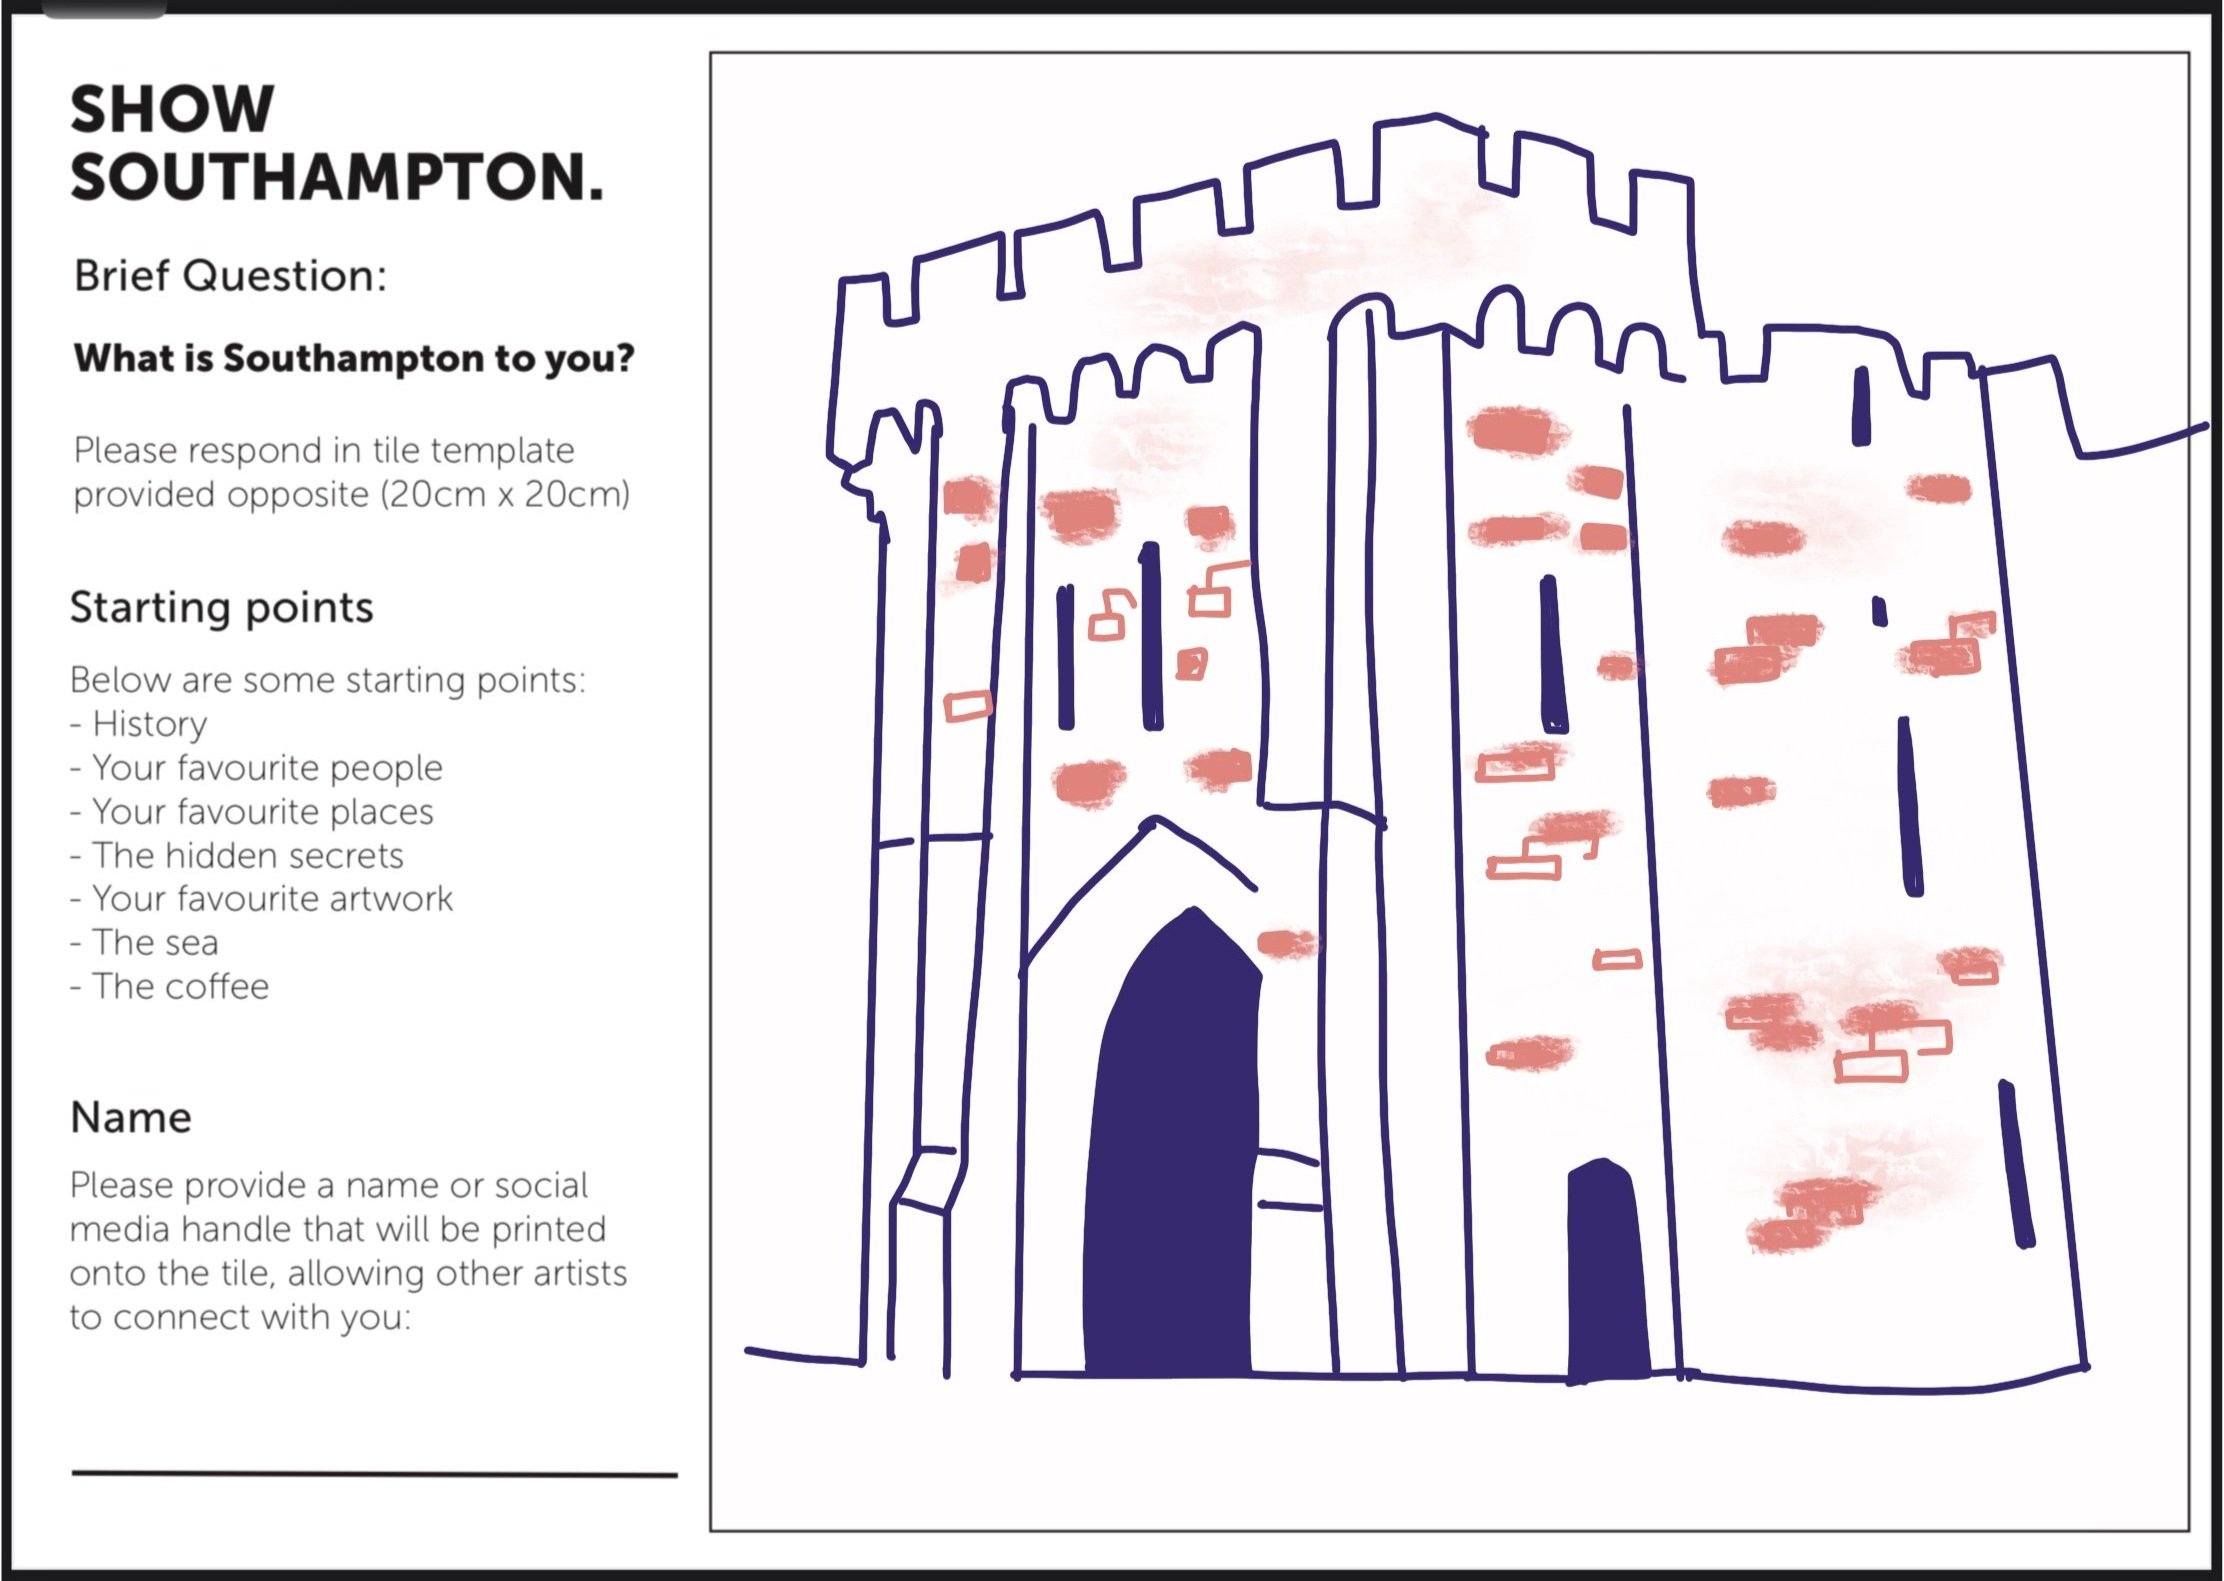
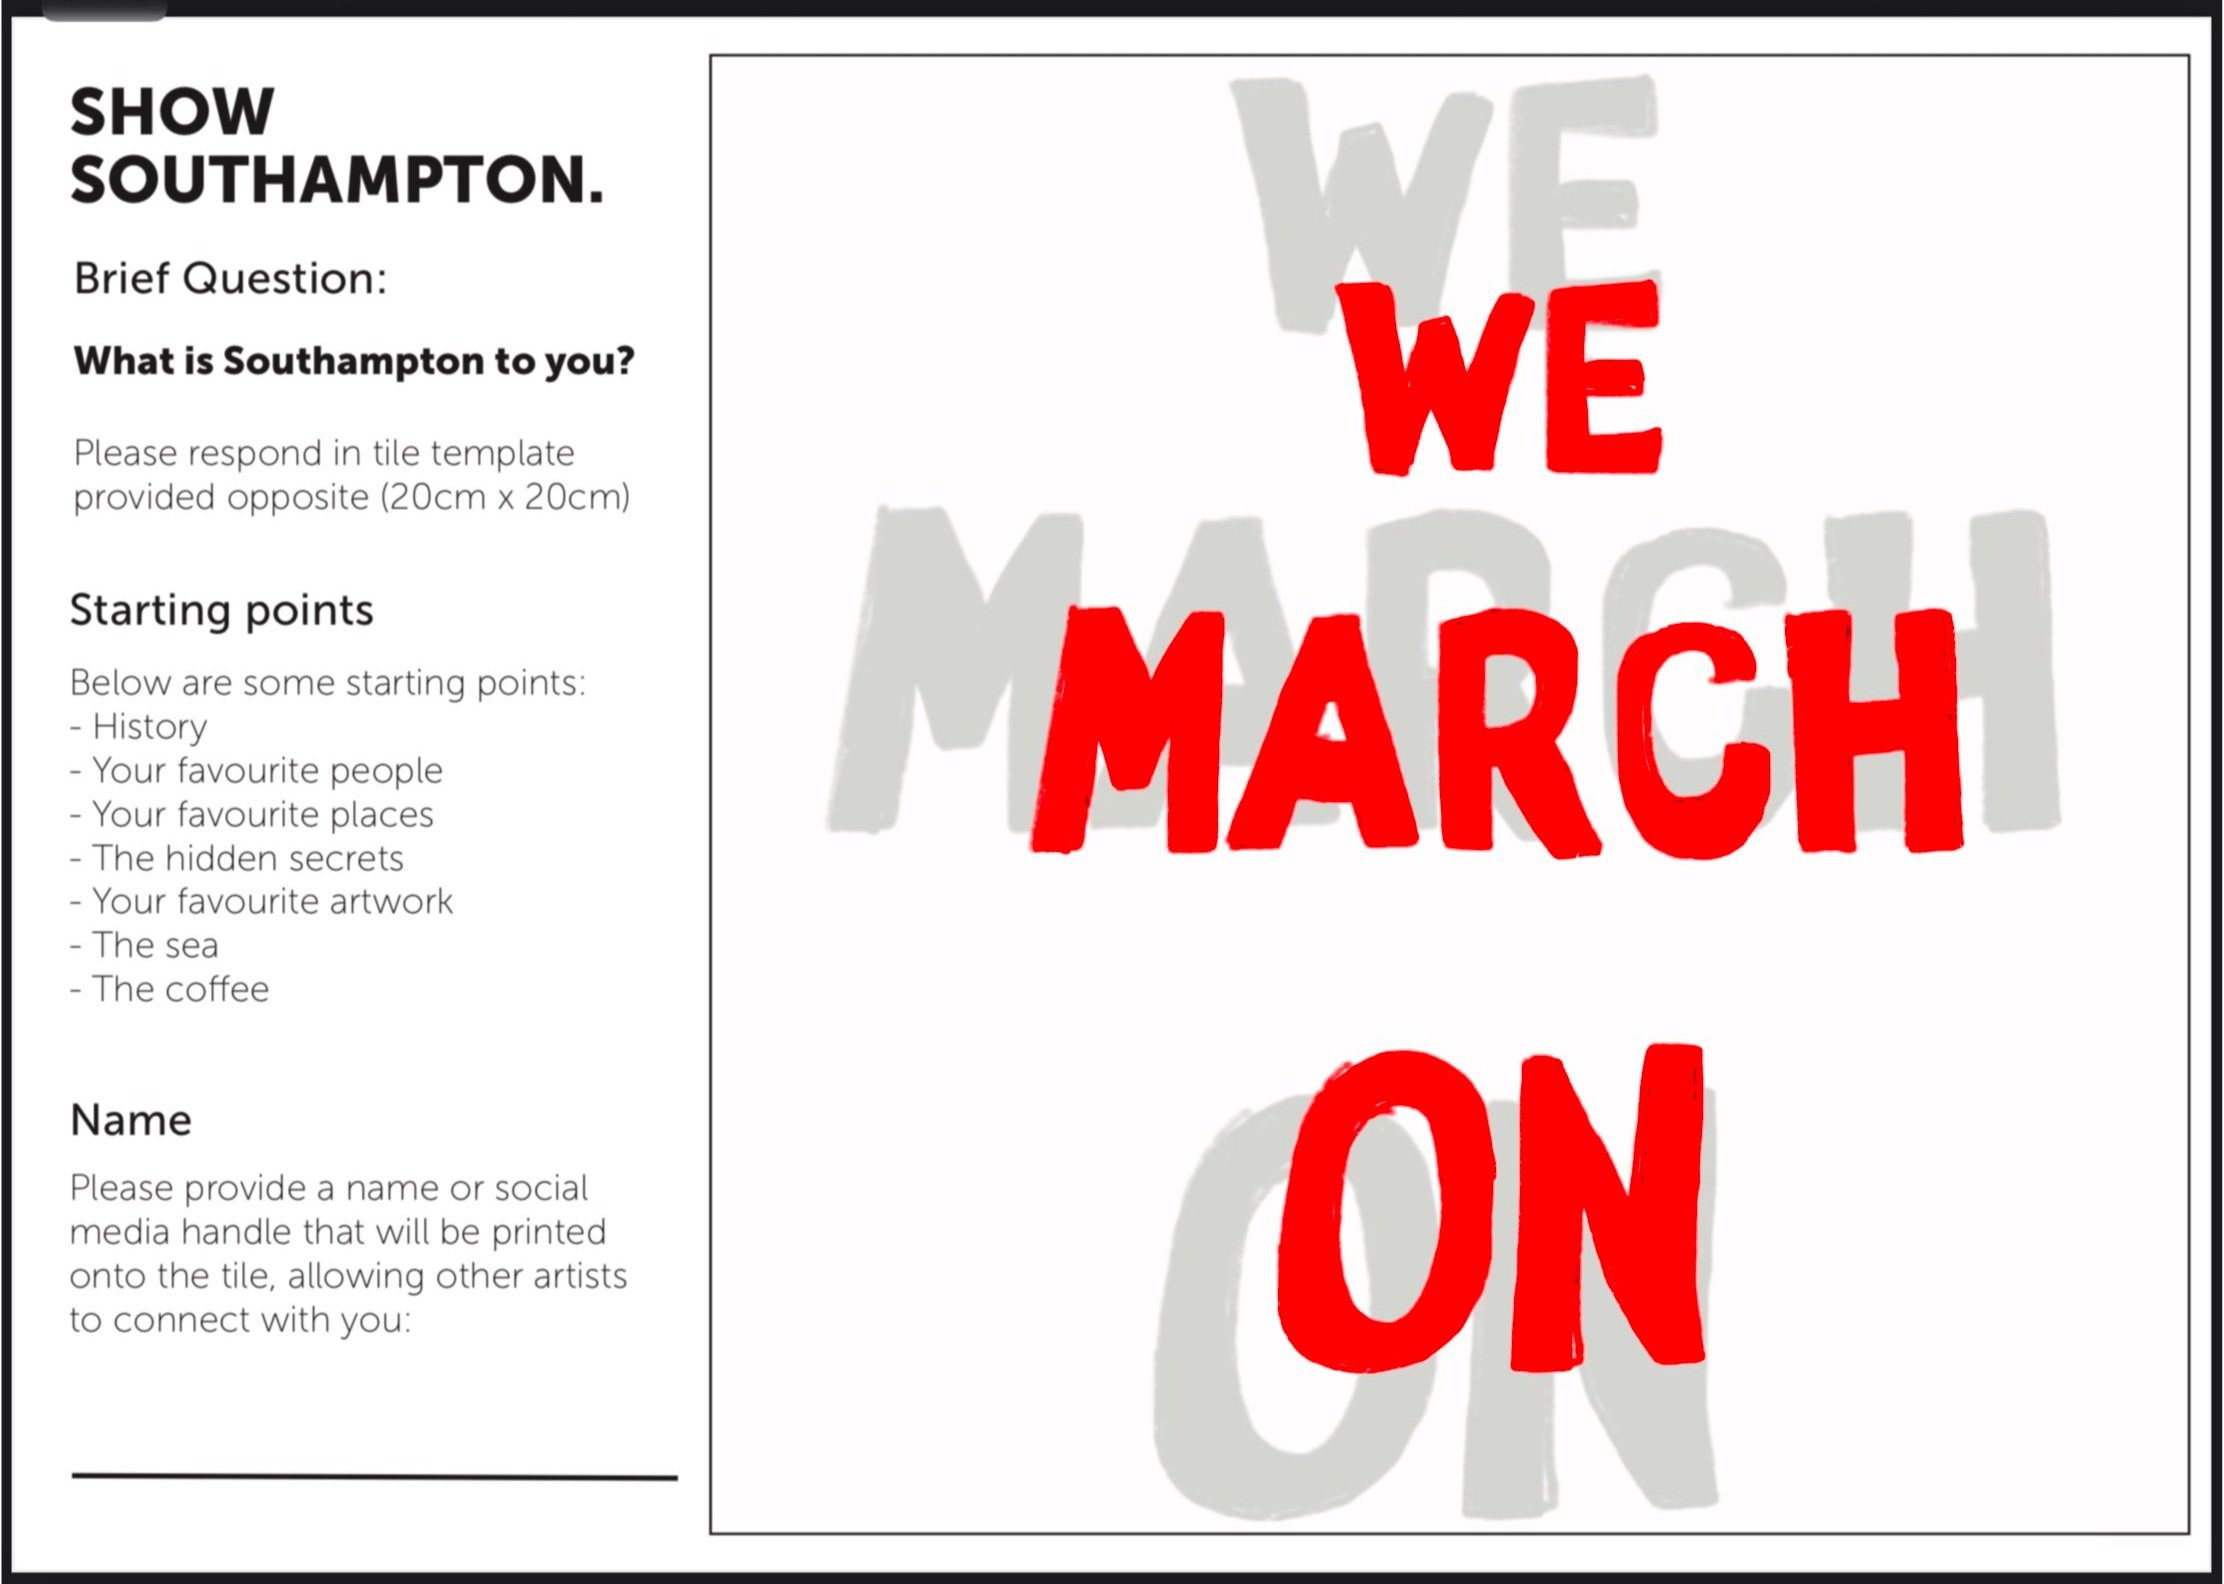
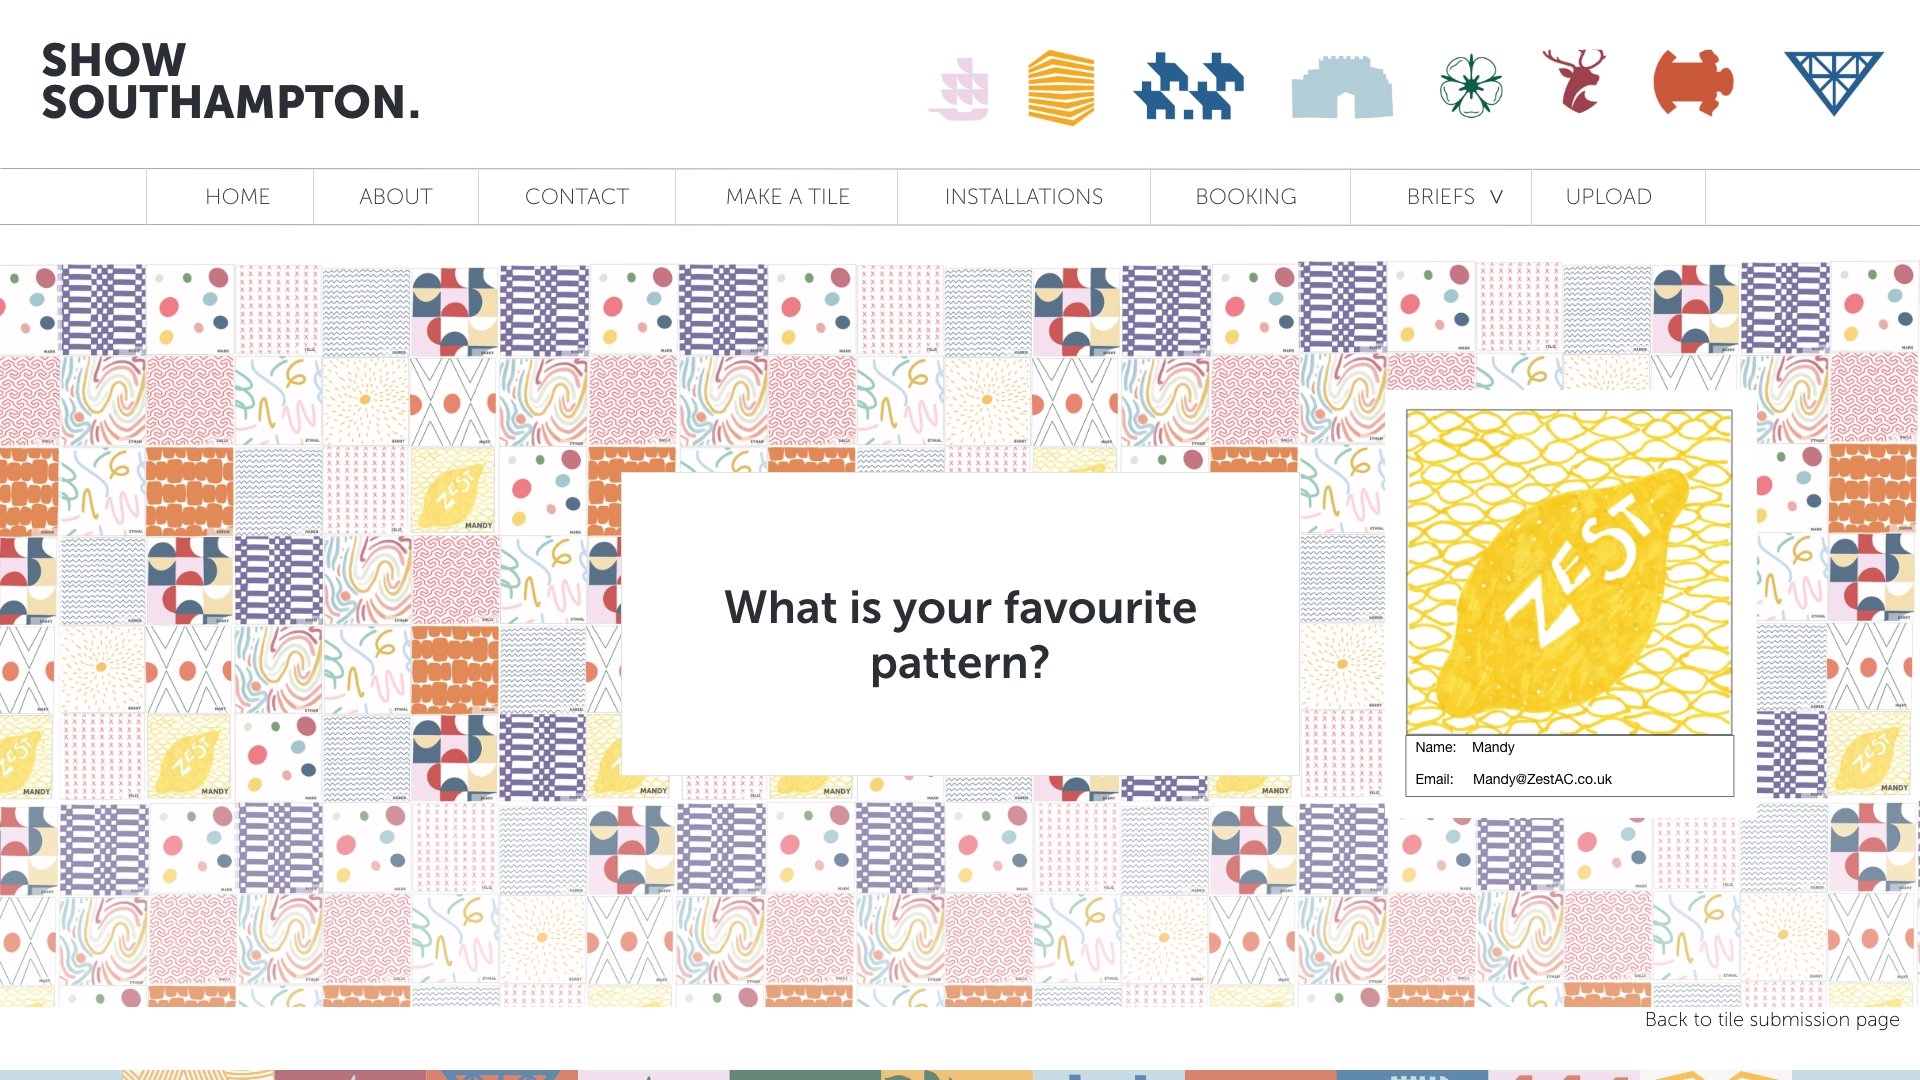
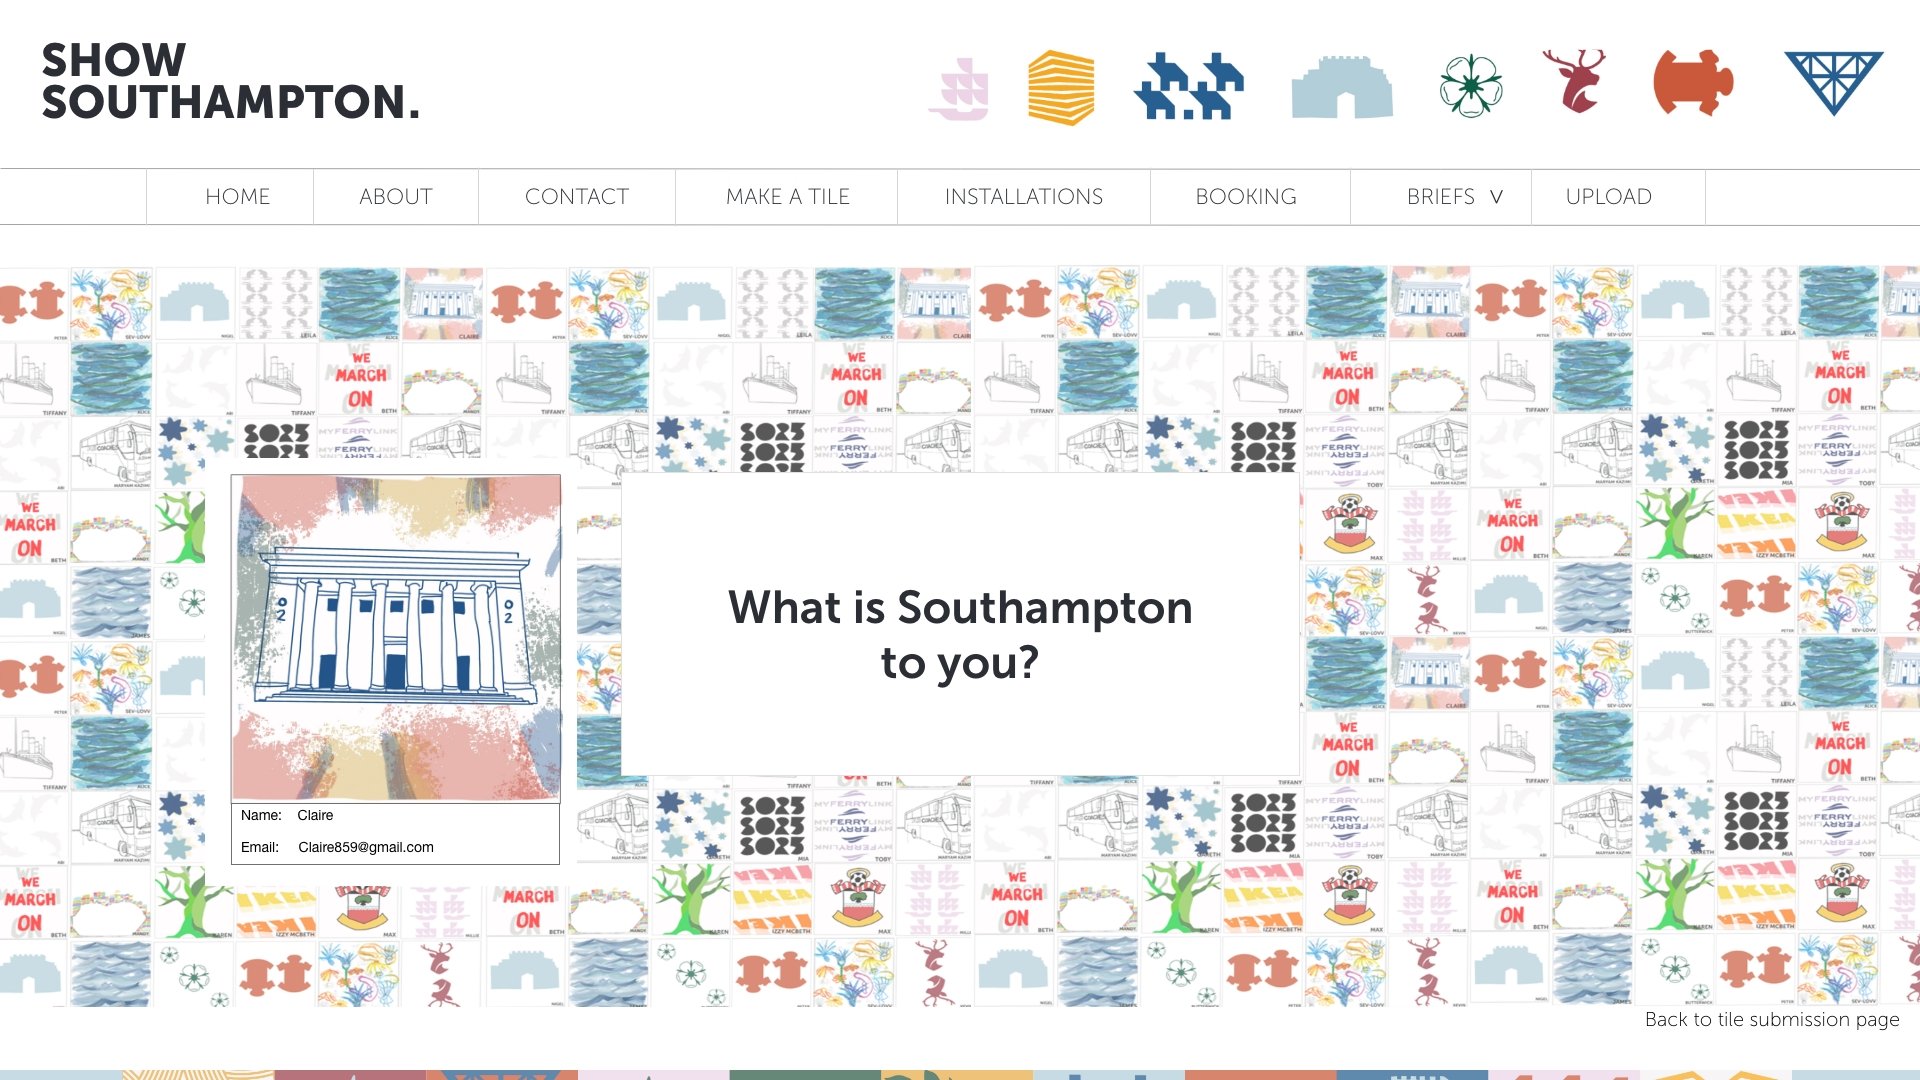
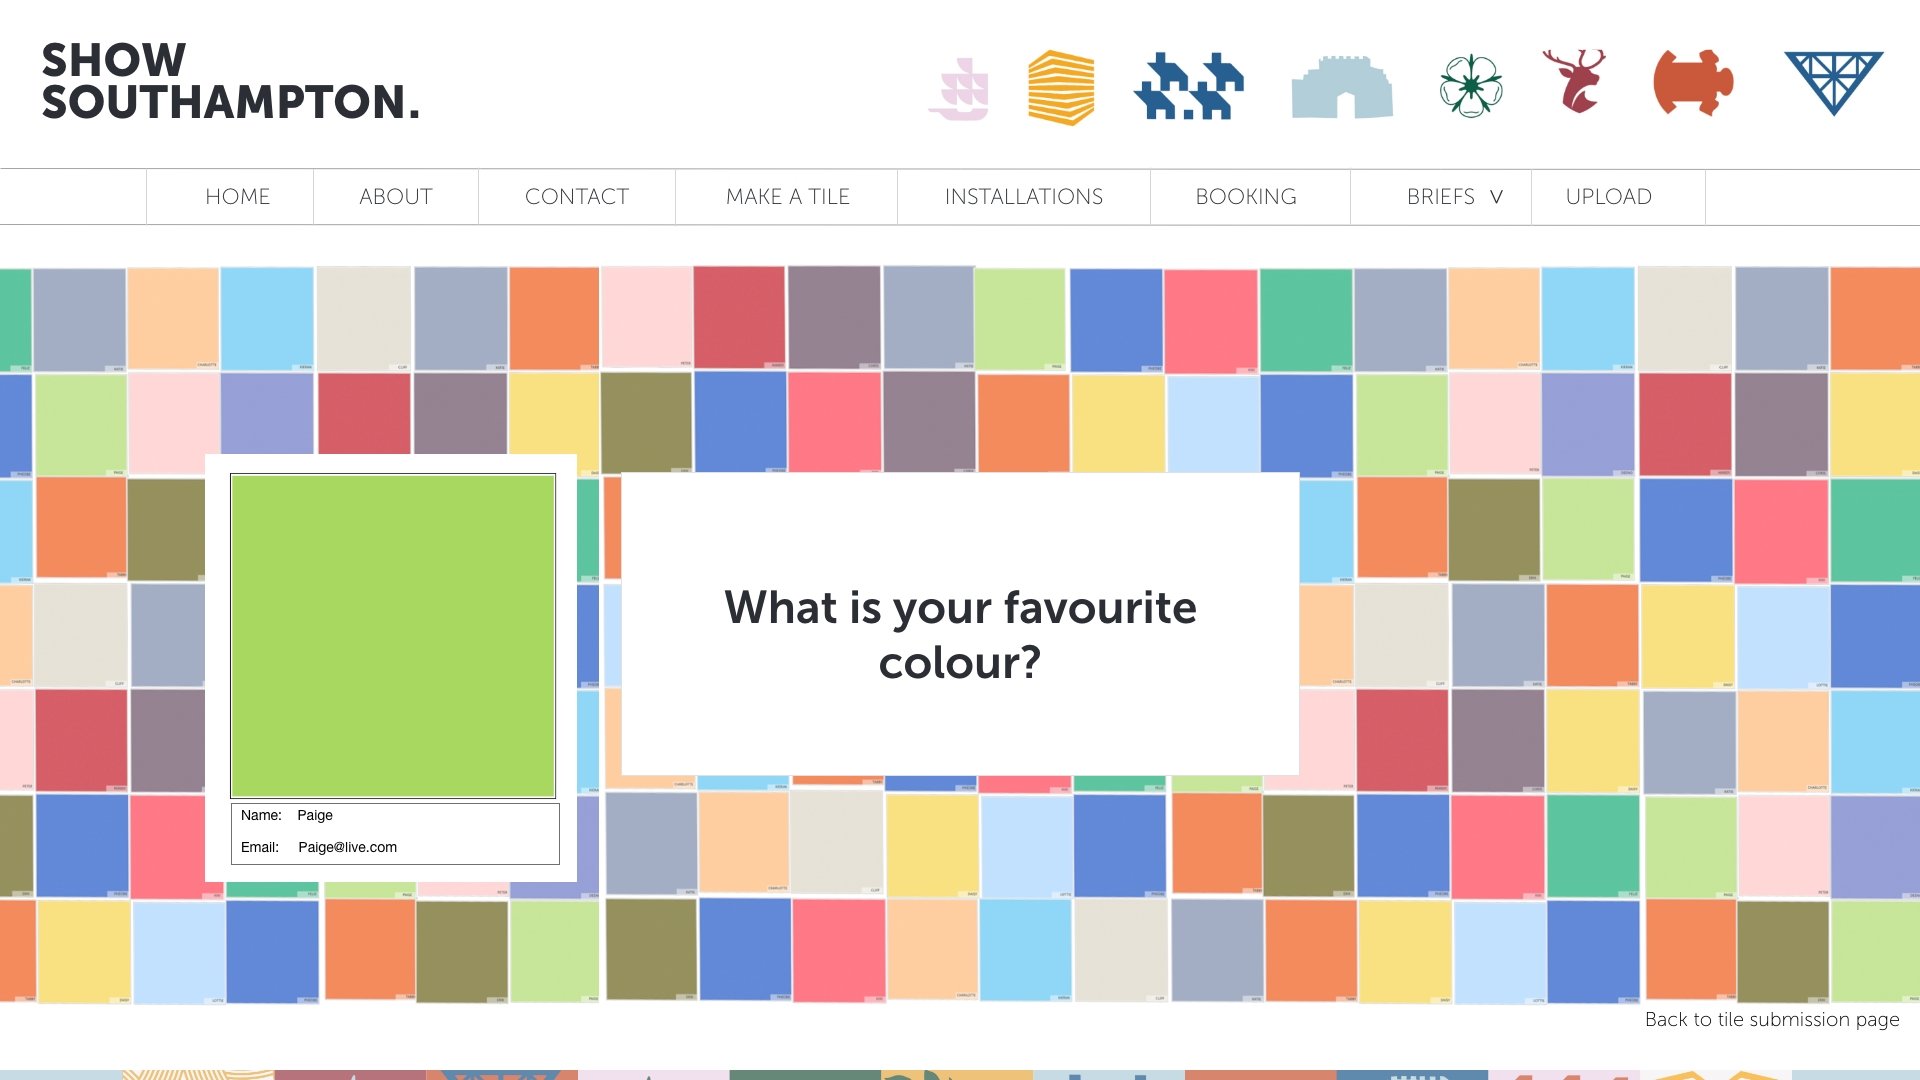
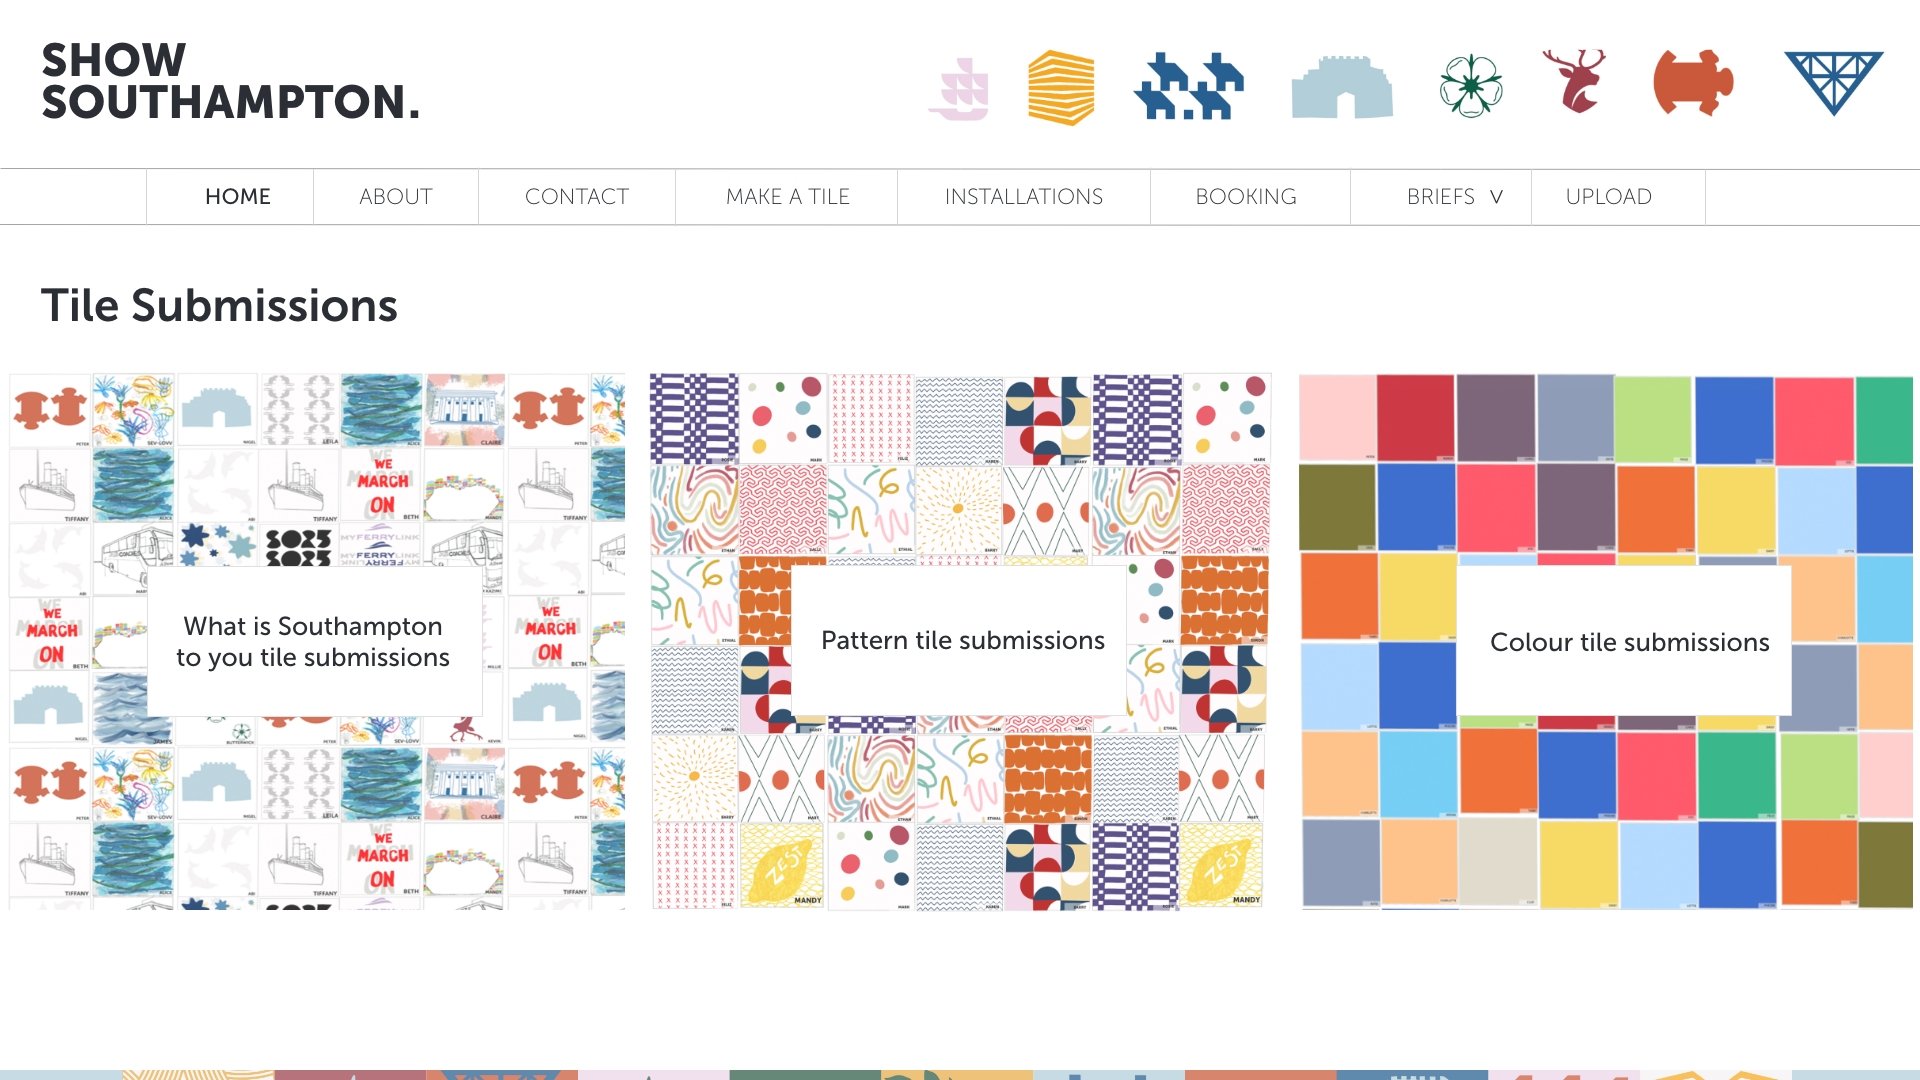
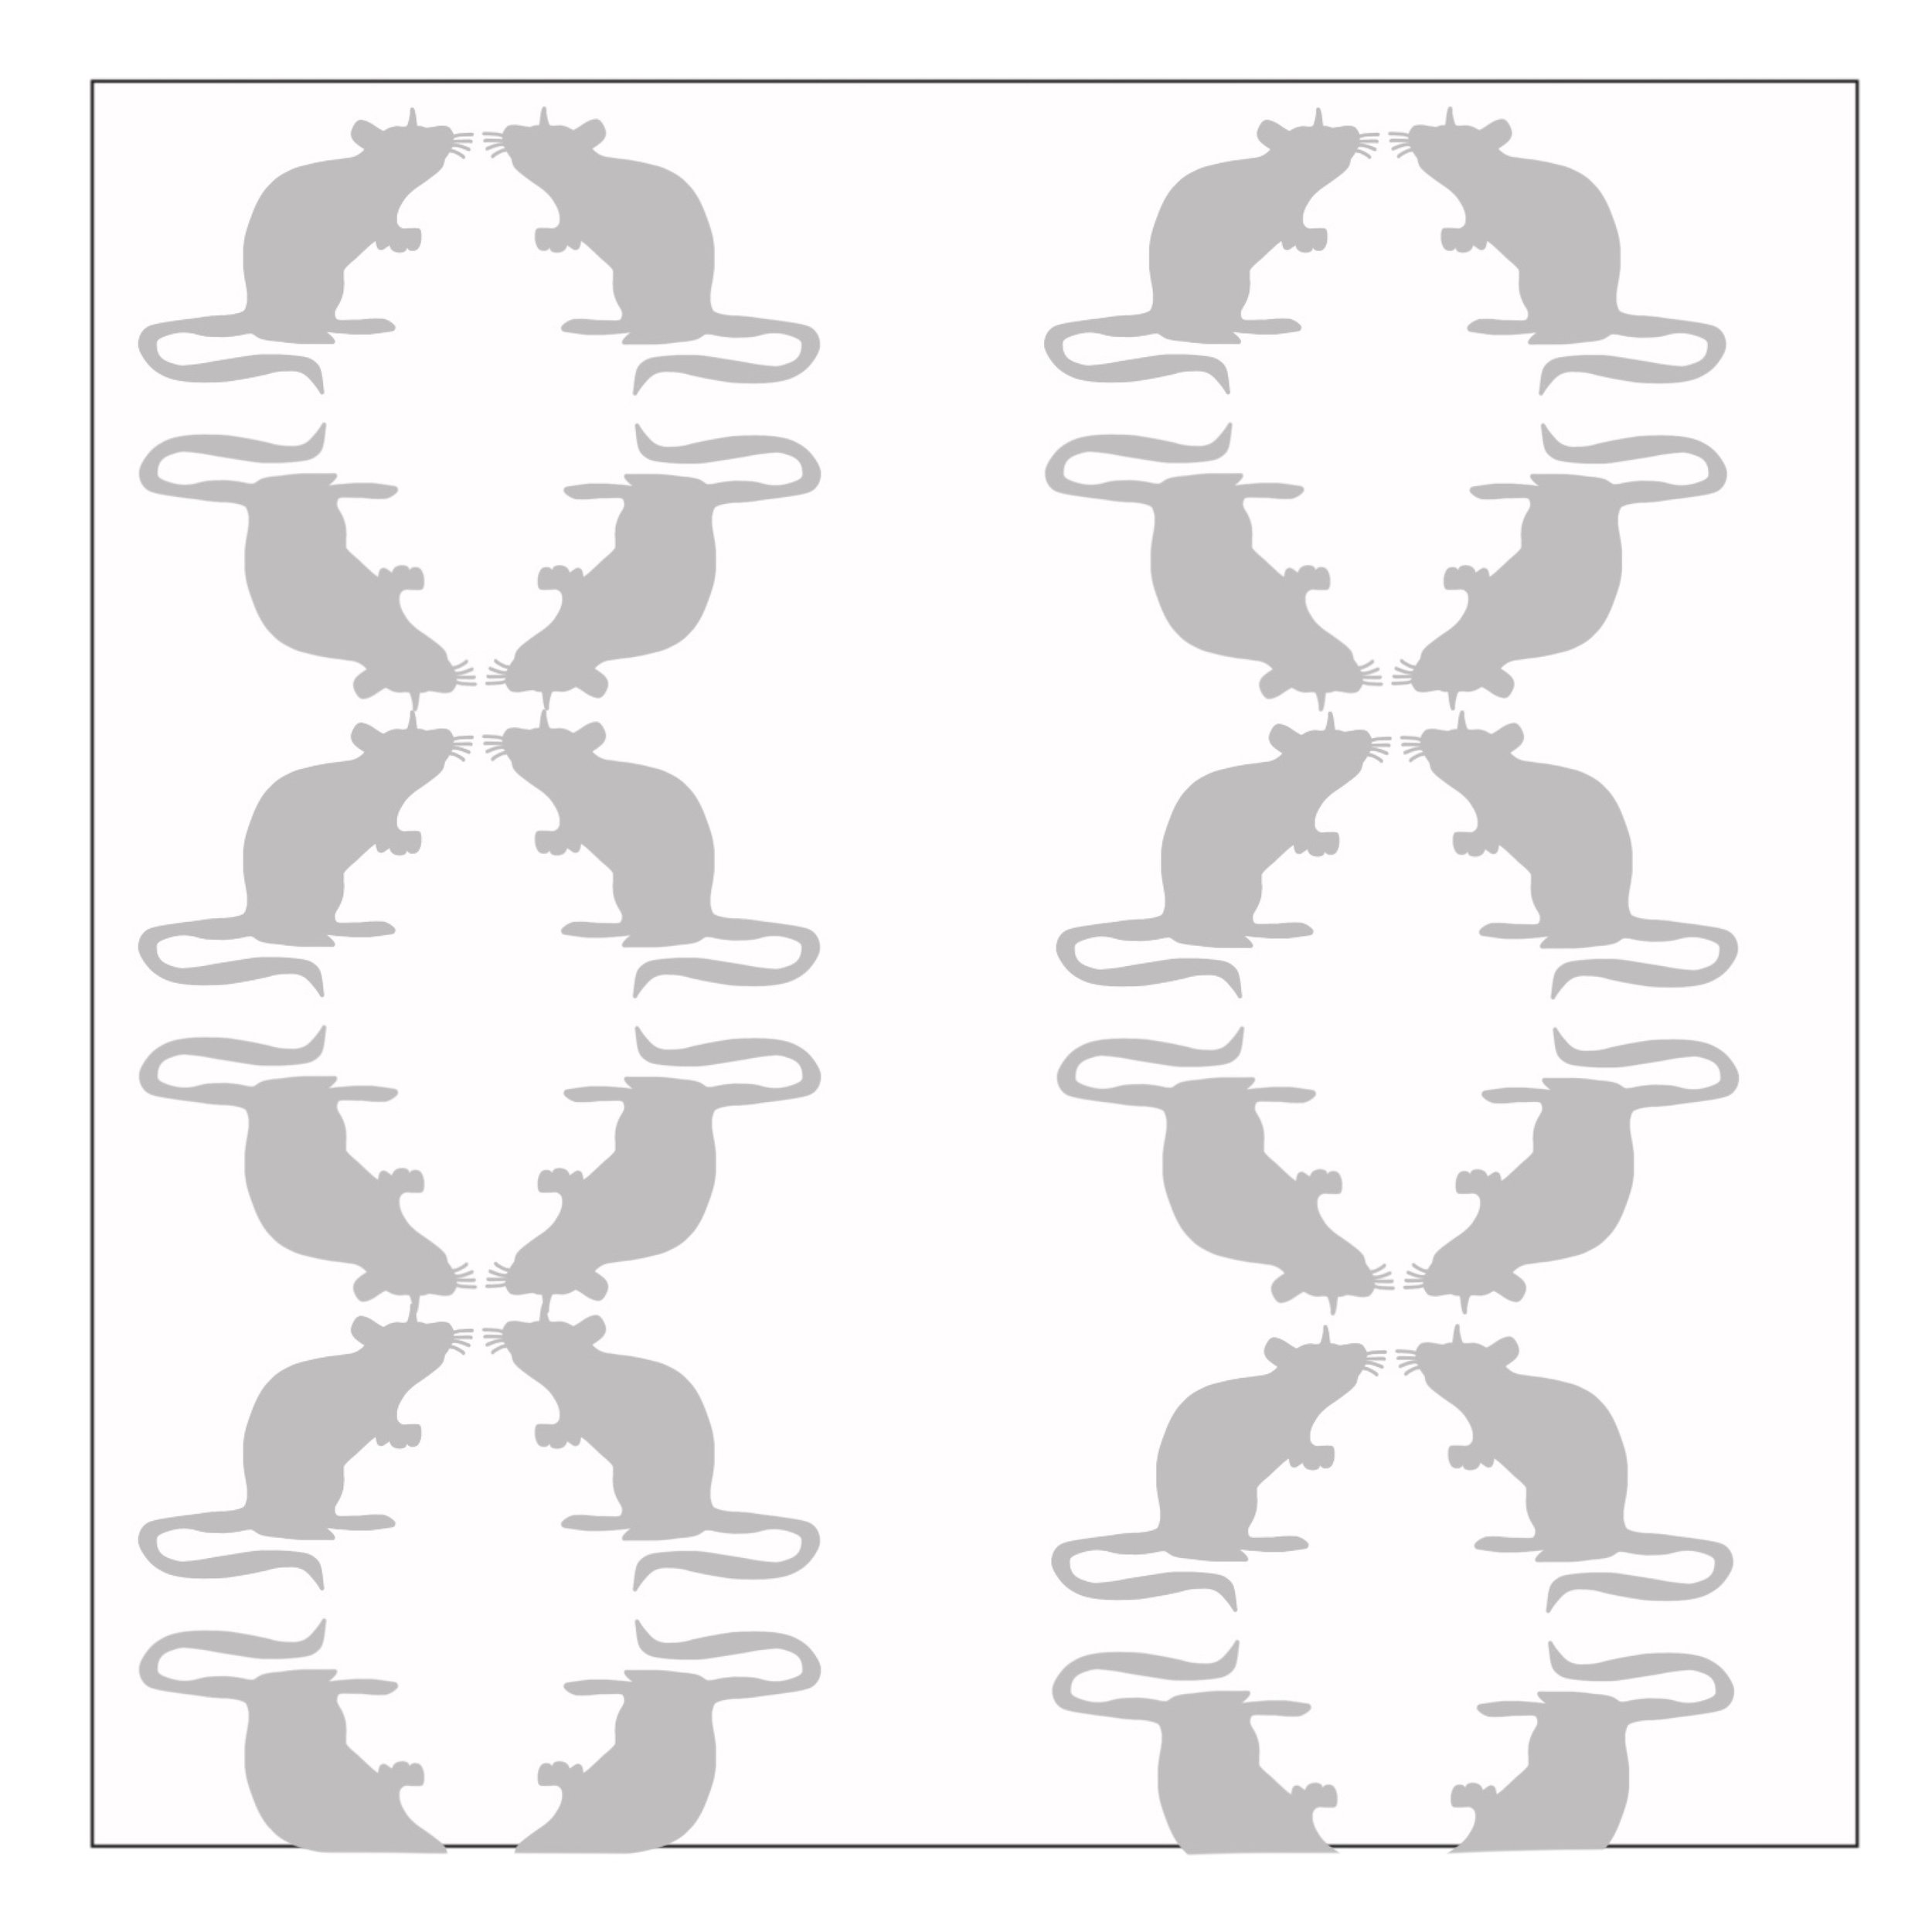
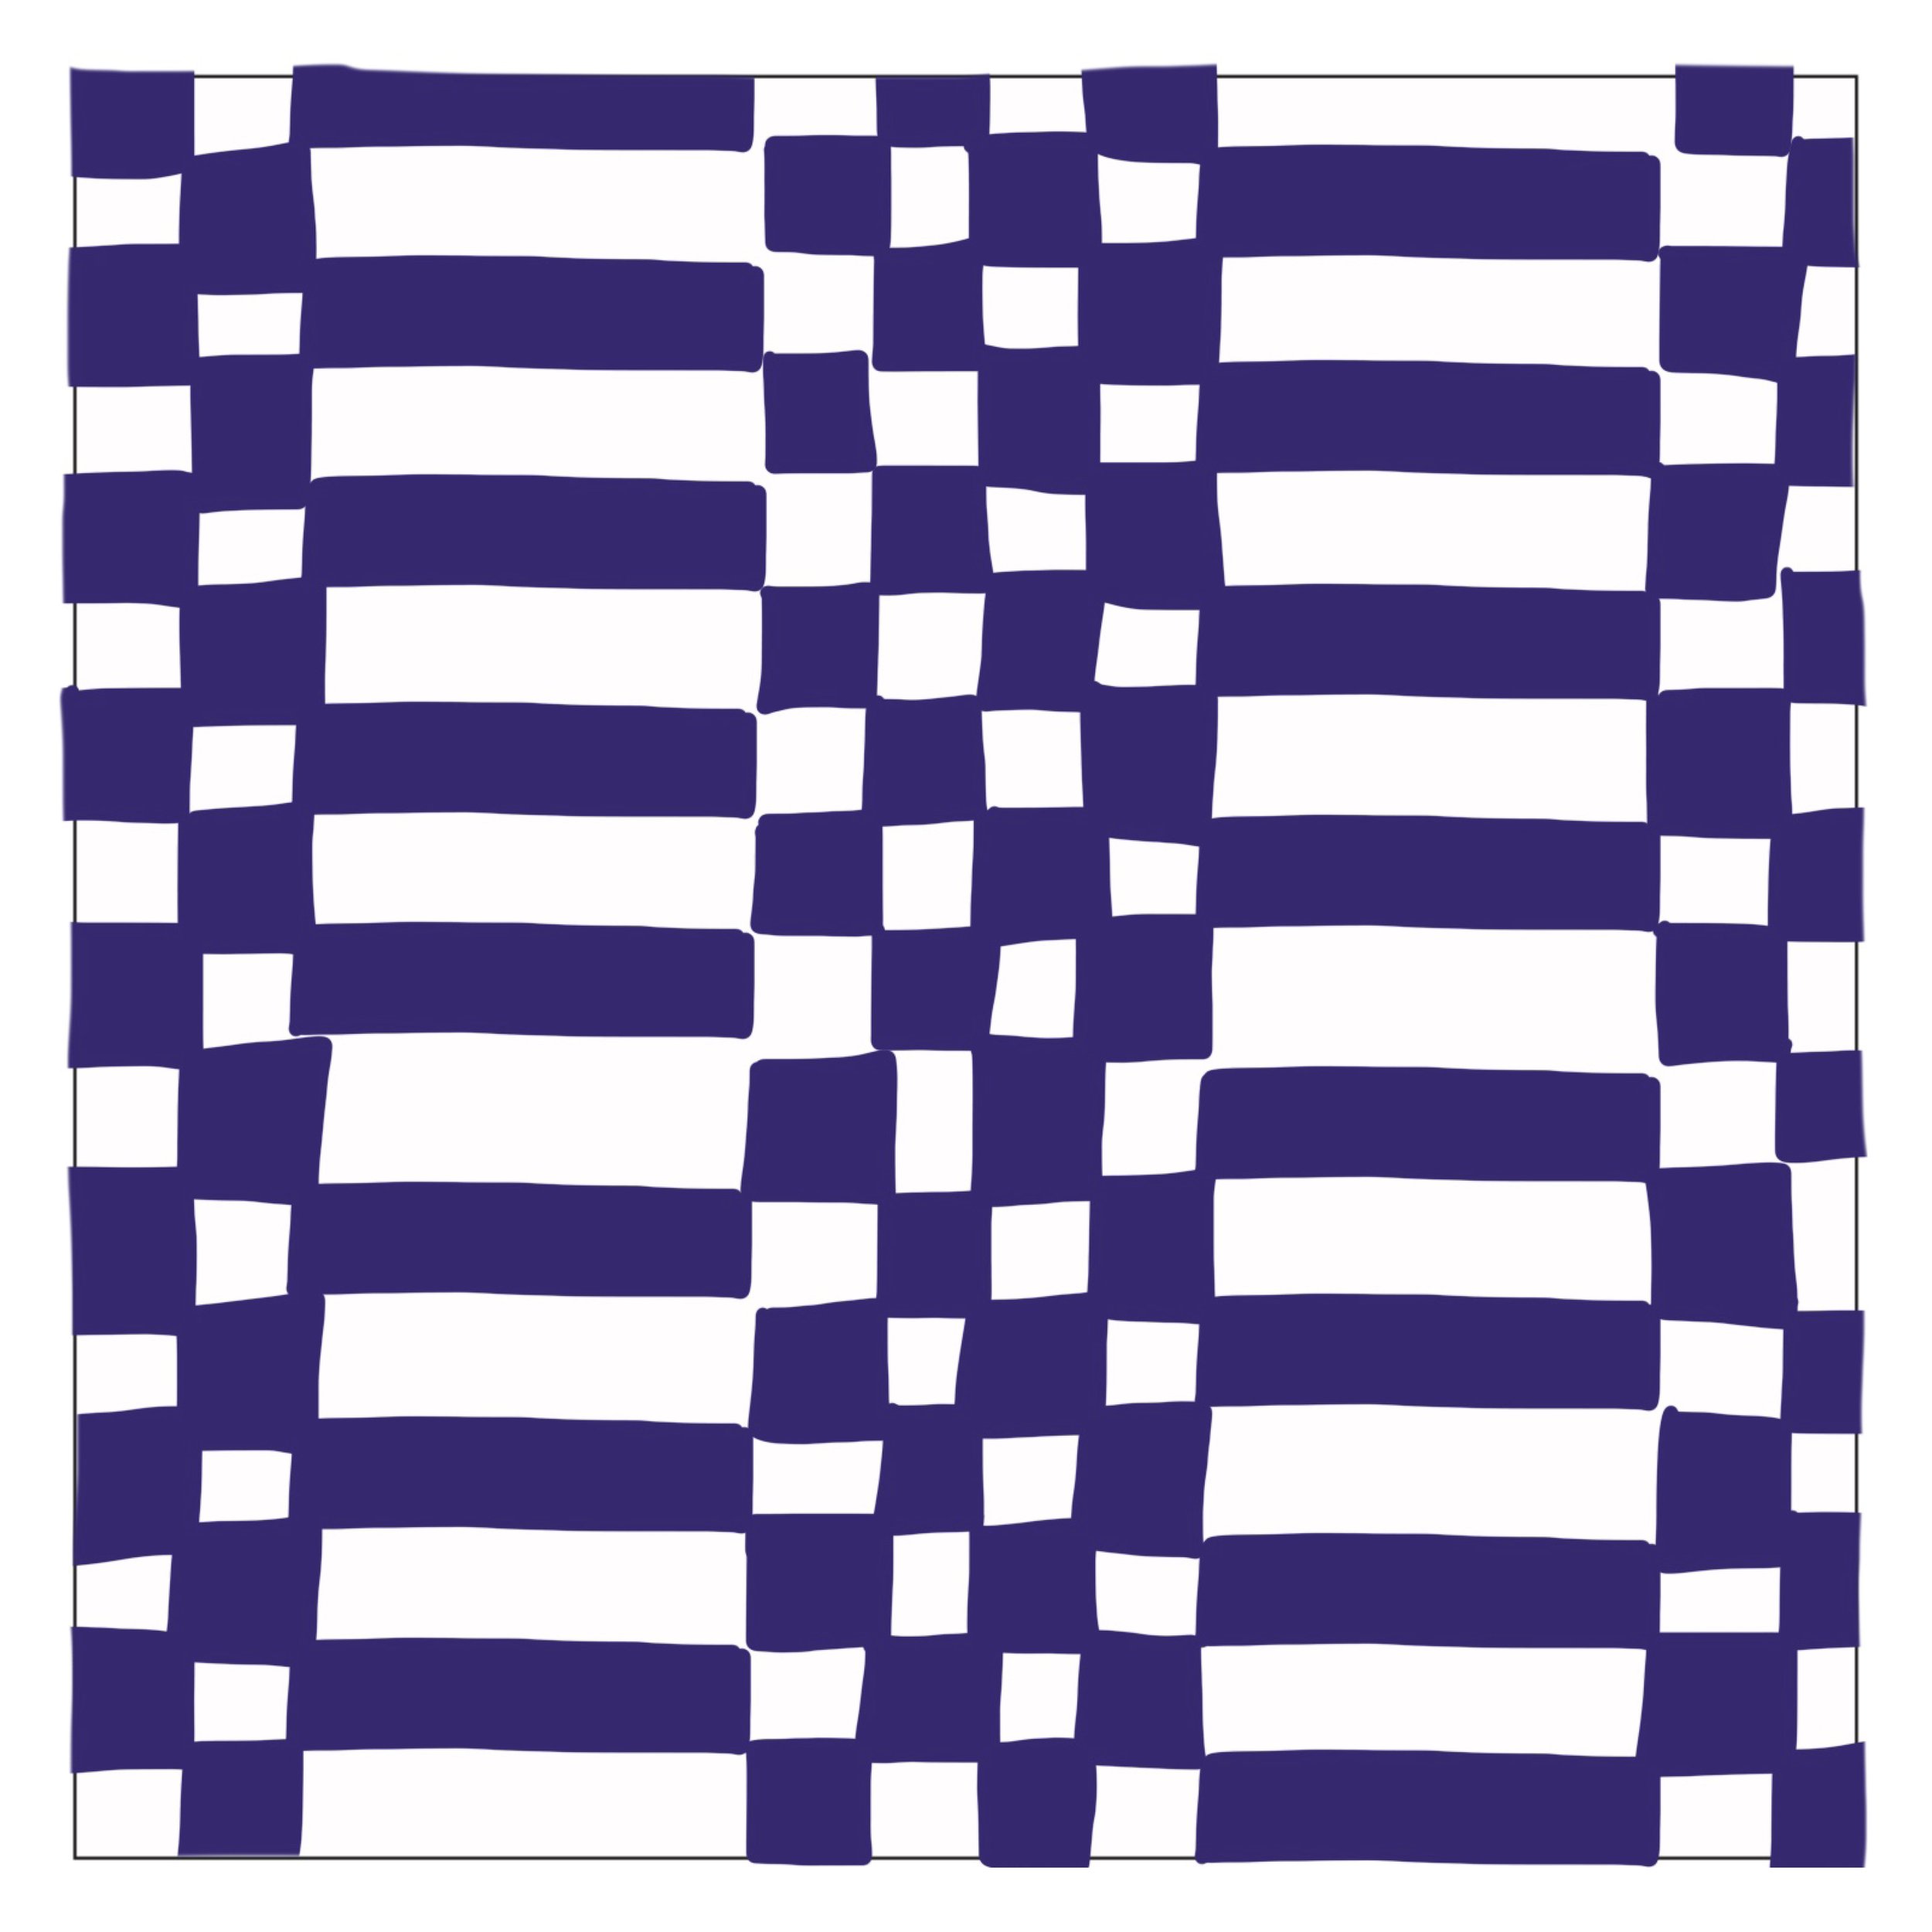
I was waiting till the end of the week to see if any of the other artists responded to the brief that I had sent out to them, but no one had which is understandable as everyone is fairly busy. Due to this I wanted to create some examples to each of the briefs which I could show within the PDF, so that you were able to really get to grip with how the installation would look. These examples can be seen below:
Pattern: as


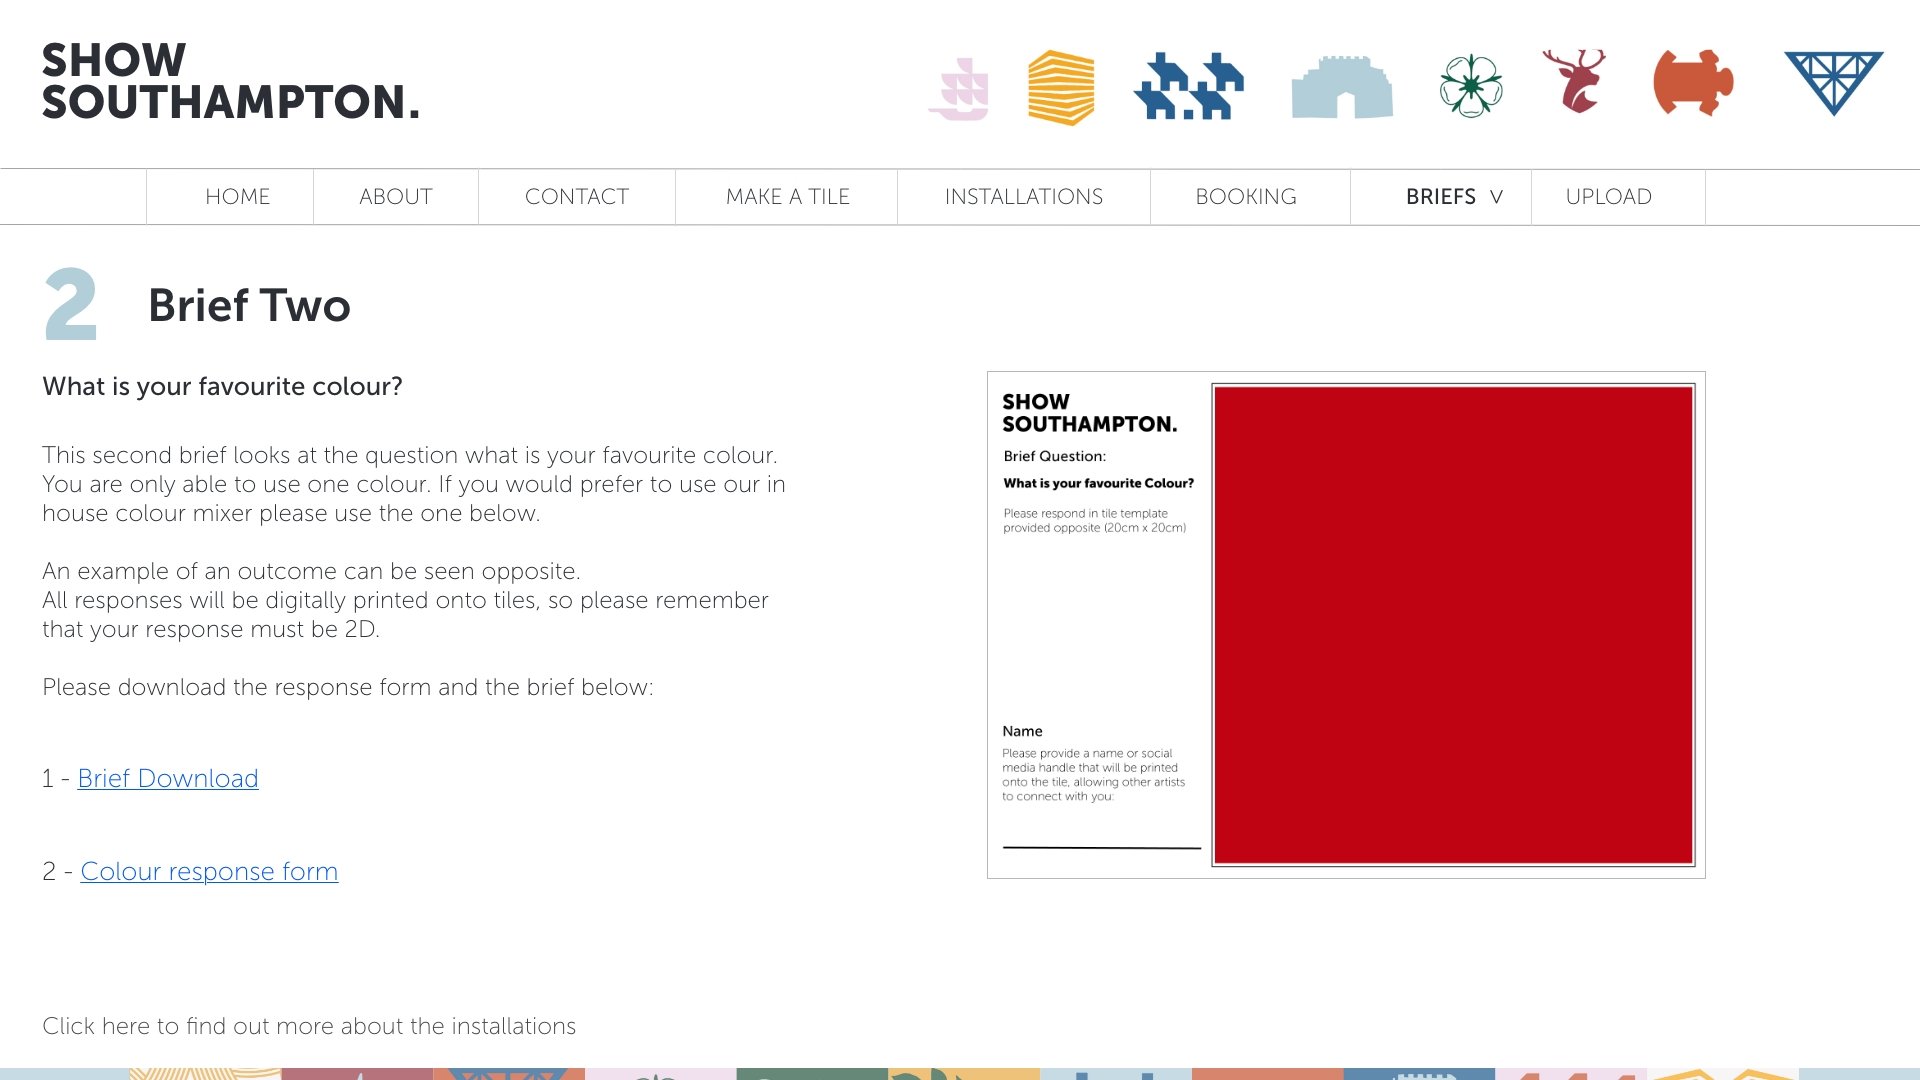
Colour:
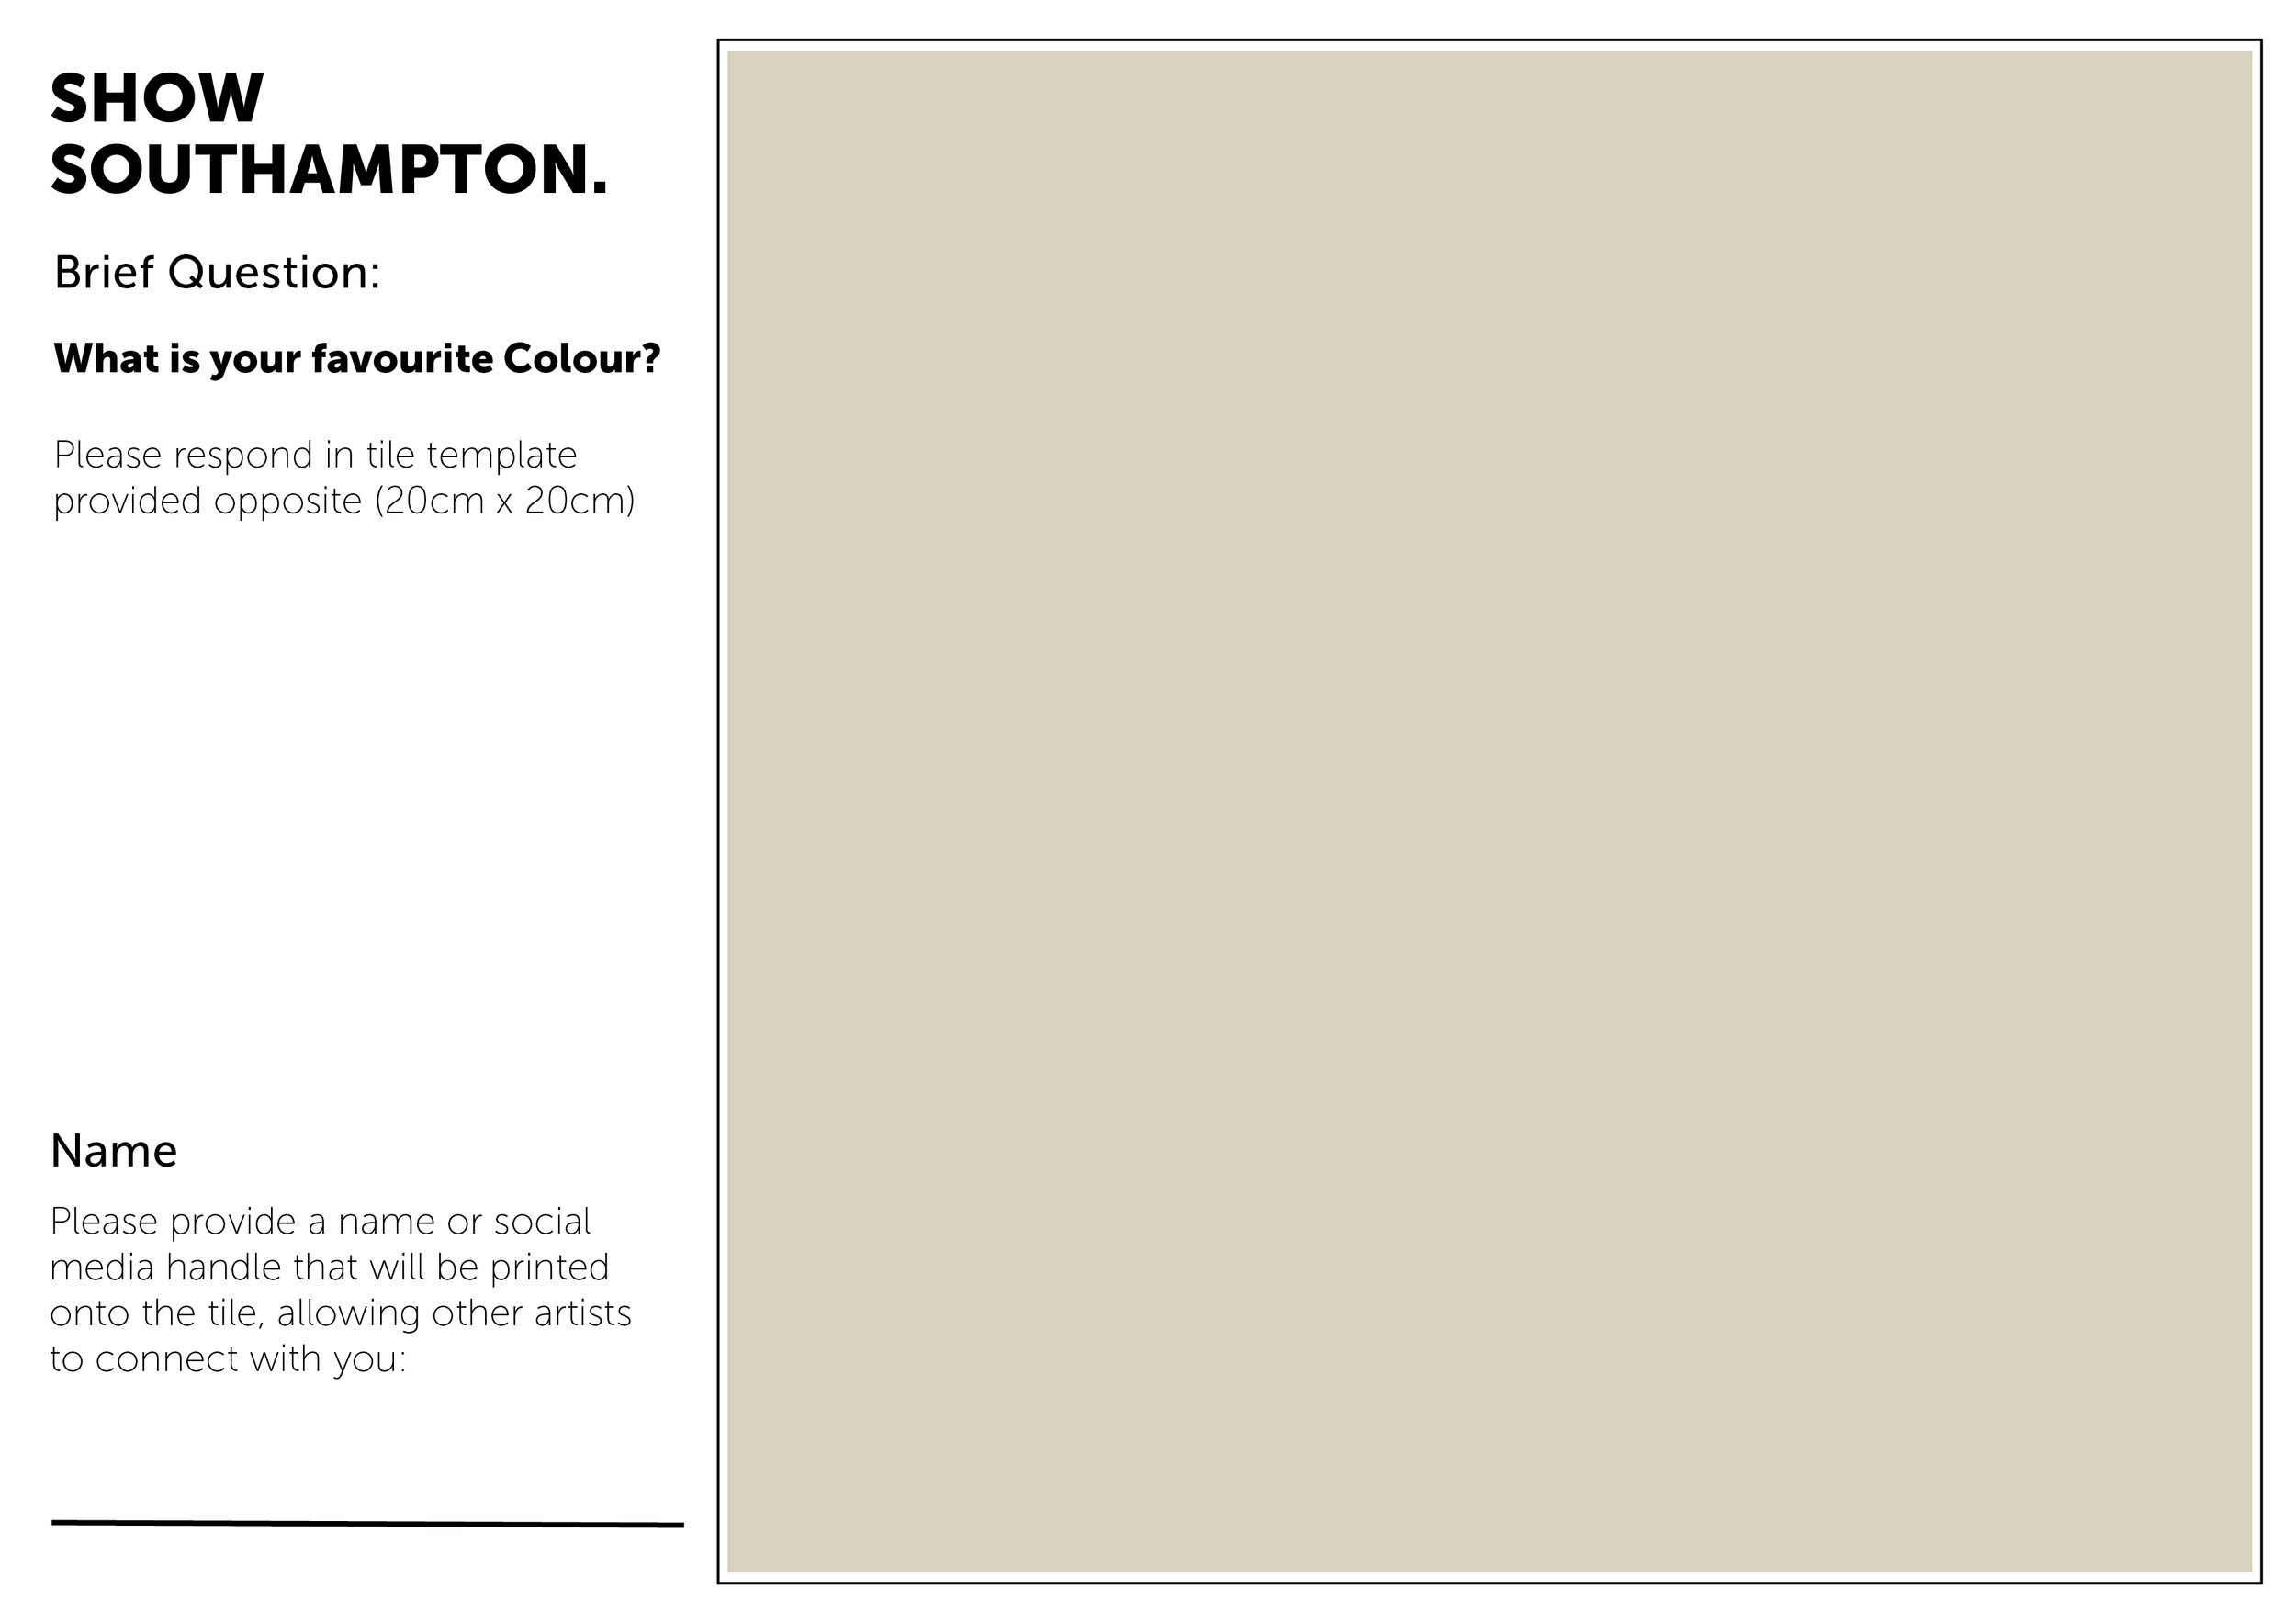
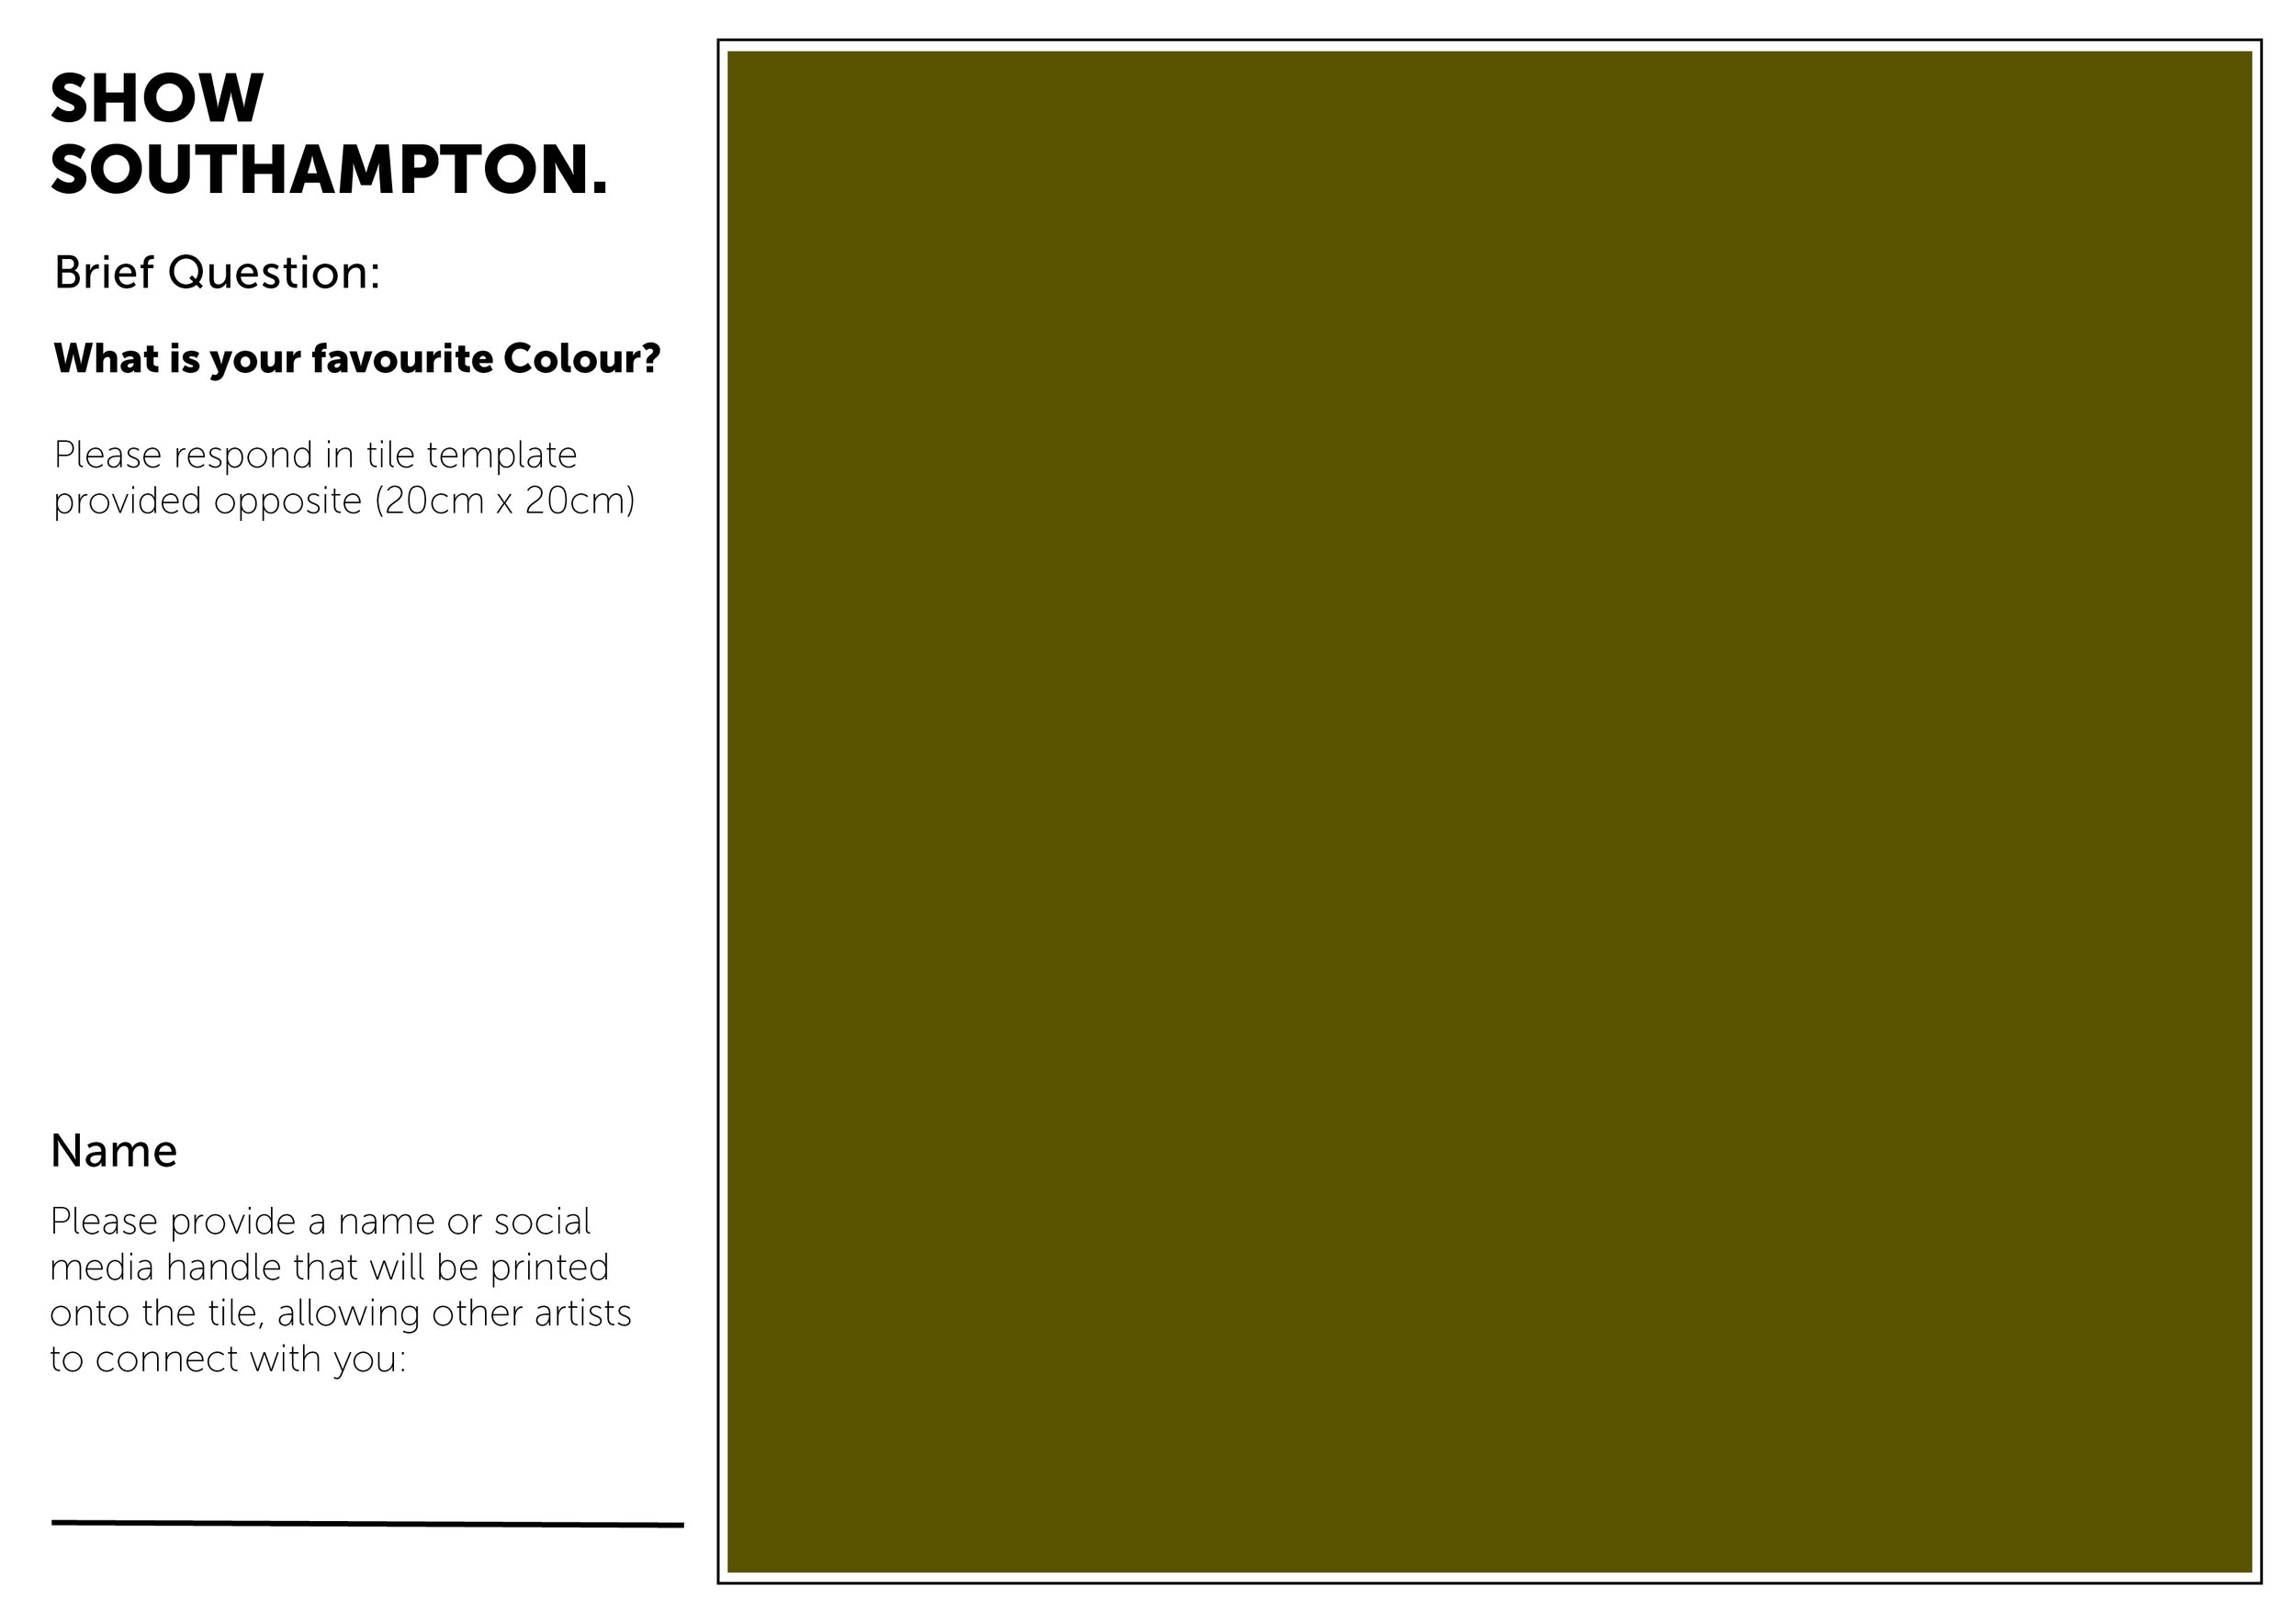
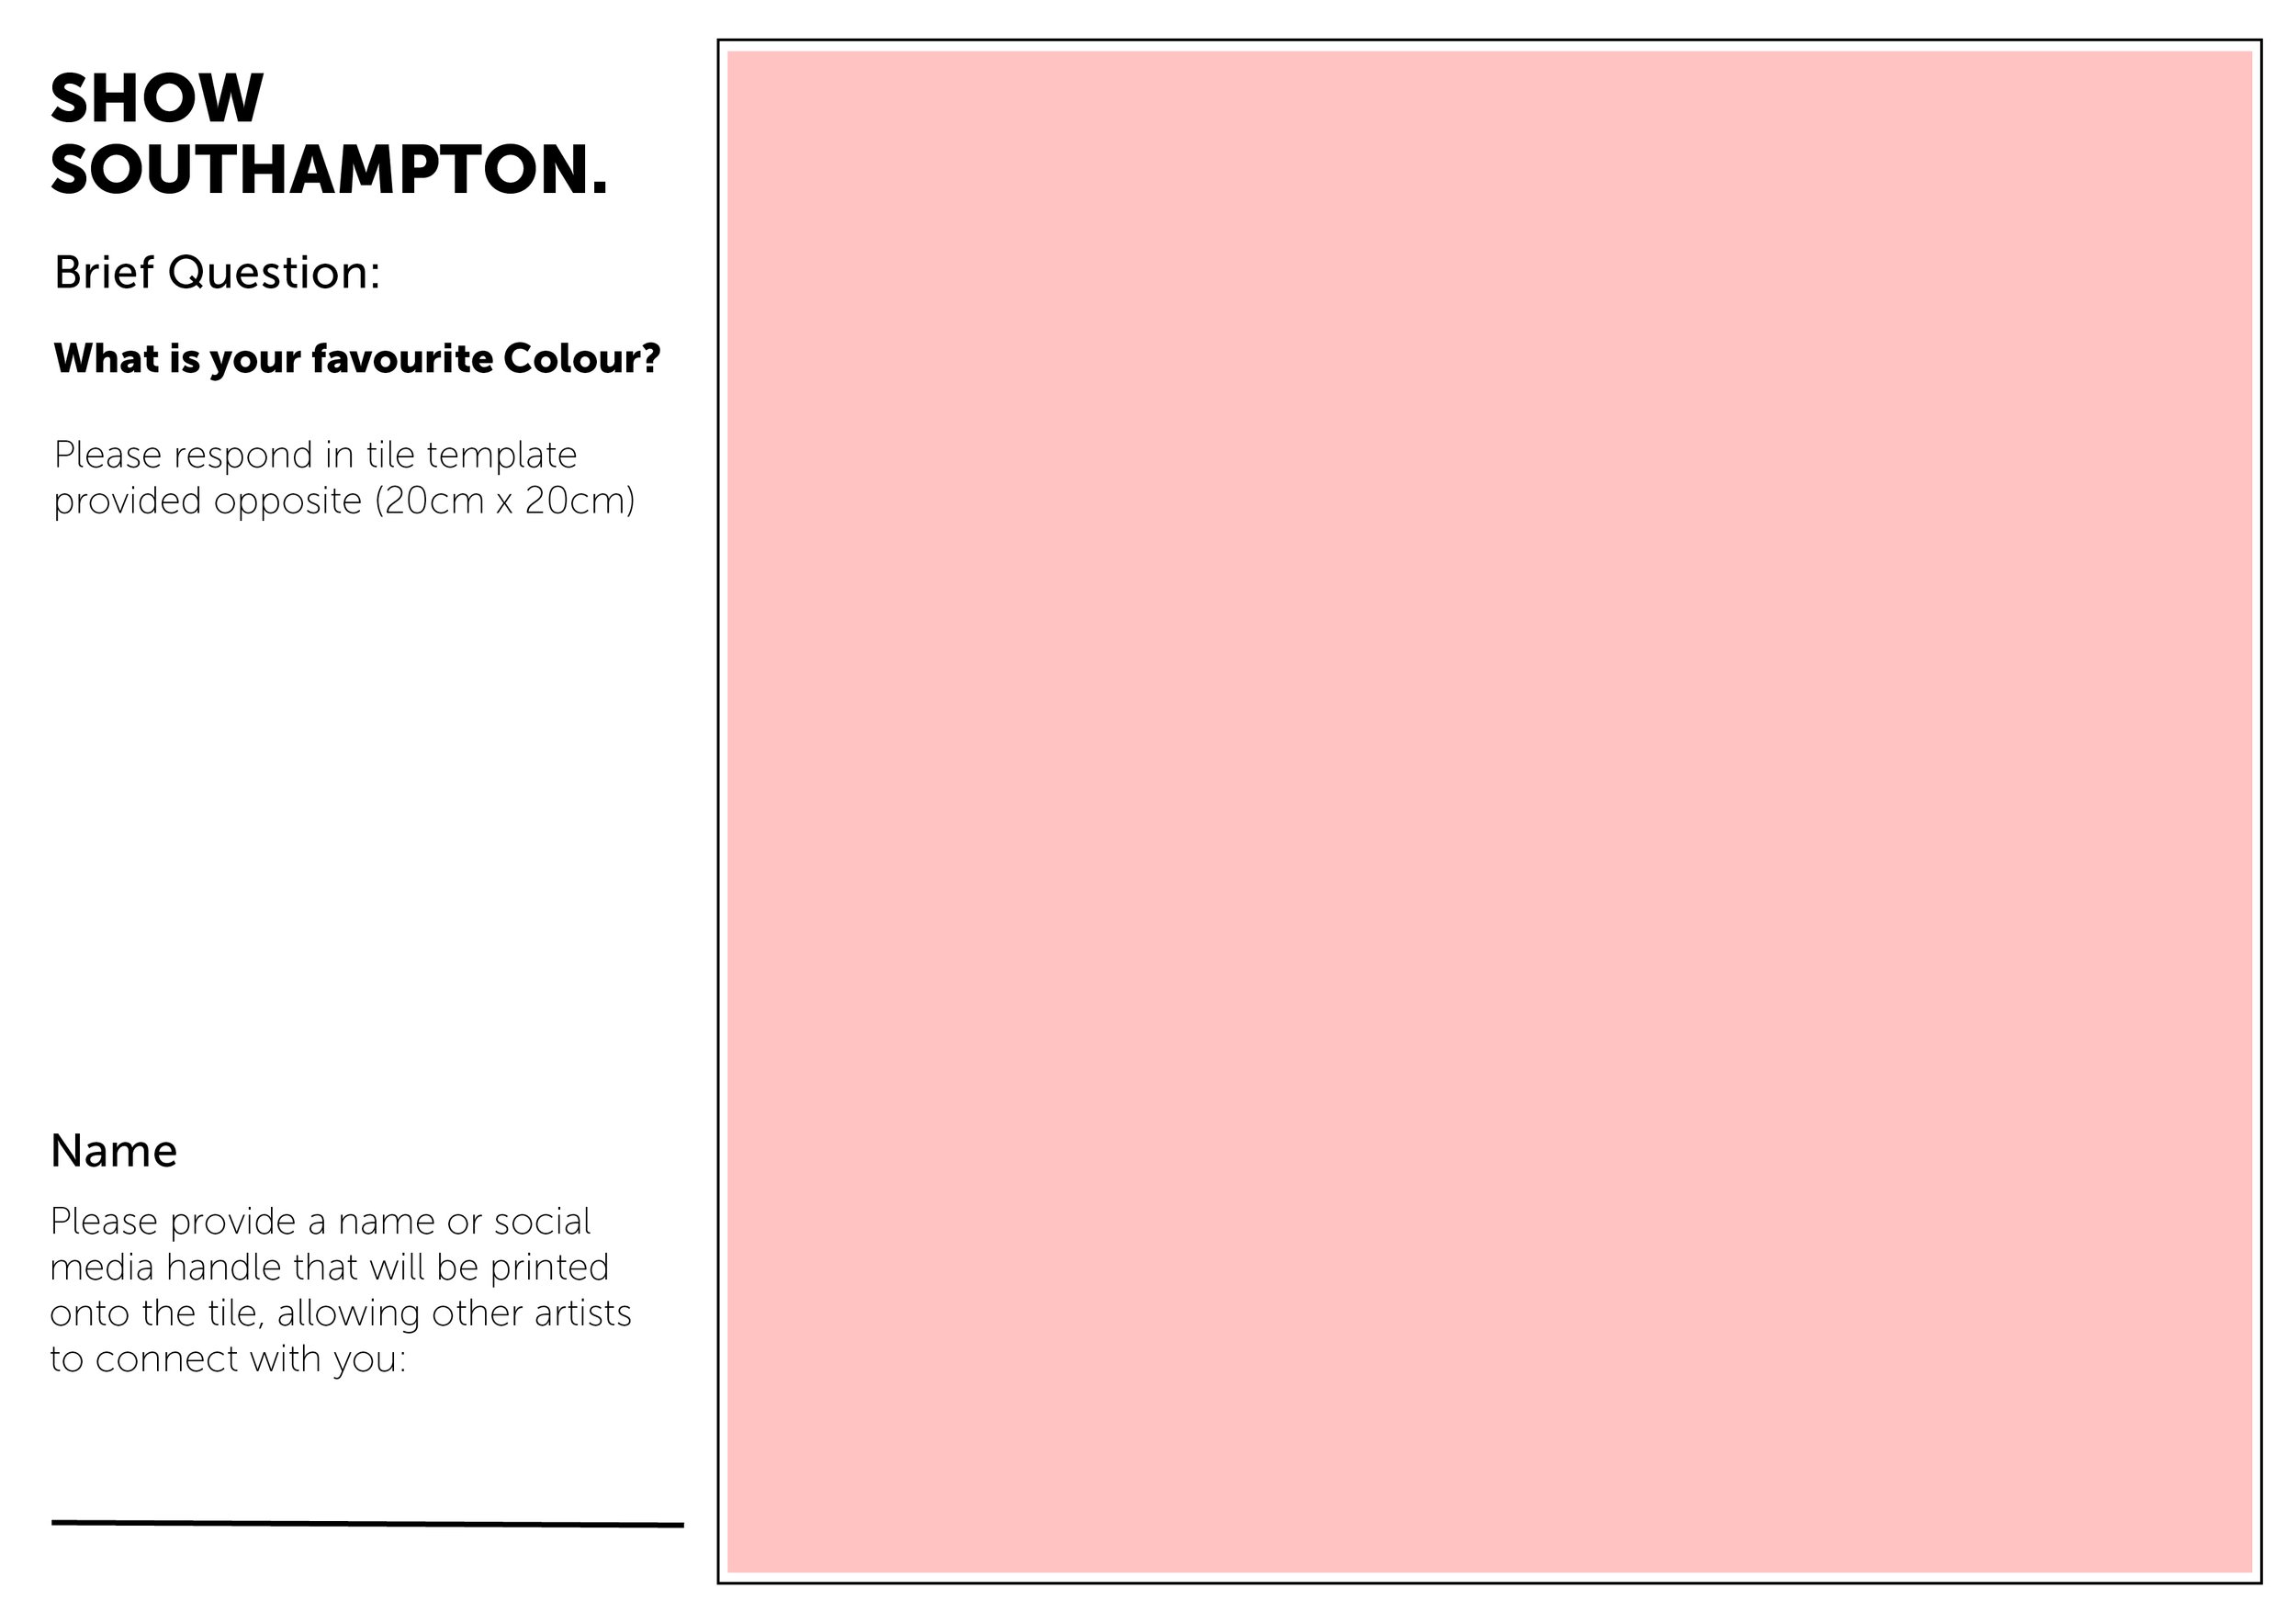

Doing these coloured tiles made me realise i would like to have a colour mixer on the website.
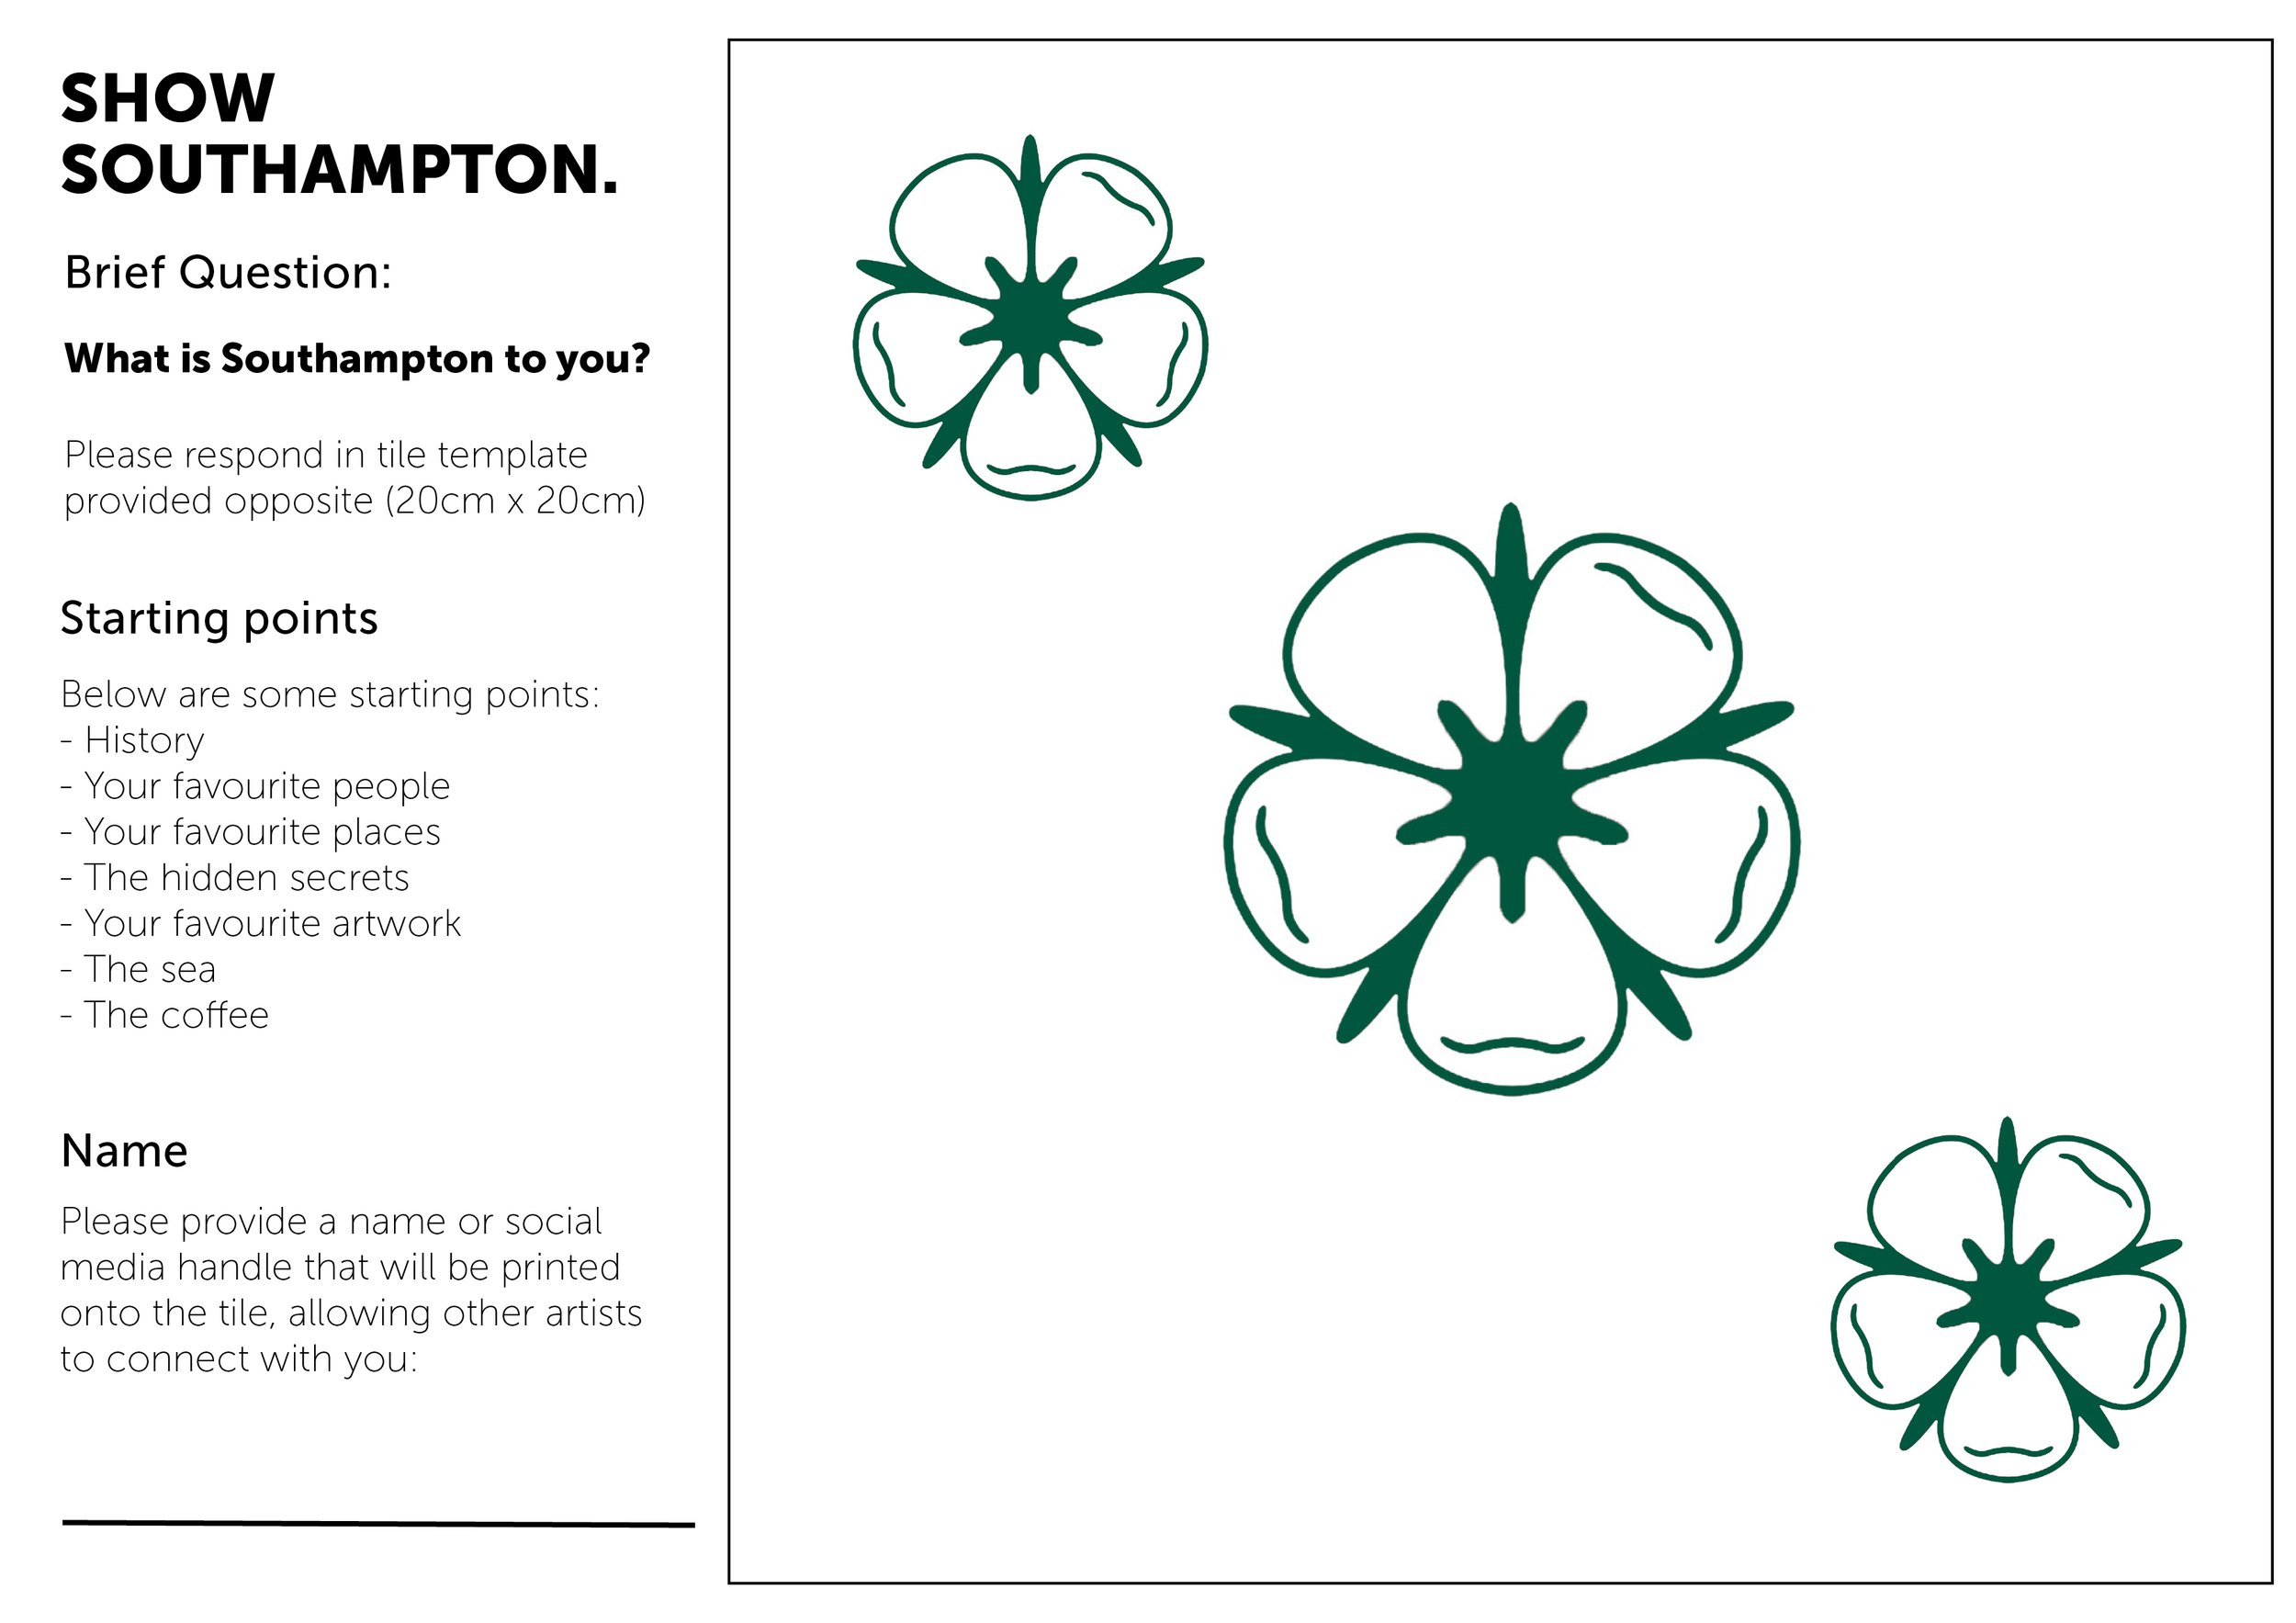
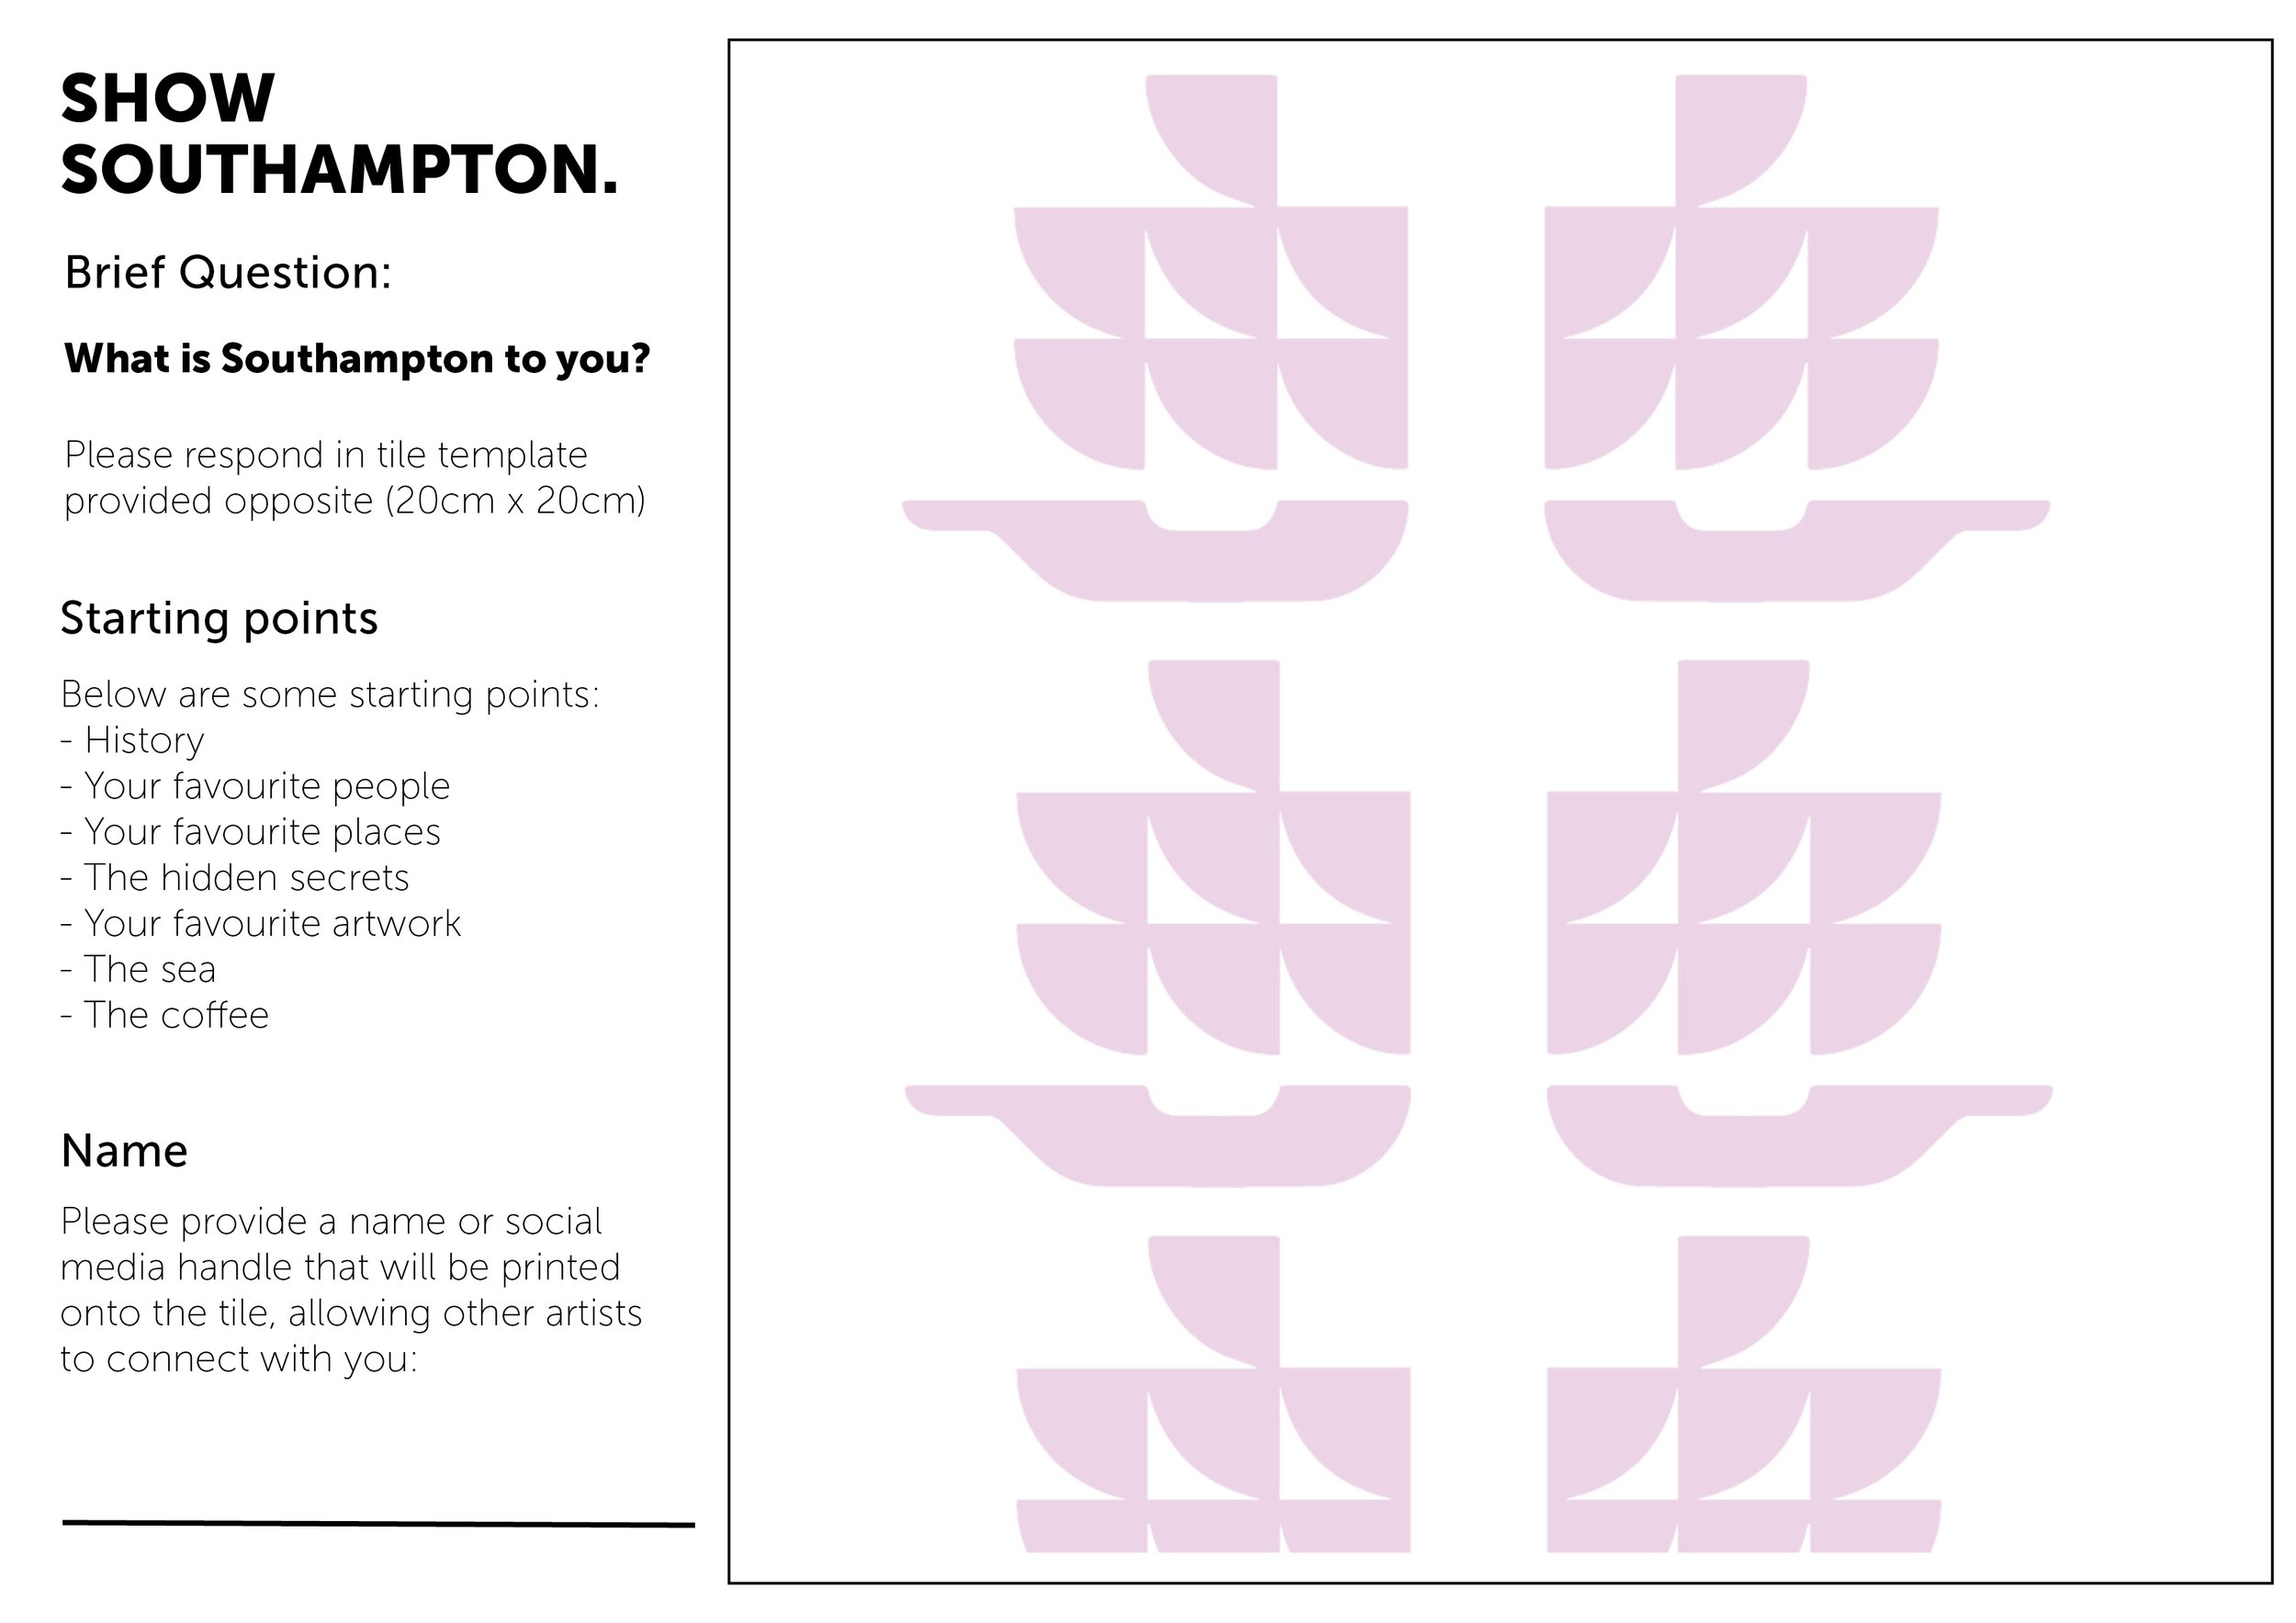
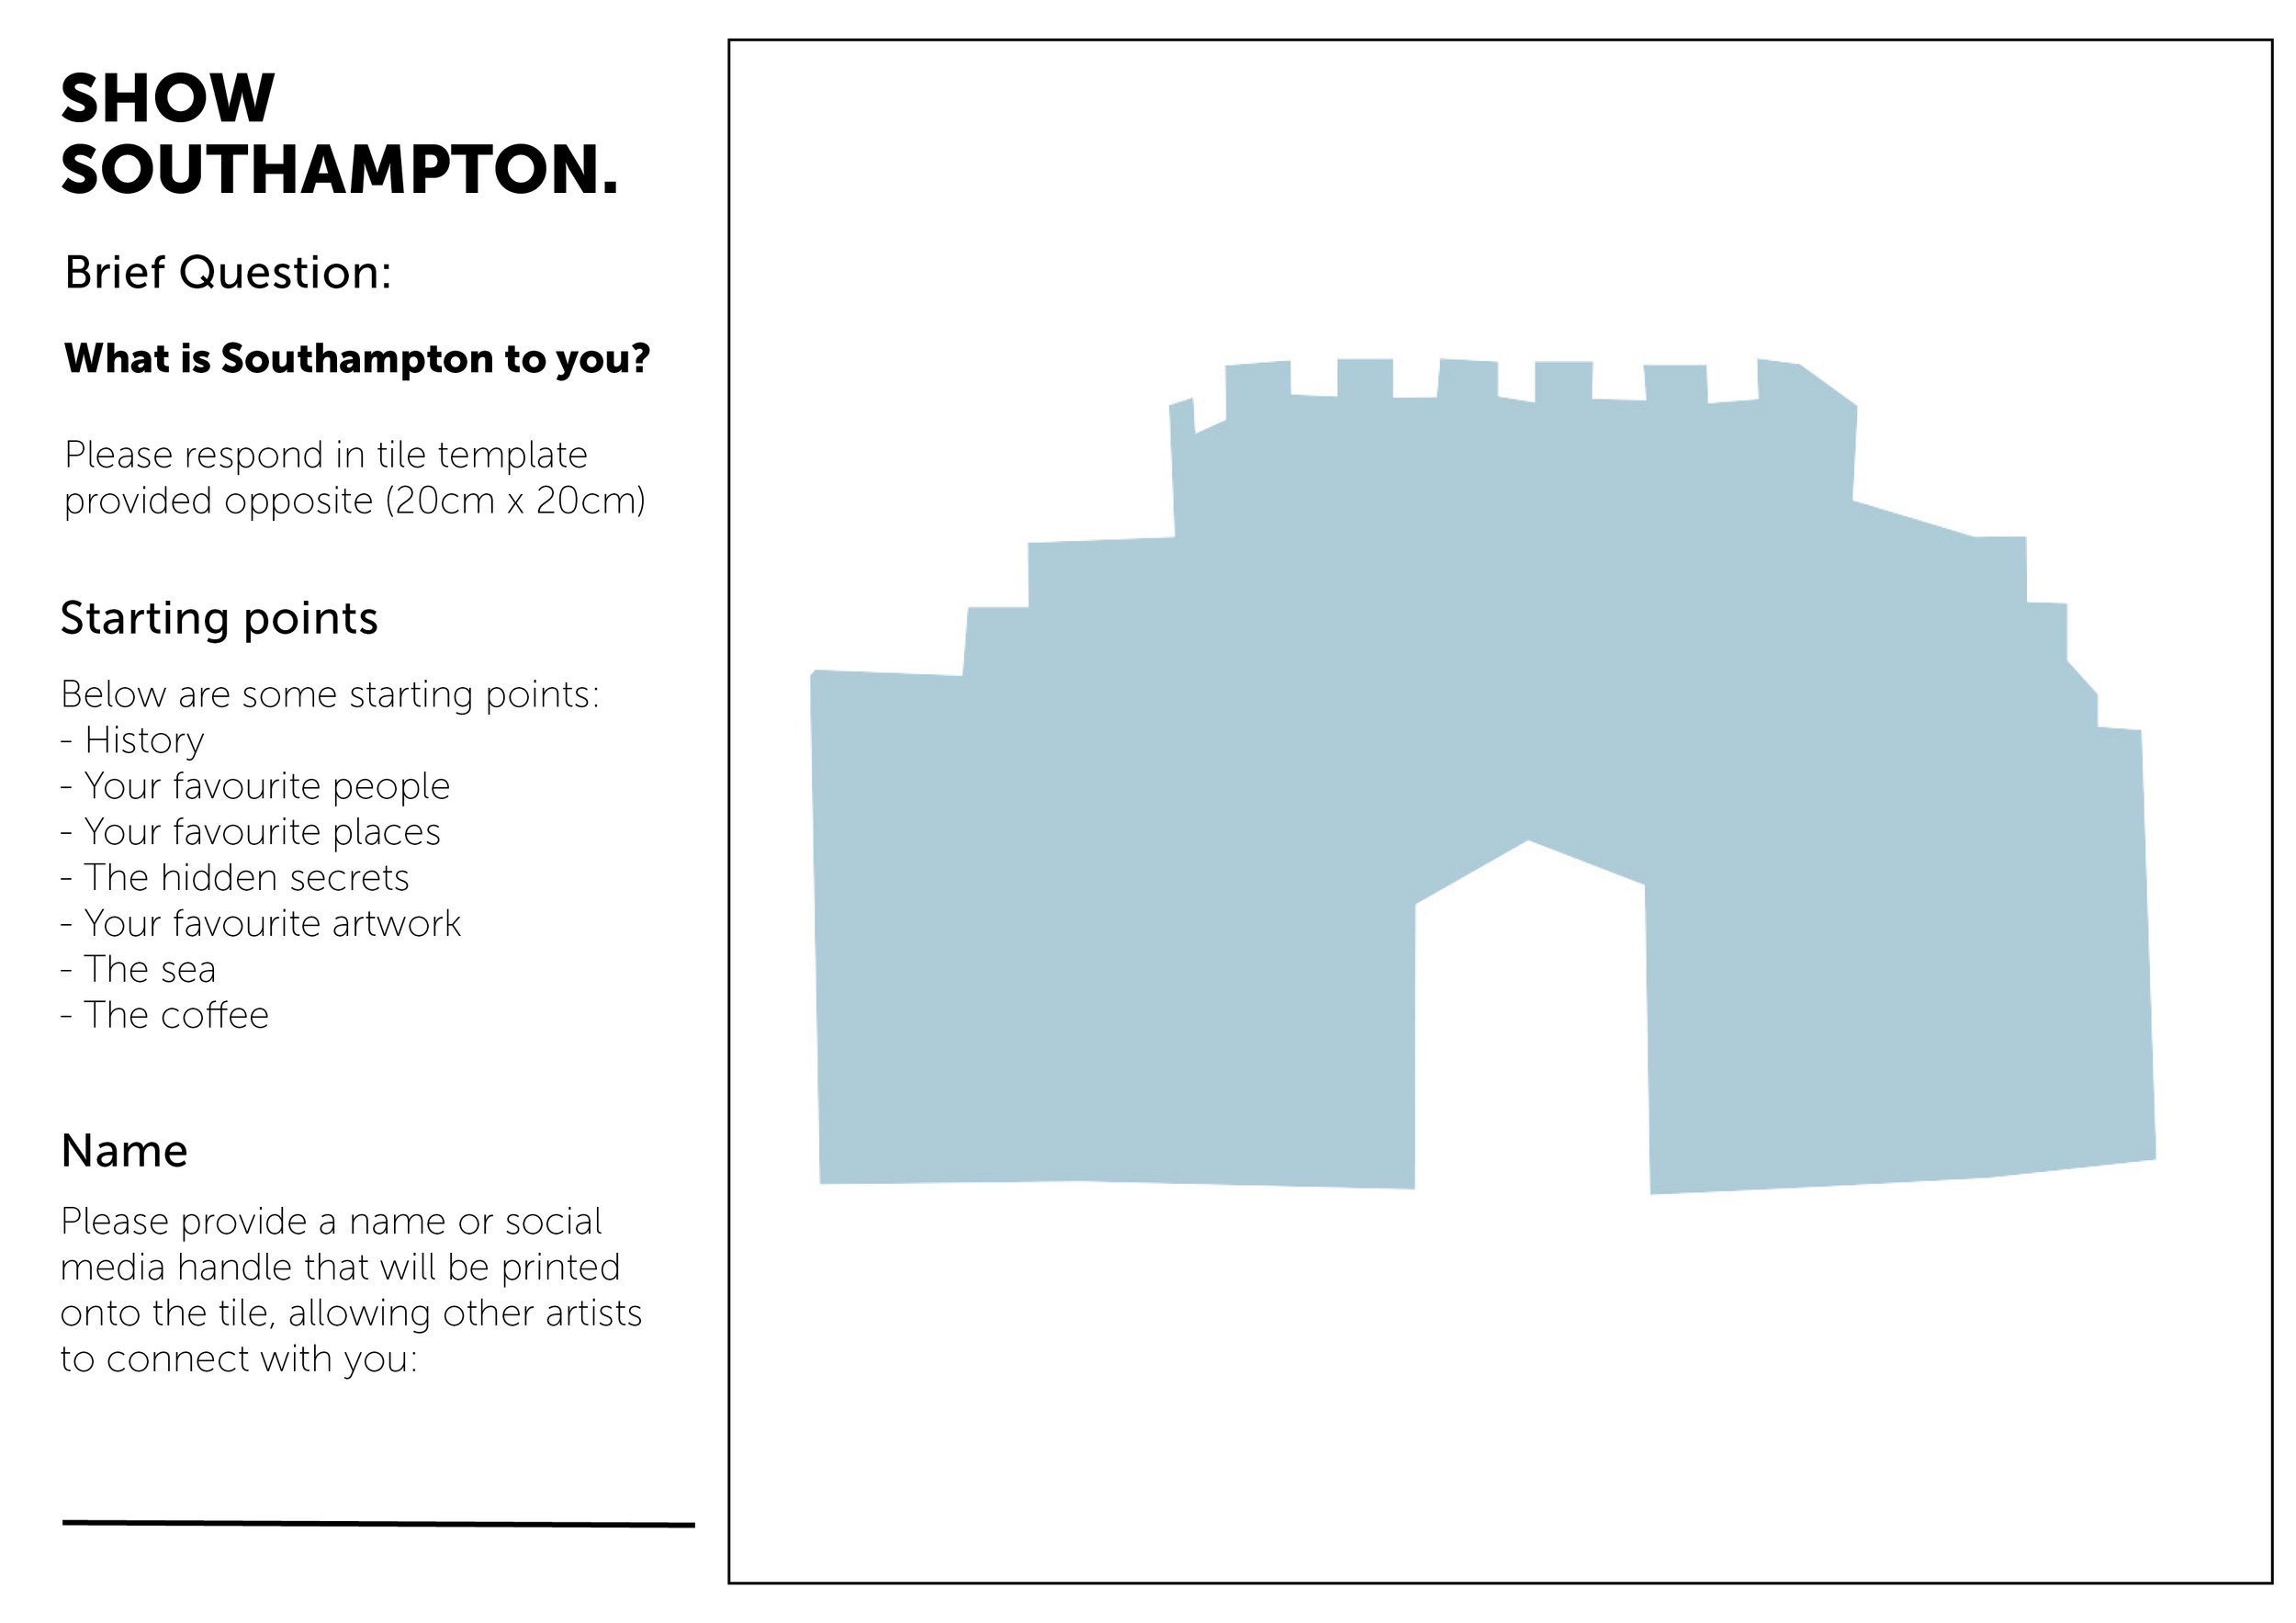
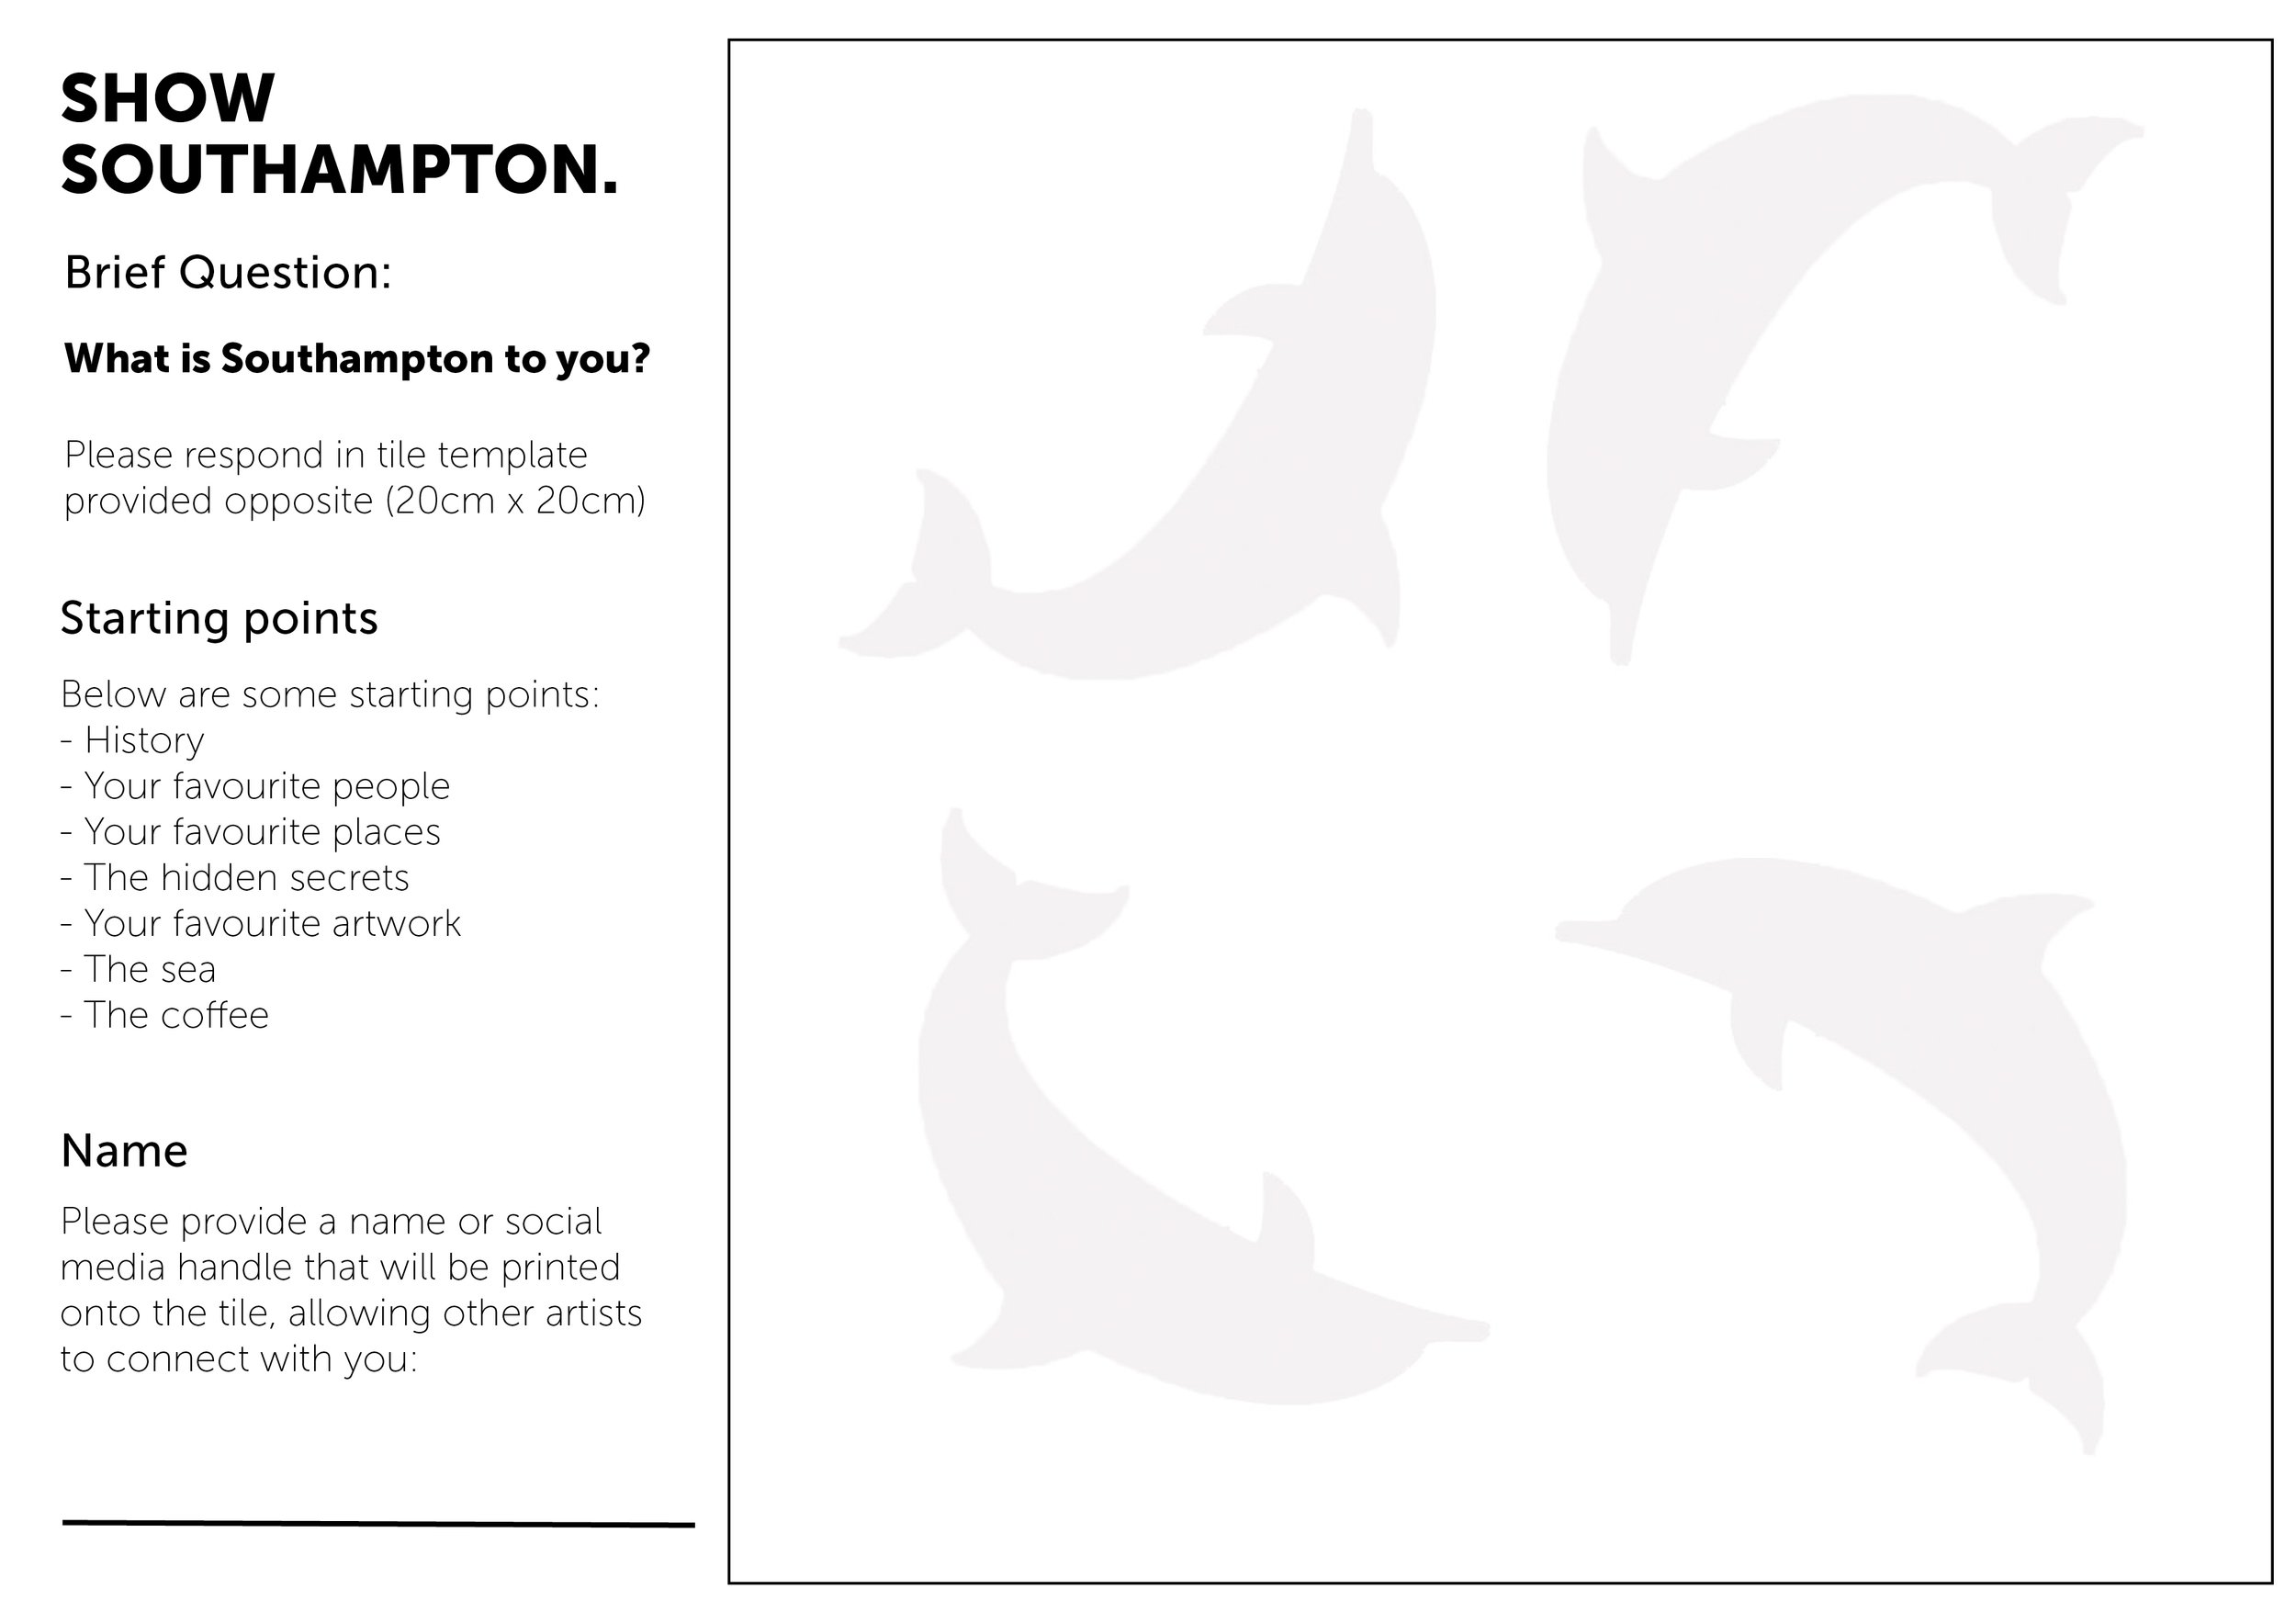
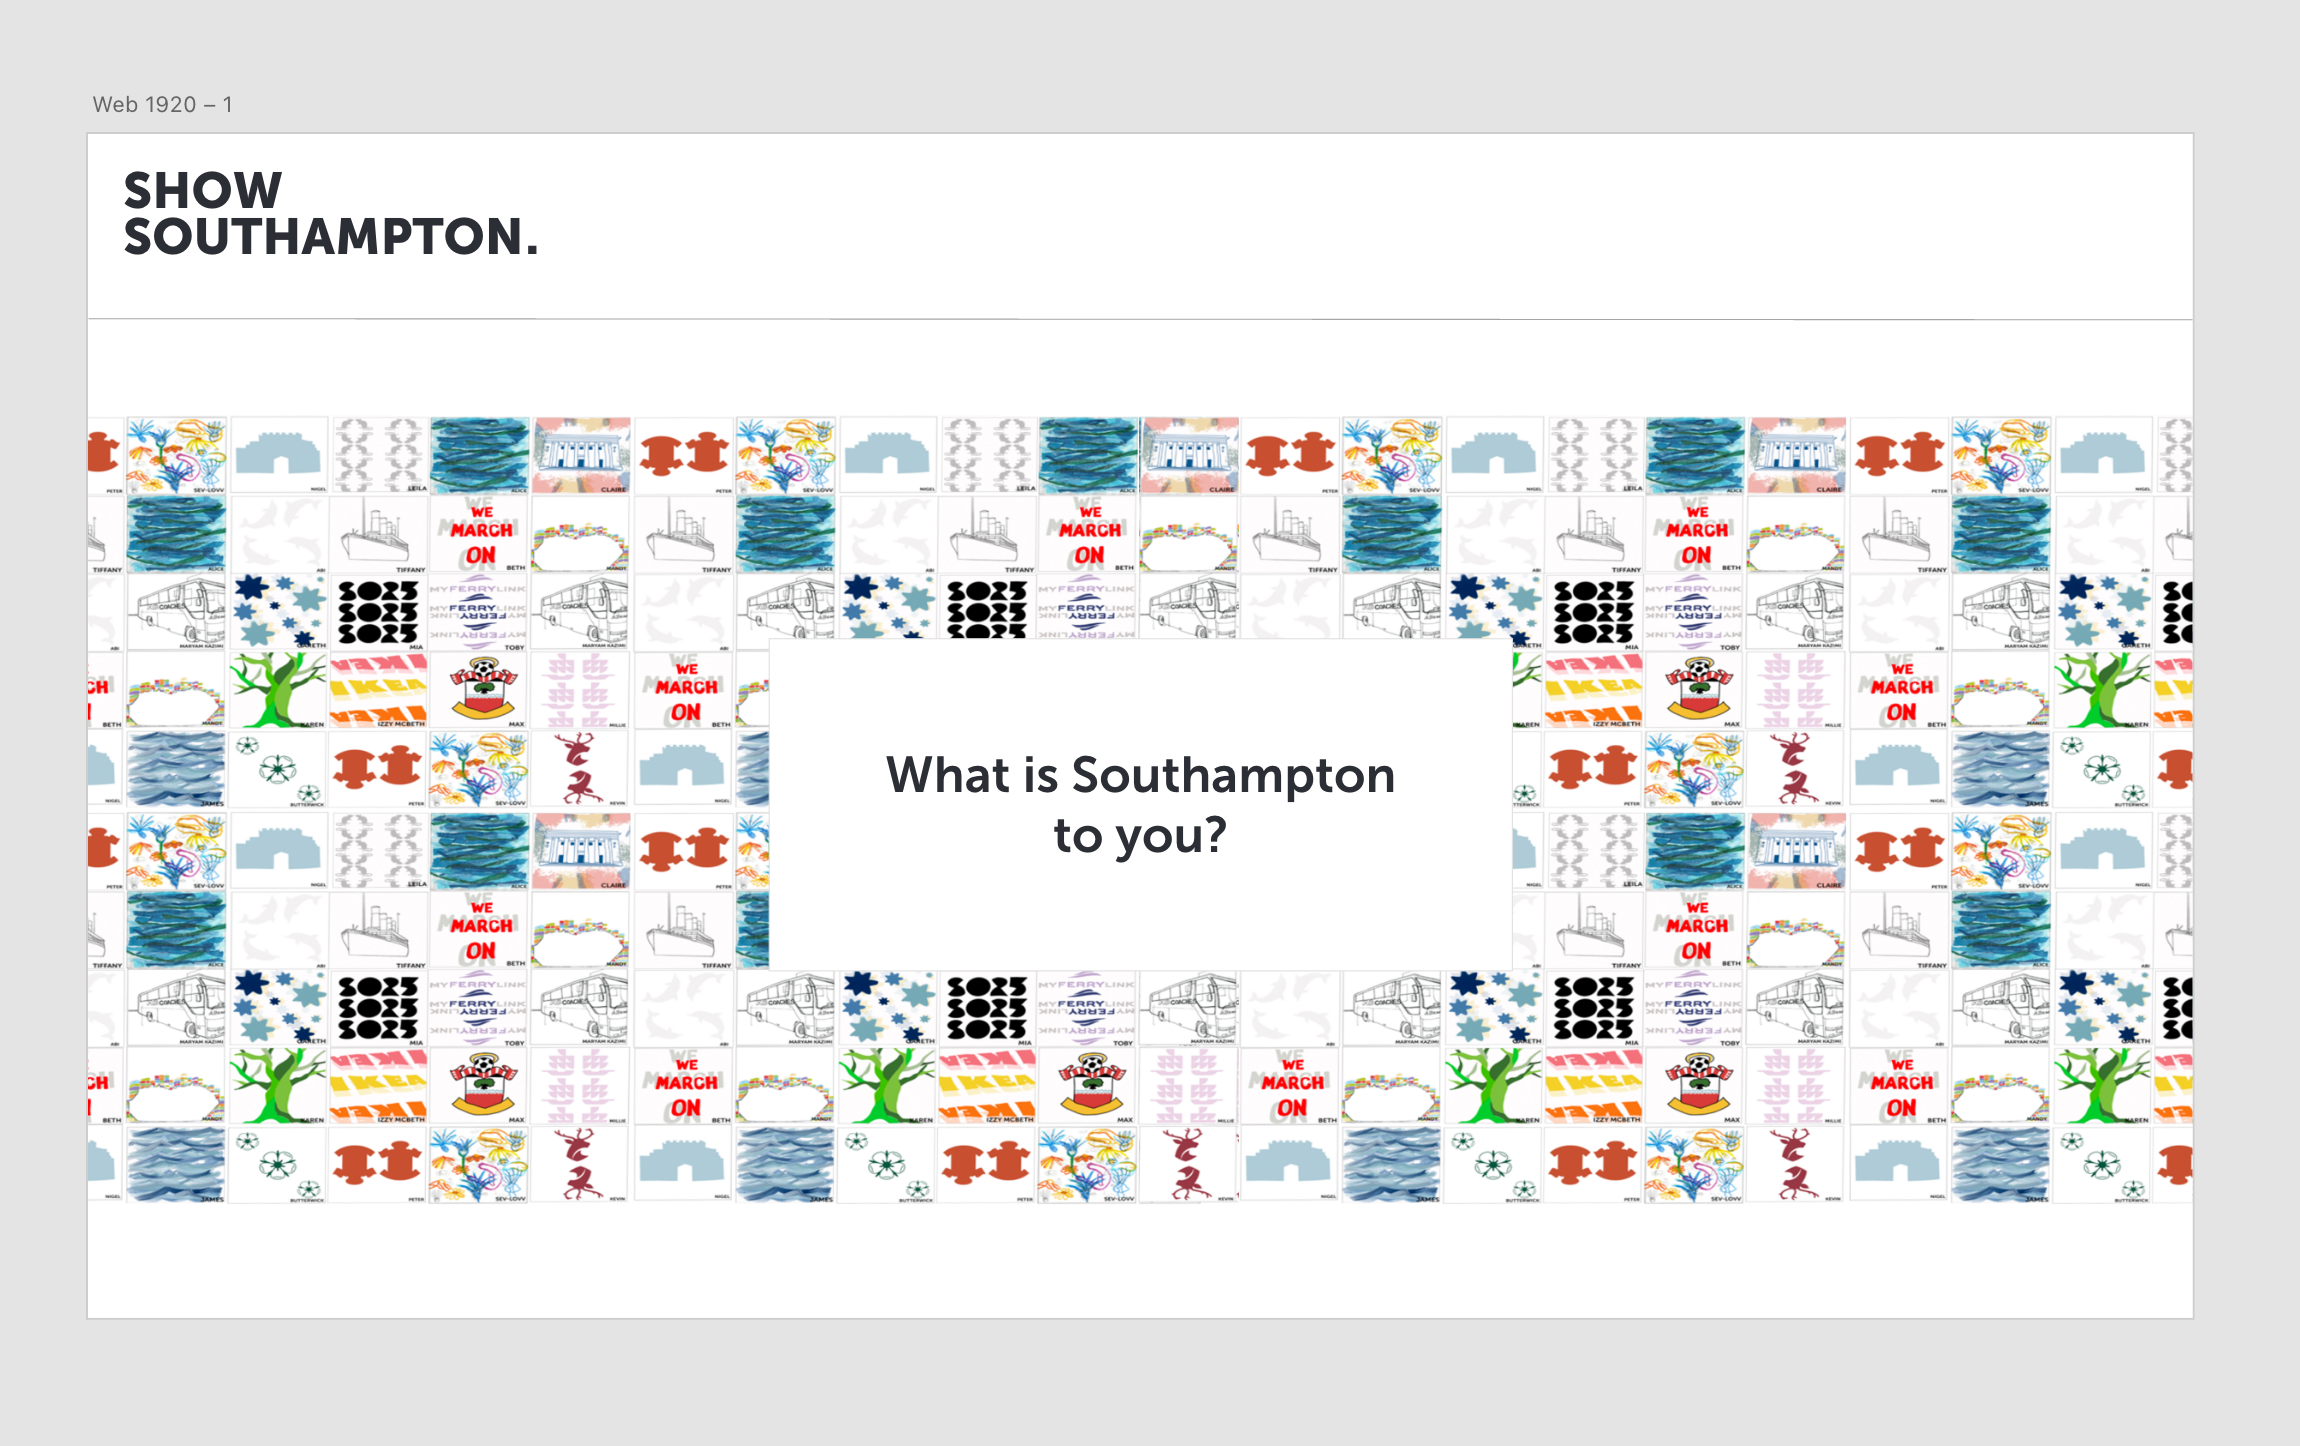
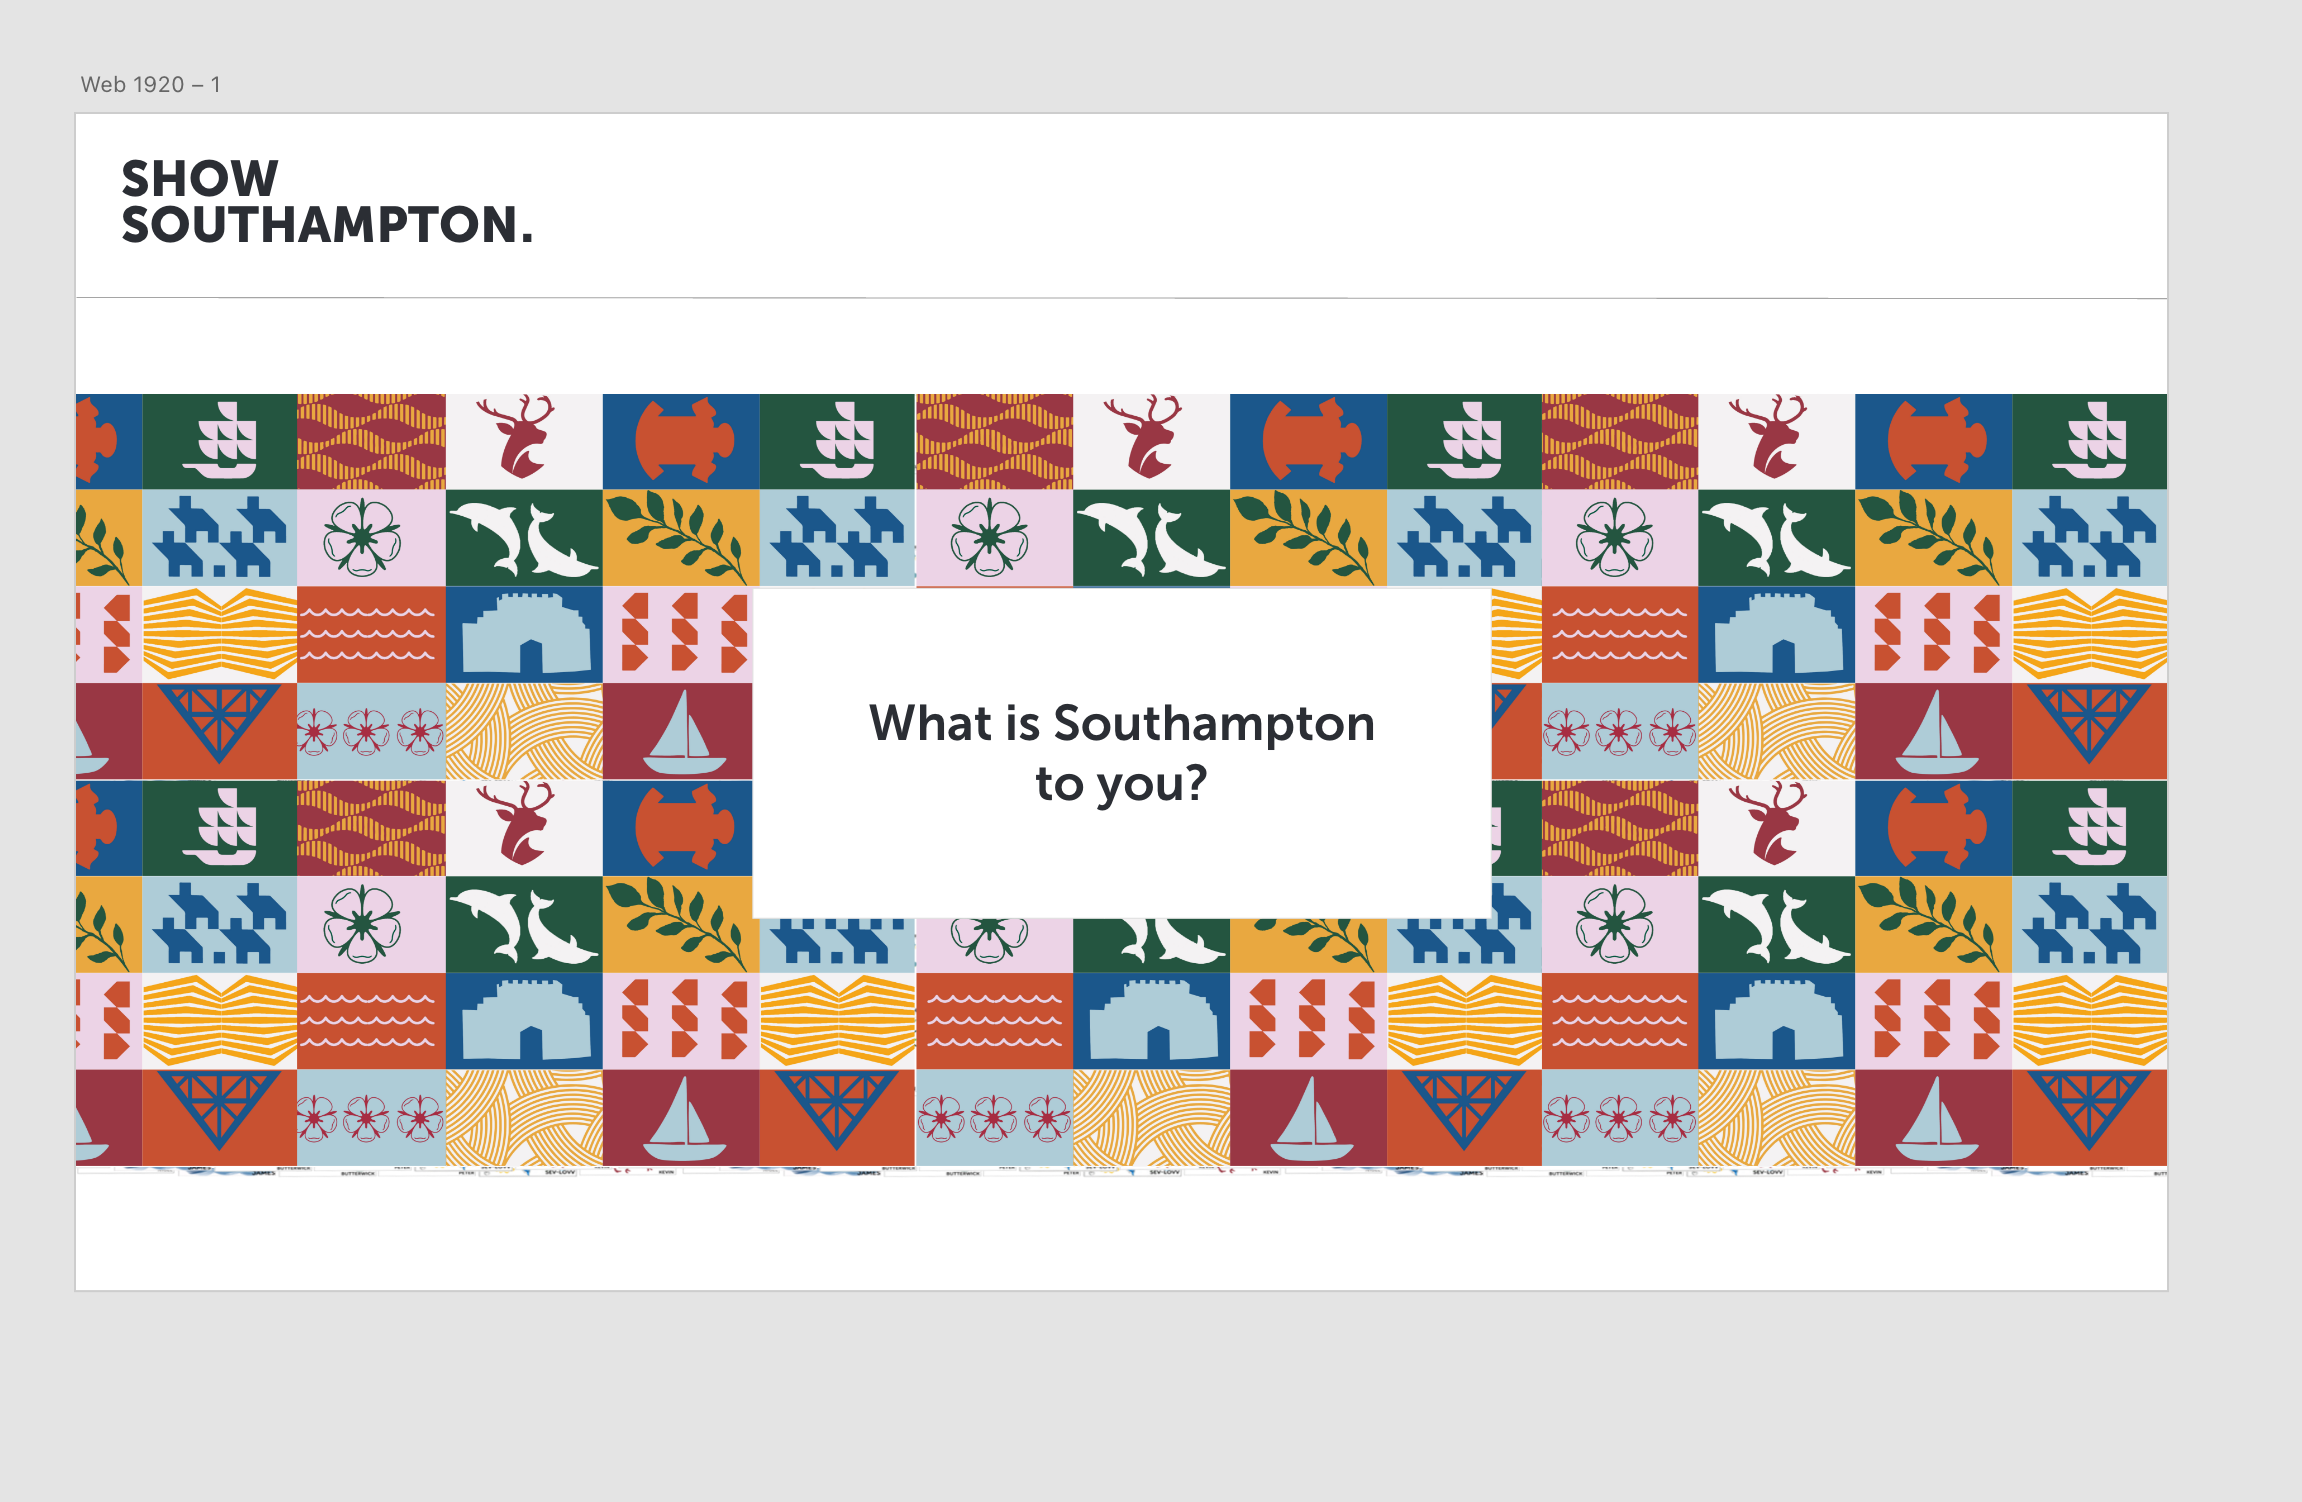
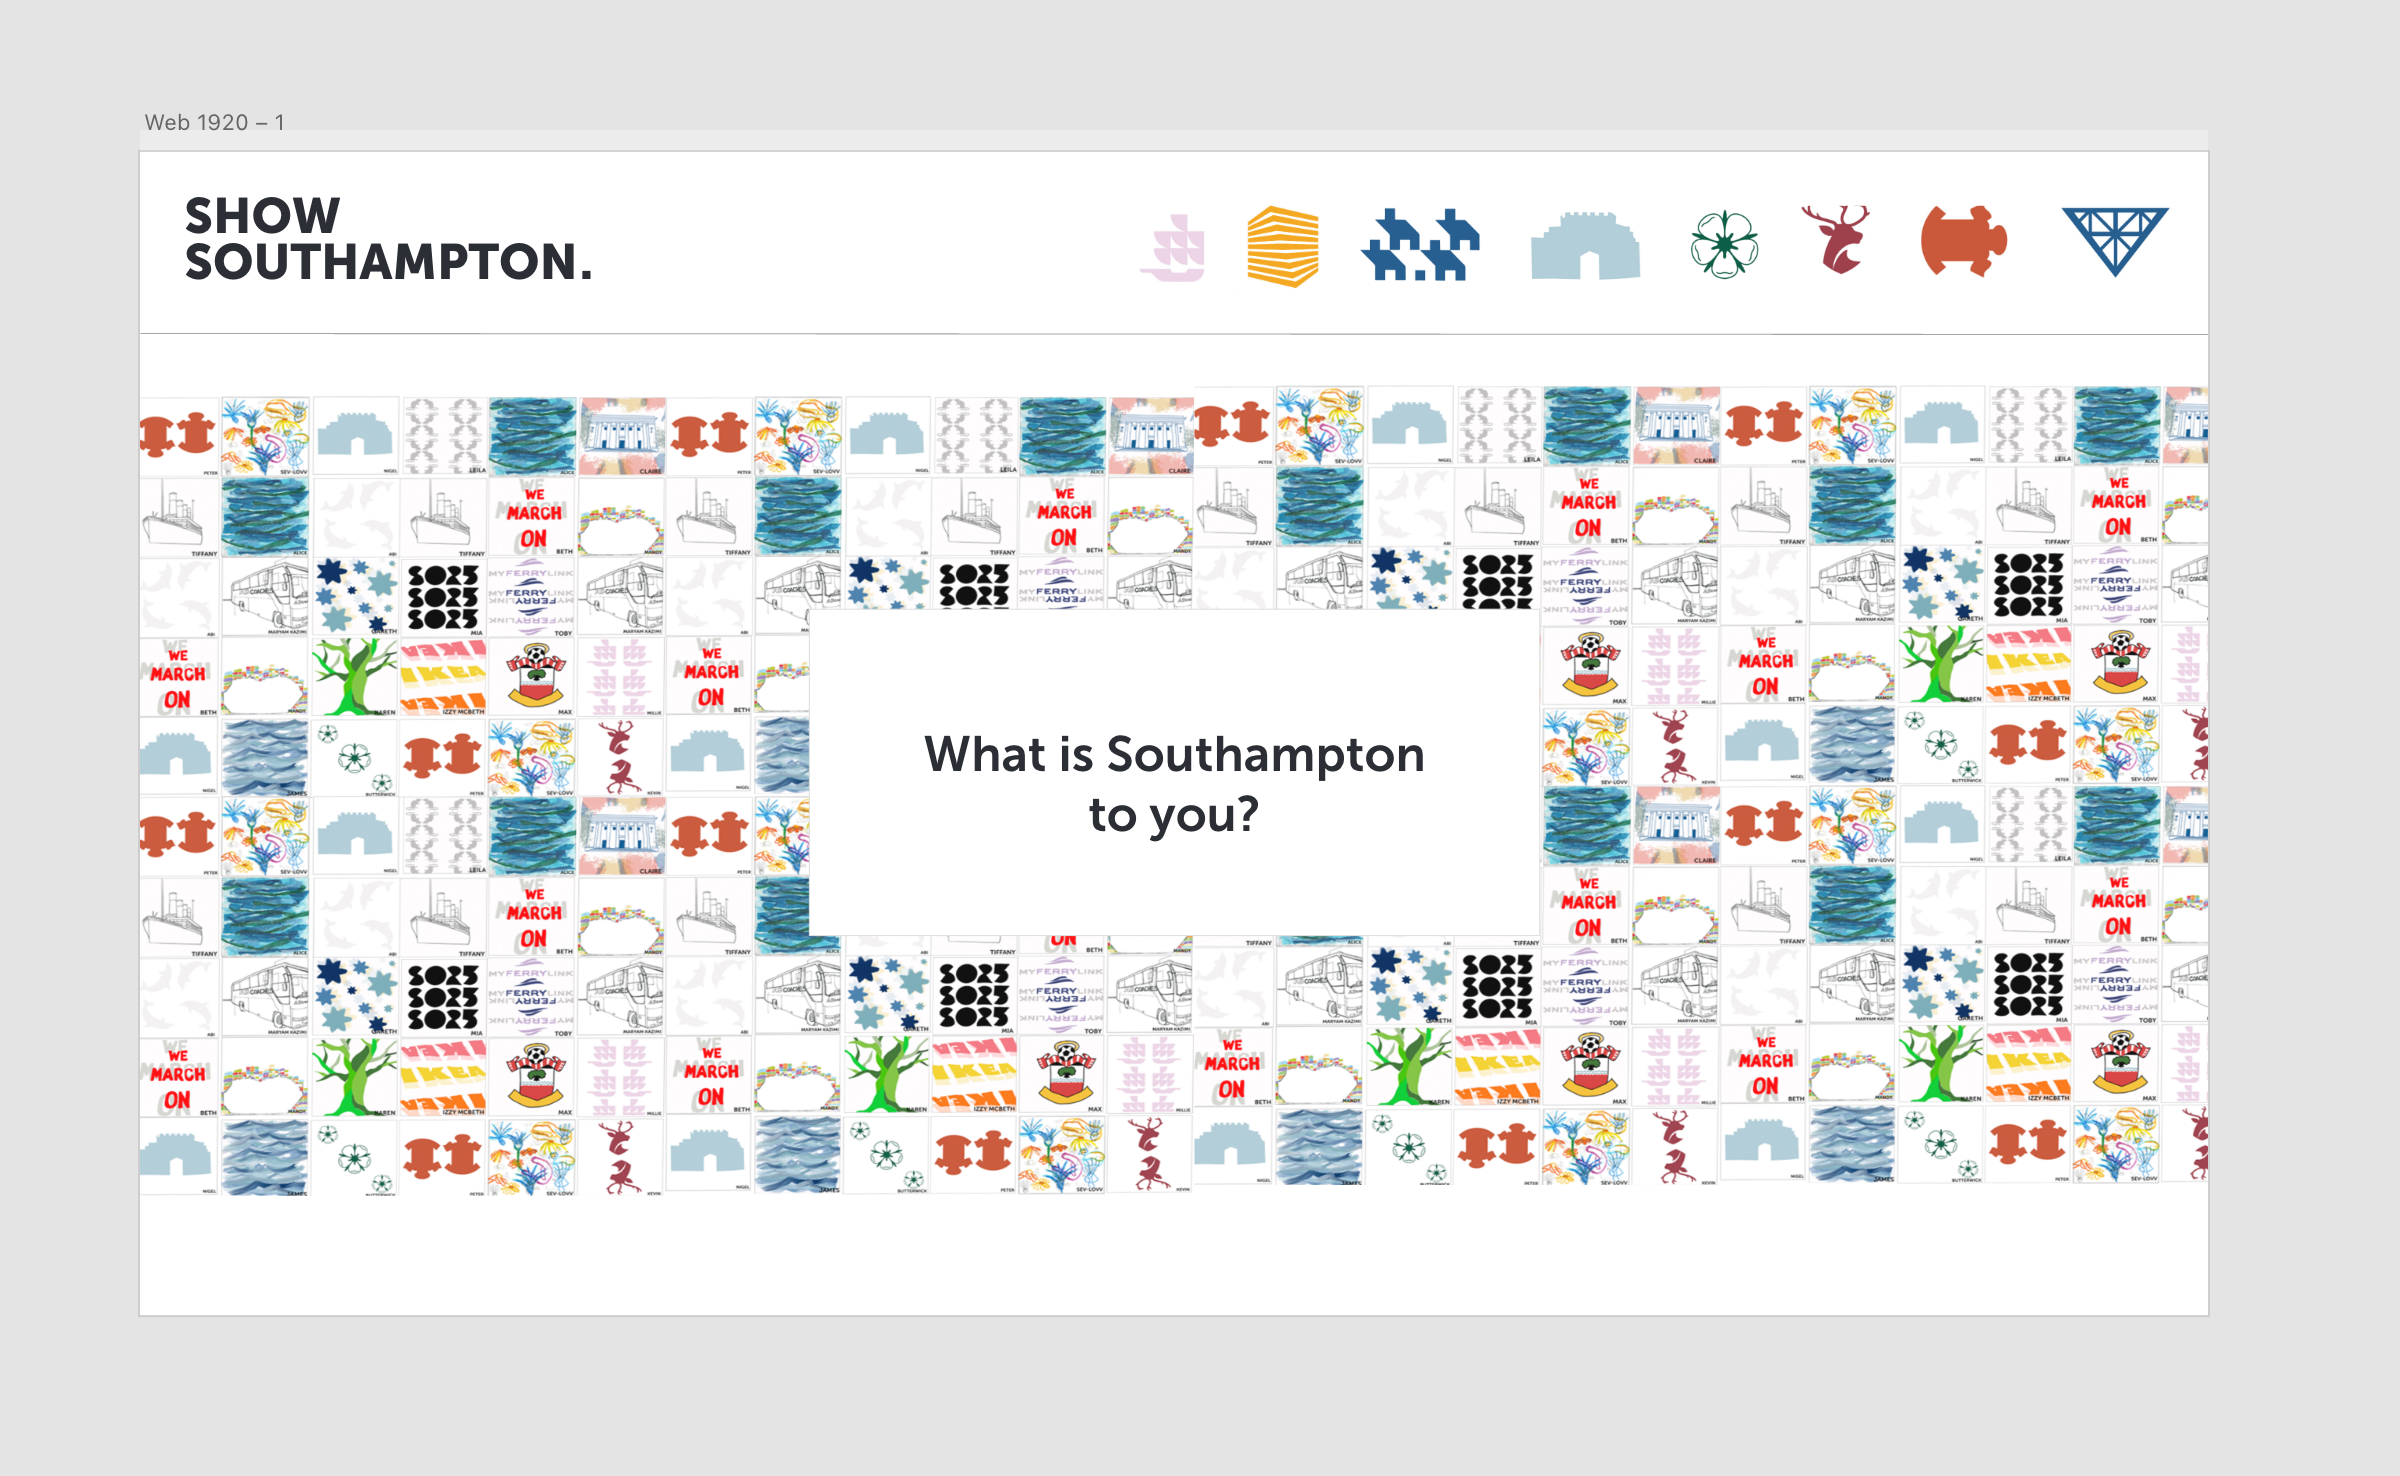
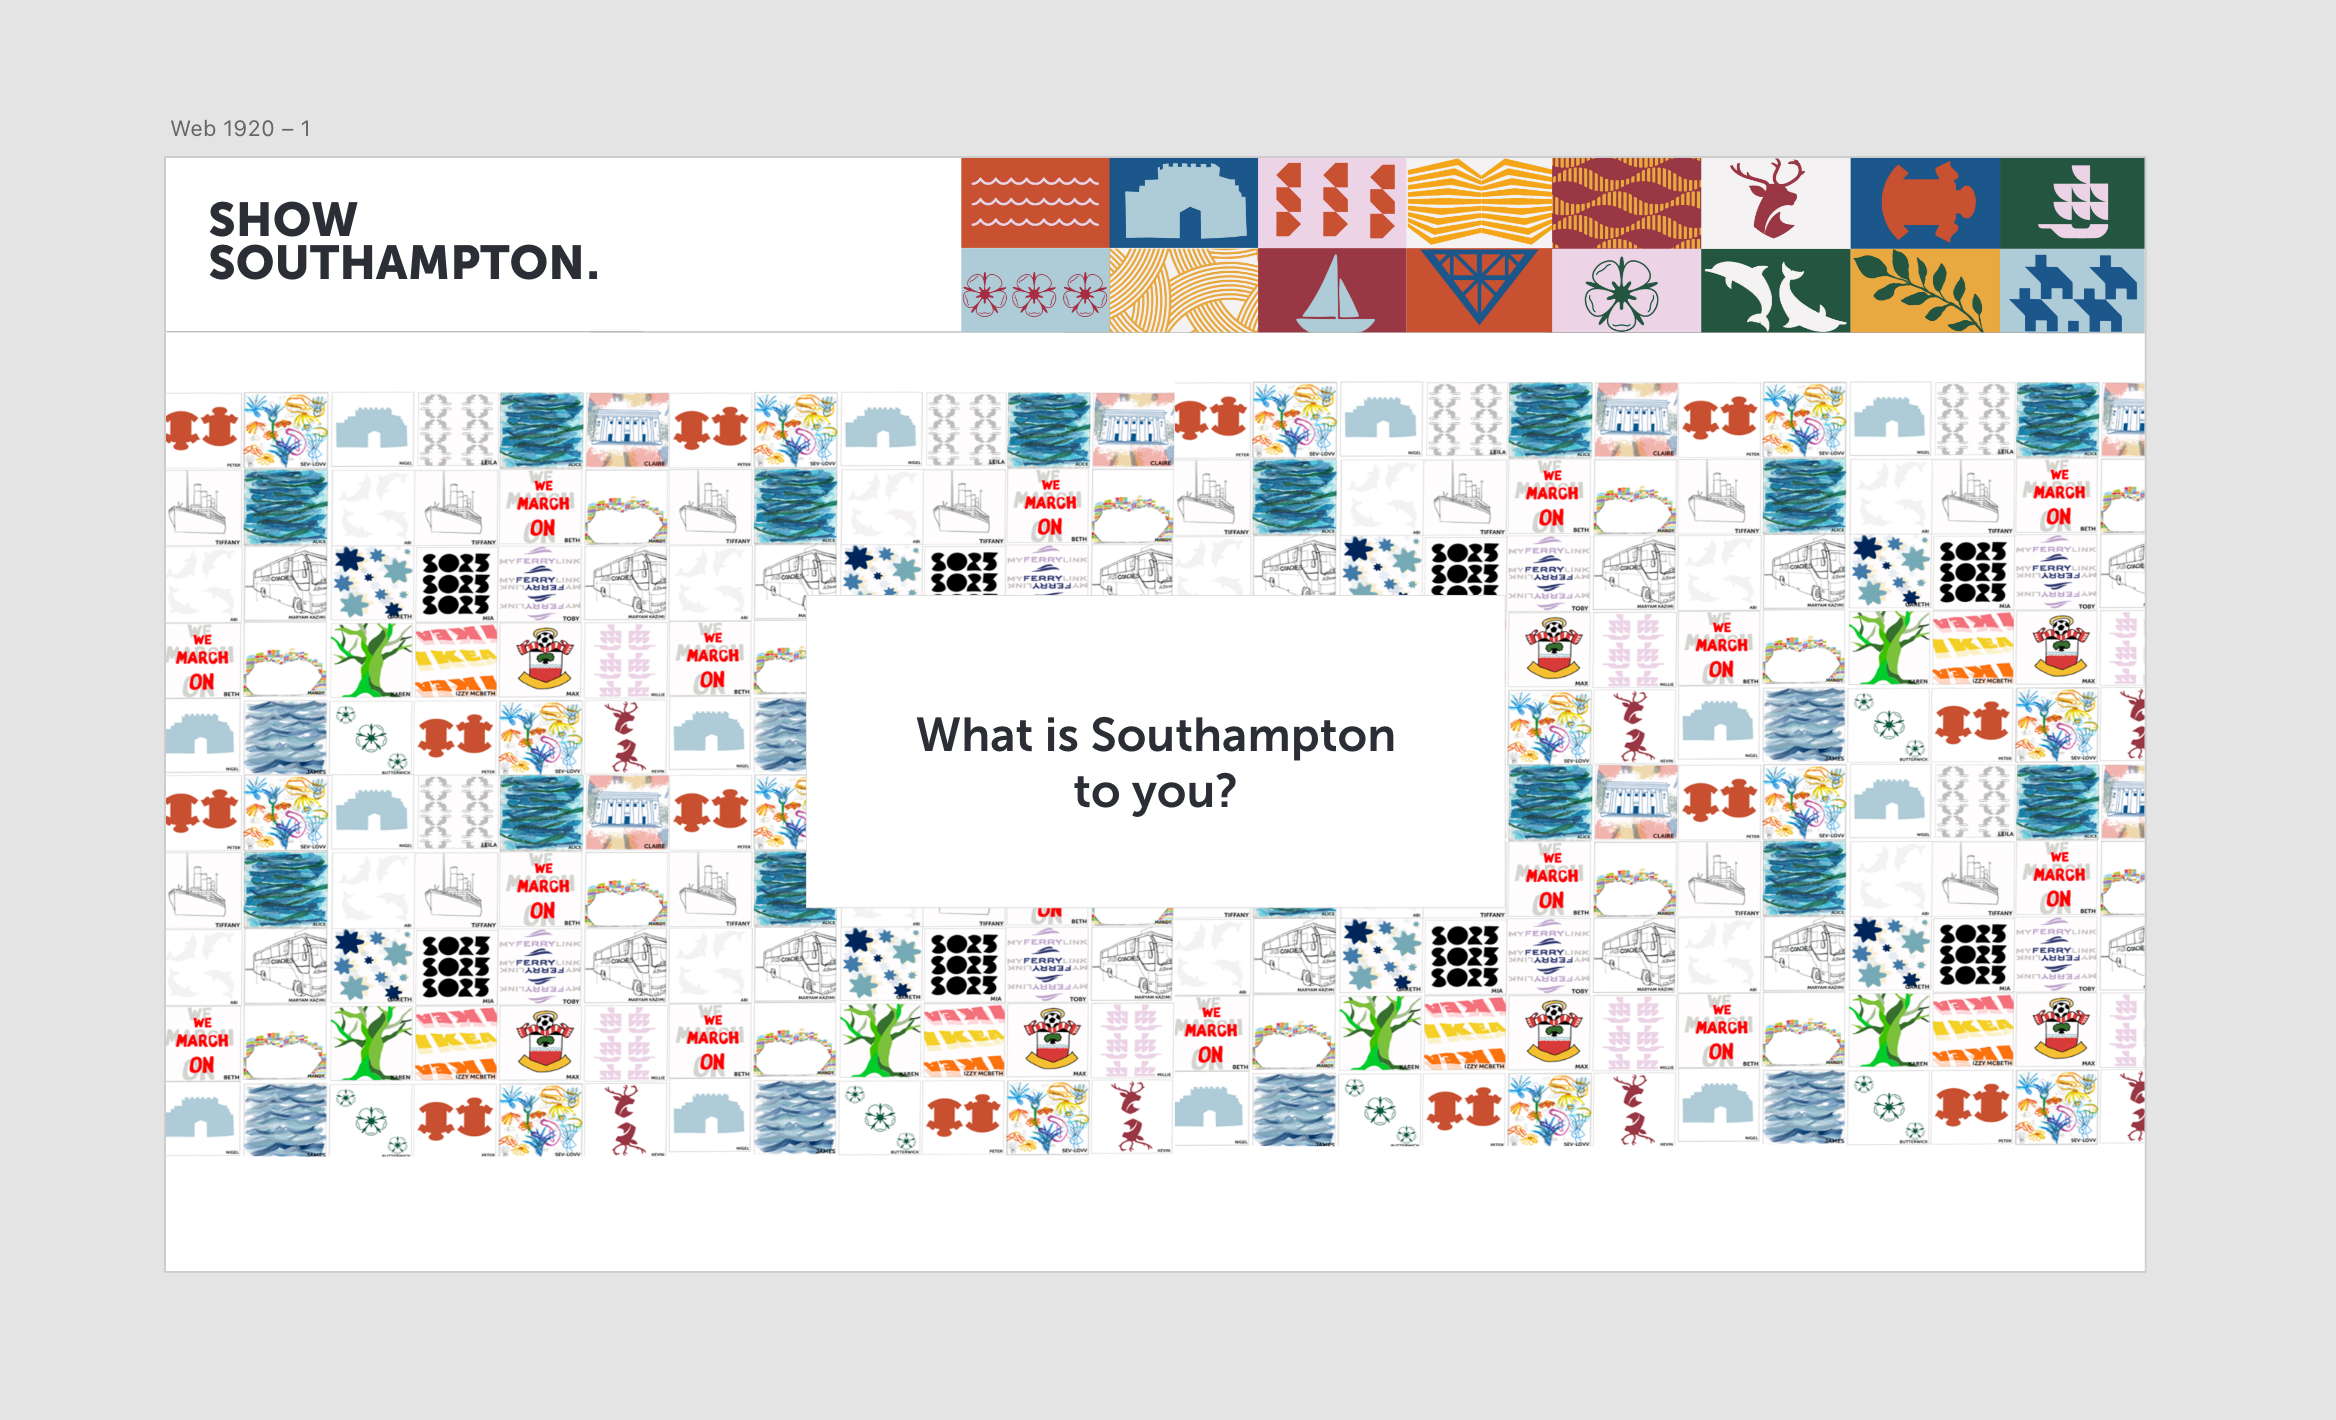
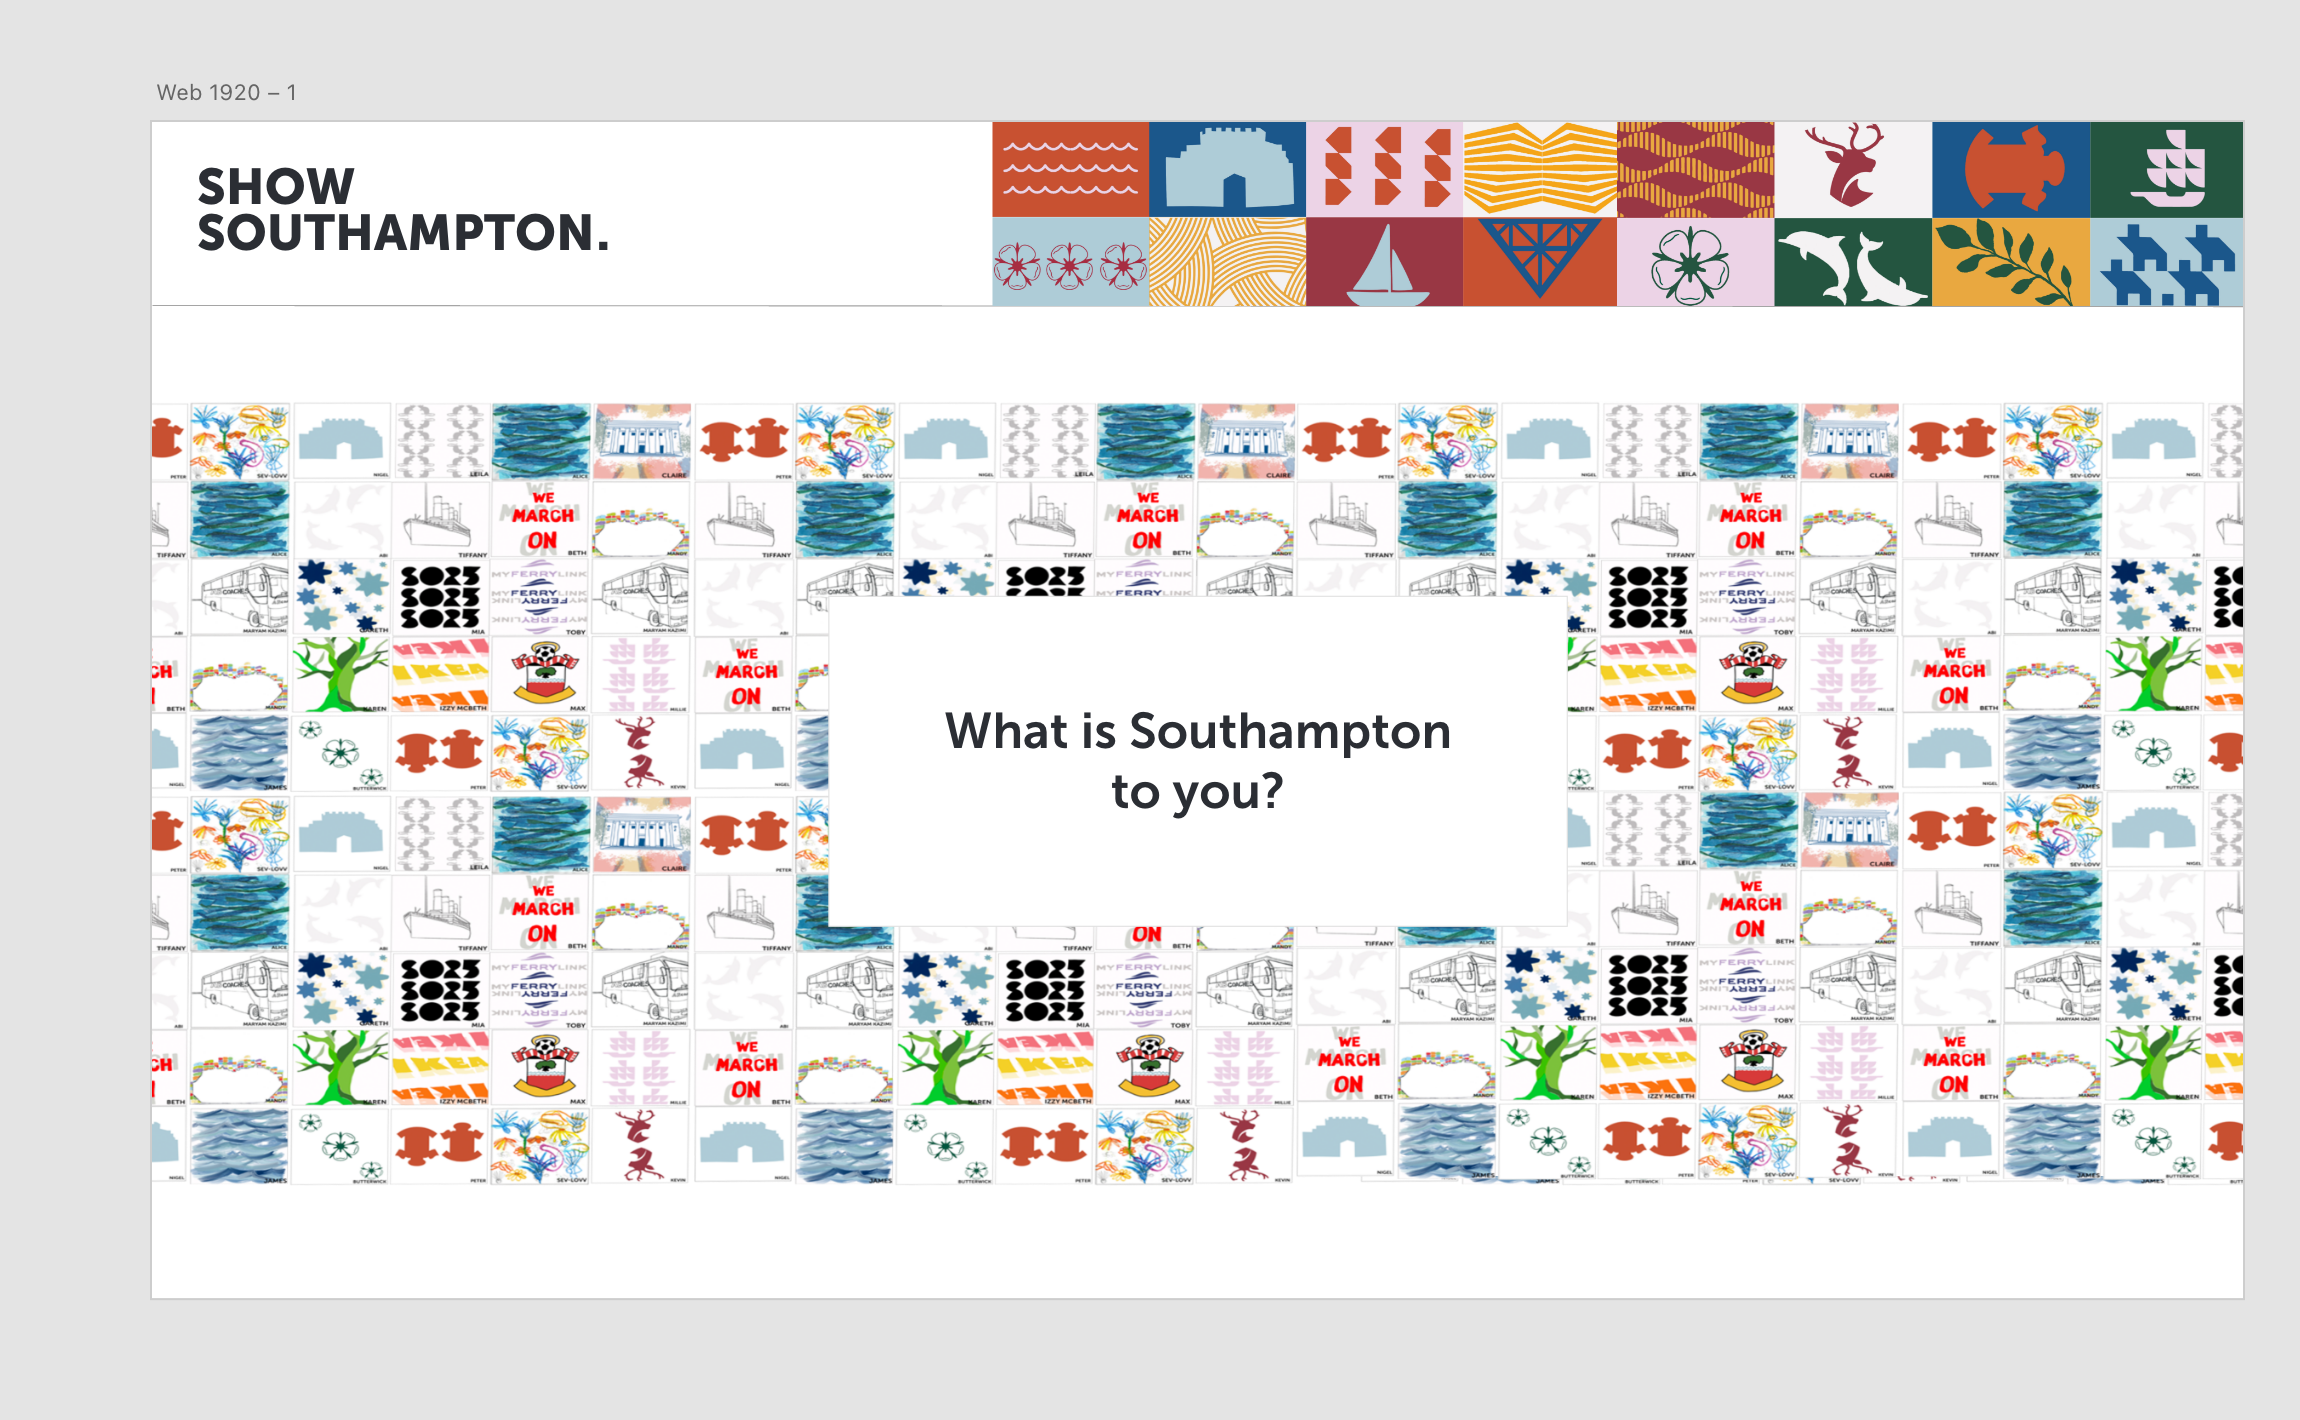
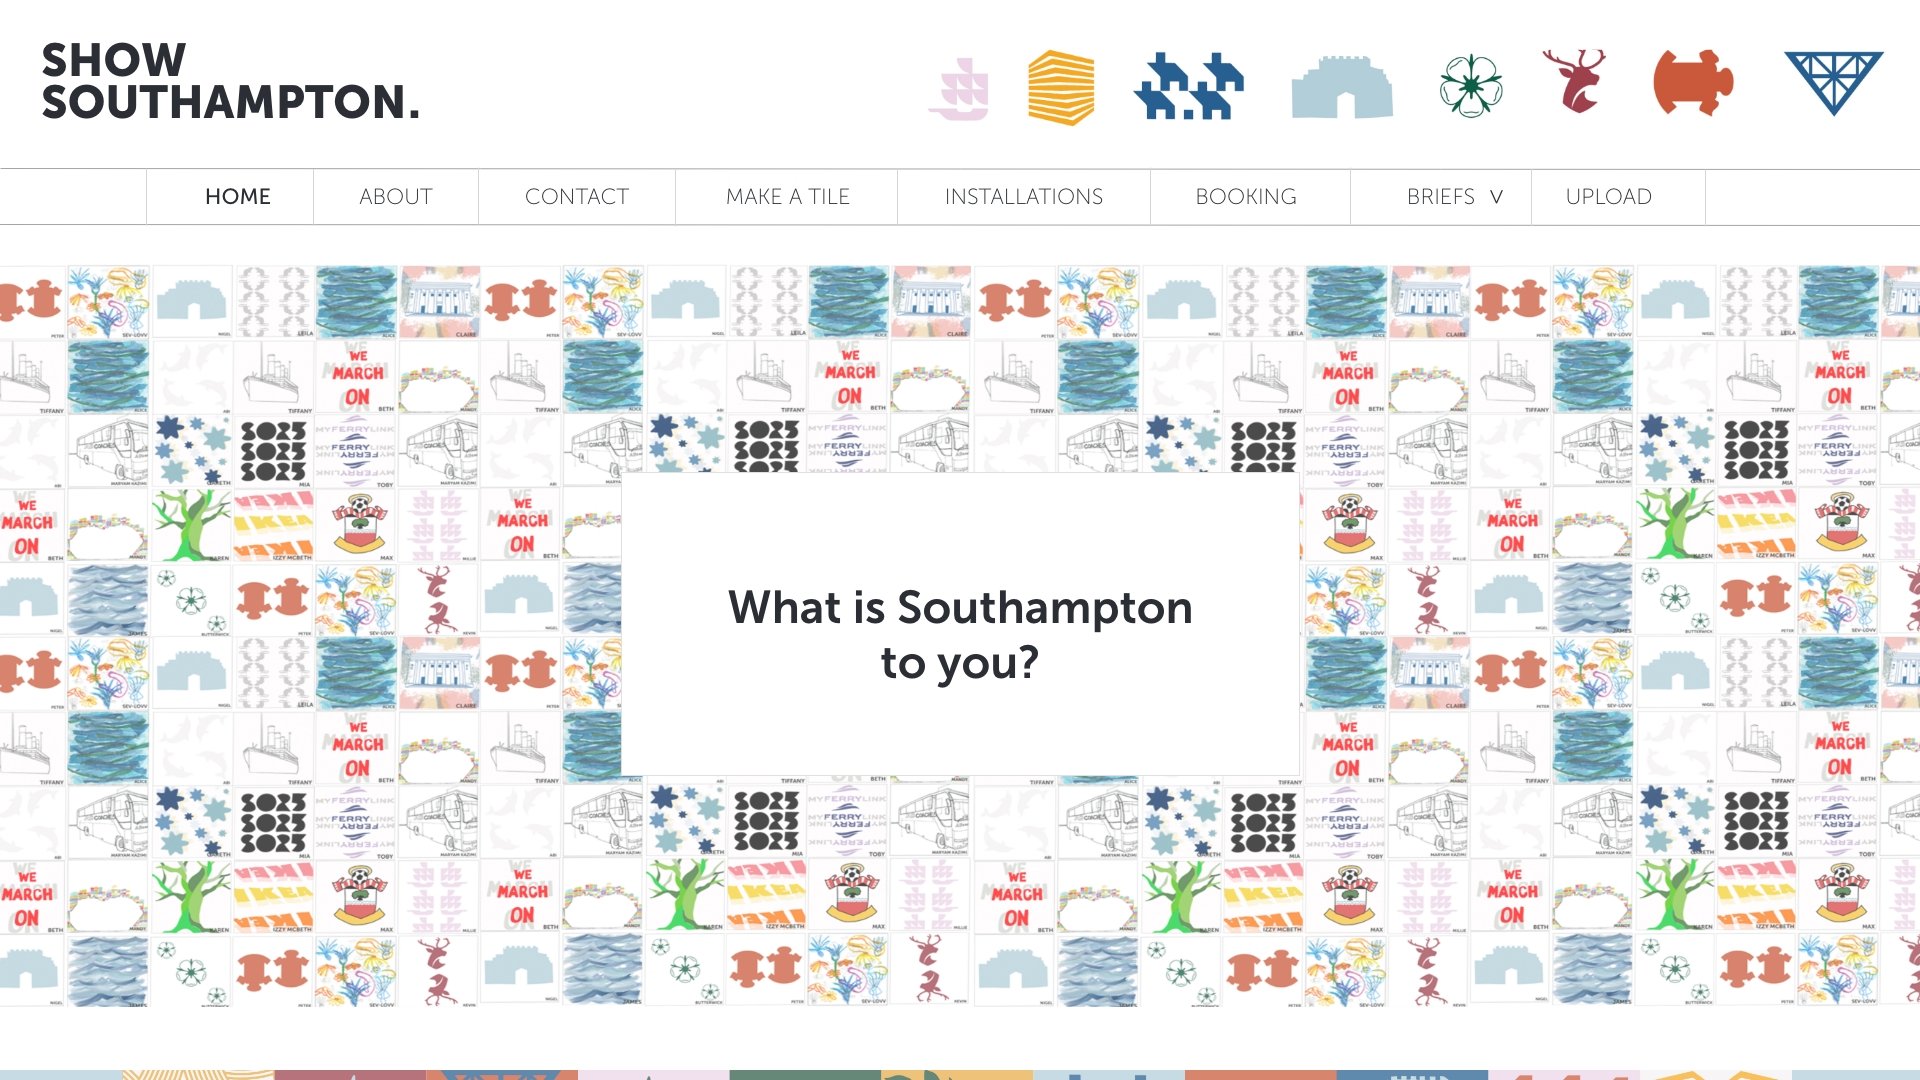
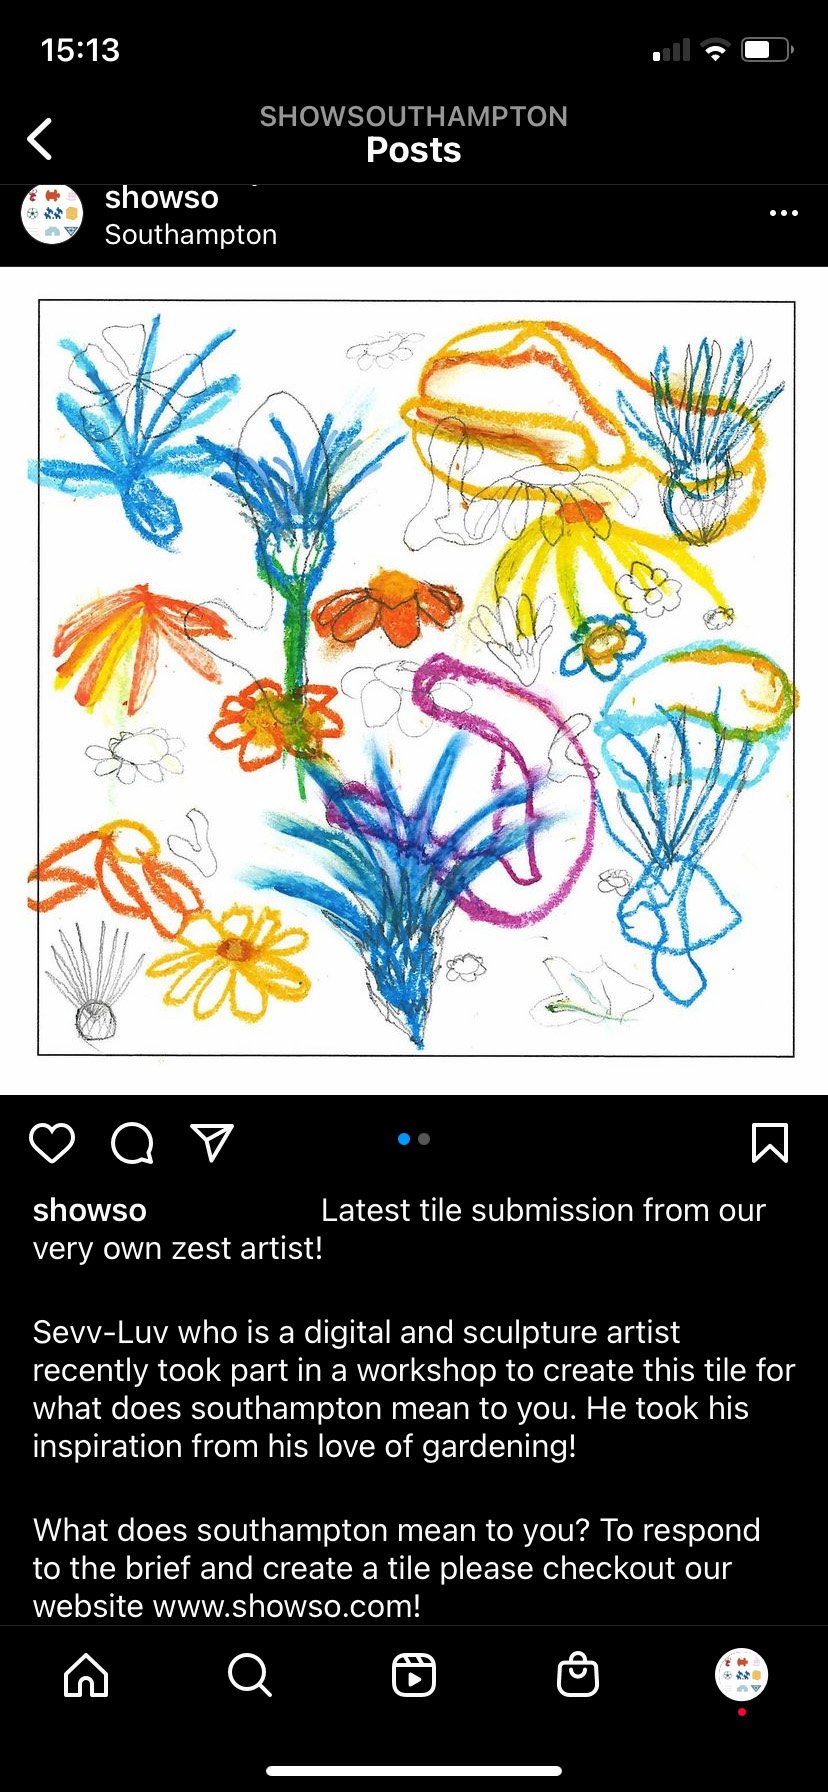
What is Southampton to you?

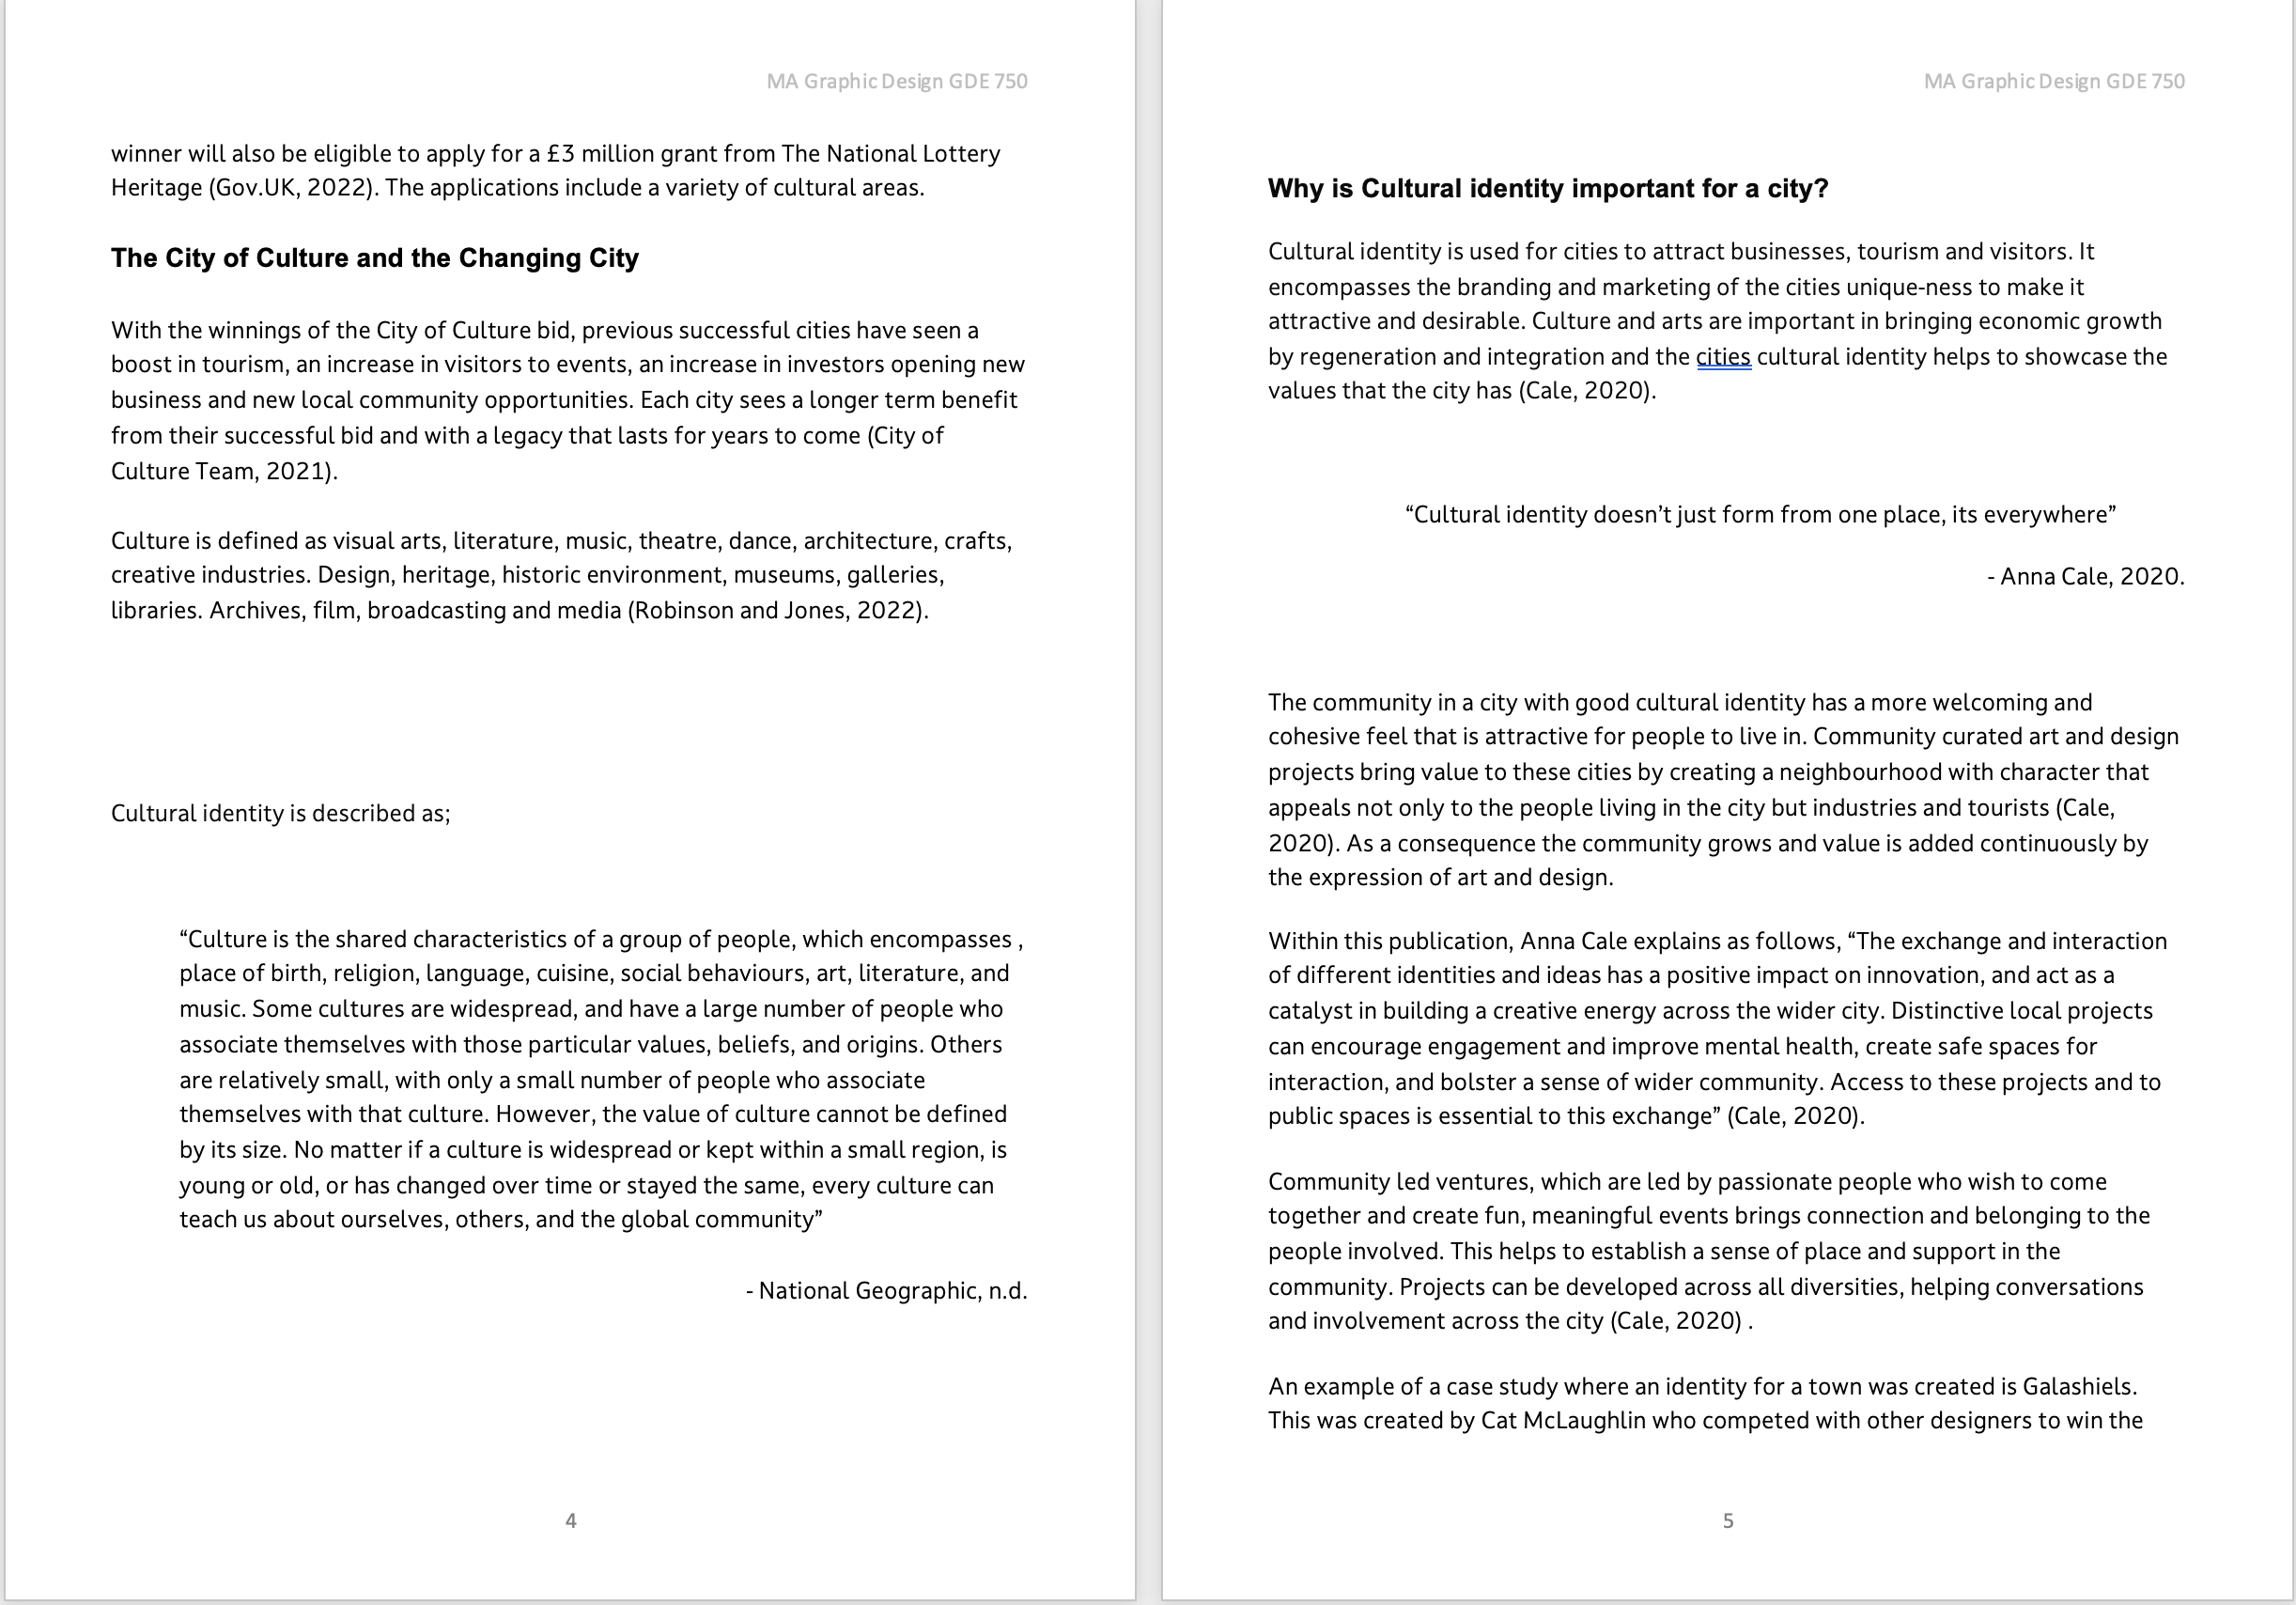
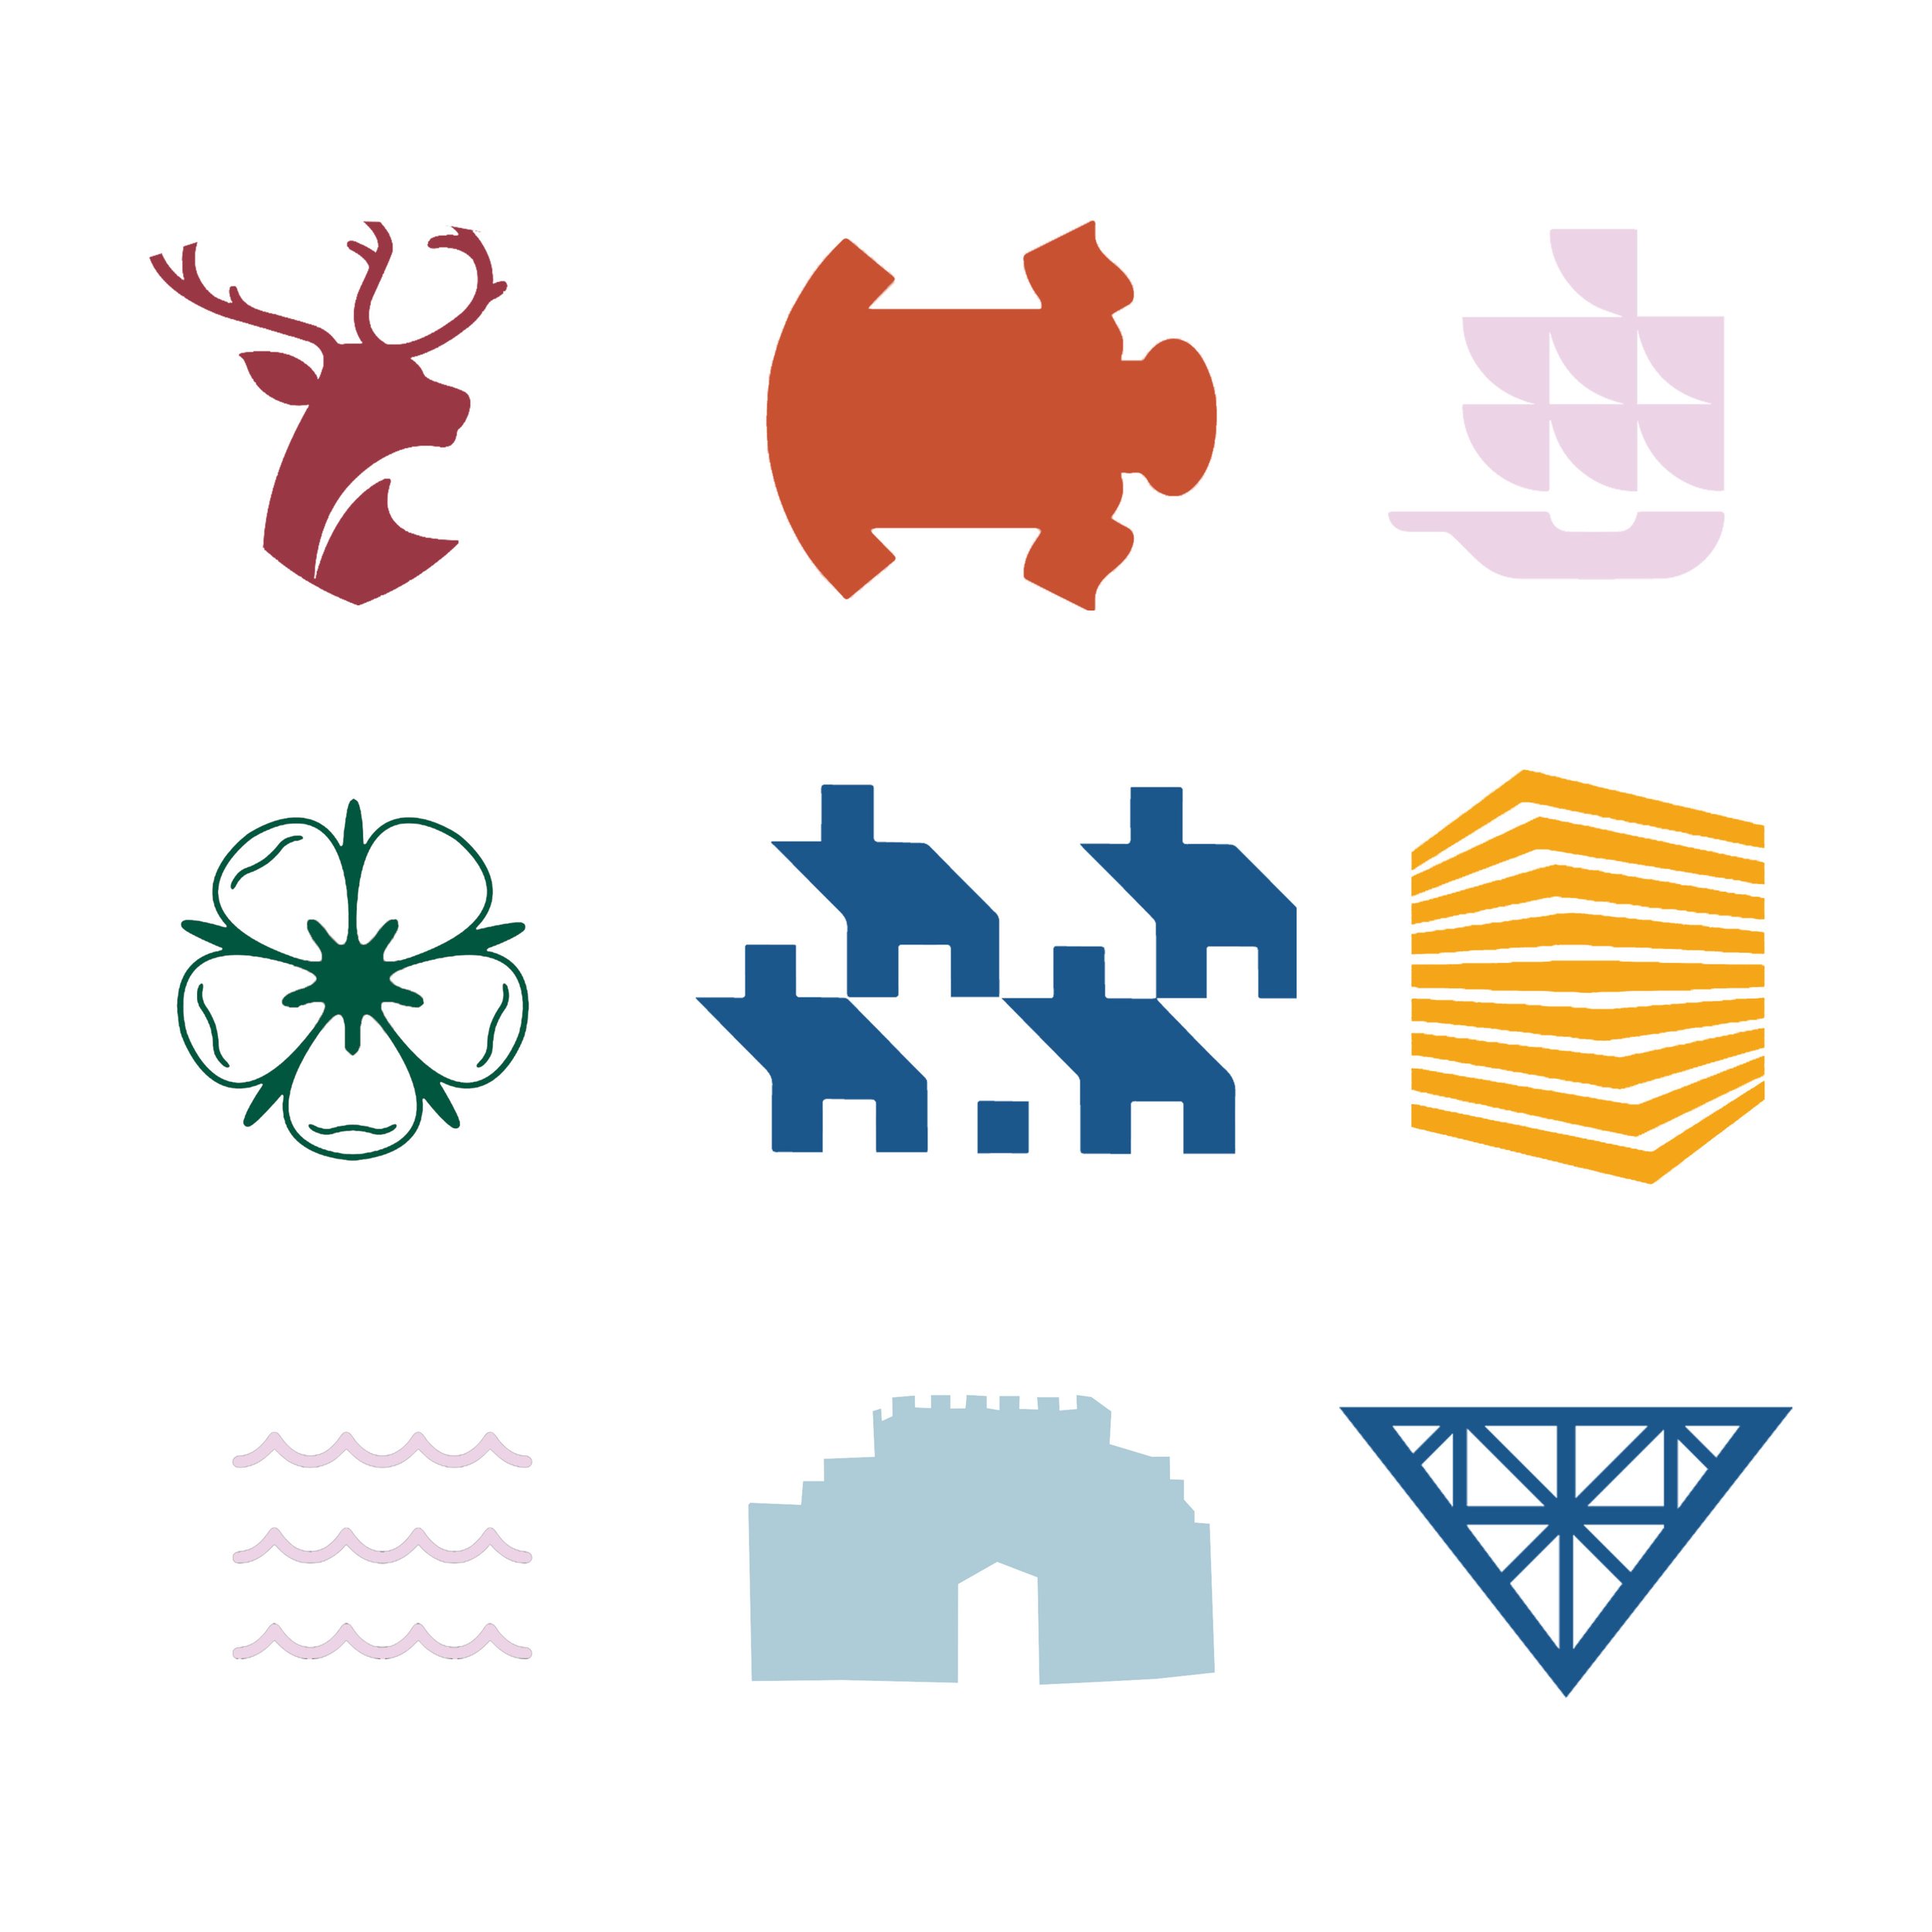
I also went onto place some of the branding I did onto the outline too:


Within the zest session, we were also talking about the installation and I had realised I hadn’t clarified how the tiles were going to get made and how they were going to get printed on.
Tiles:
I realised that on reflection from the session with the Sustainable Collective, that using mud to create the tile would be a super interesting way to create them and I really like the idea of anything that is made going back to its original use. I did some more research on how this would work and realised that they wouldn’t need to be 3D printed as they would have the another pattern on, so they needed to just be mud tiles:
After watching the above, I realised that I needed clay tiles, rather than mud.
I realised that within the space, I could run workshops to create the tiles for the installations but other than this, i would need to make sure to work with a local southampton business to make sure they make the tiles.
Printing onto the tiles:
This is something I had no idea how would work, would this mean that I needed a larger printer? I would also want to reuse the mud cut tiles each time. So would potentially need something that would peel of the tile that could be replaced.
After some research, I have found you are now able to digitally print onto the tiles themselves, which has changed alot from when they used to screen print on them.
“All you need to do is send or upload a photo of what you would like by way of a picture or design on your tiles. This is then printed directly on the tiles, which you can then install yourself, by following the detailed directions provided.”
https://www.uniquetiles.uk/printed-tiles
I felt like this was also easy enough to do in bulk. It would make sense to place all the tiles on the bigger installation for 3 months and then rotate and then the smaller installations for 2 months at a time. I feel this would make the most of the tiles that were being used. I also feel that then you make a set number of tiles which would then be rotated continuously.
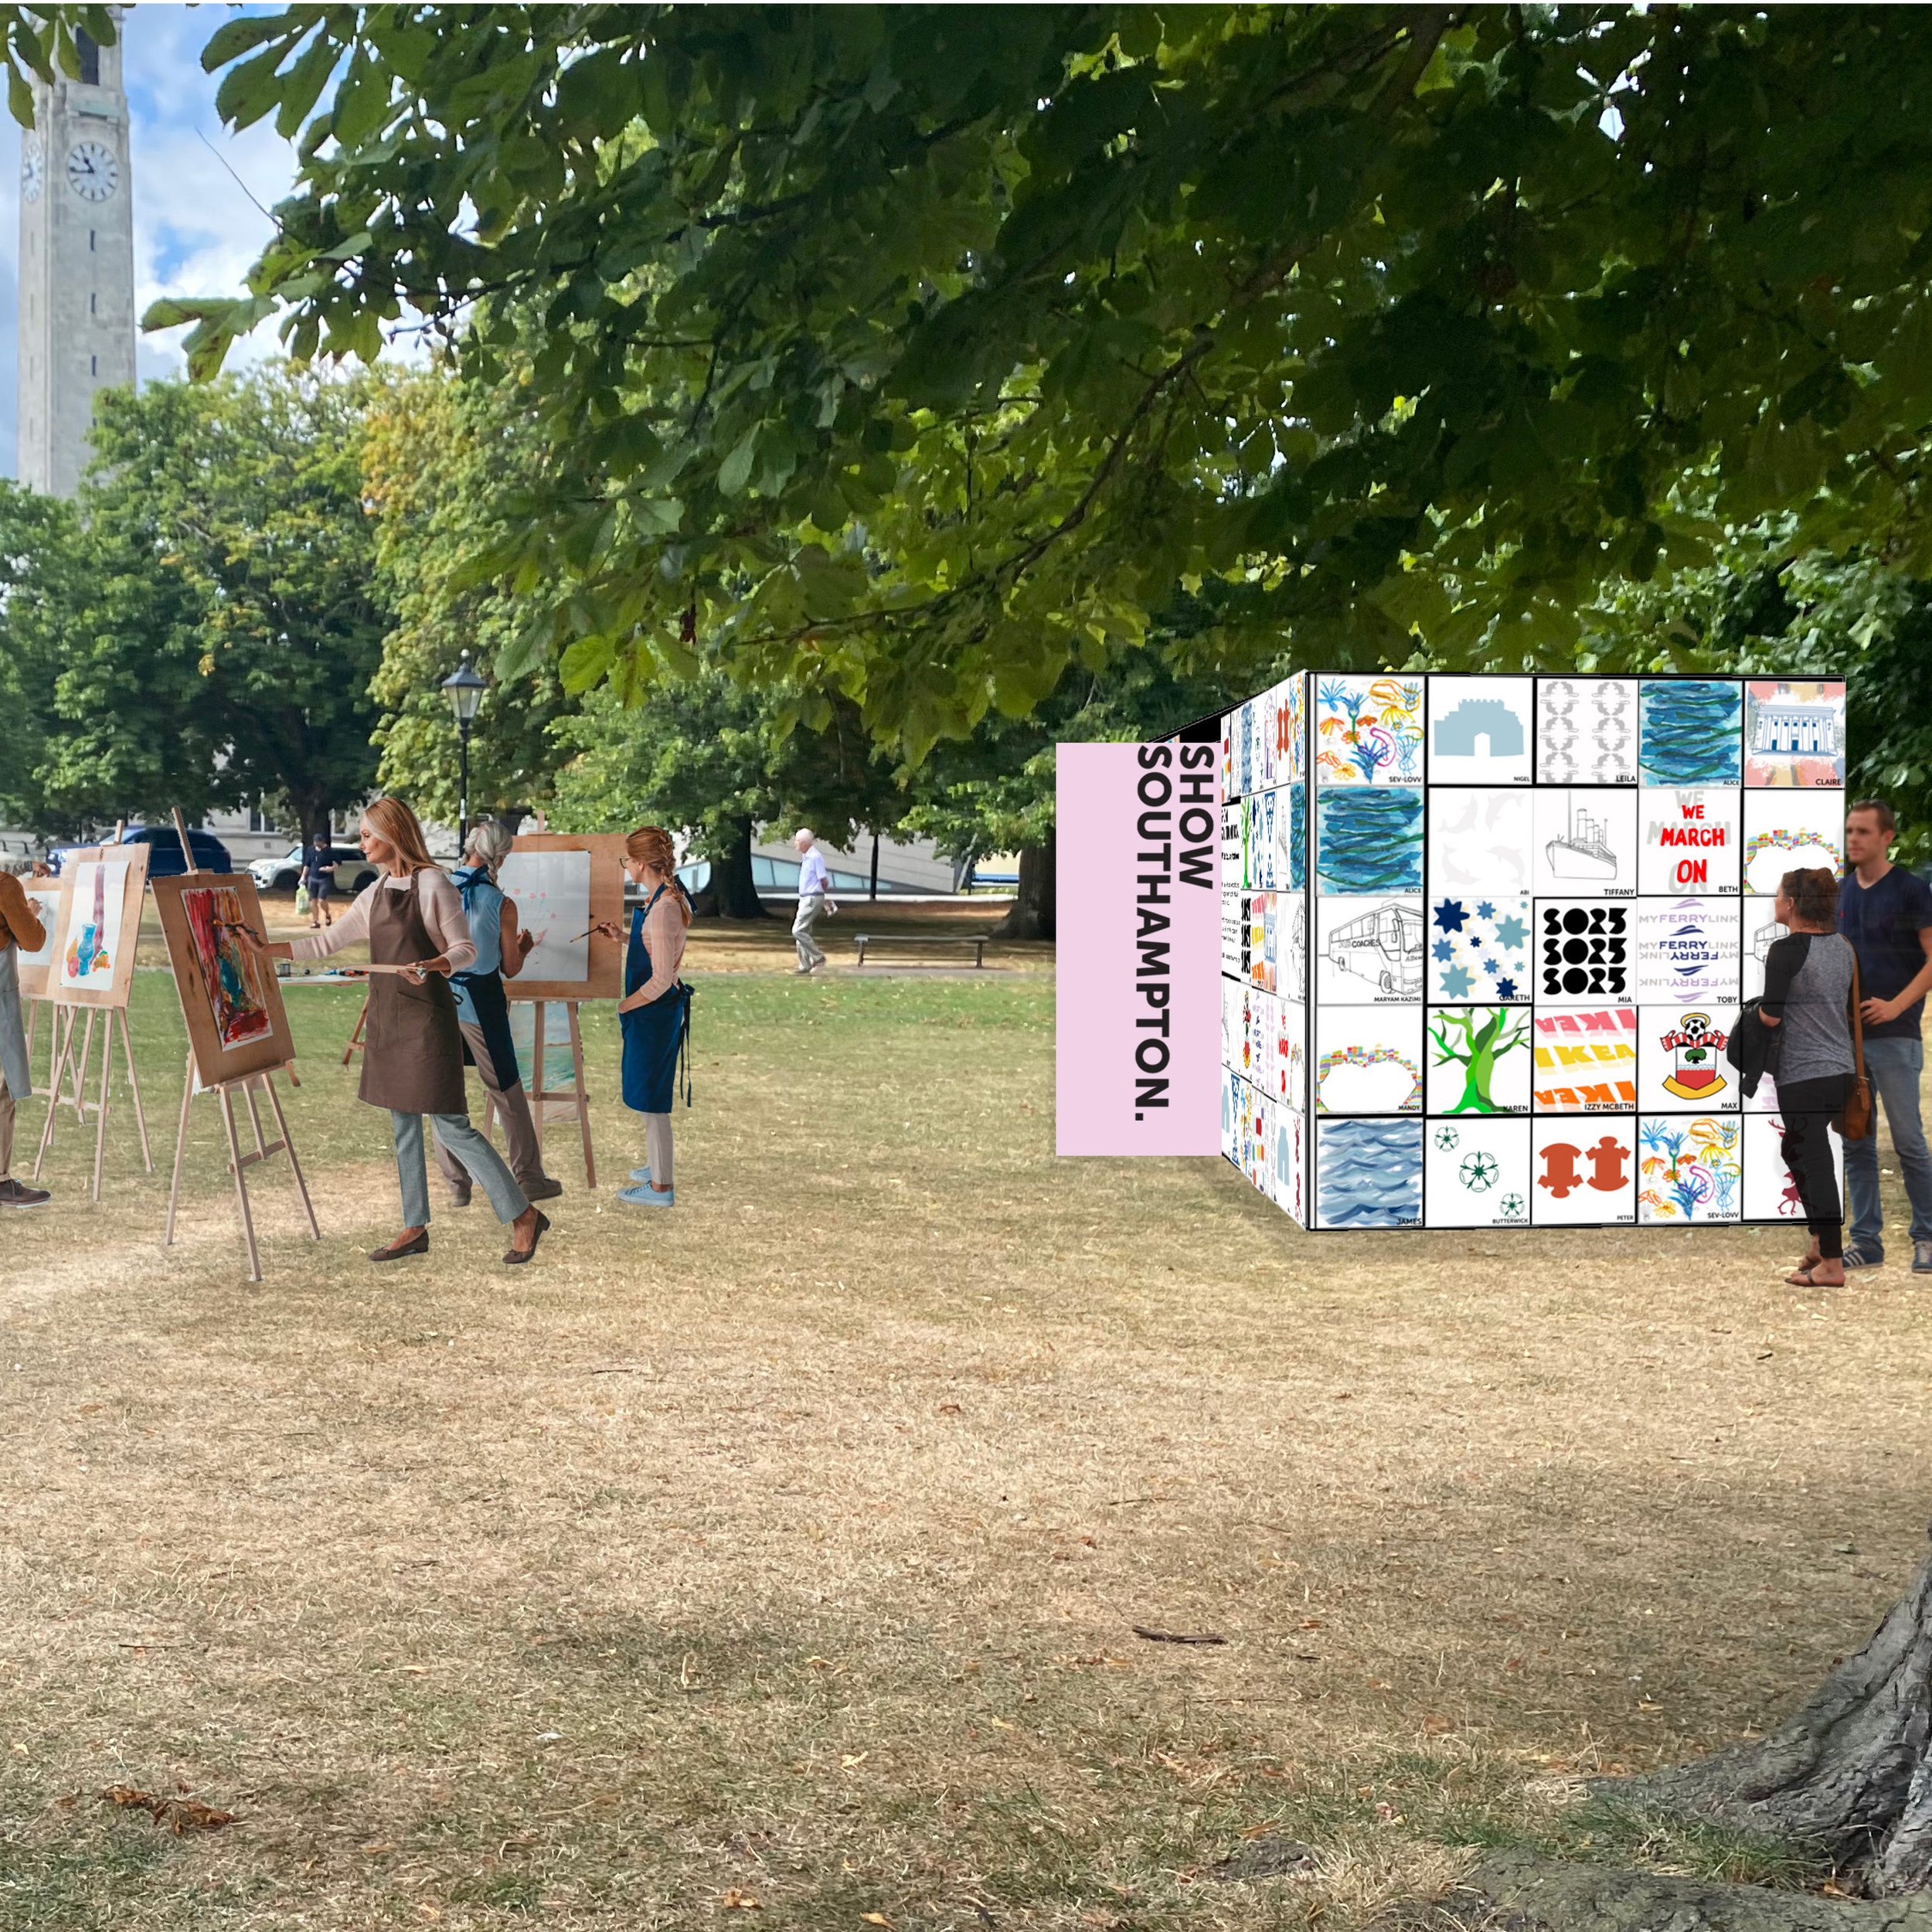
Final Installation Models
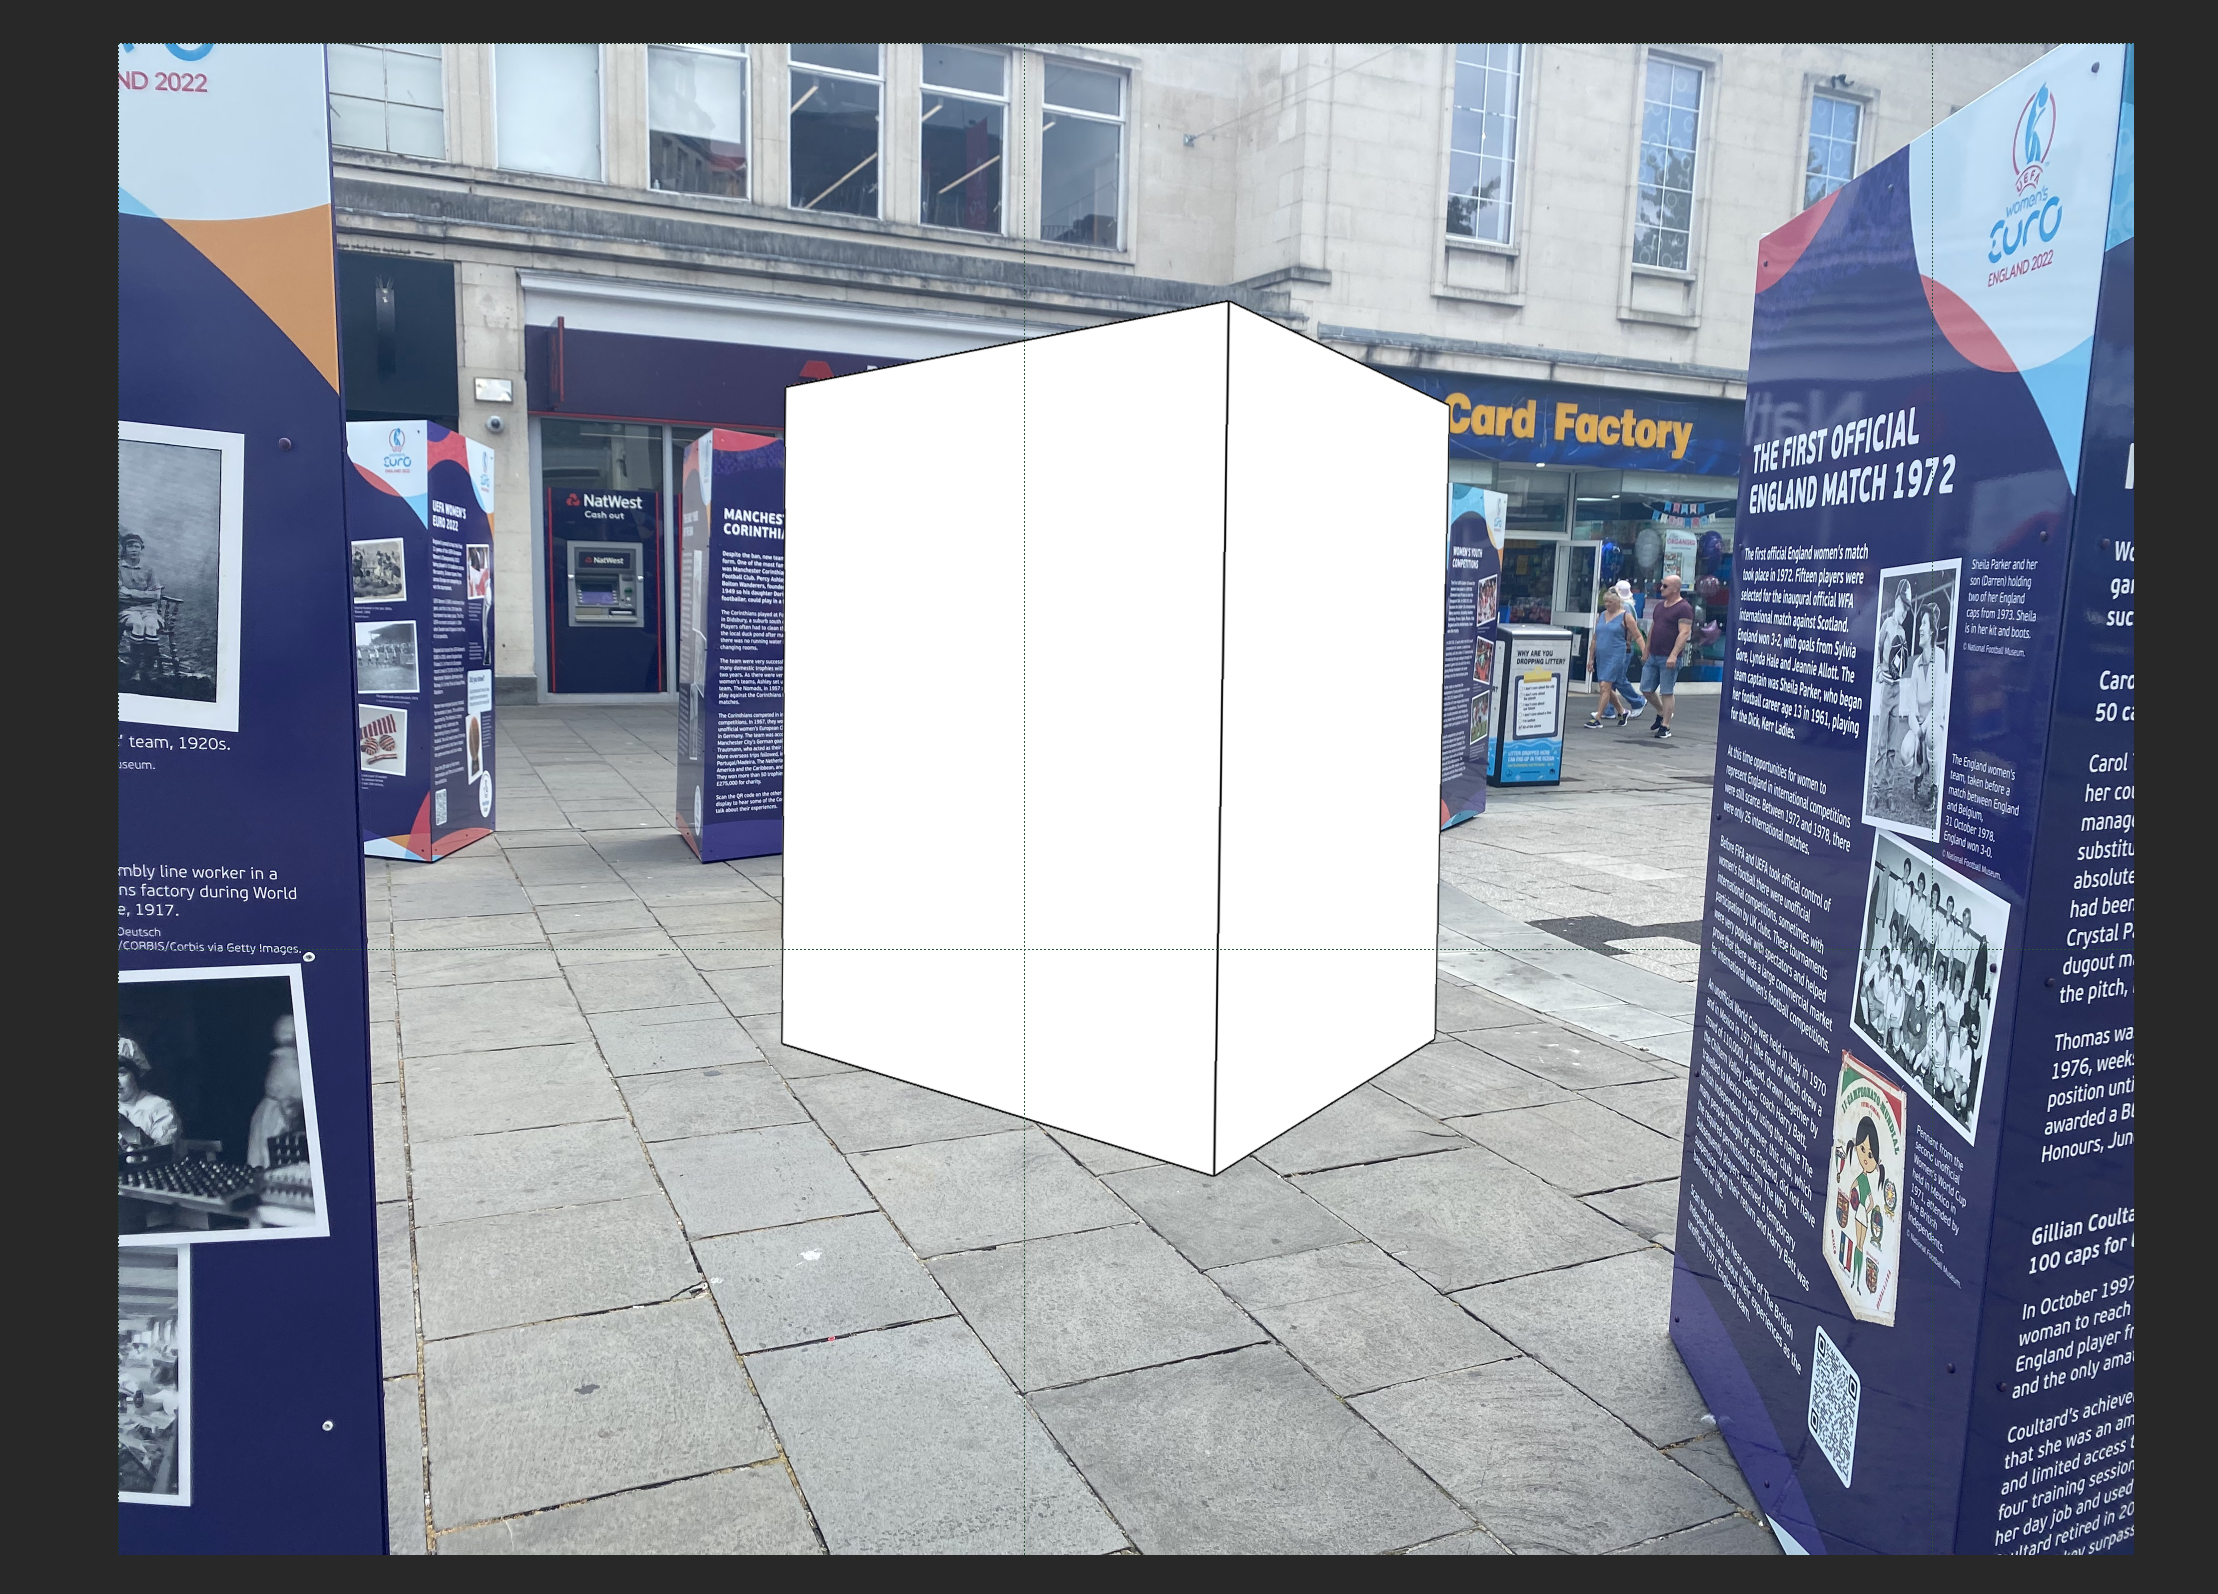
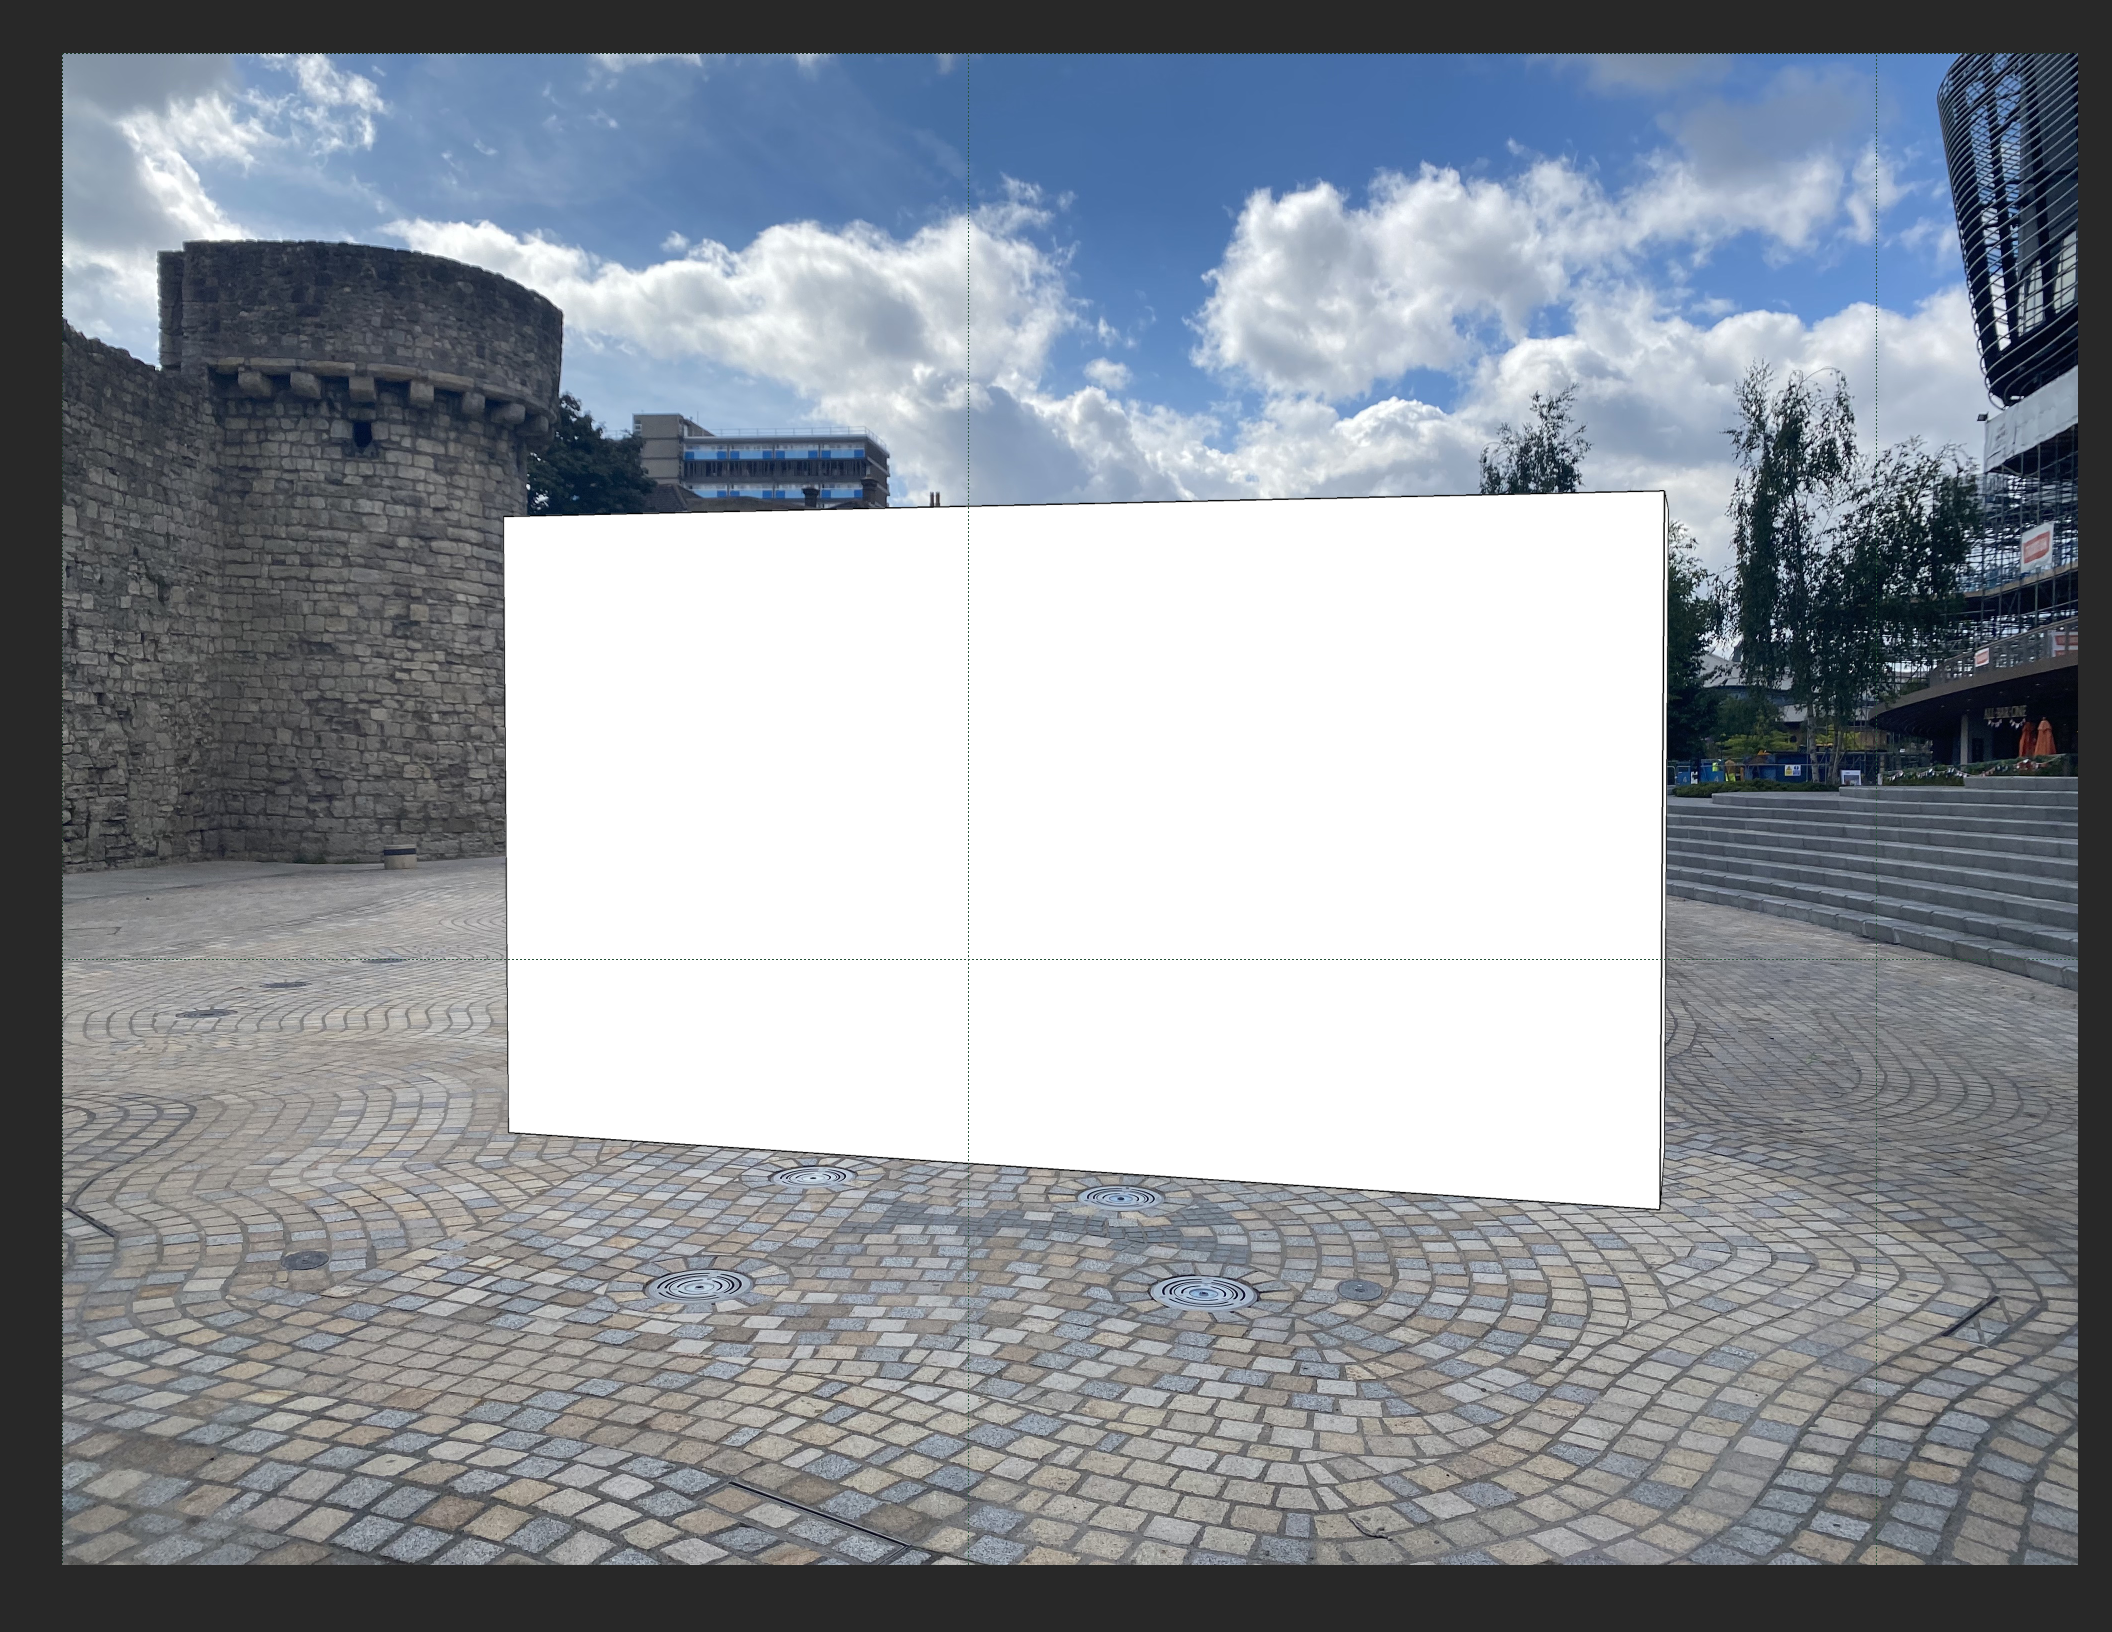
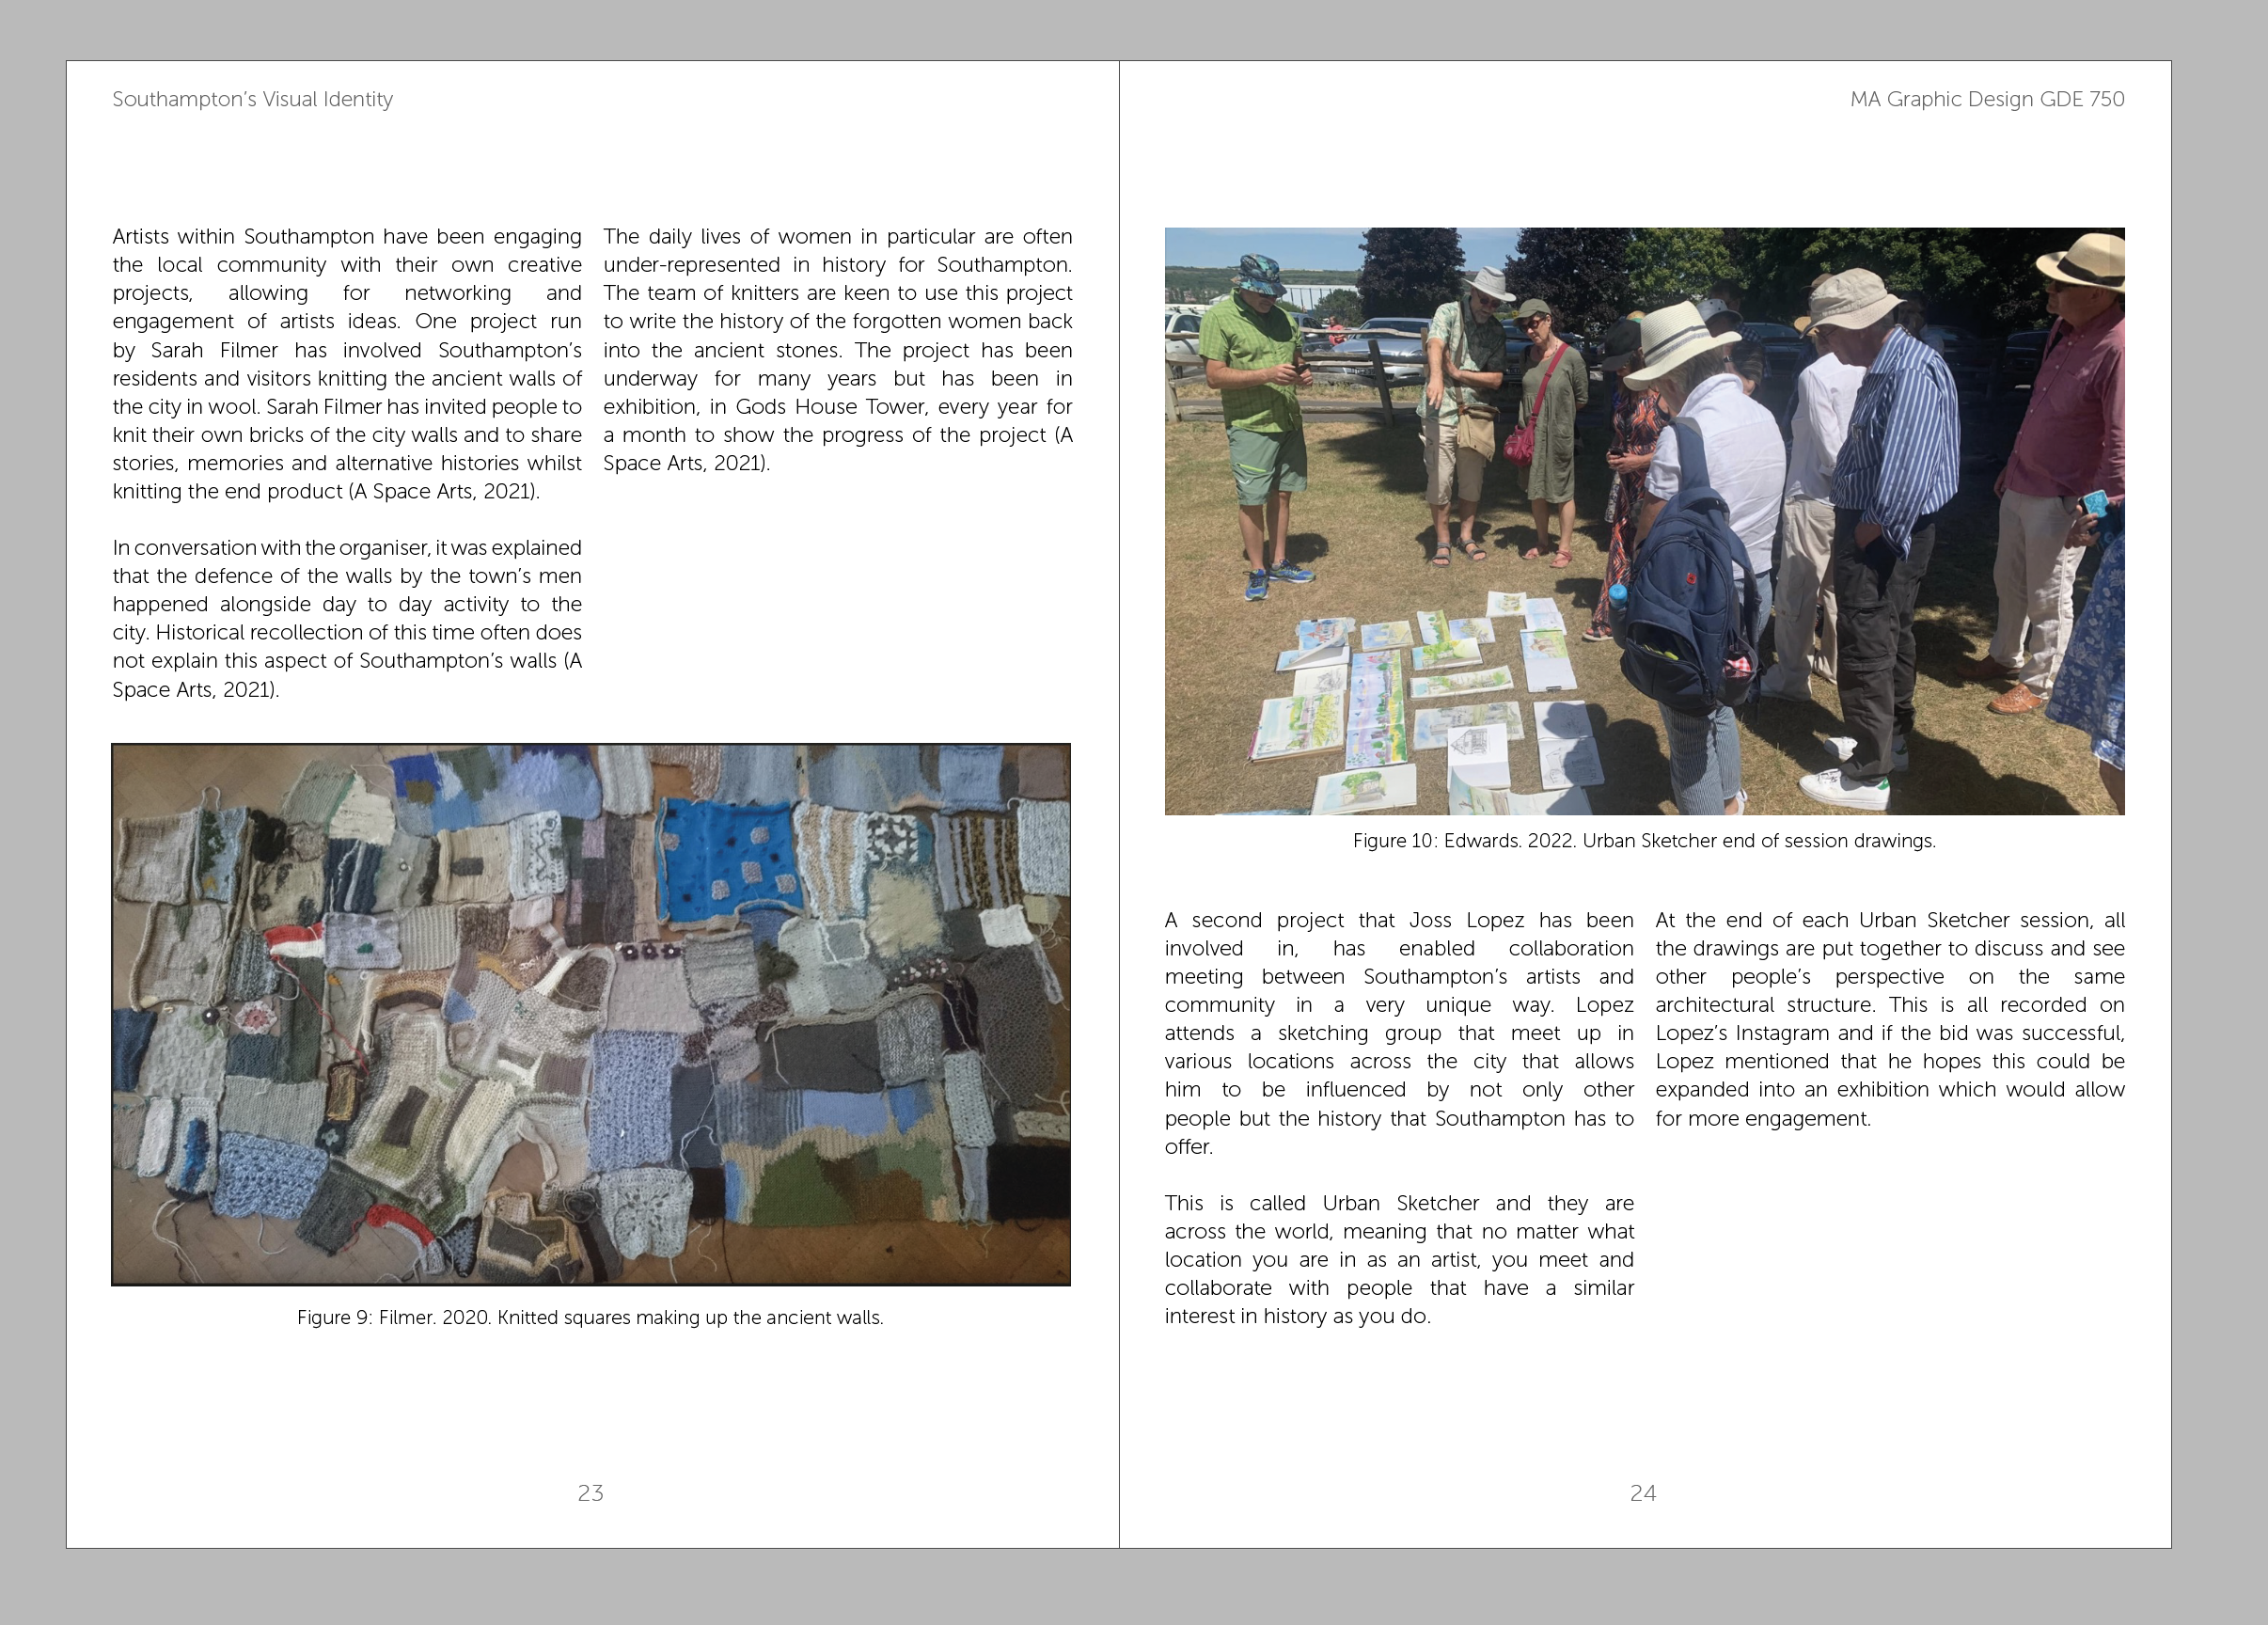
I went onto look at creating the final installation models, this included visiting the sites to take pictures that I could place the mock ups on top of to make them look as real as possible:
Pictures of installation sites:
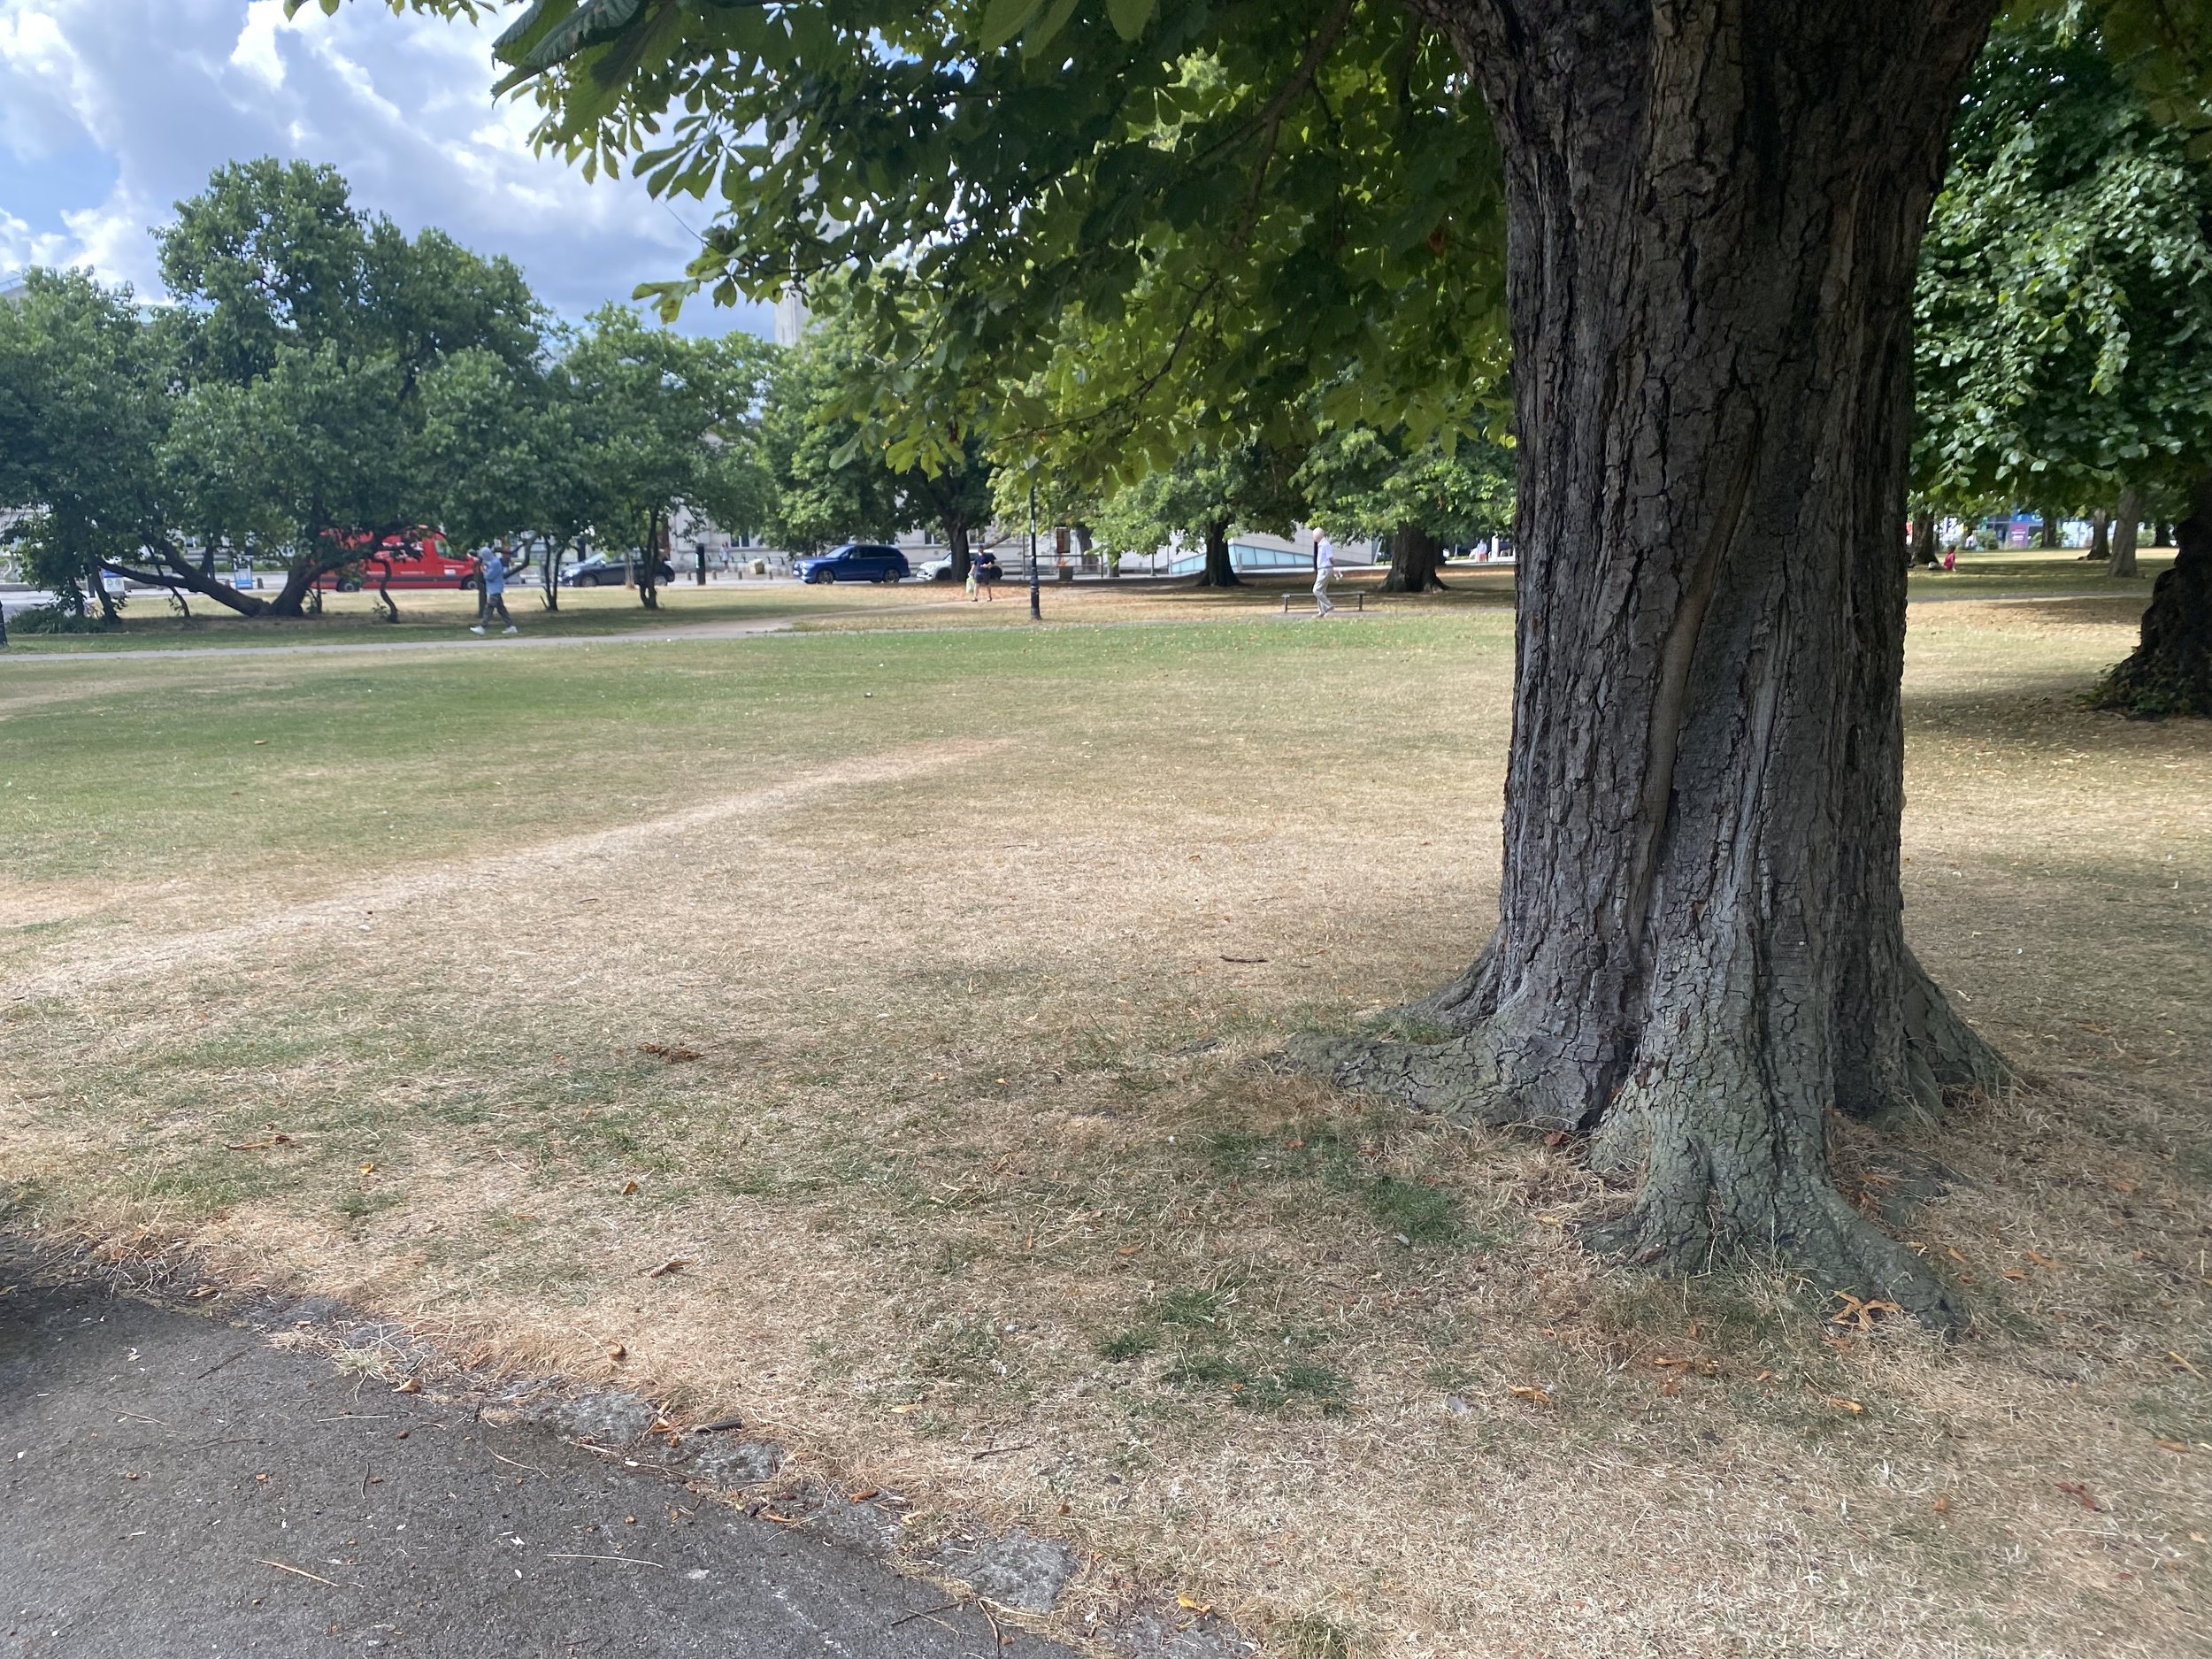

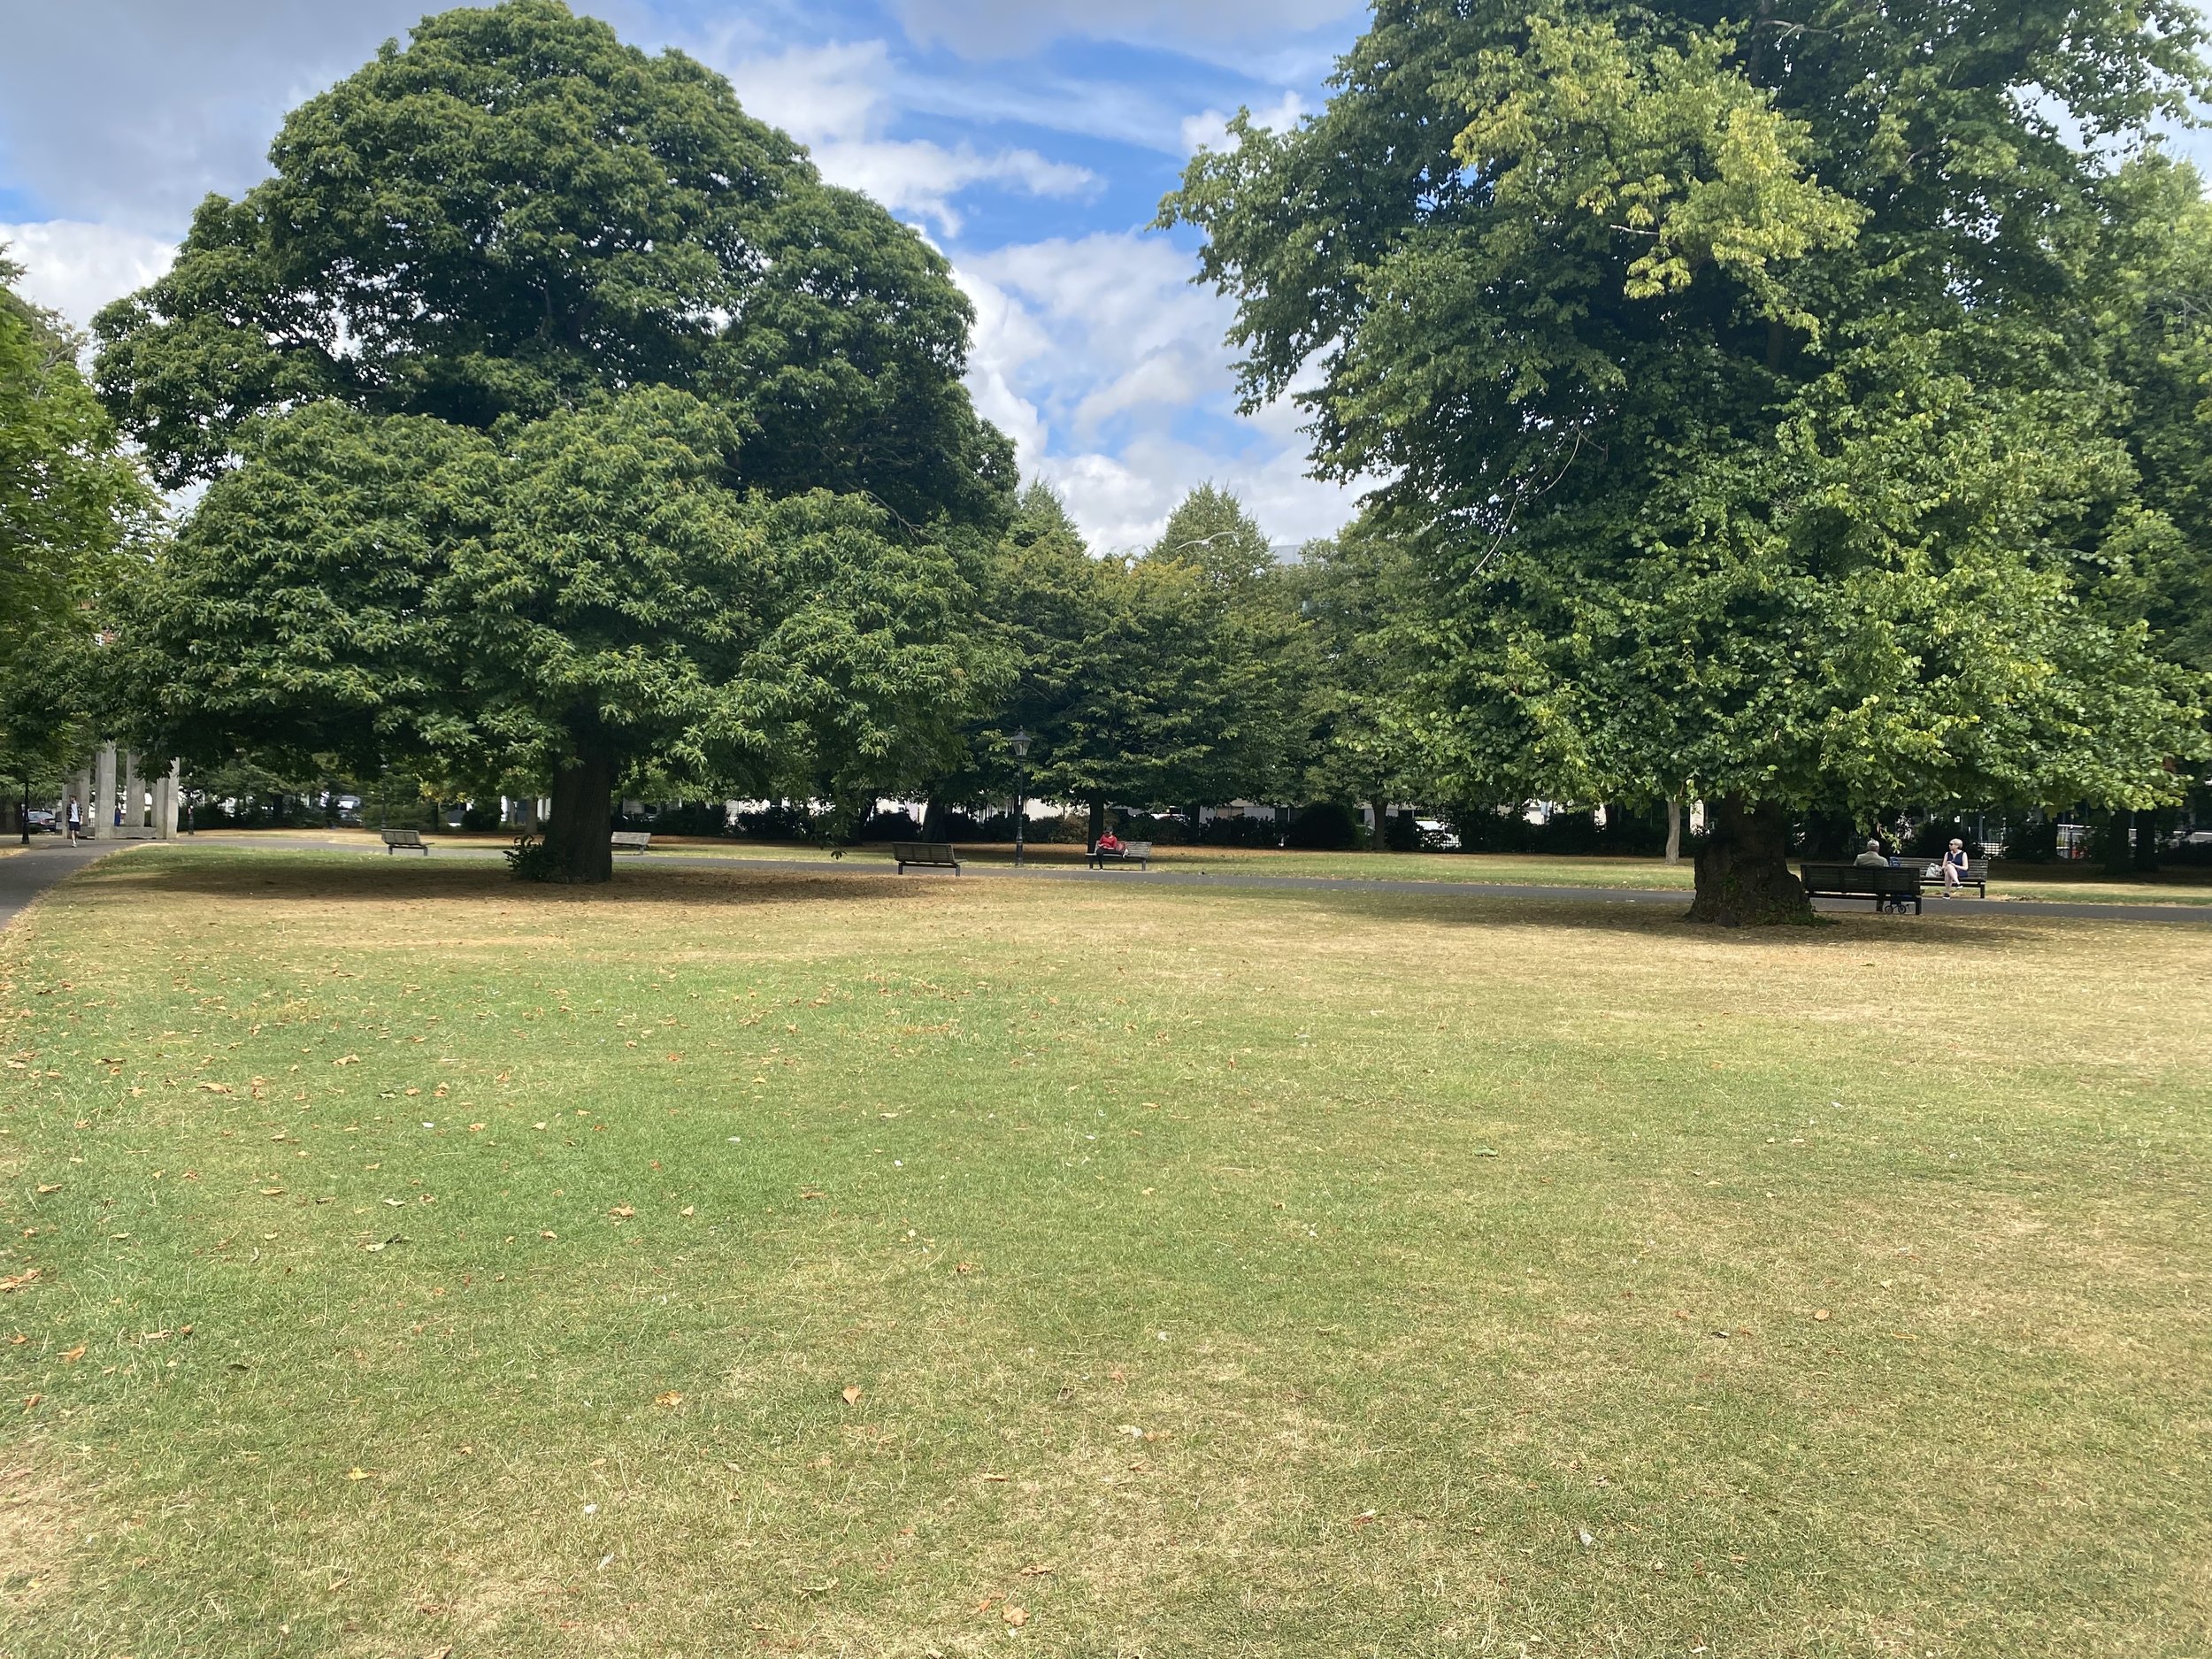
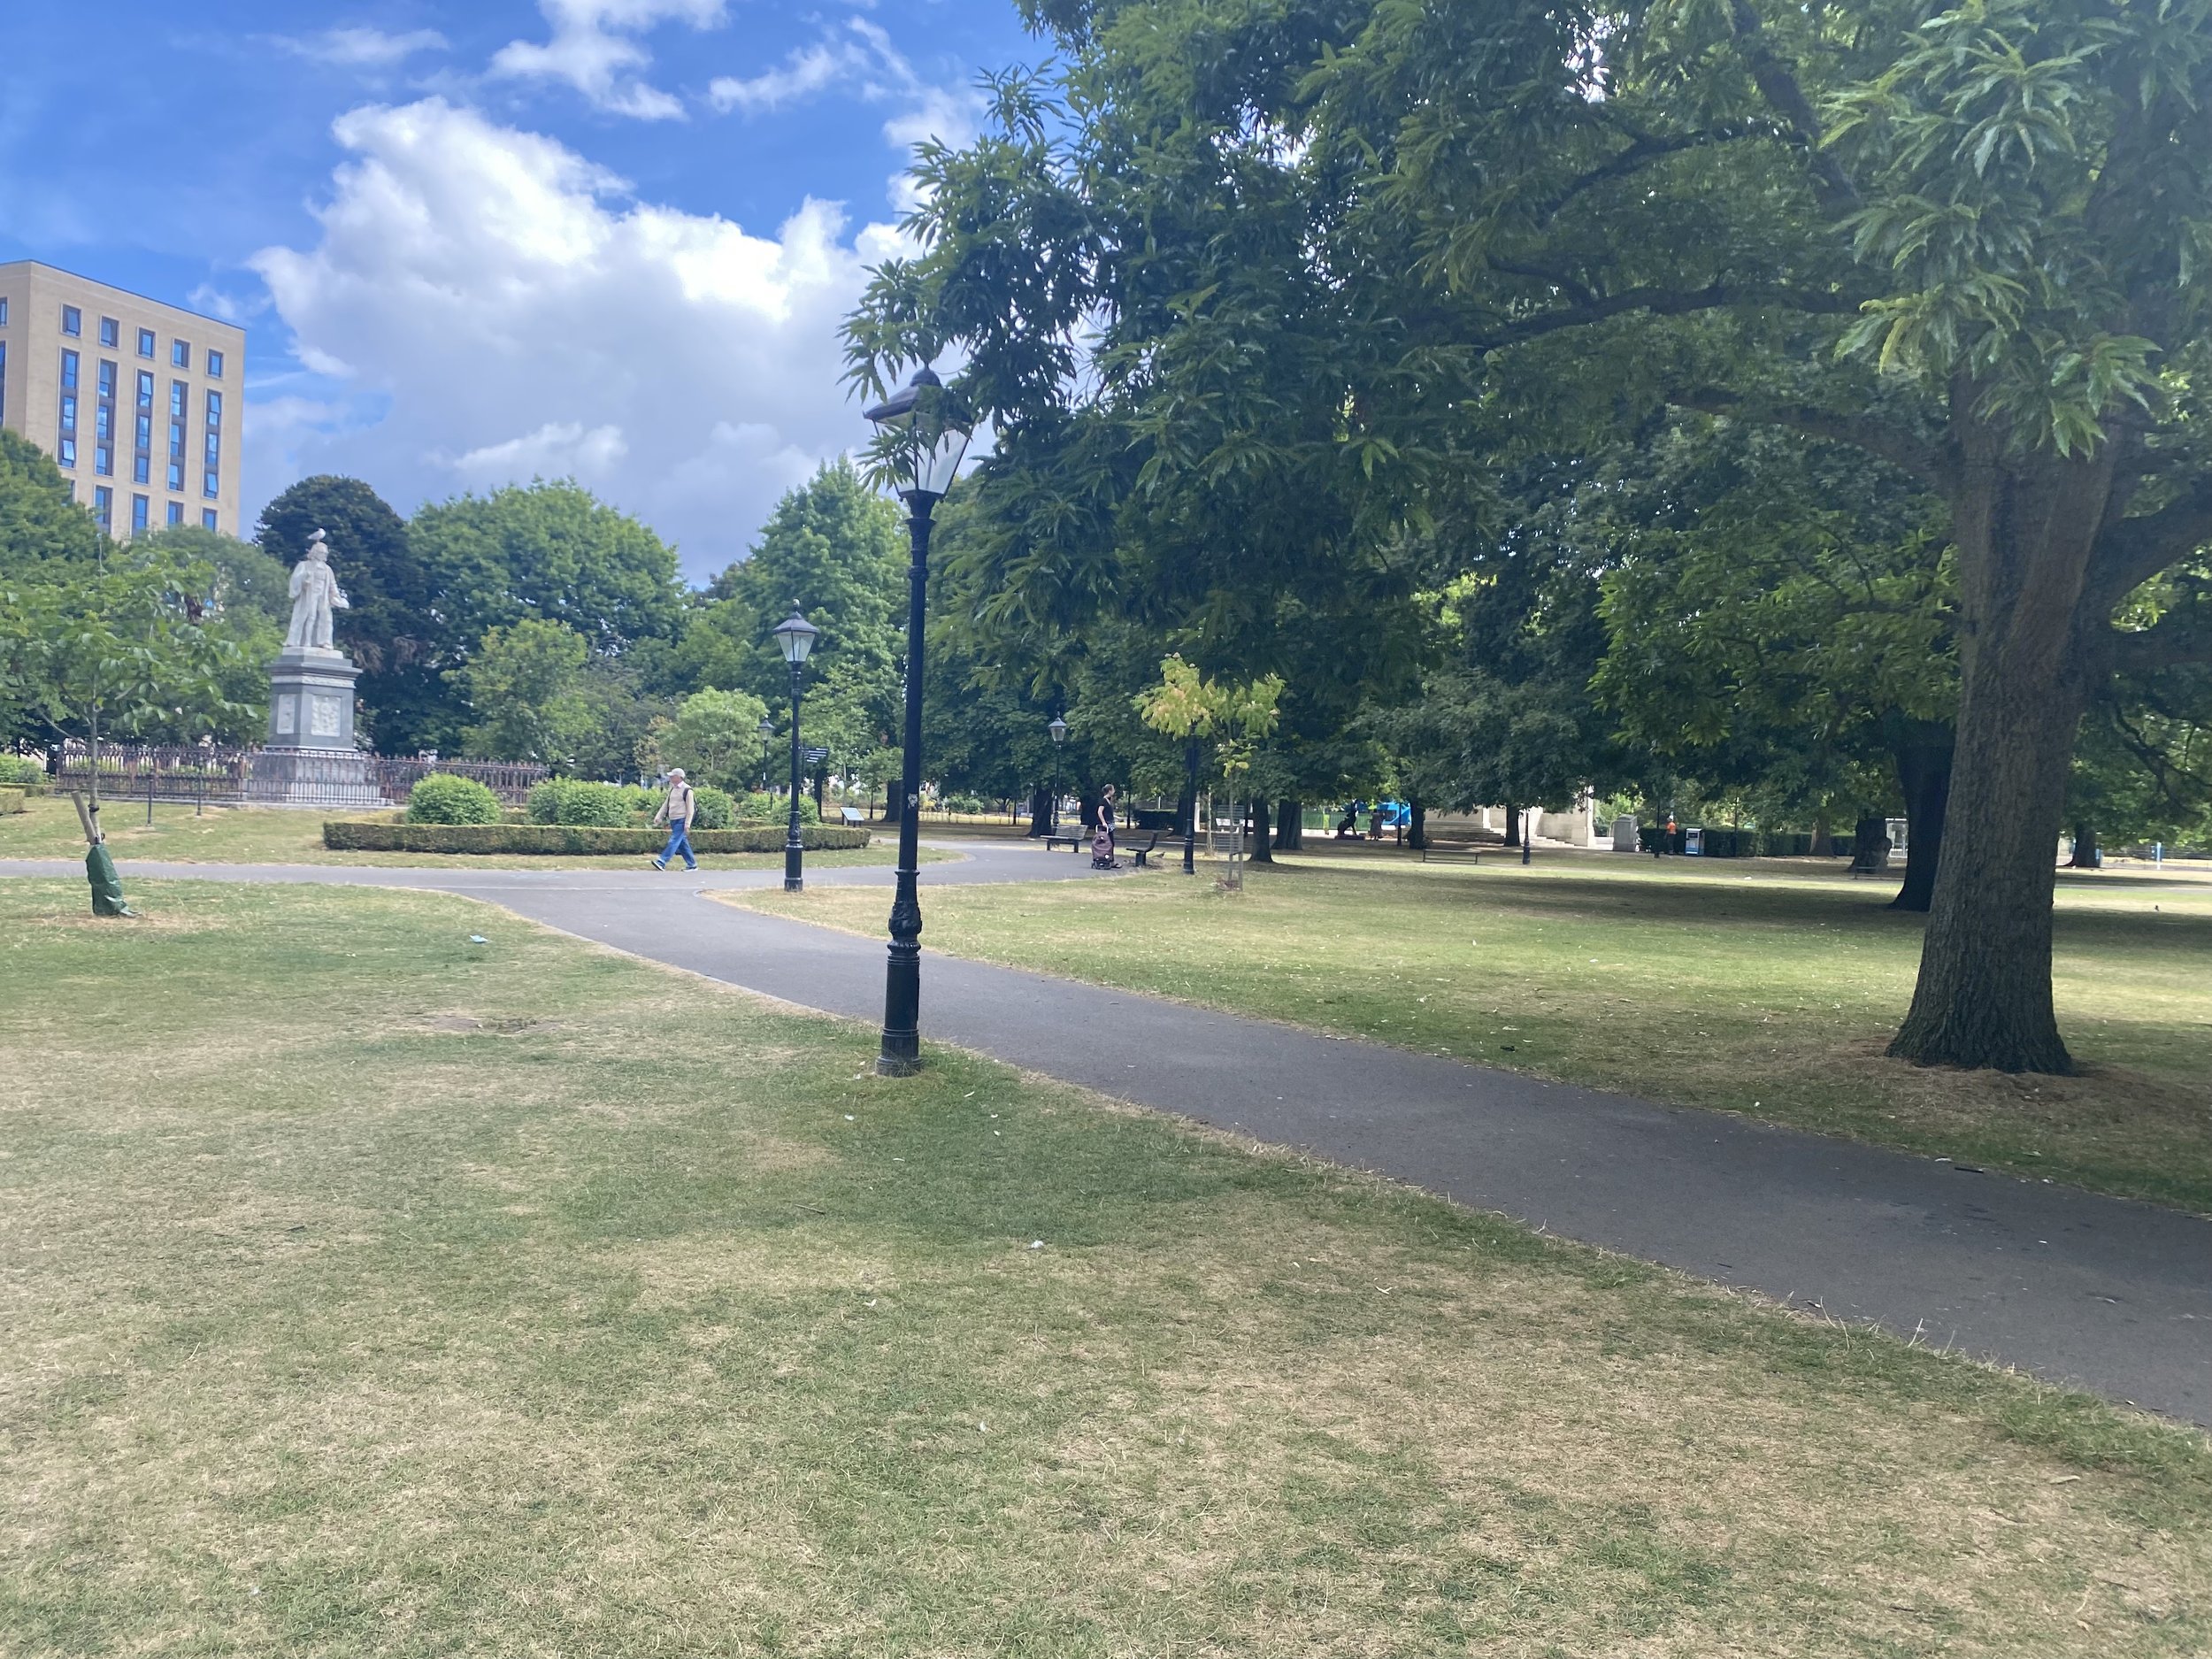
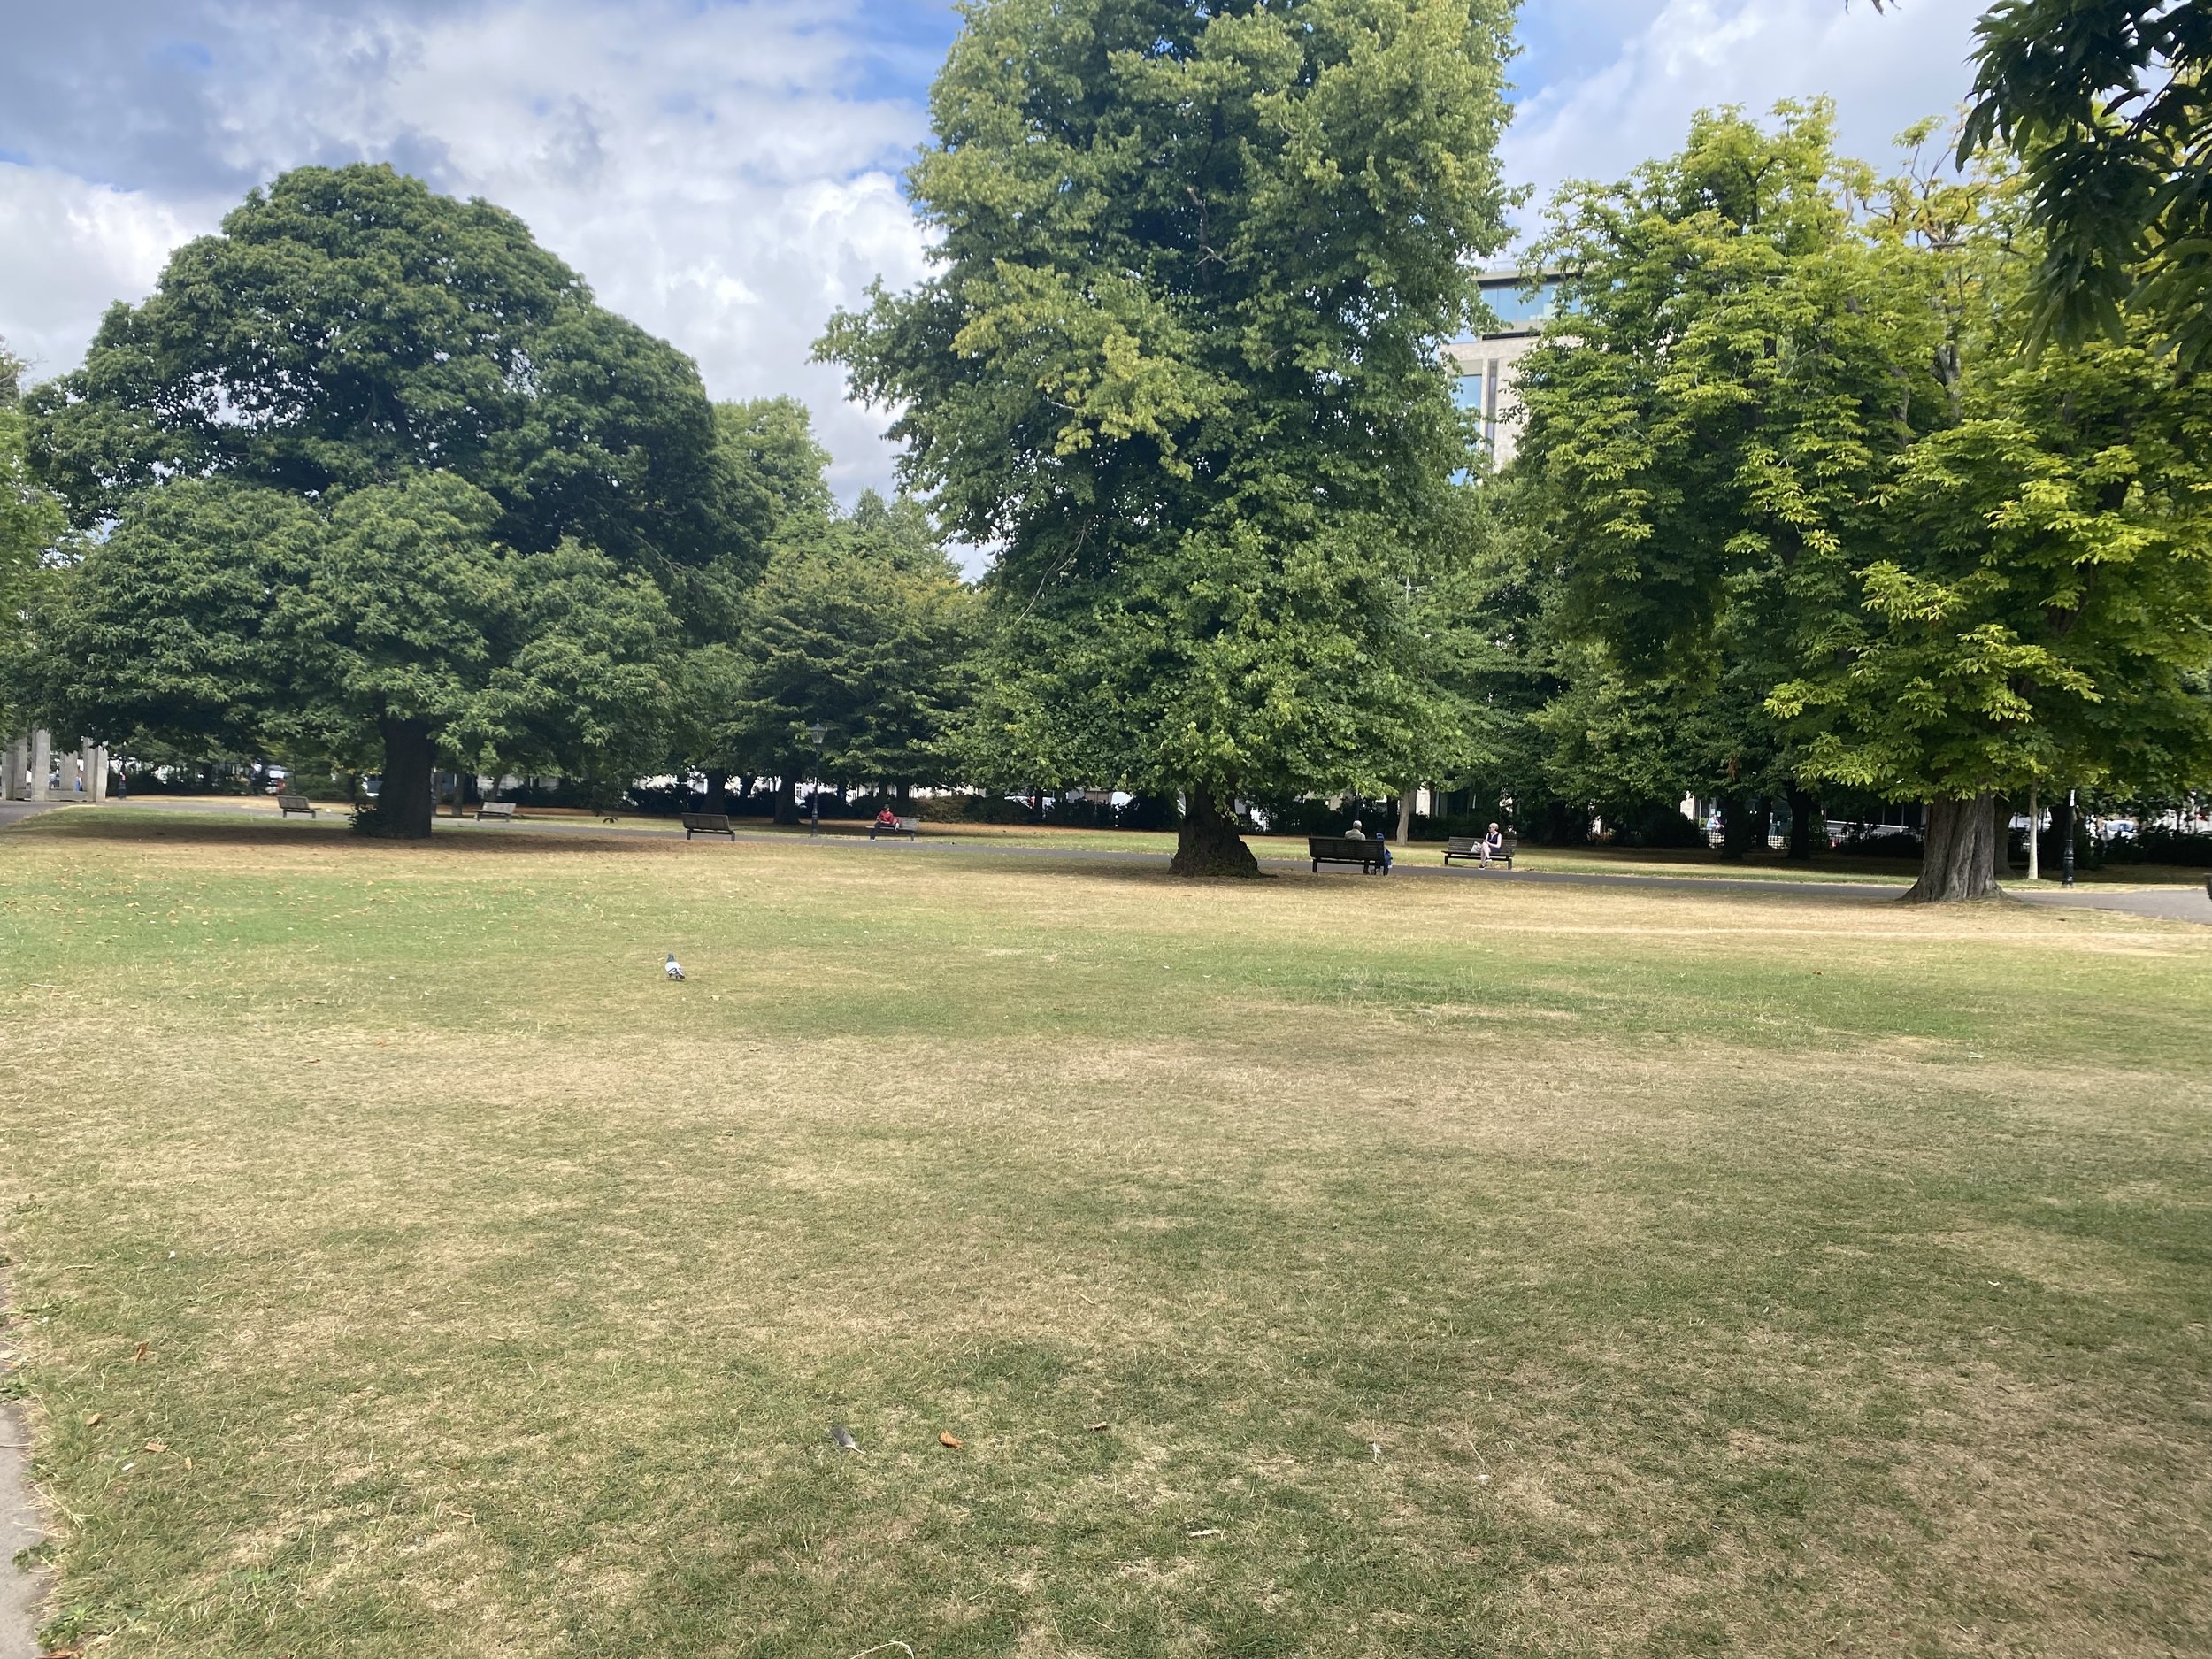
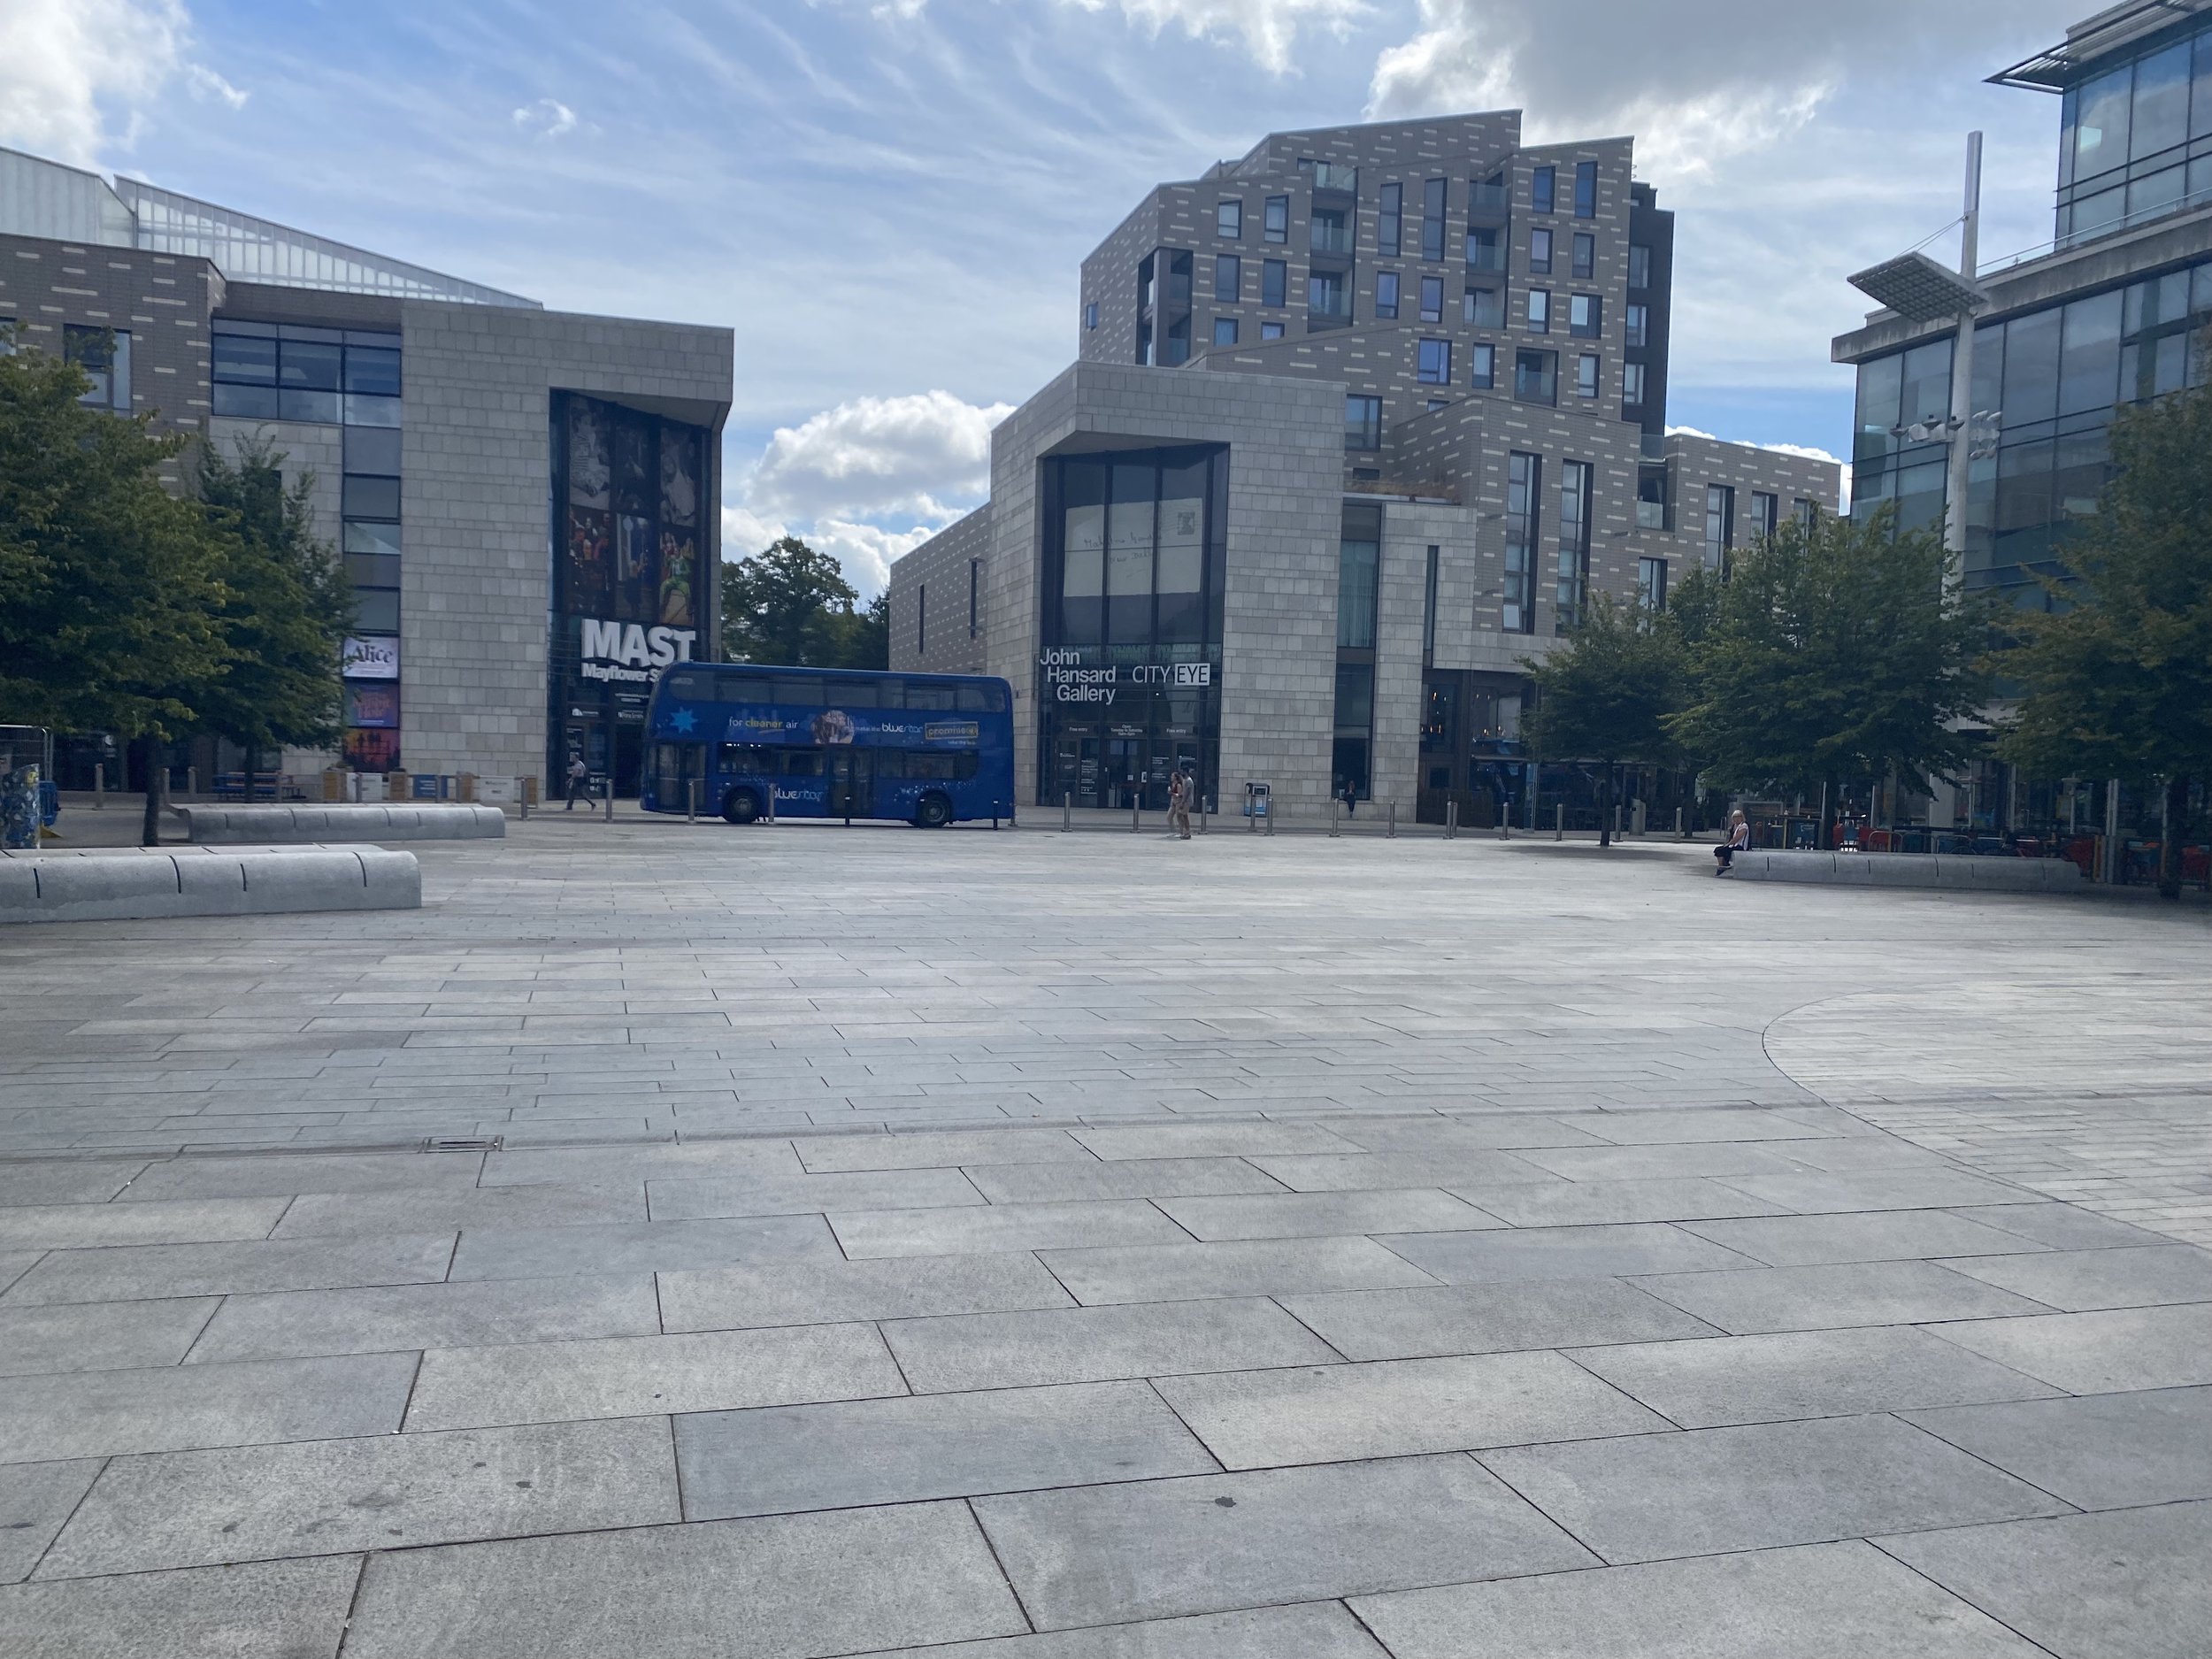
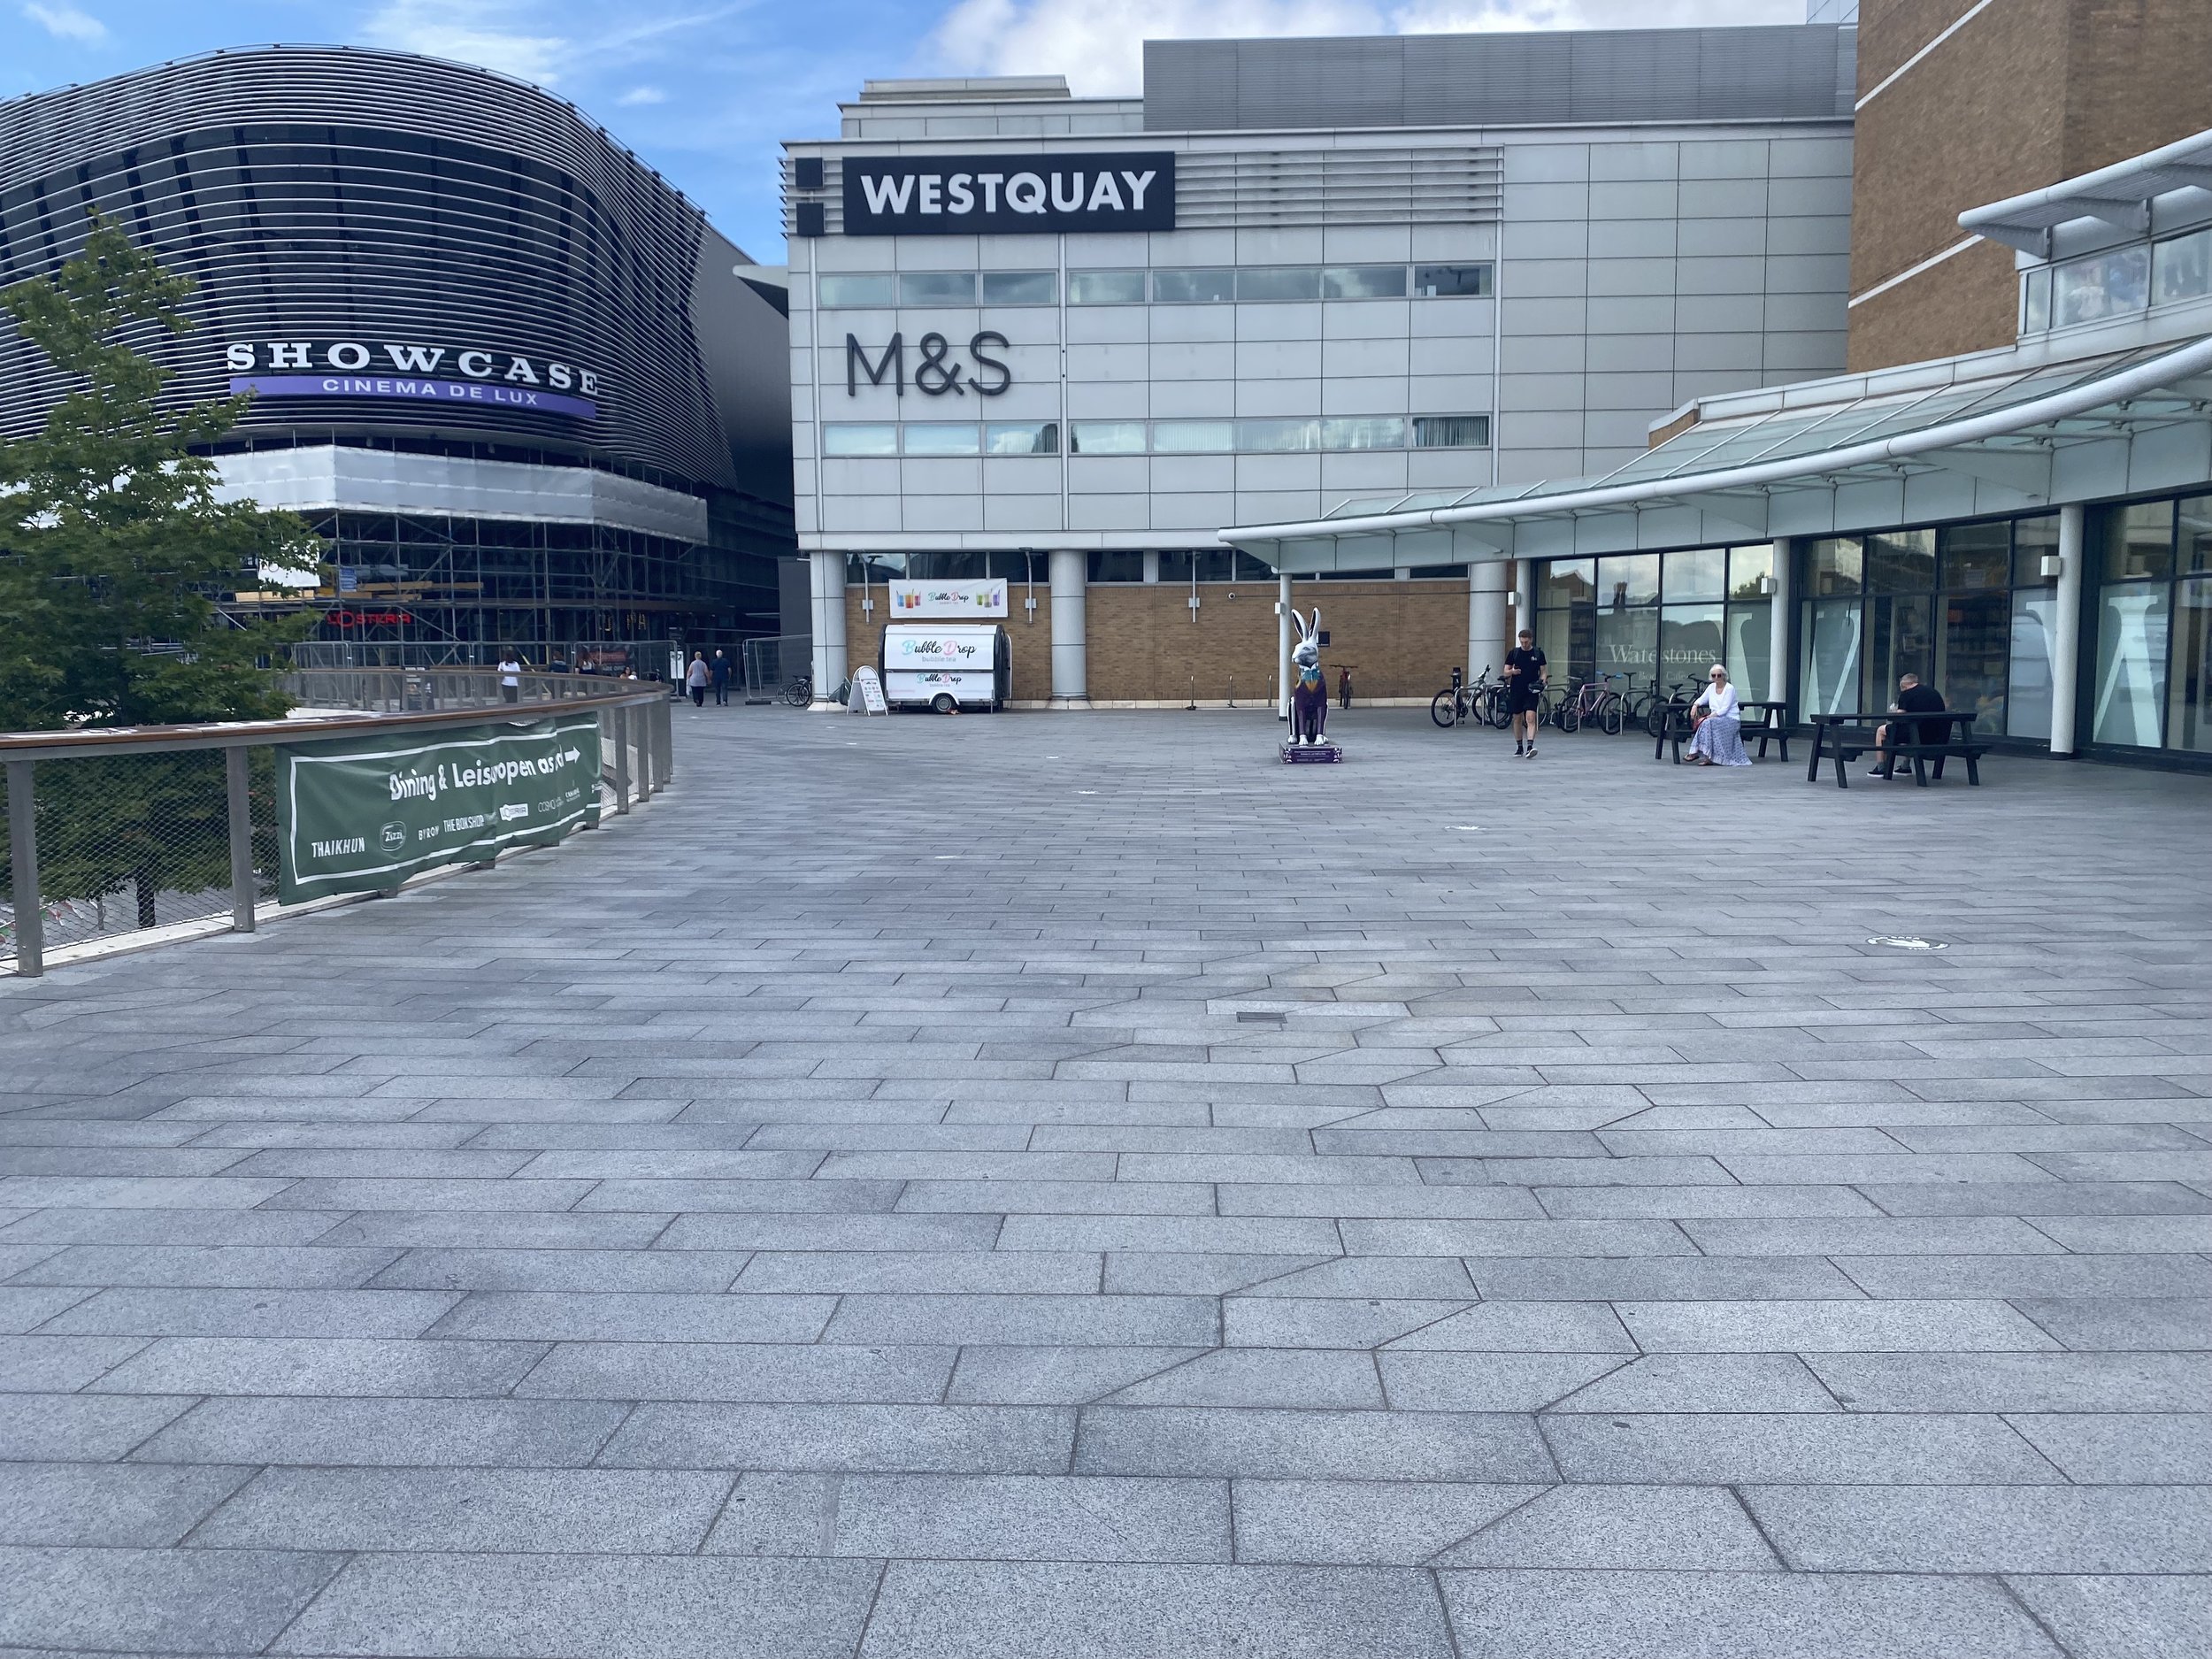
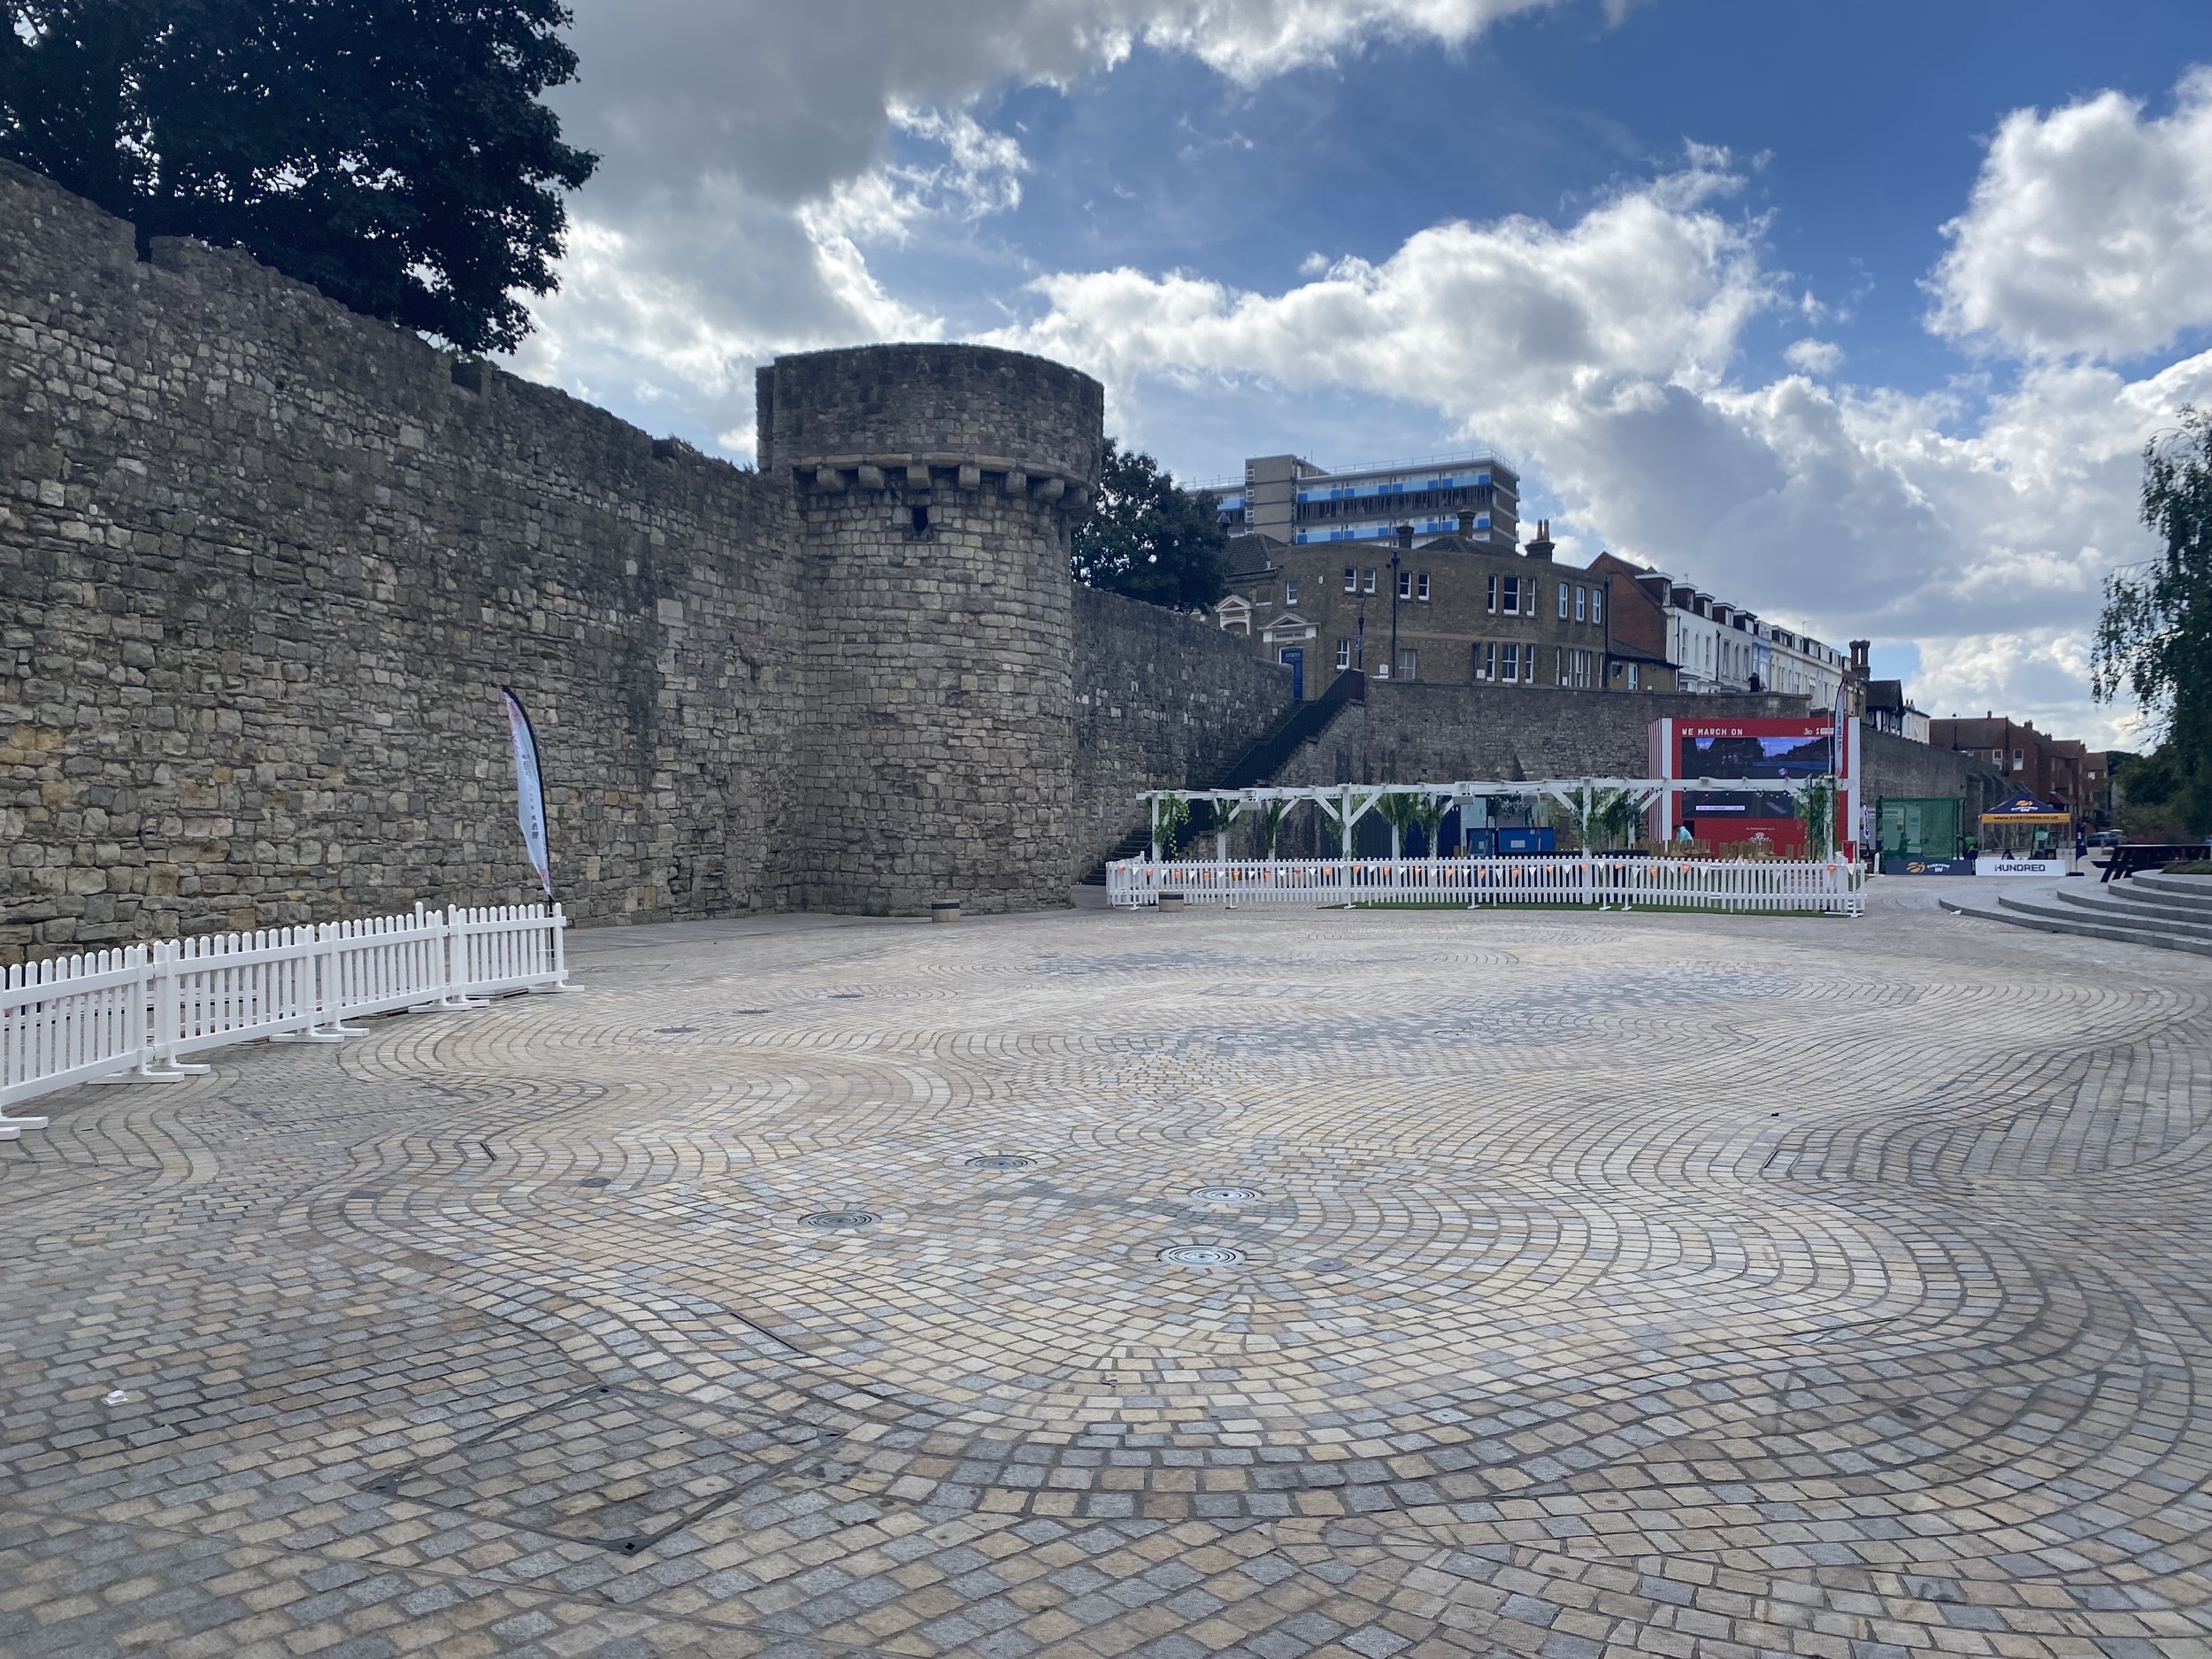
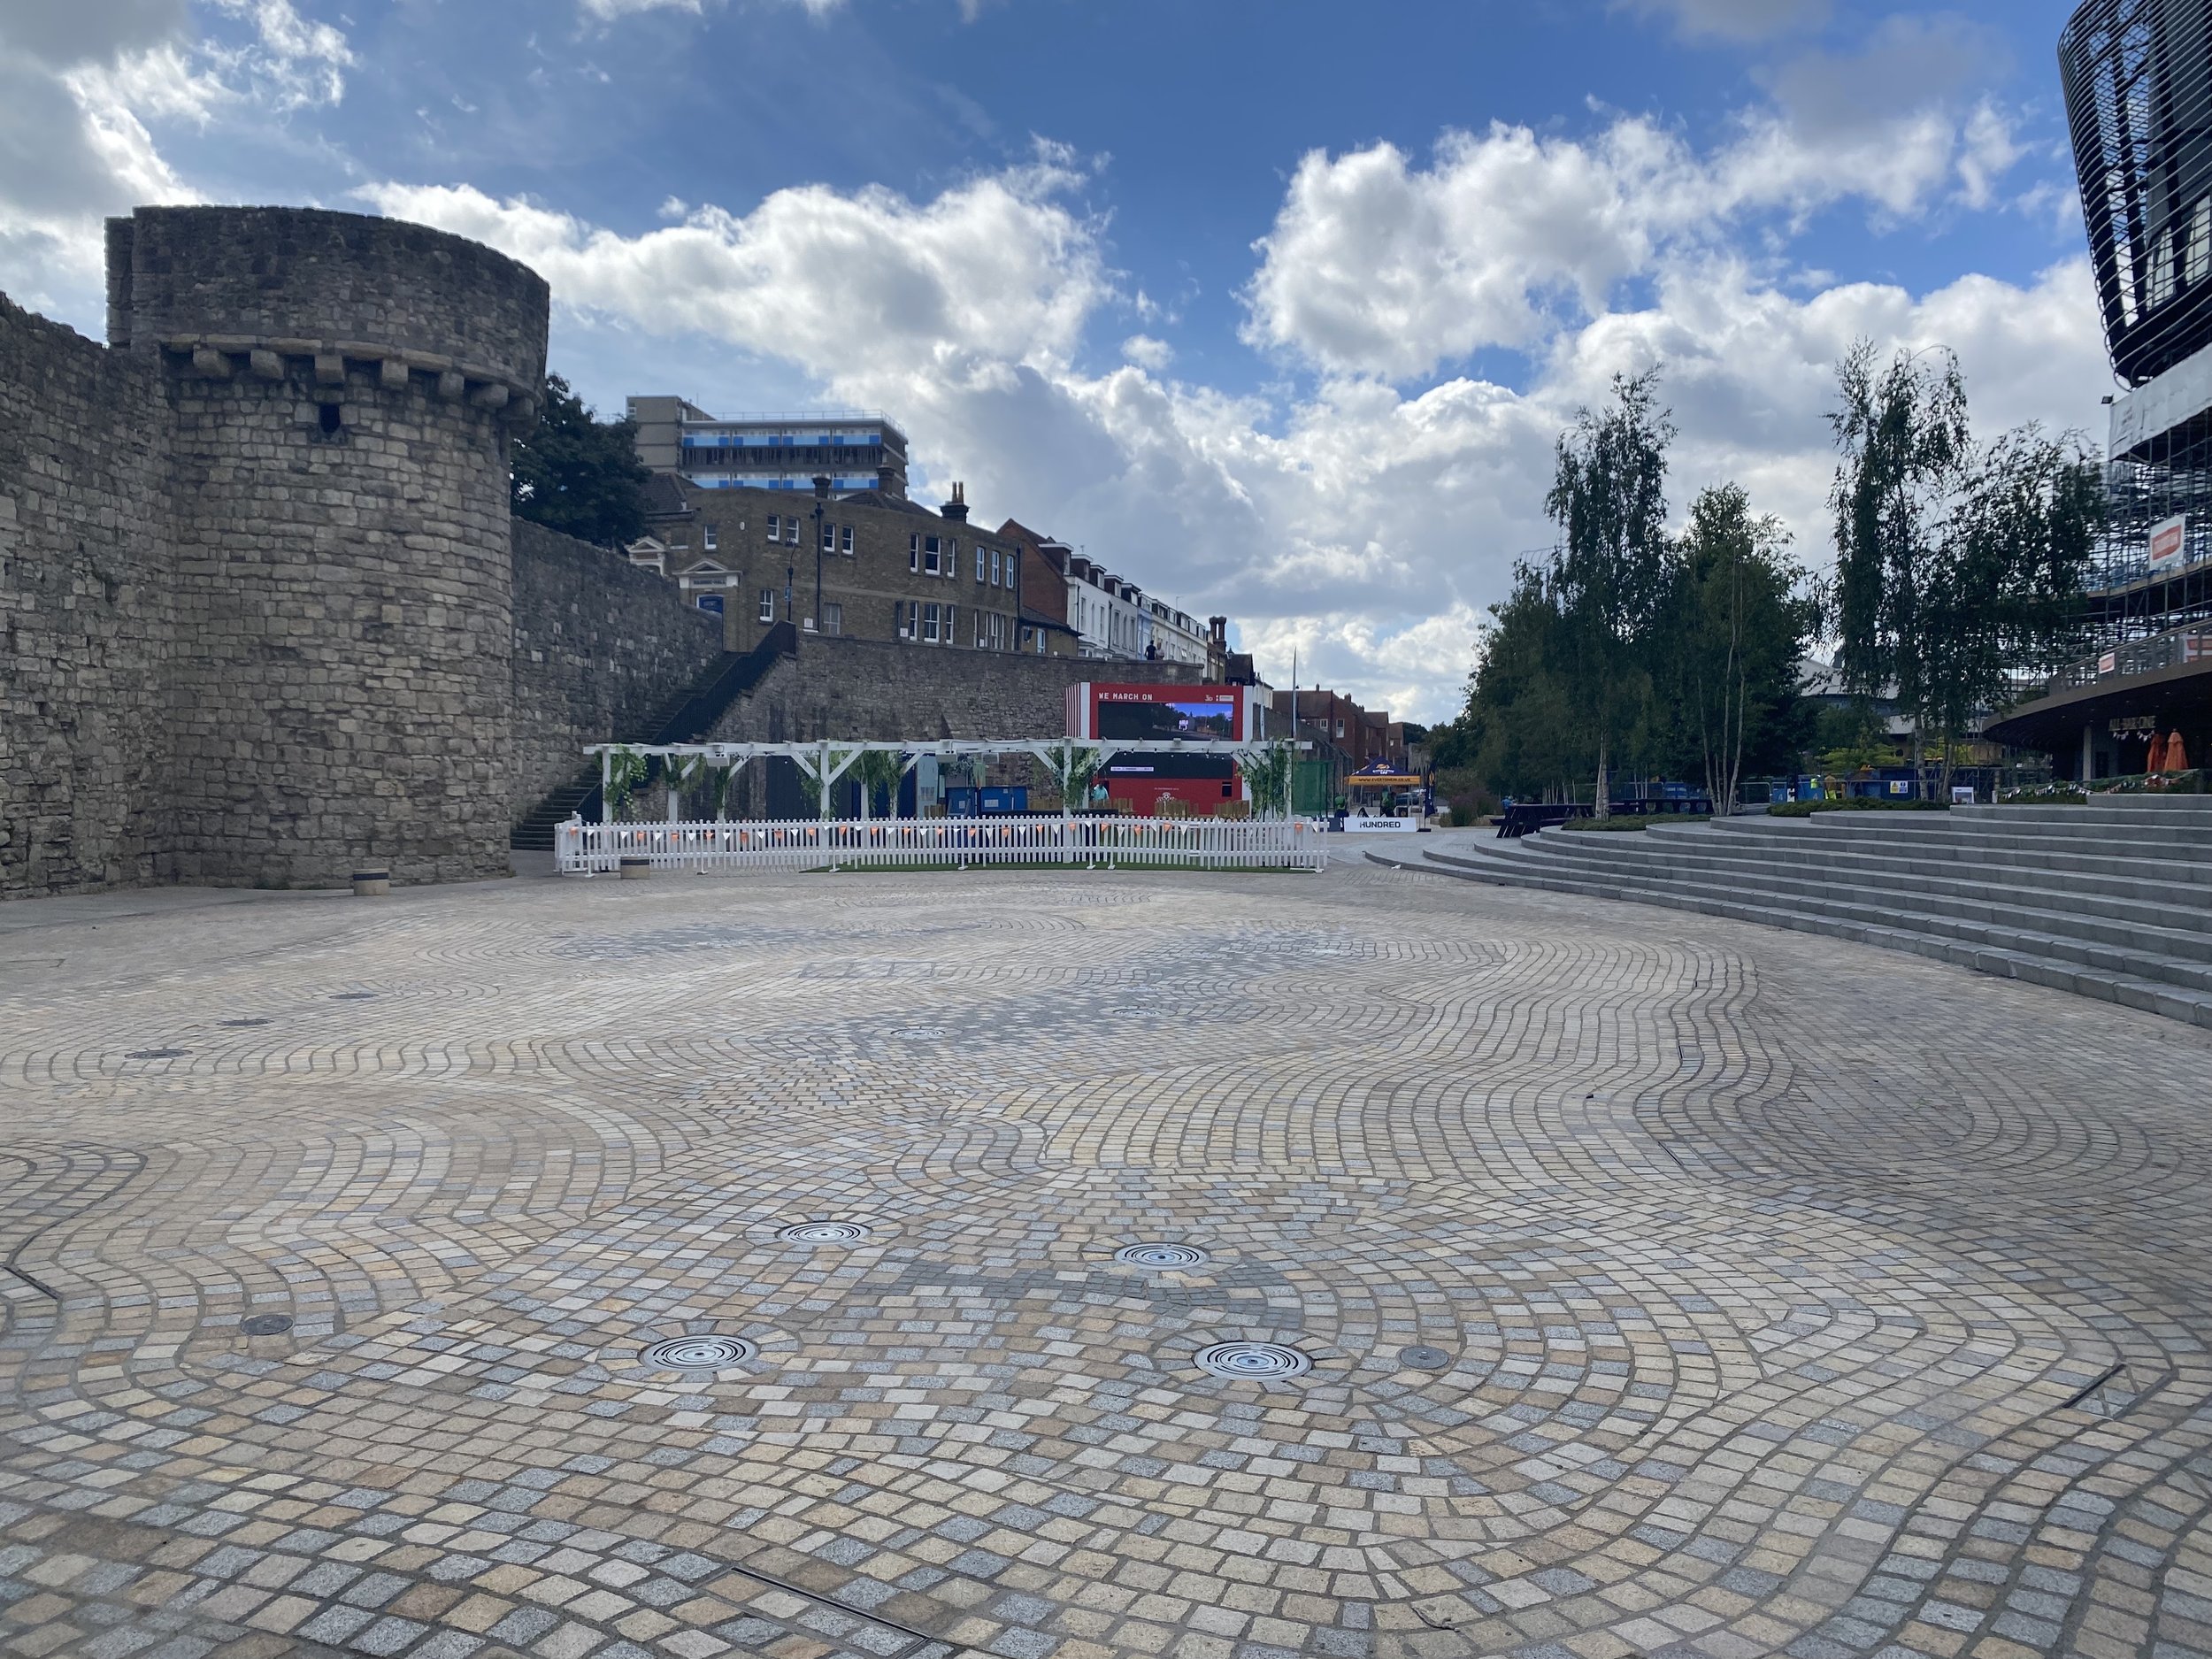
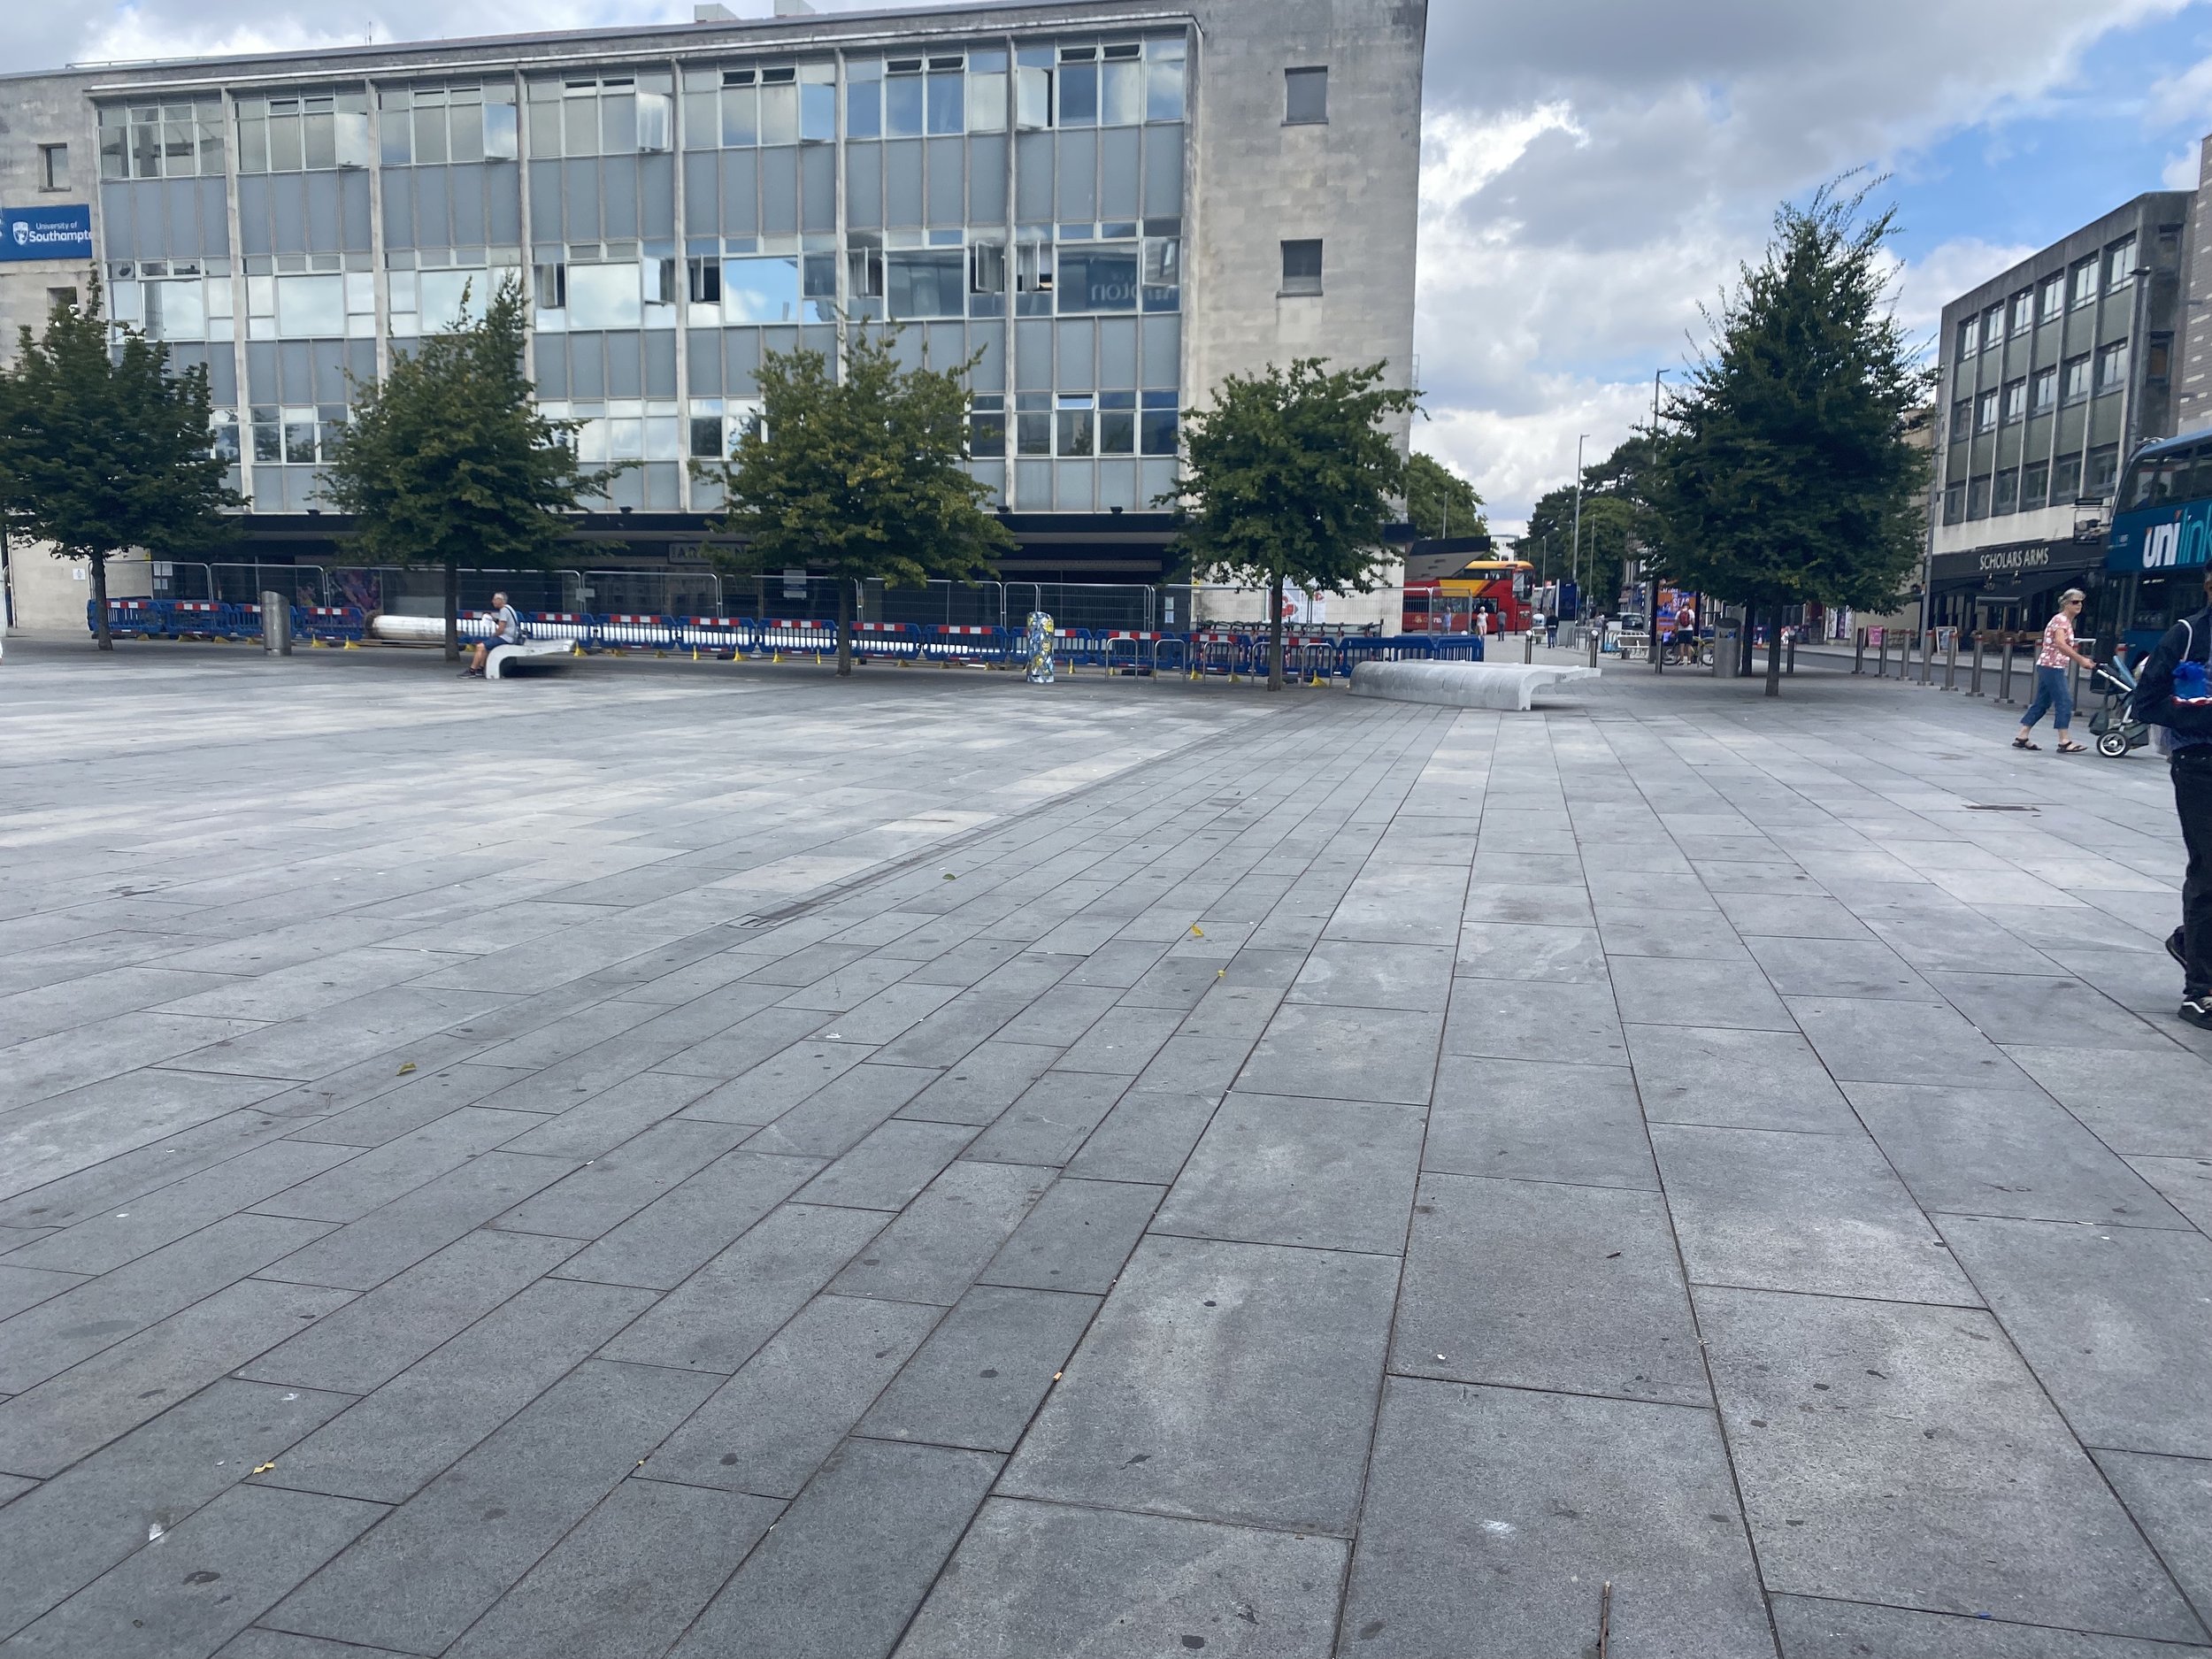
I changed my mind from my previous location post, I want to create hype around the installations. So the main one will still be placed within the park but then the others will be placed down the main high street which is high footfall which means they have to look at them. I feel this also could have the potential to expand in the future.
Testing Installation Designs:
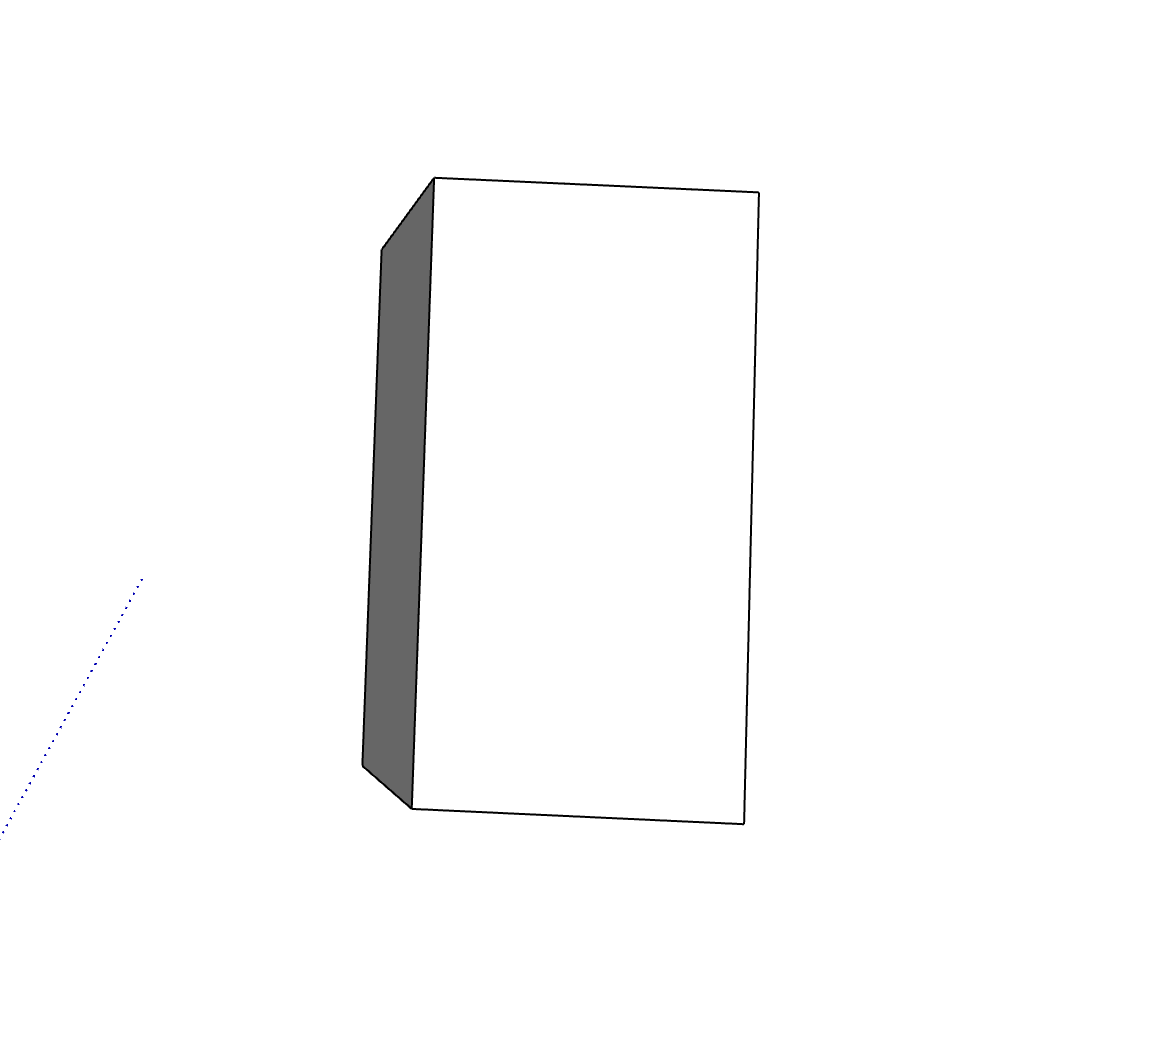
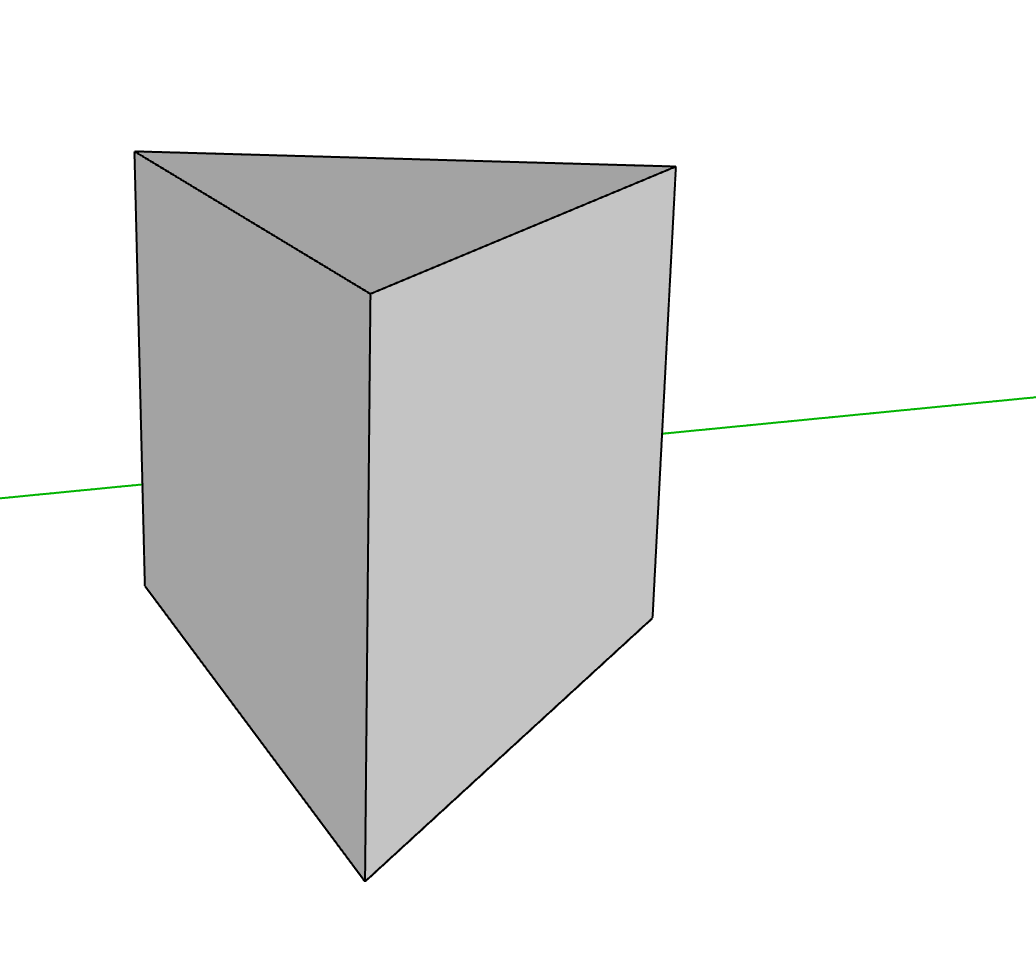
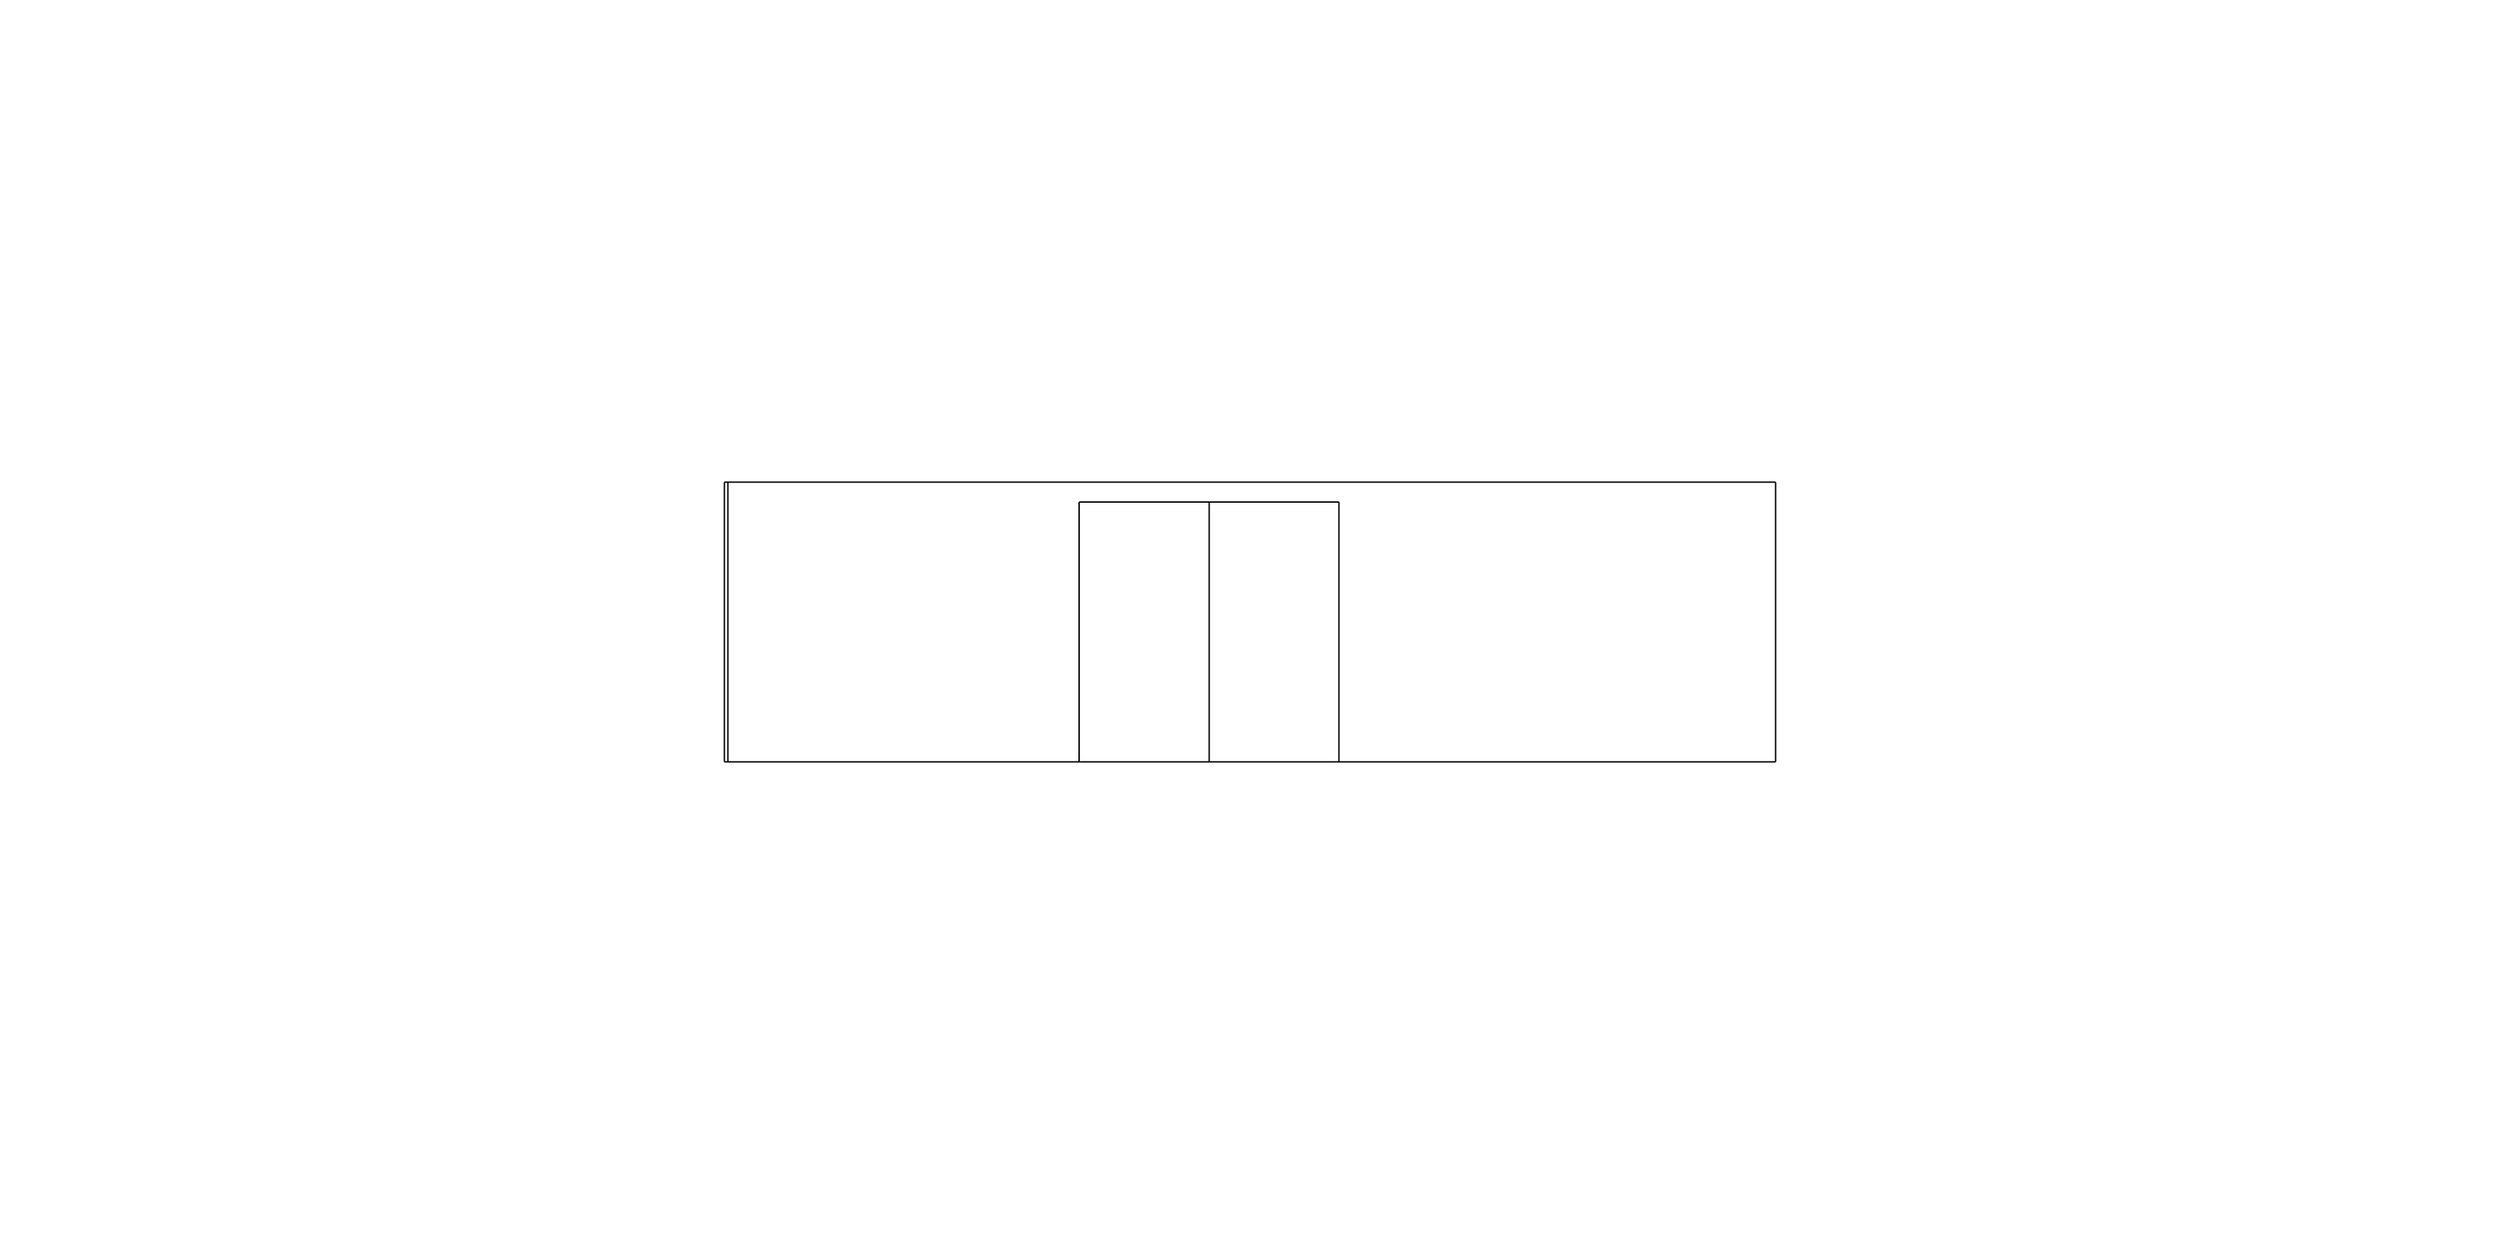
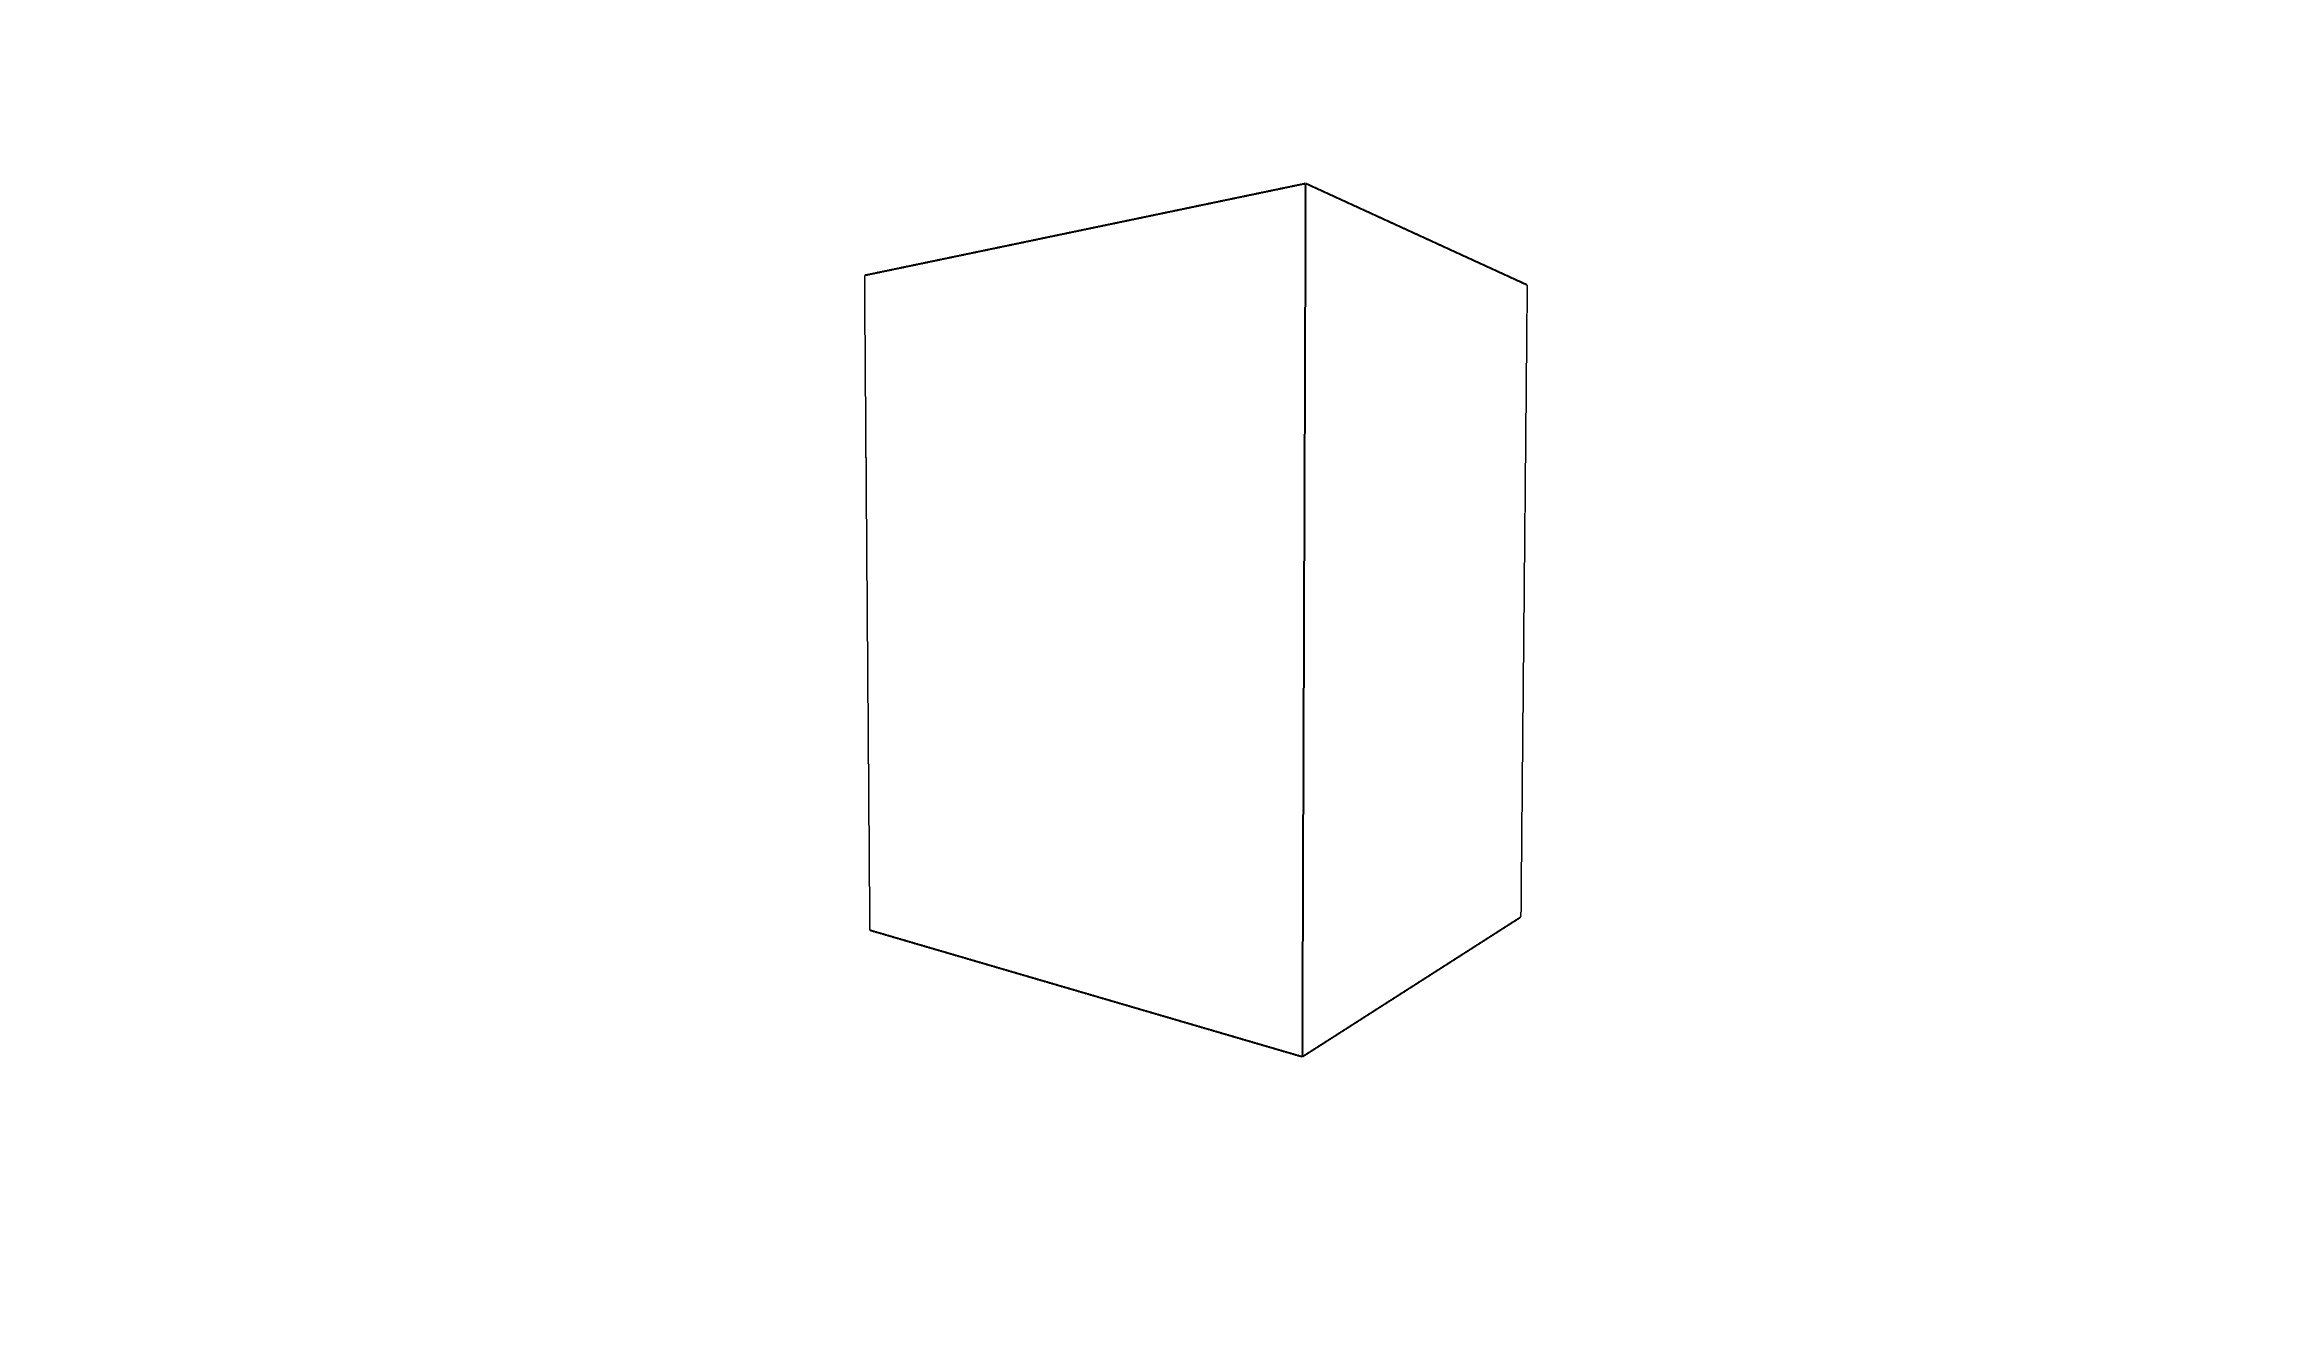
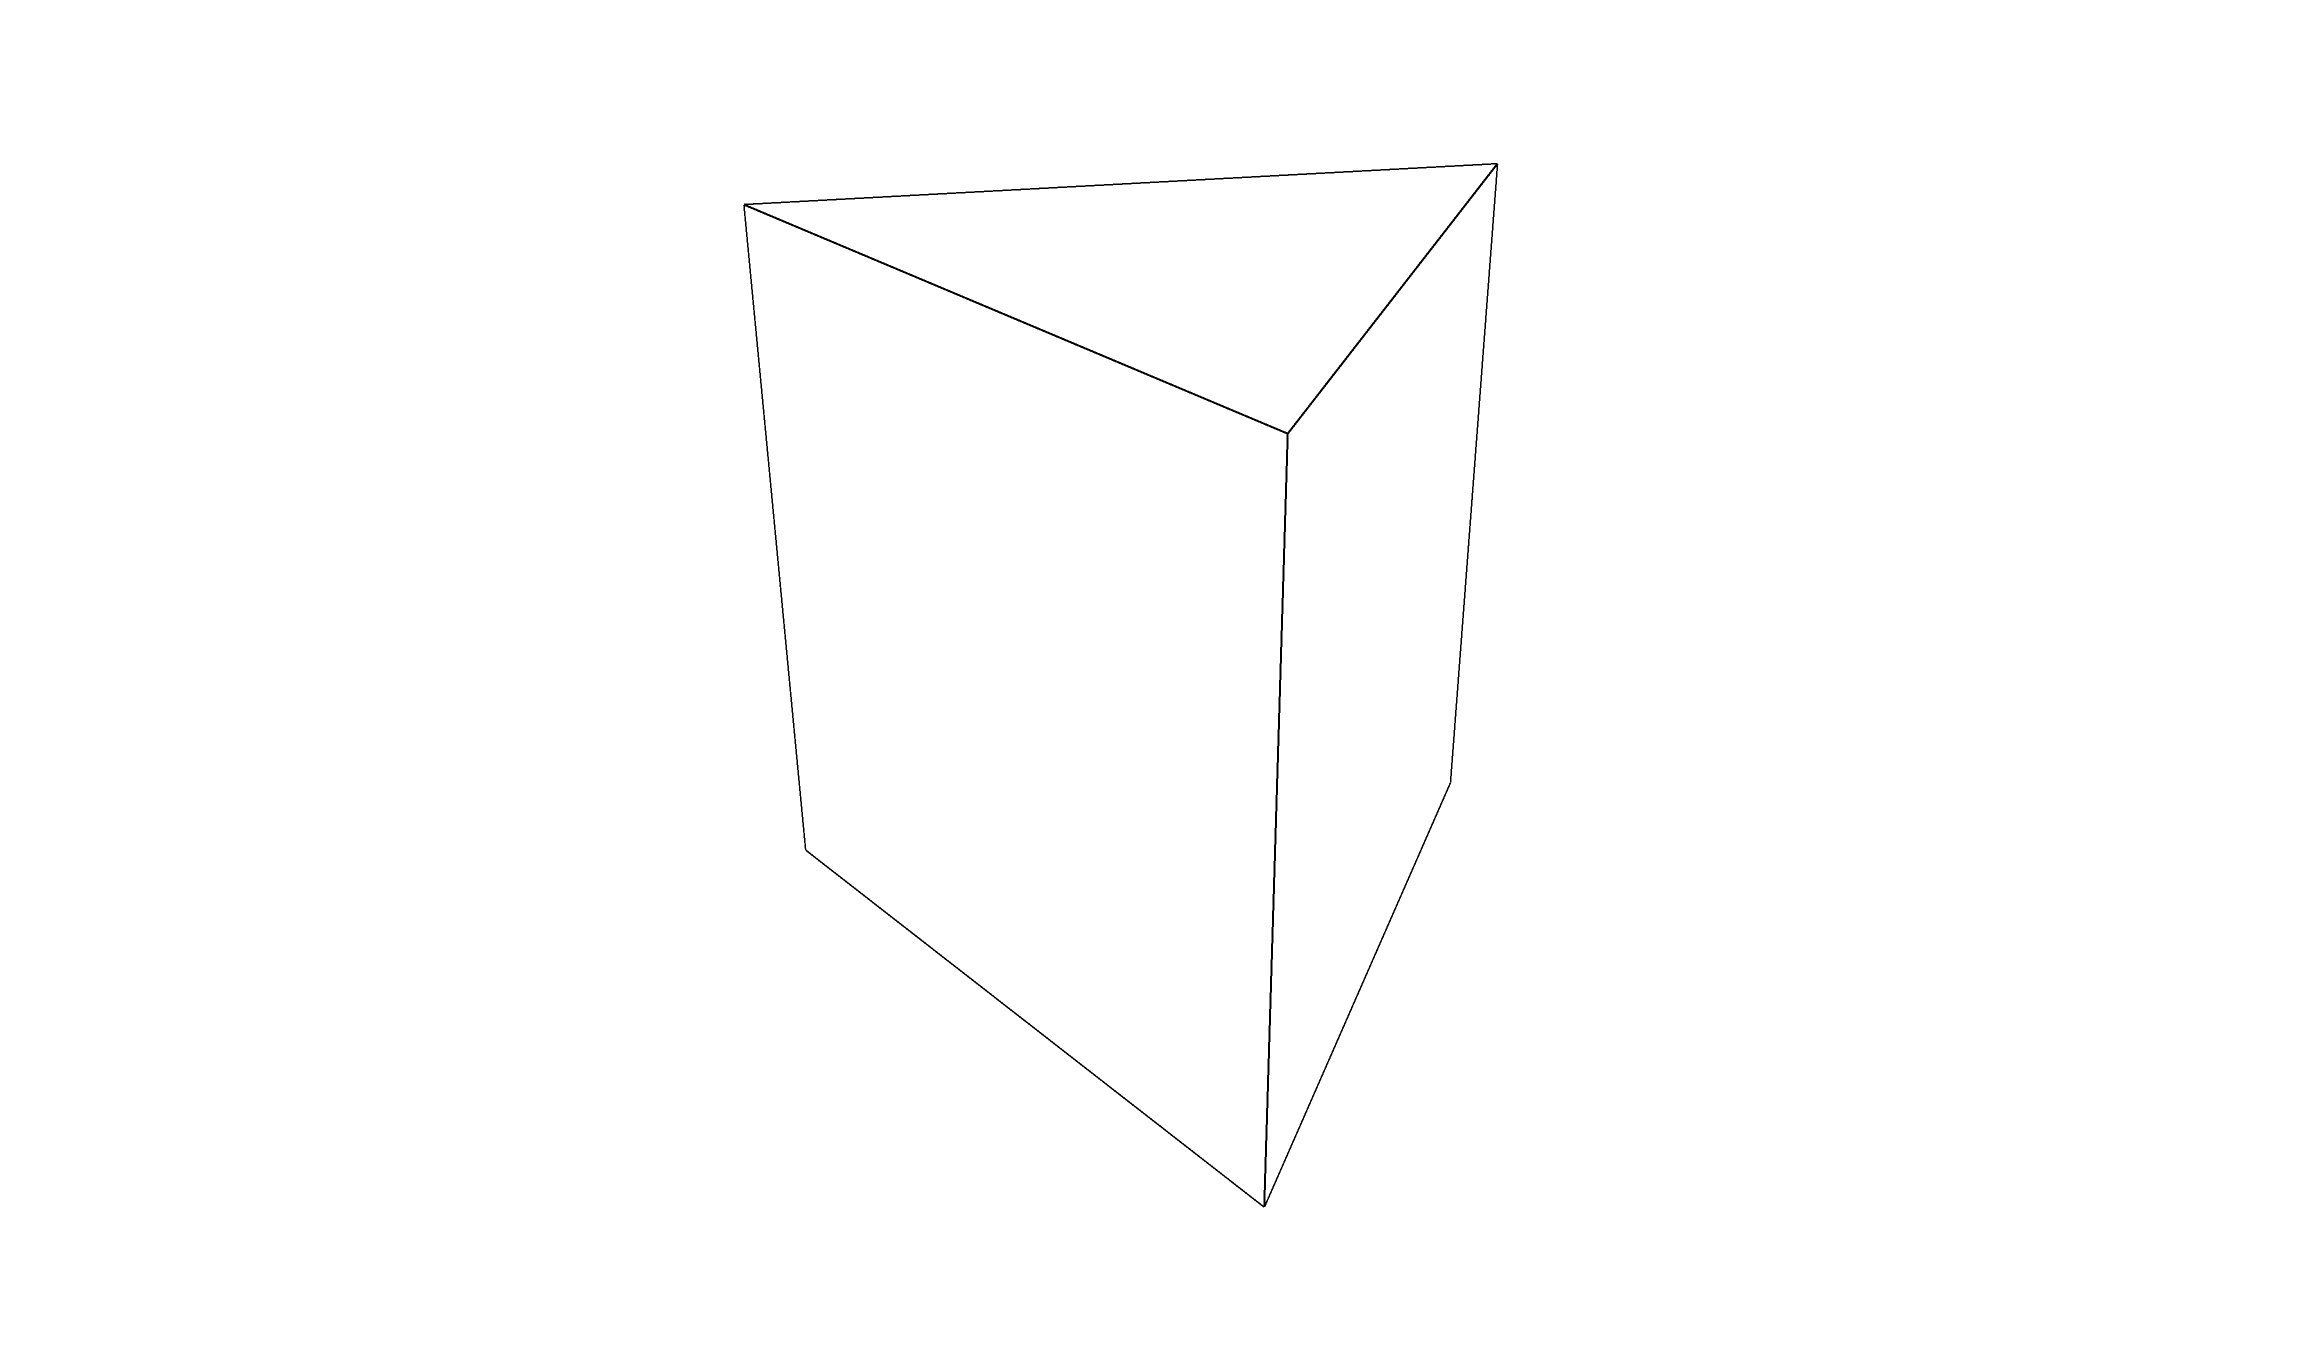
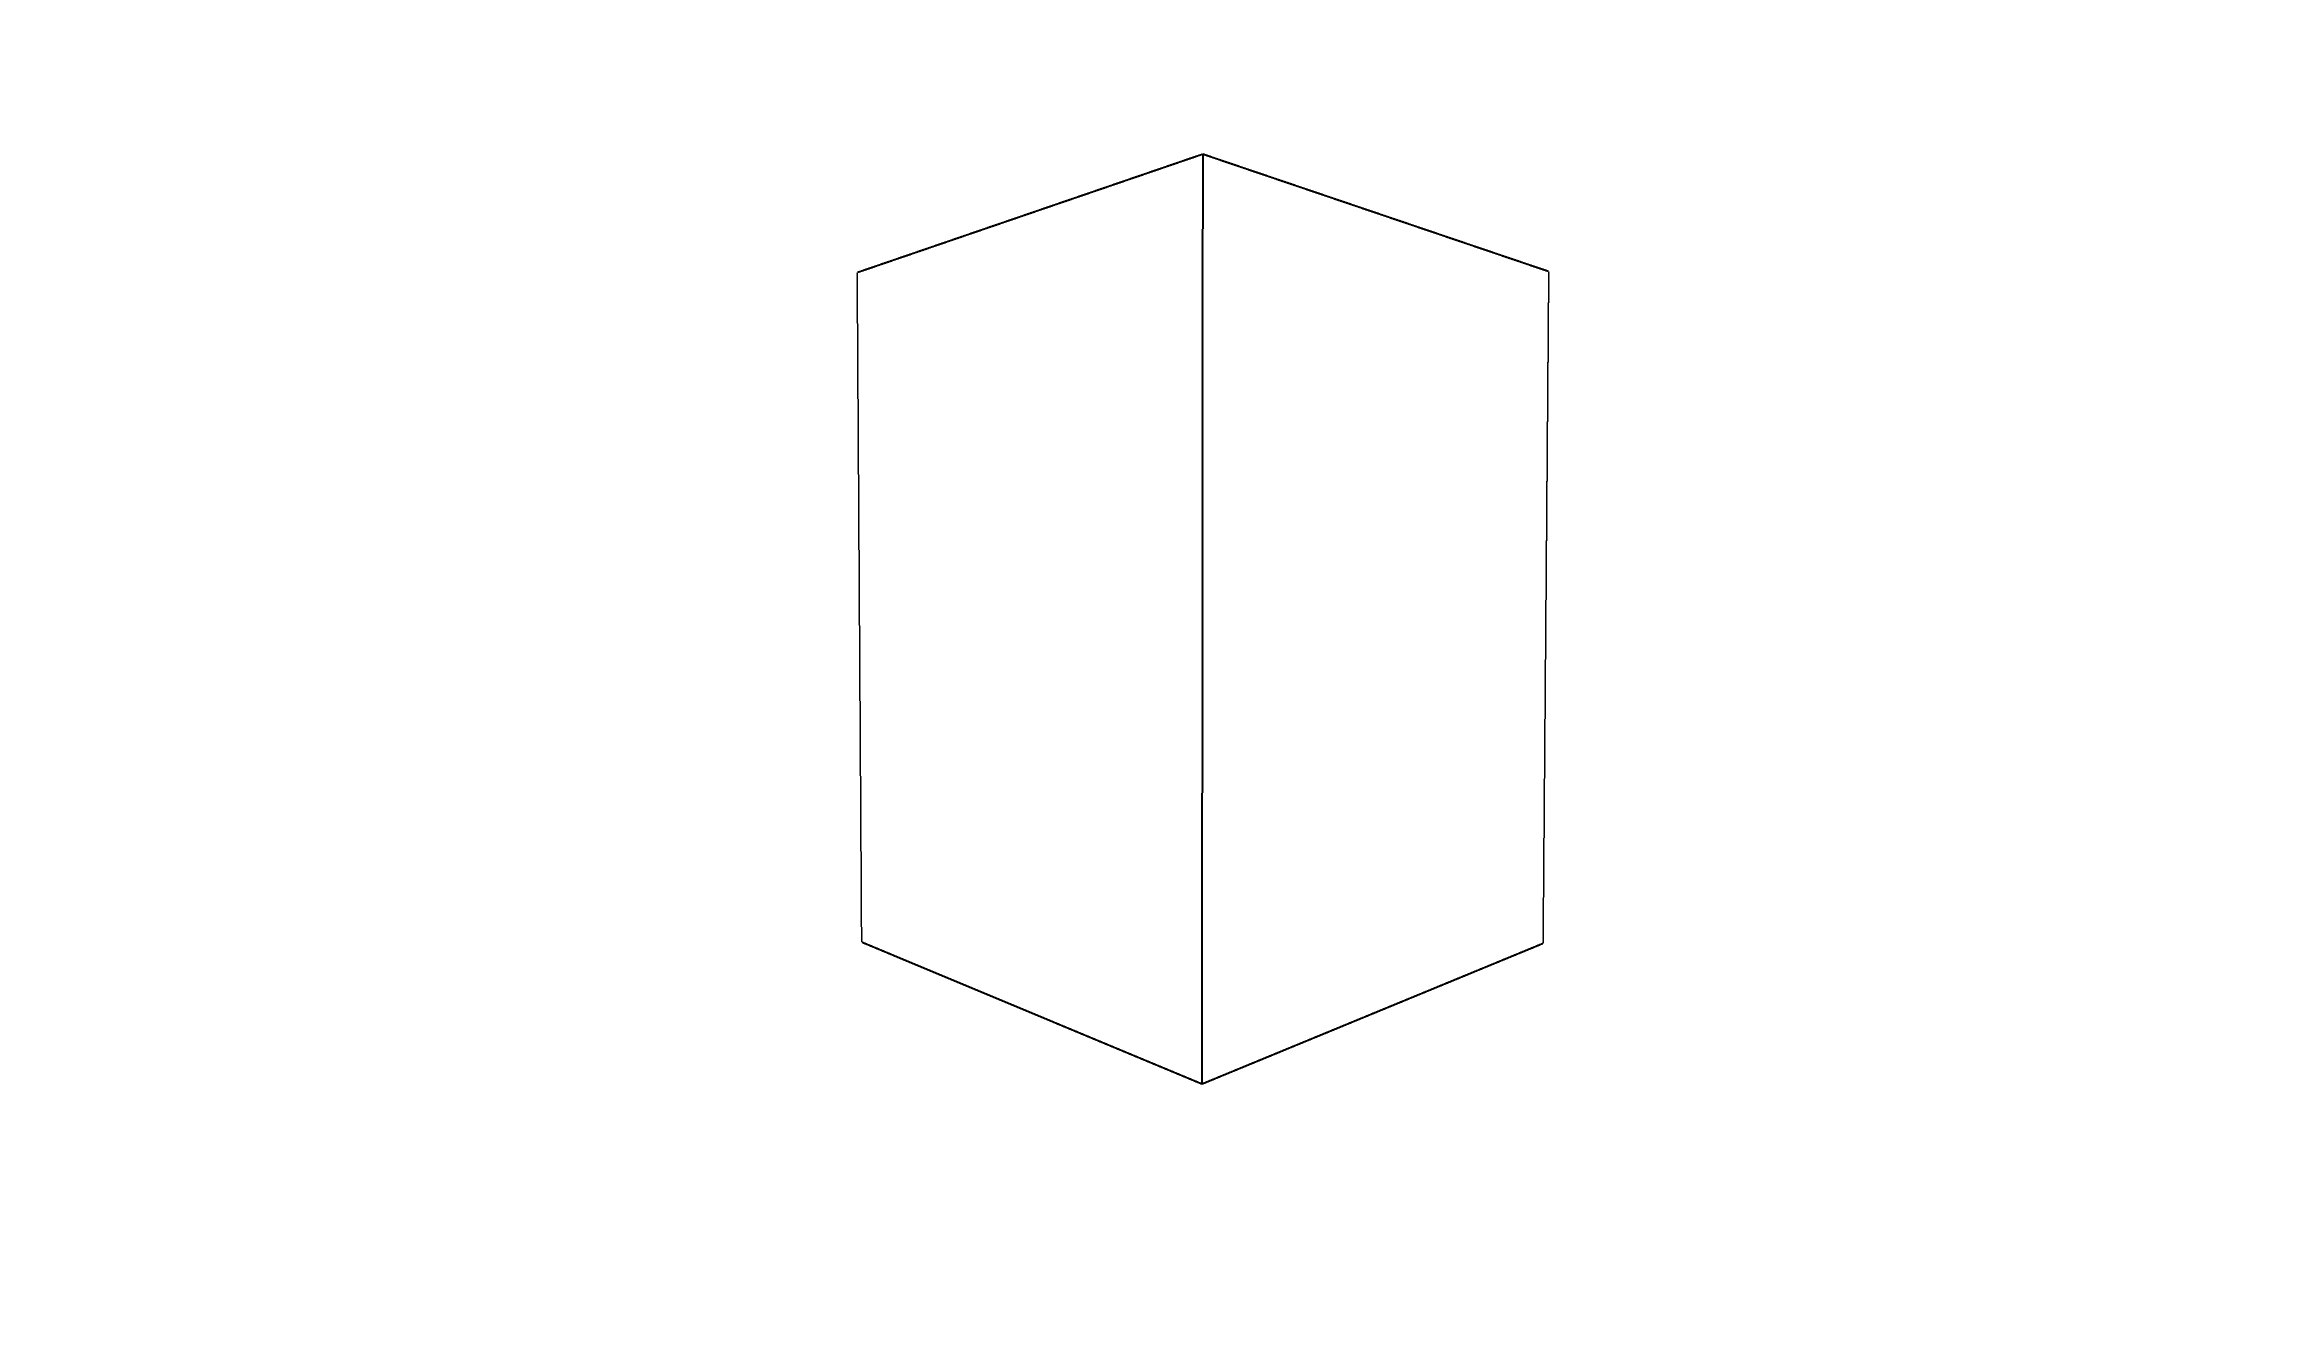
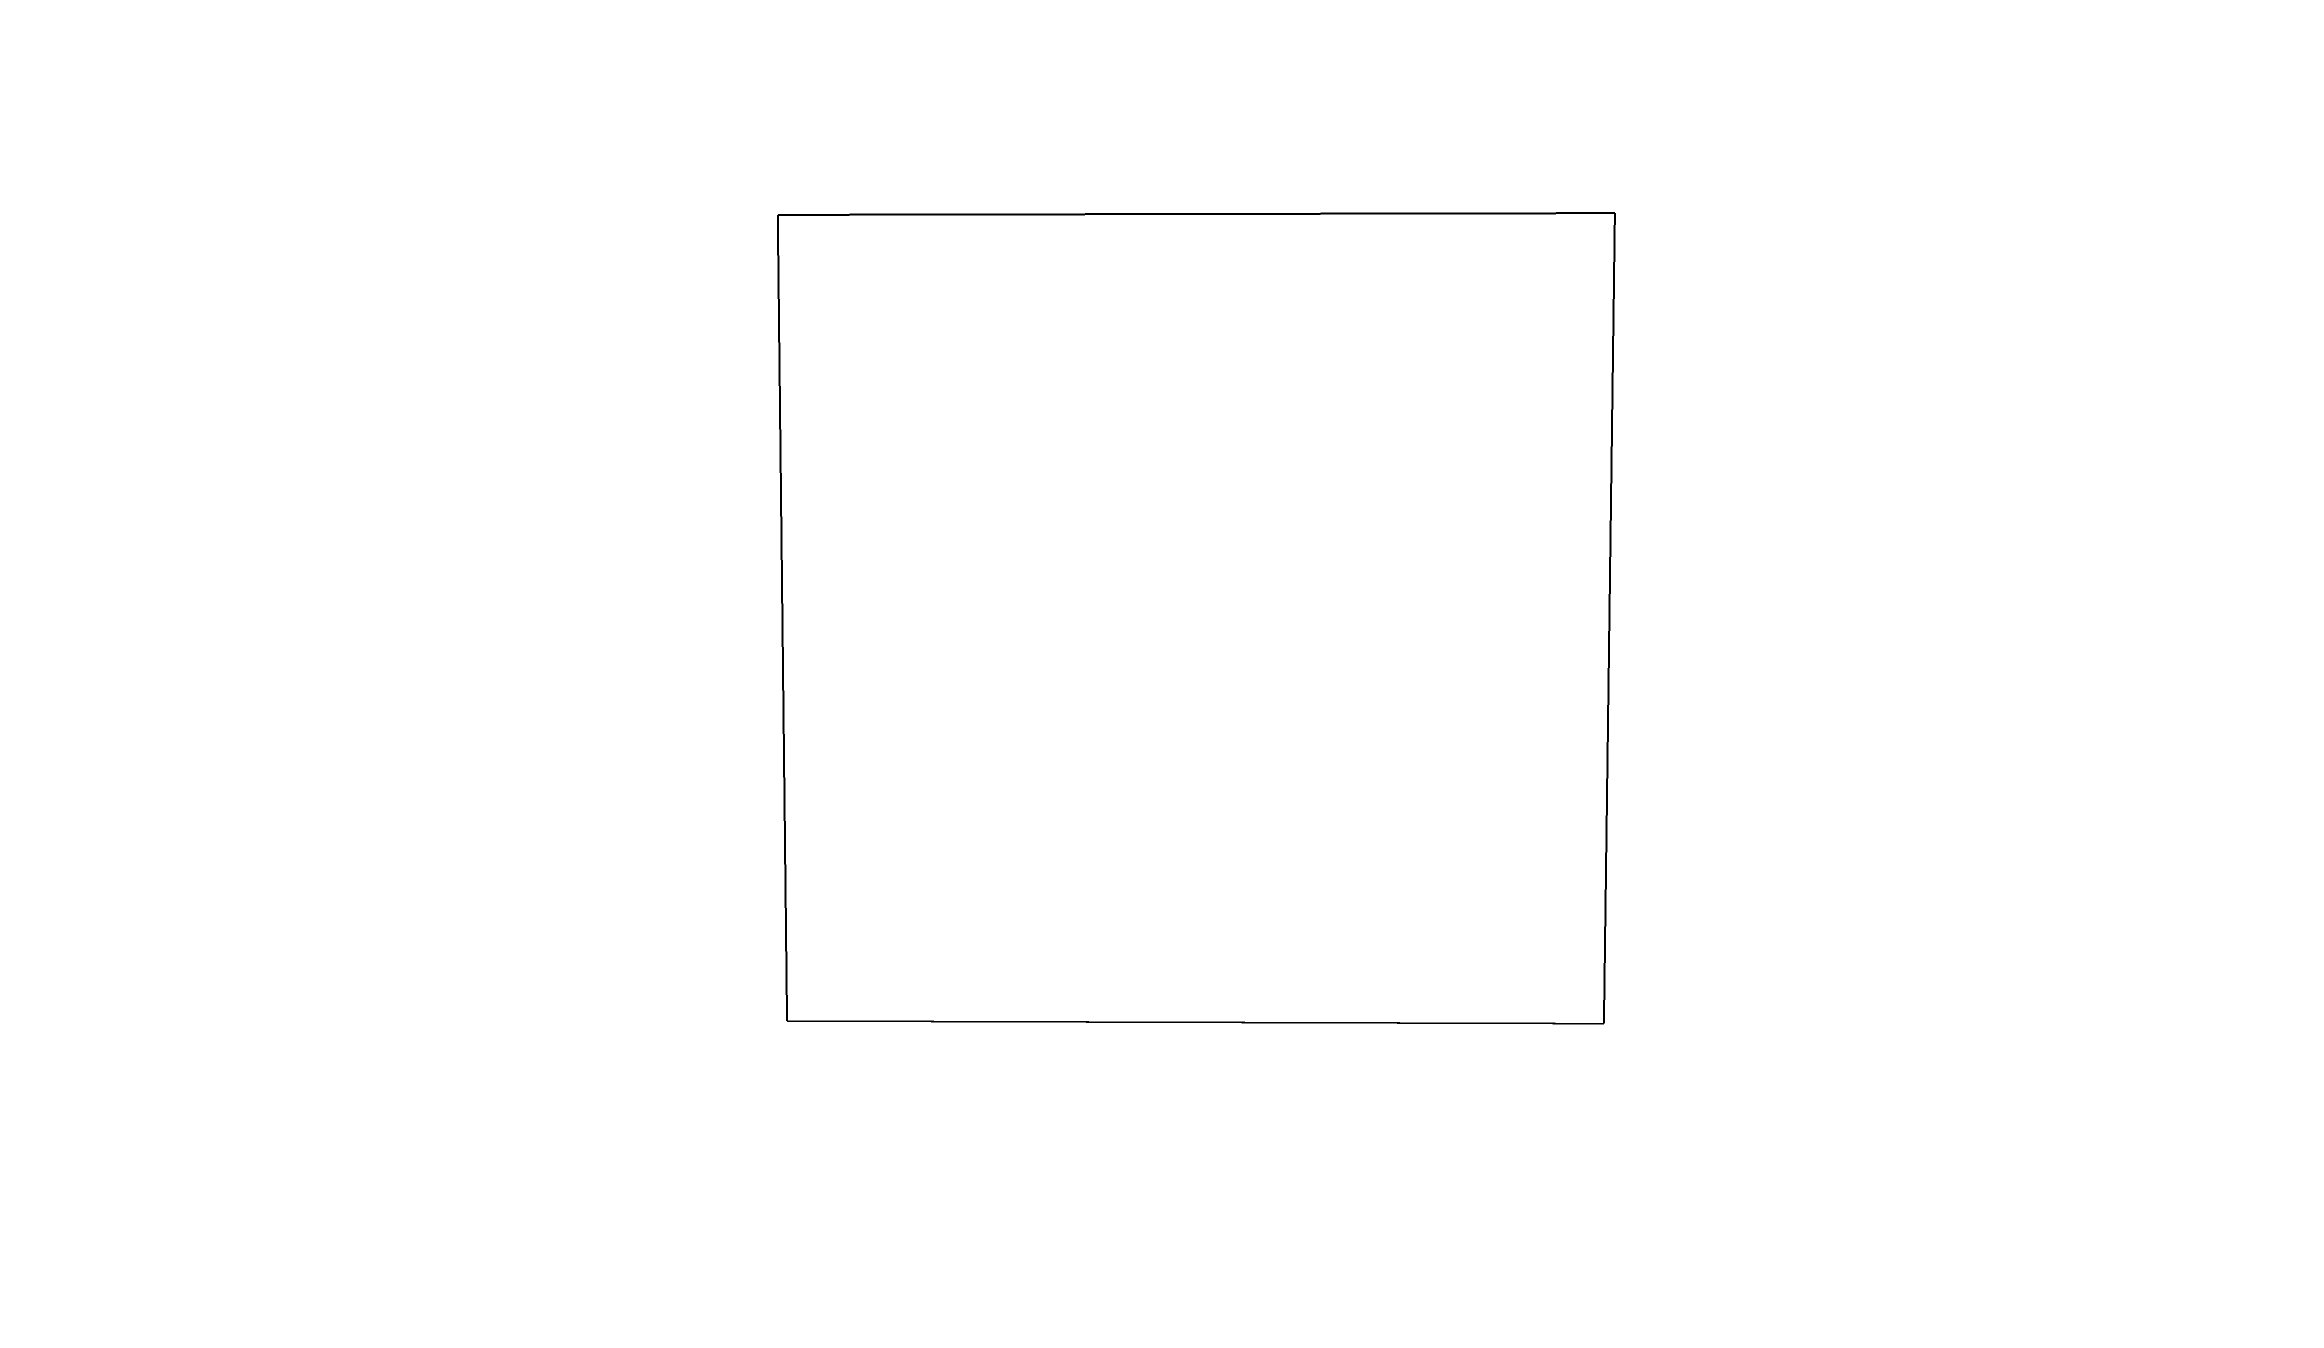
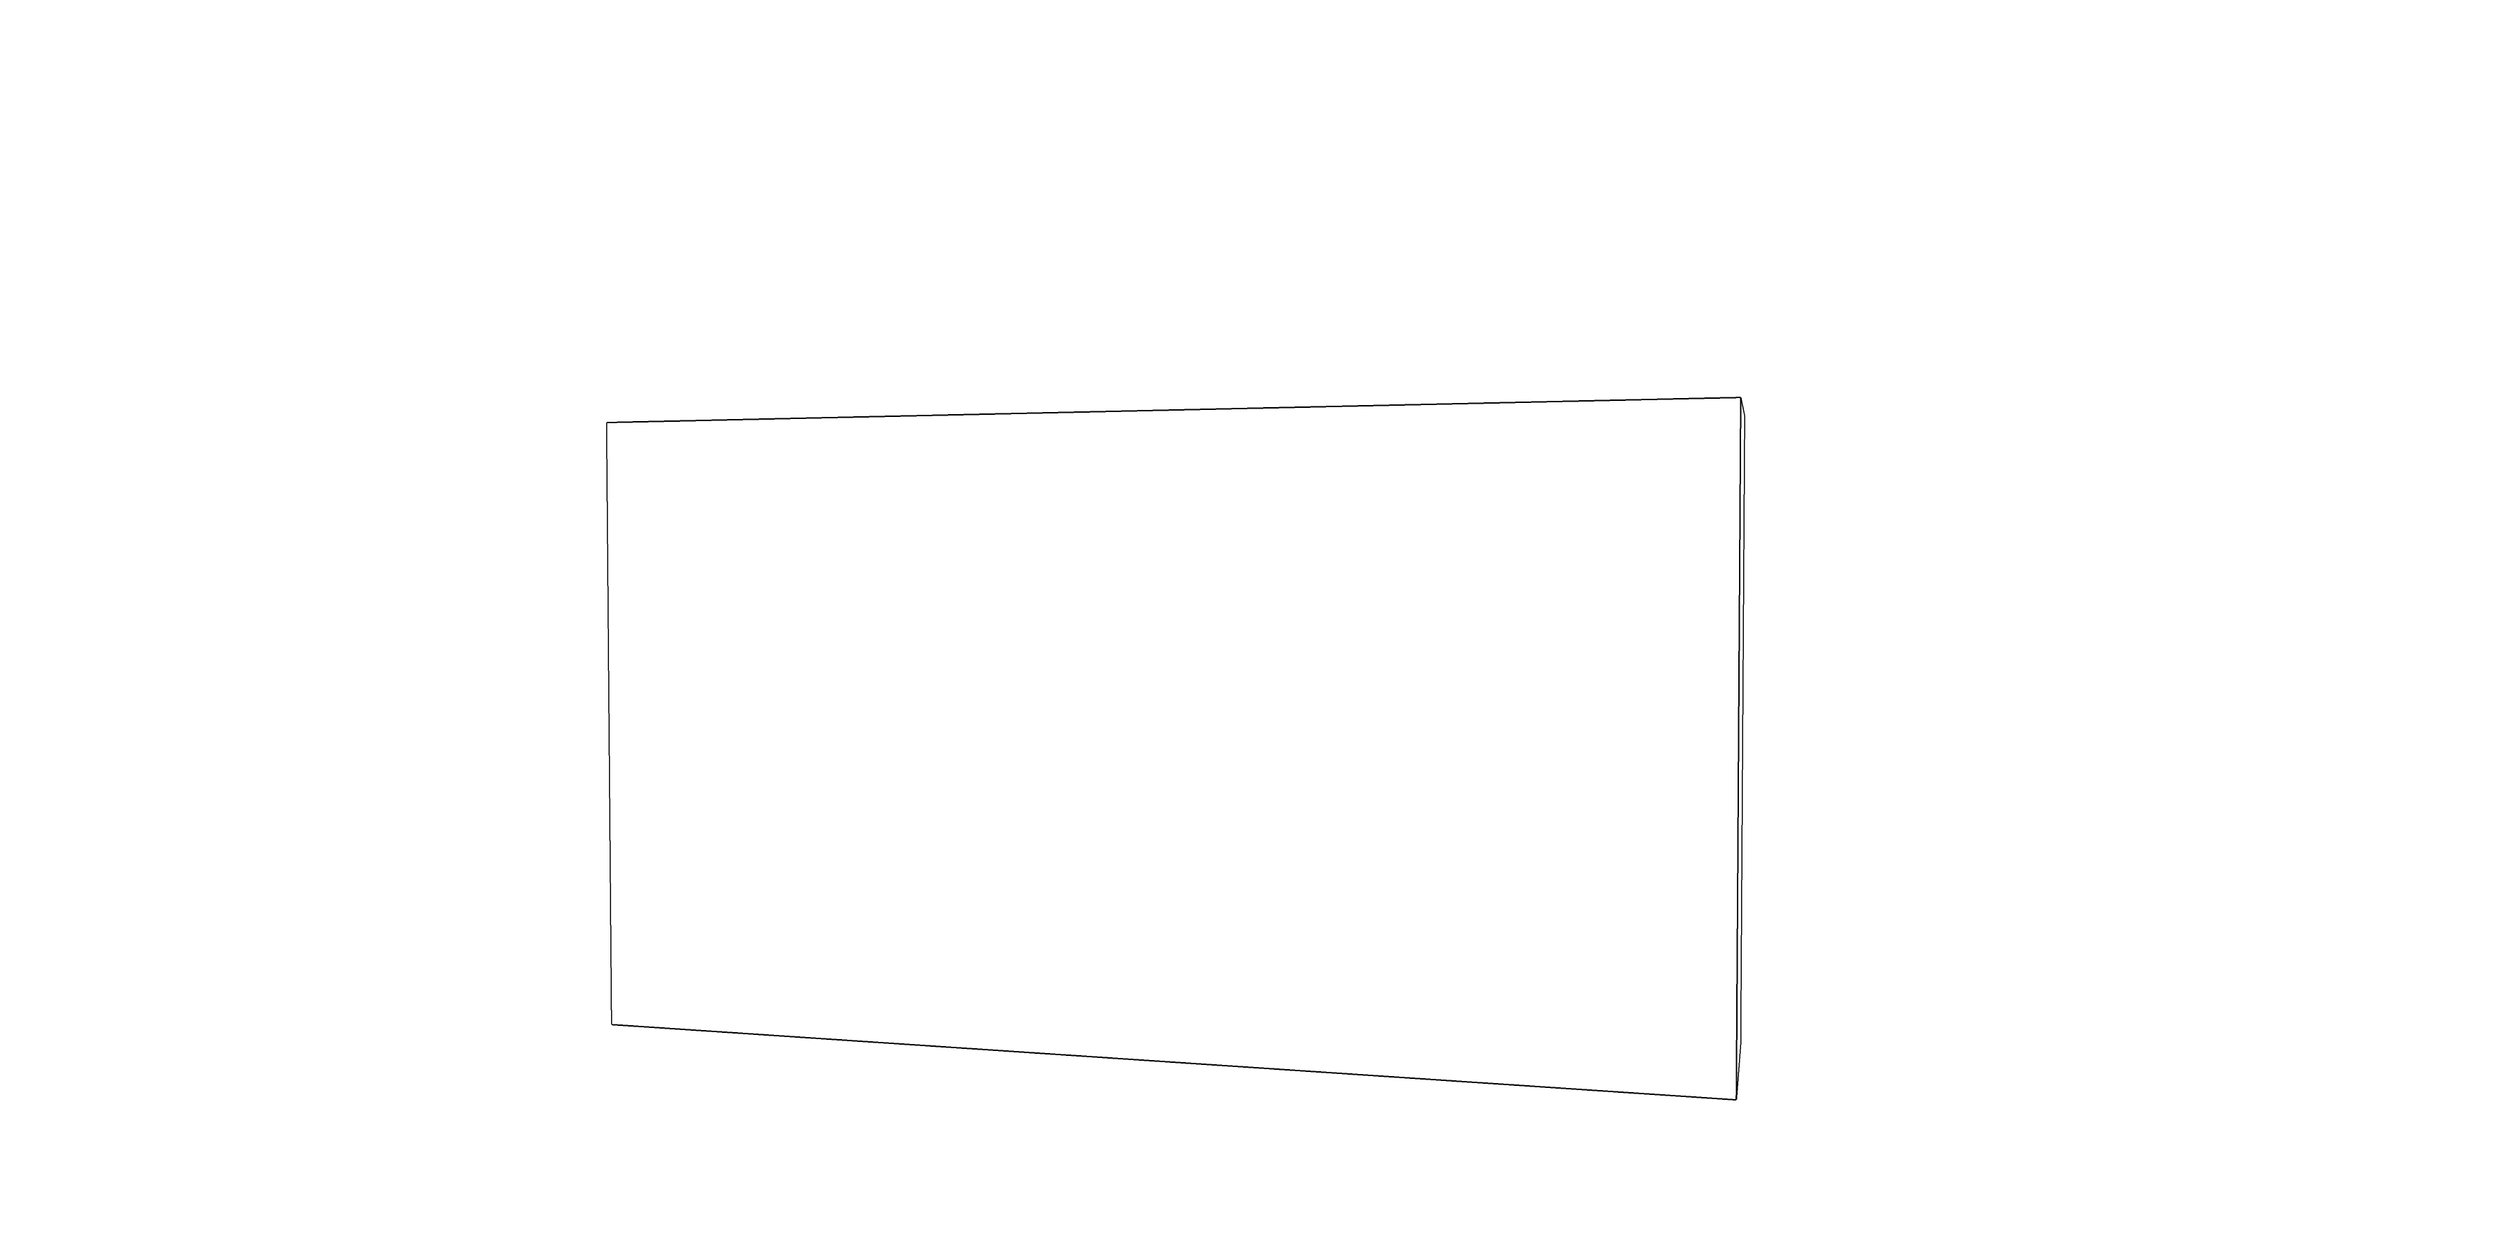
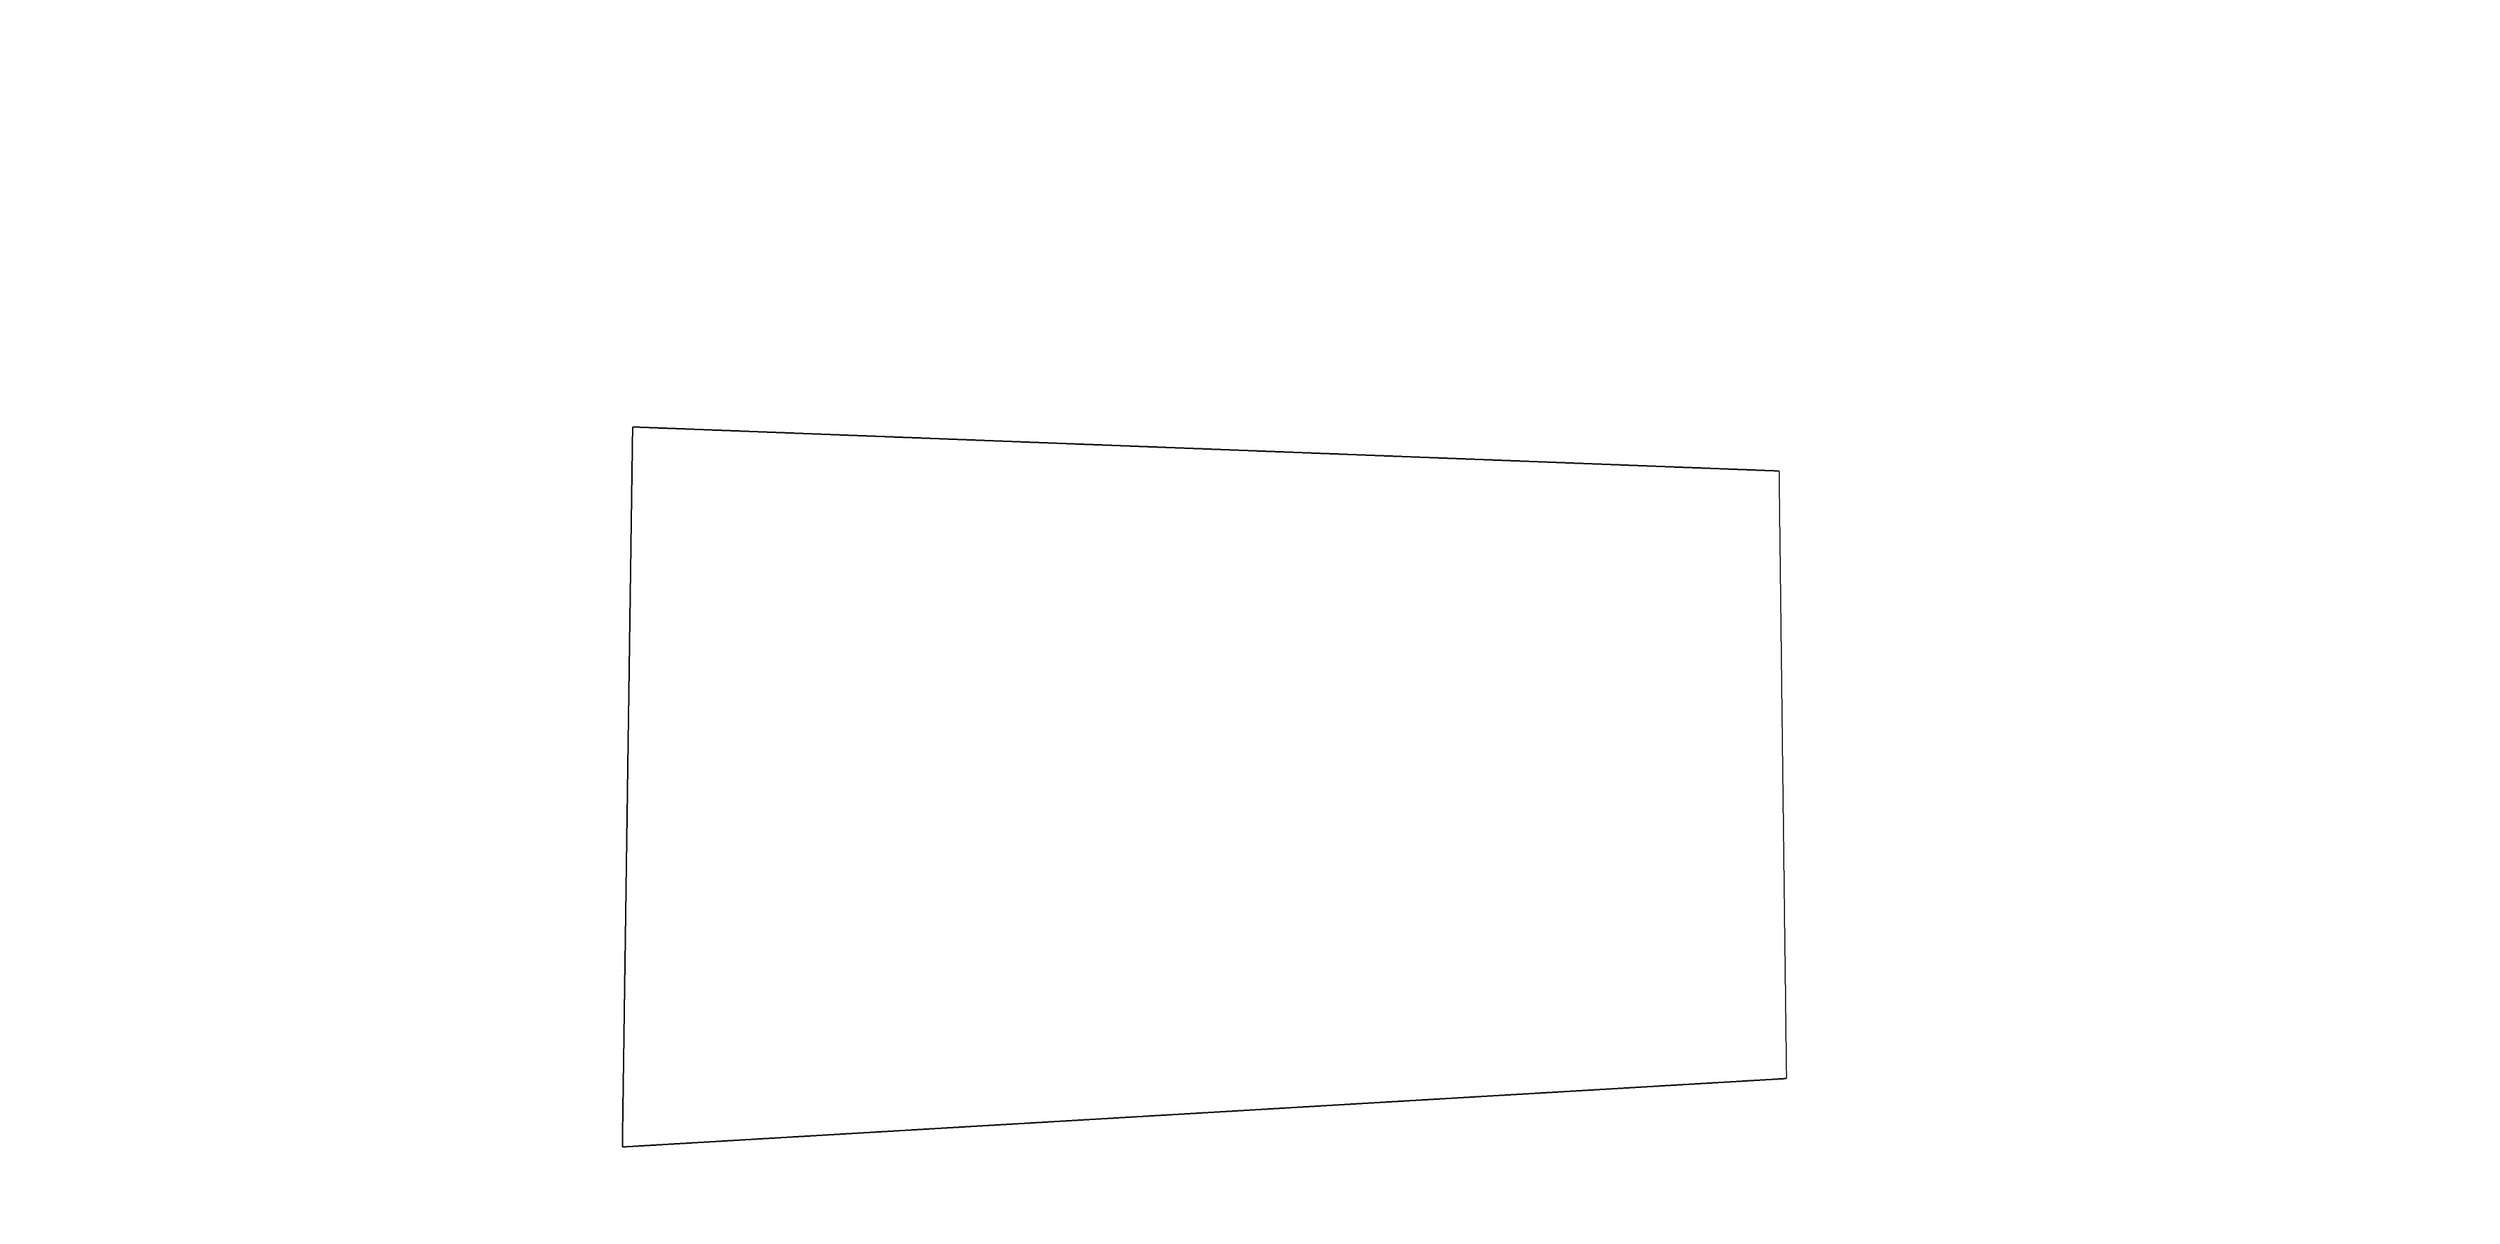
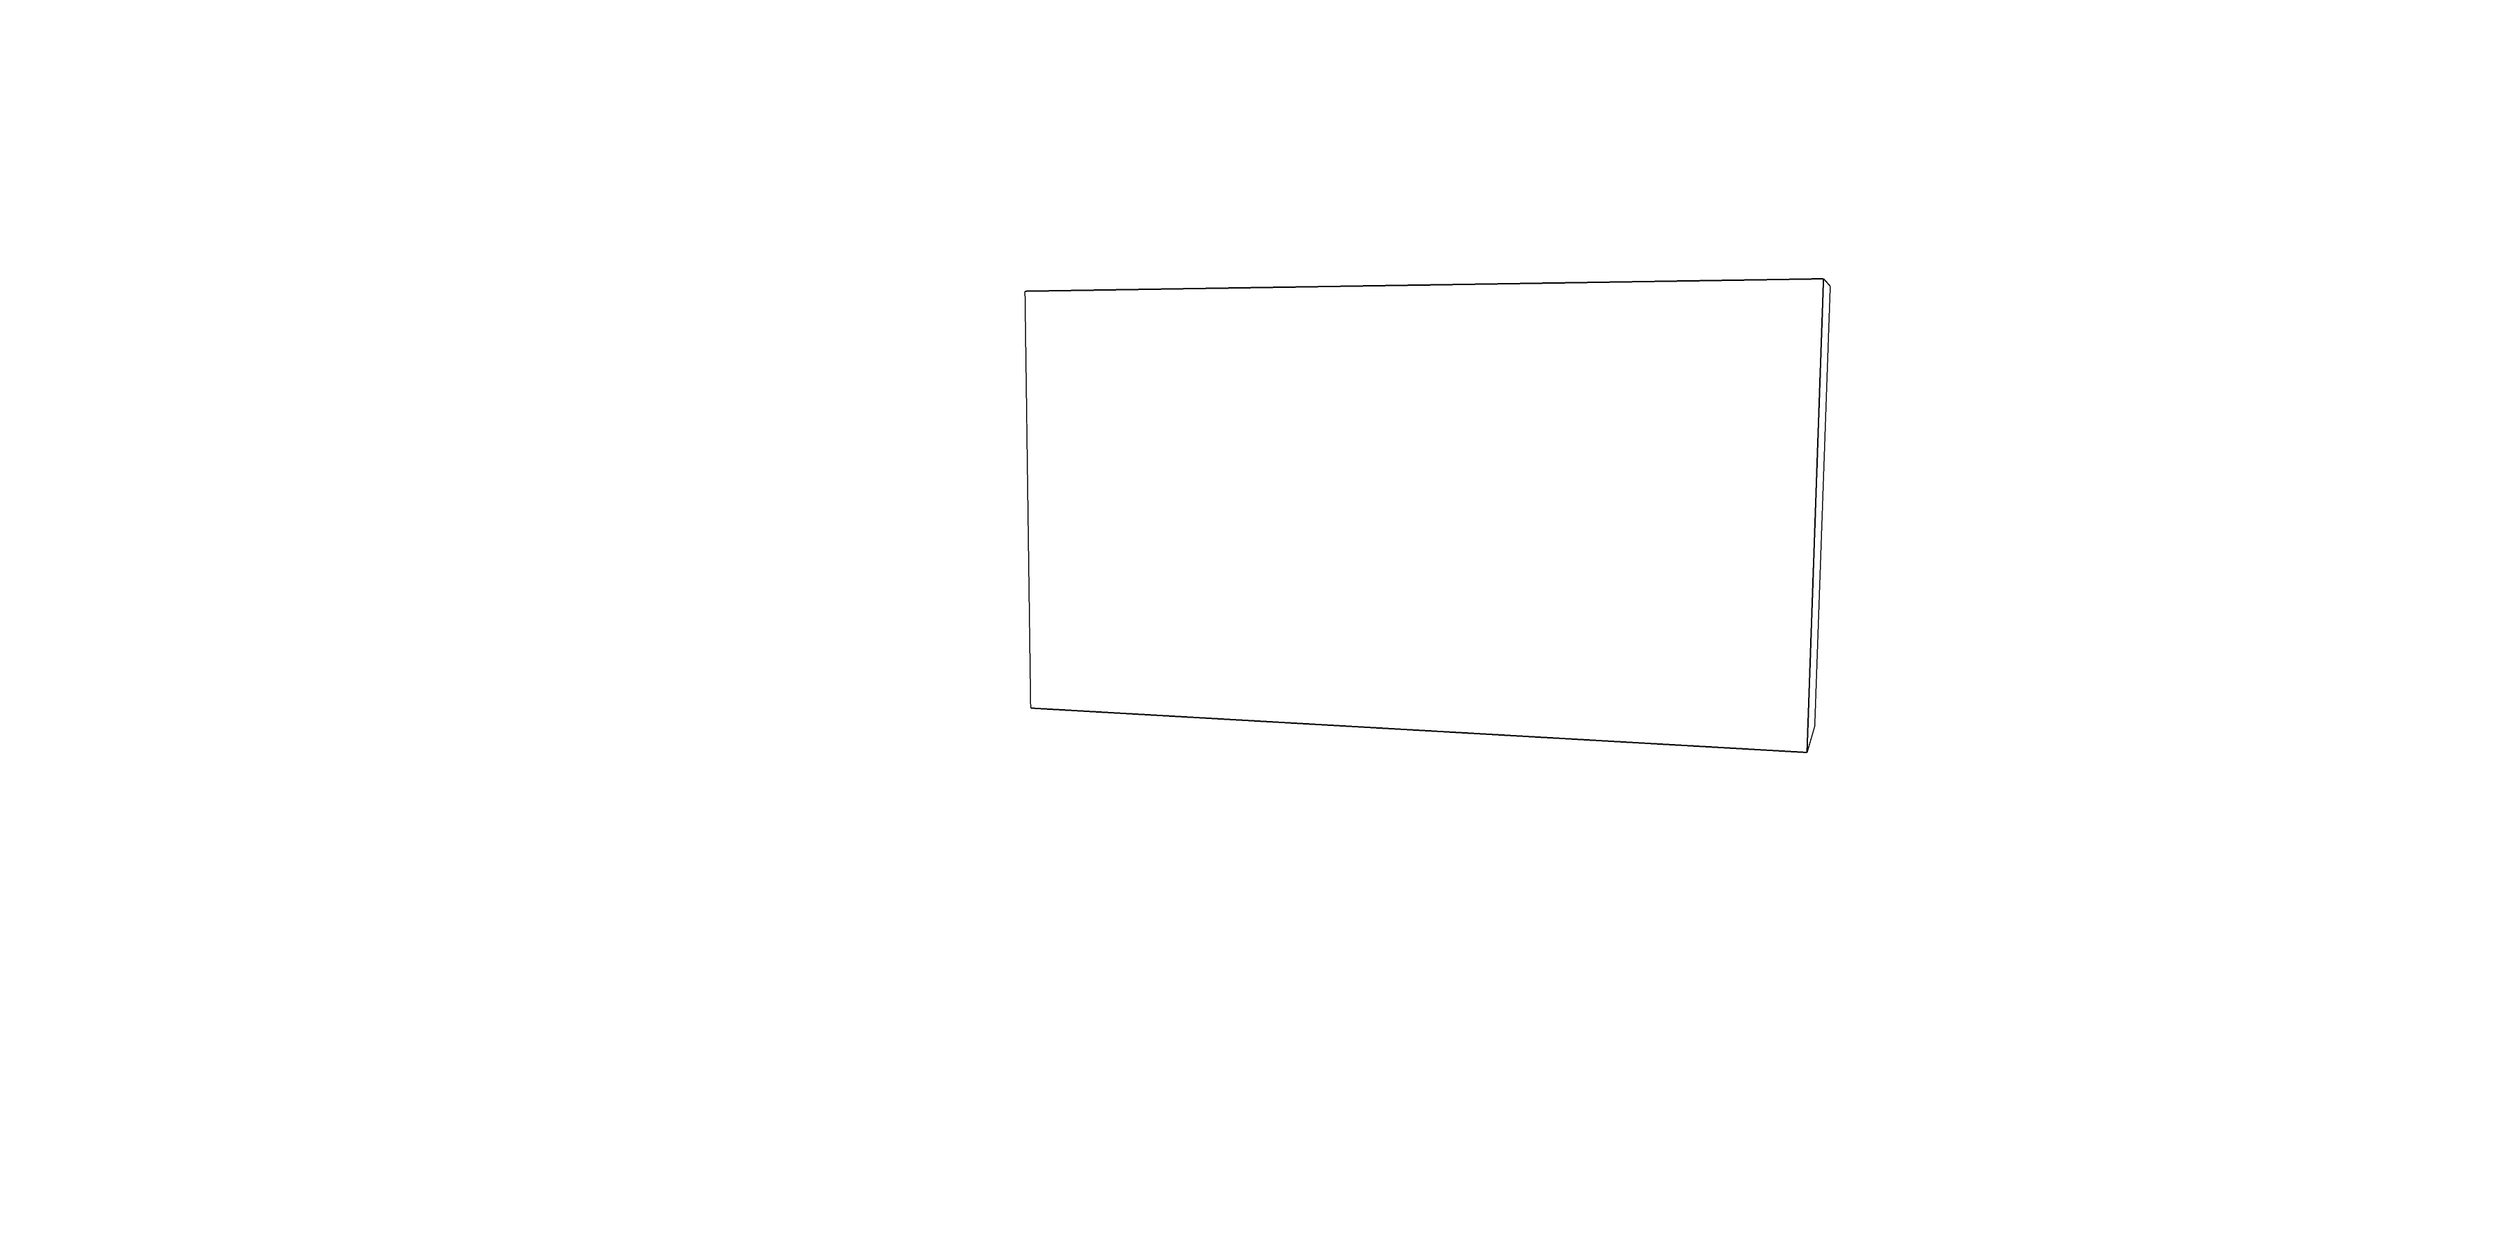
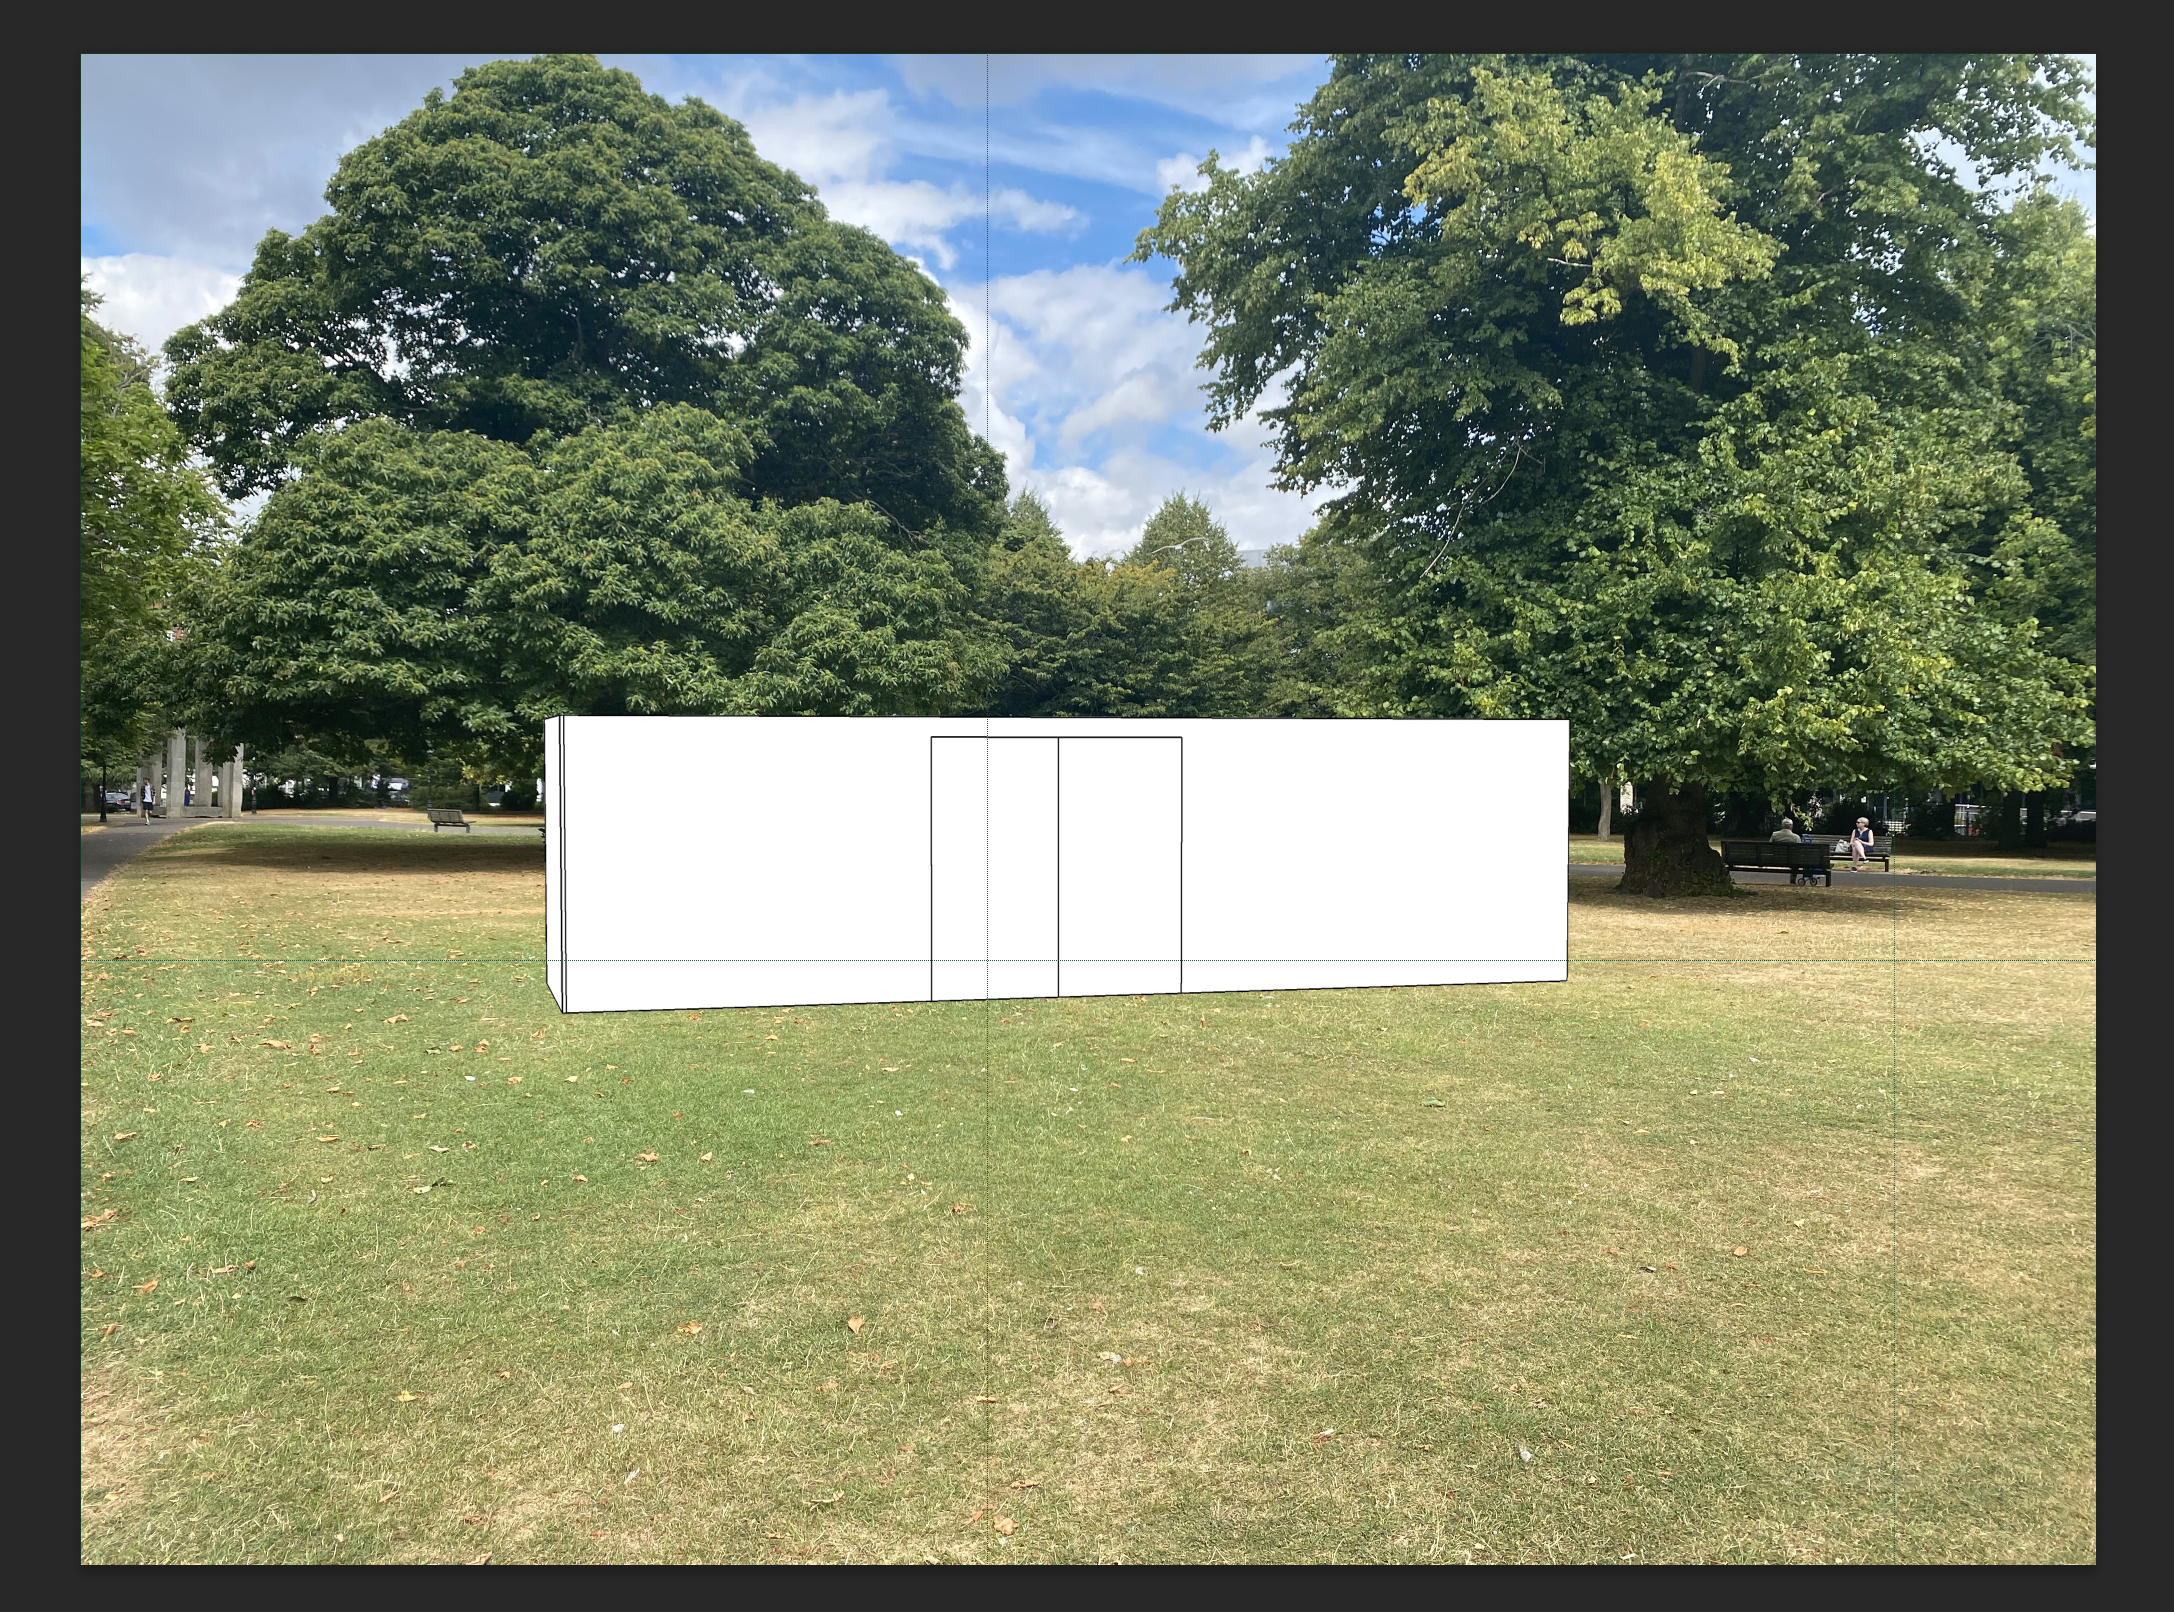
I went on to look at different ways of creating installations other than the main shipping container installation, I wanted to keep the shapes simple that they could the tiles could sit on with ease but also something that was structurally sound and that could be seen from every angle.
Below you can see the sketch up shapes that I created. I really like the concept of a triangle one as this one could be seen from every angle but also having another one that would be a flat wall.

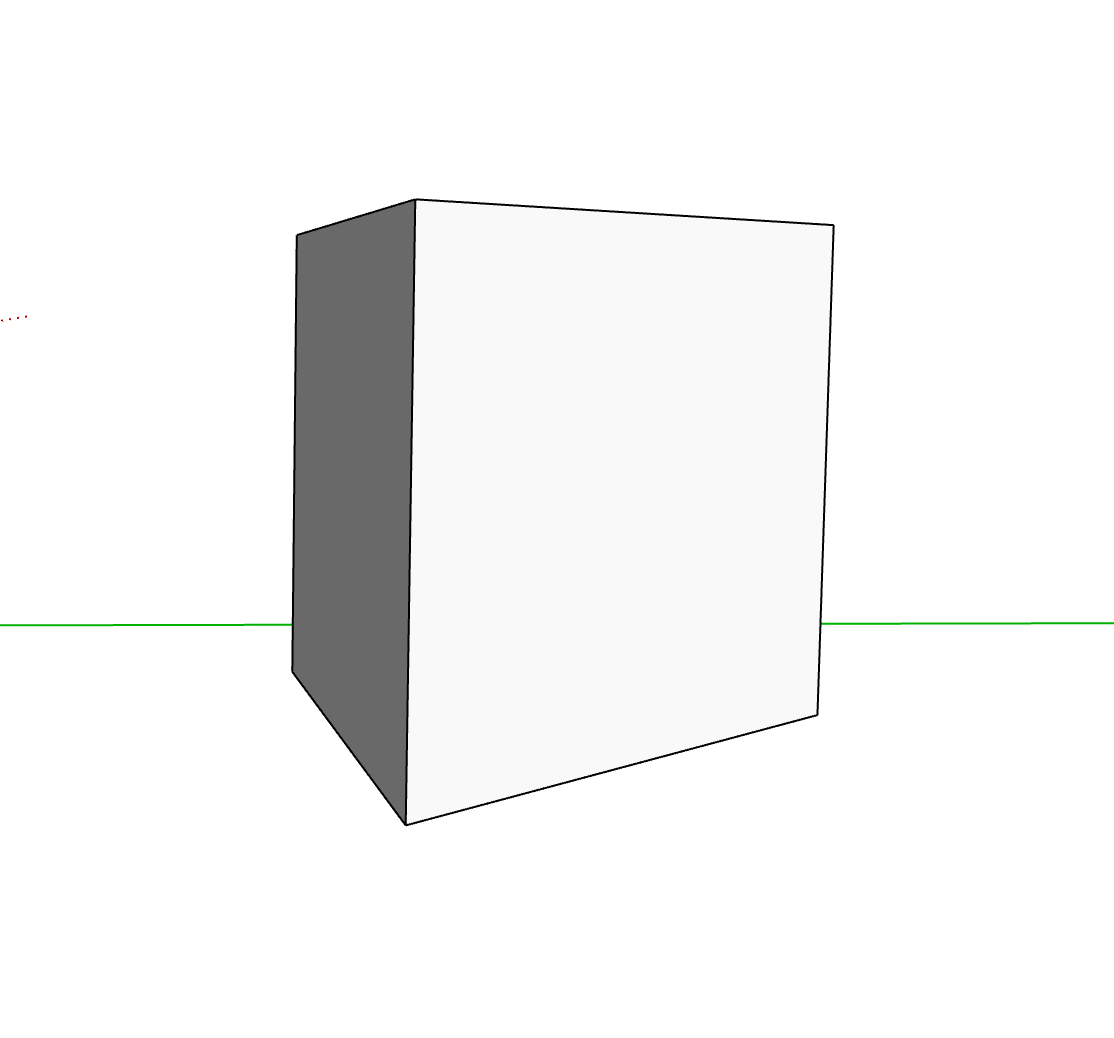
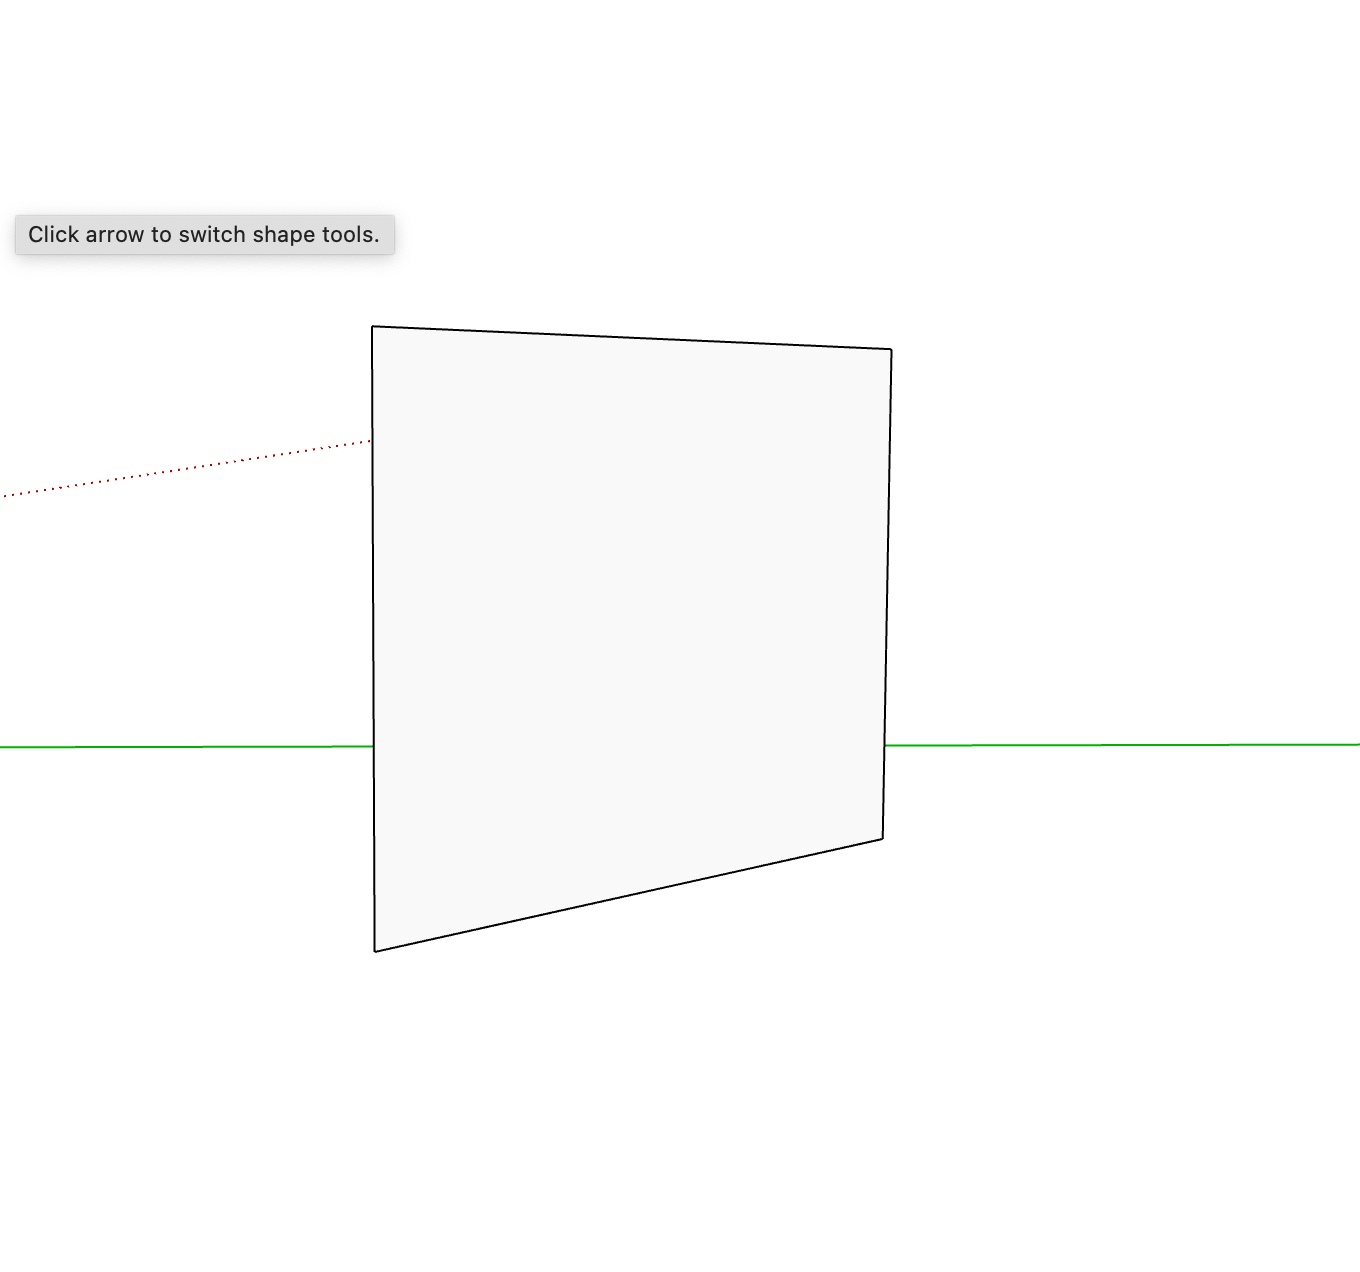
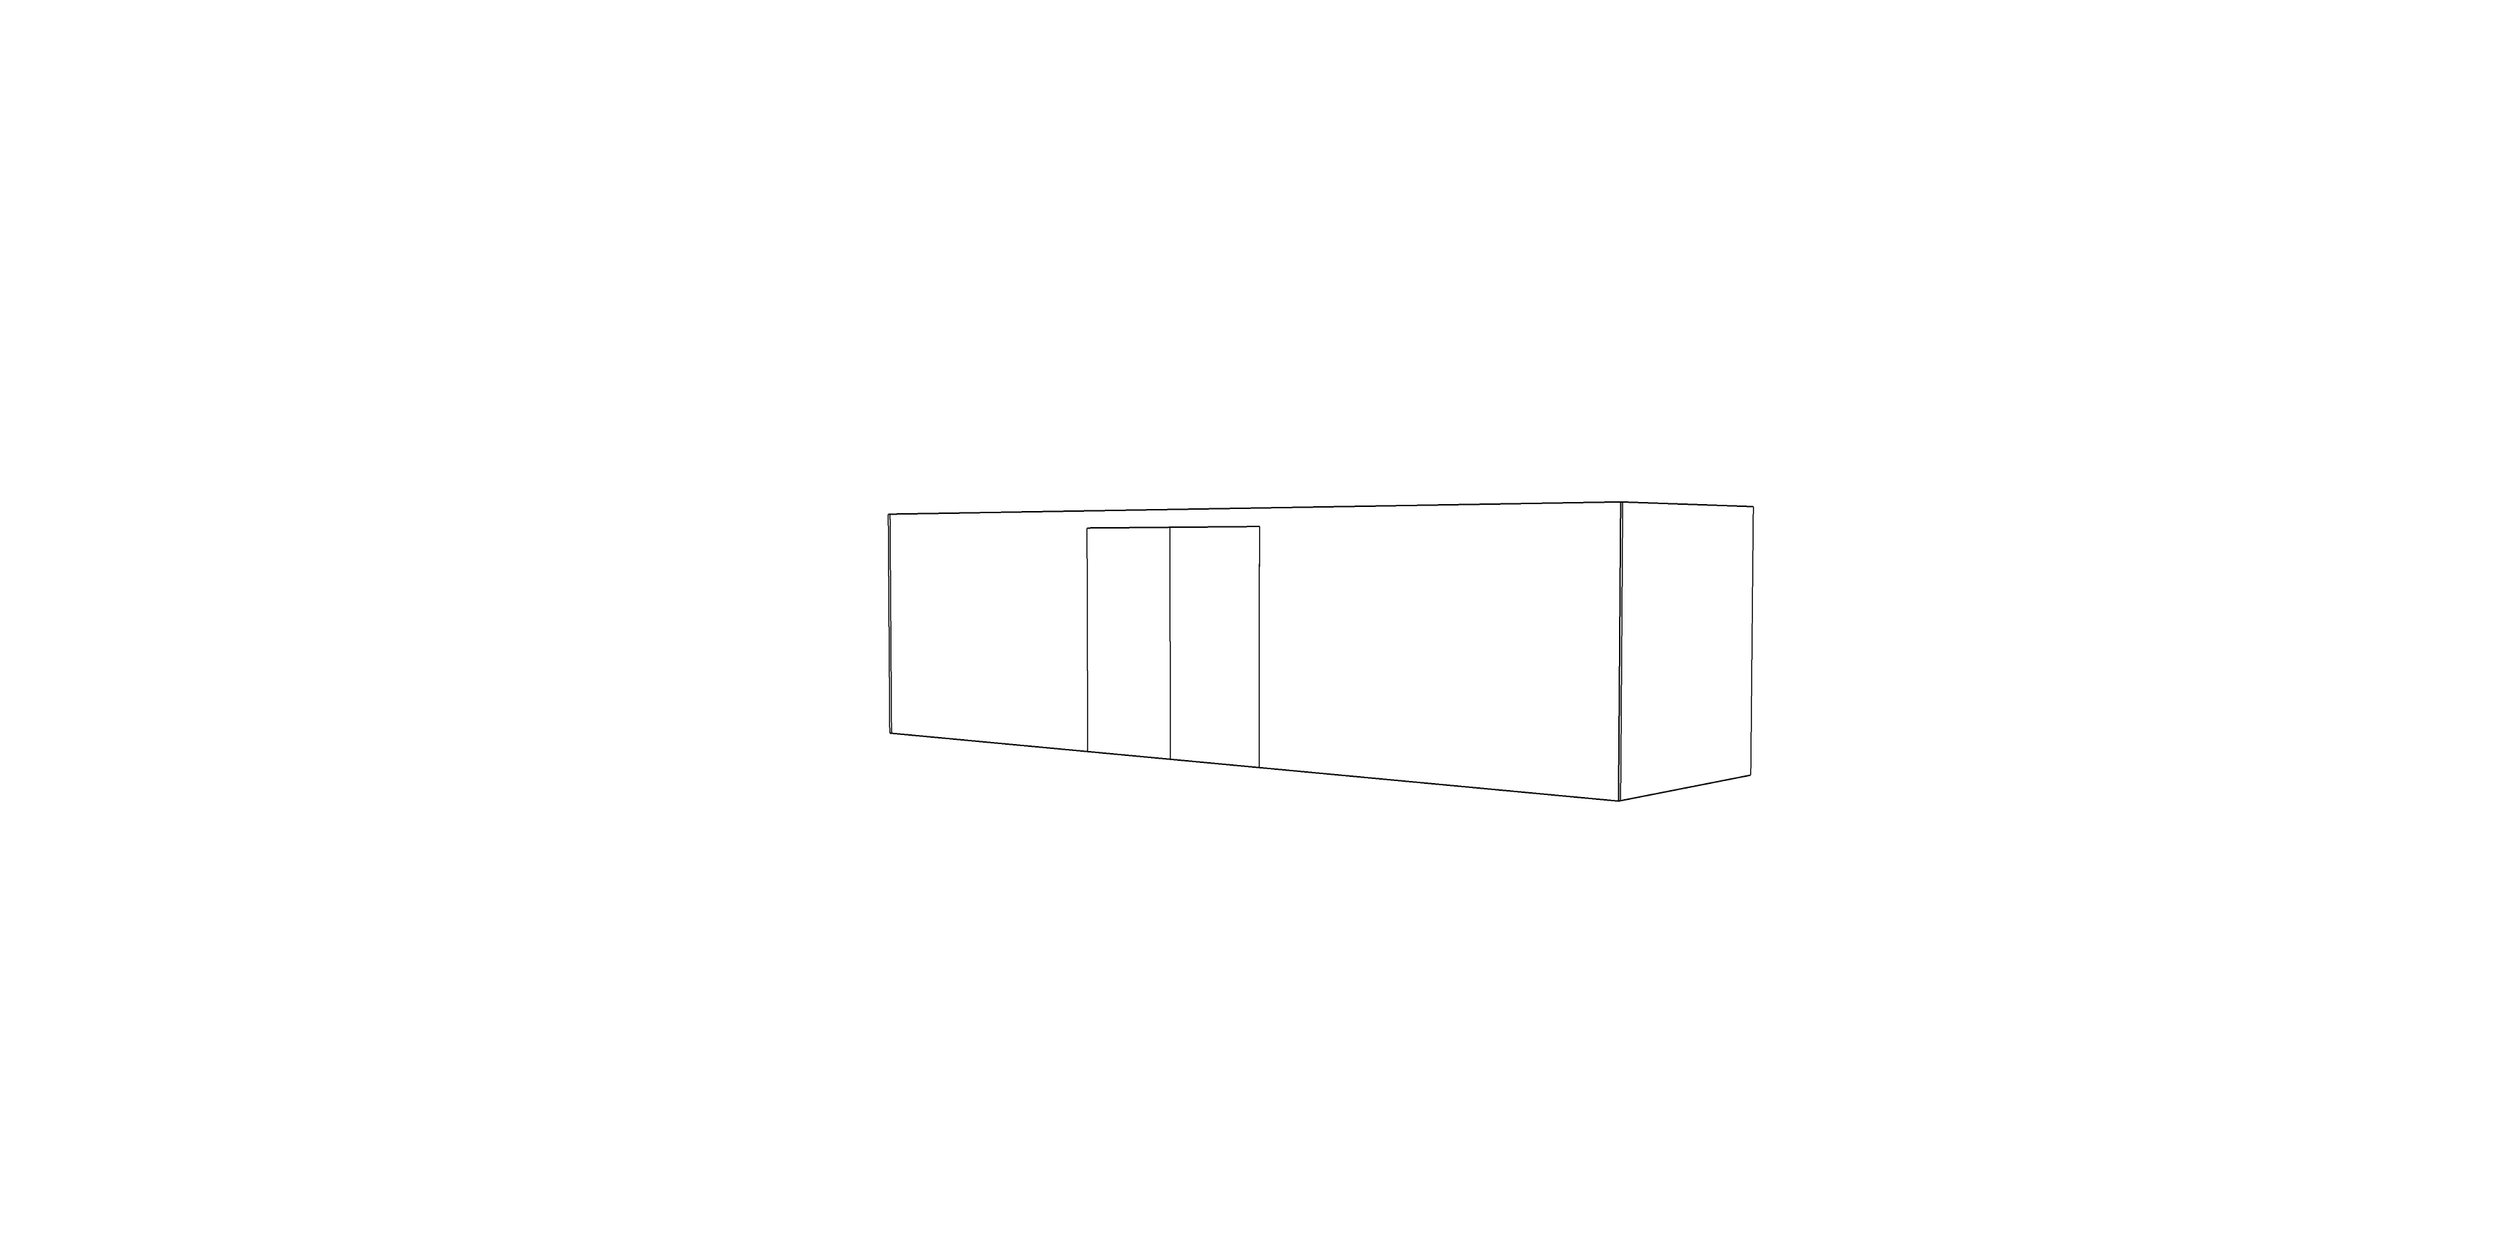
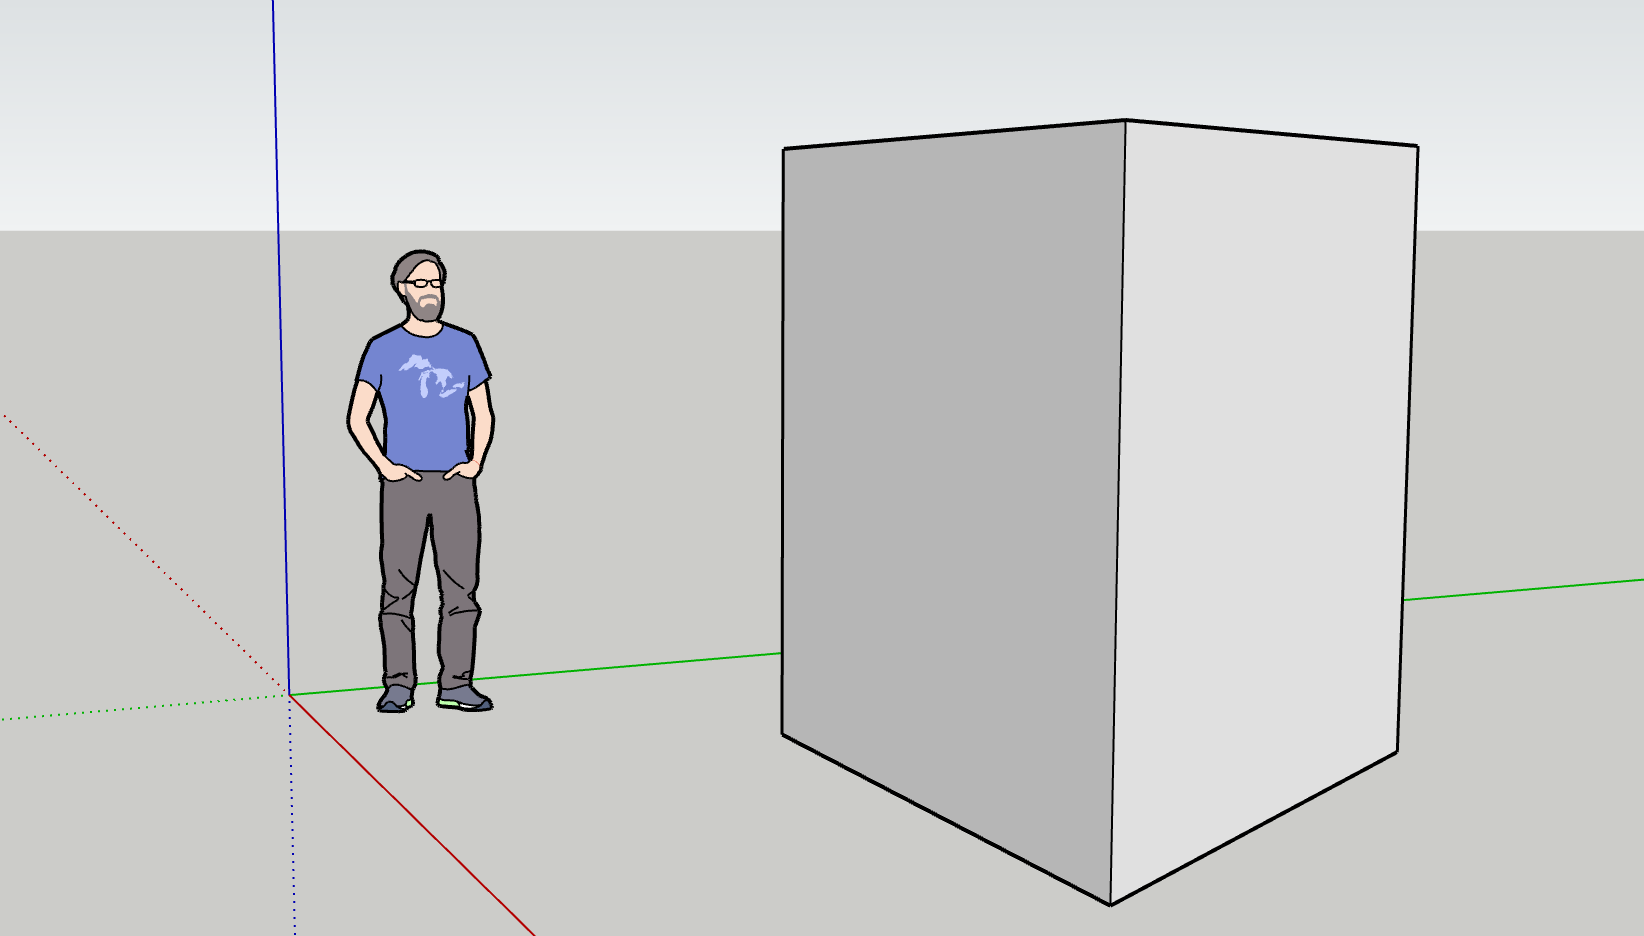
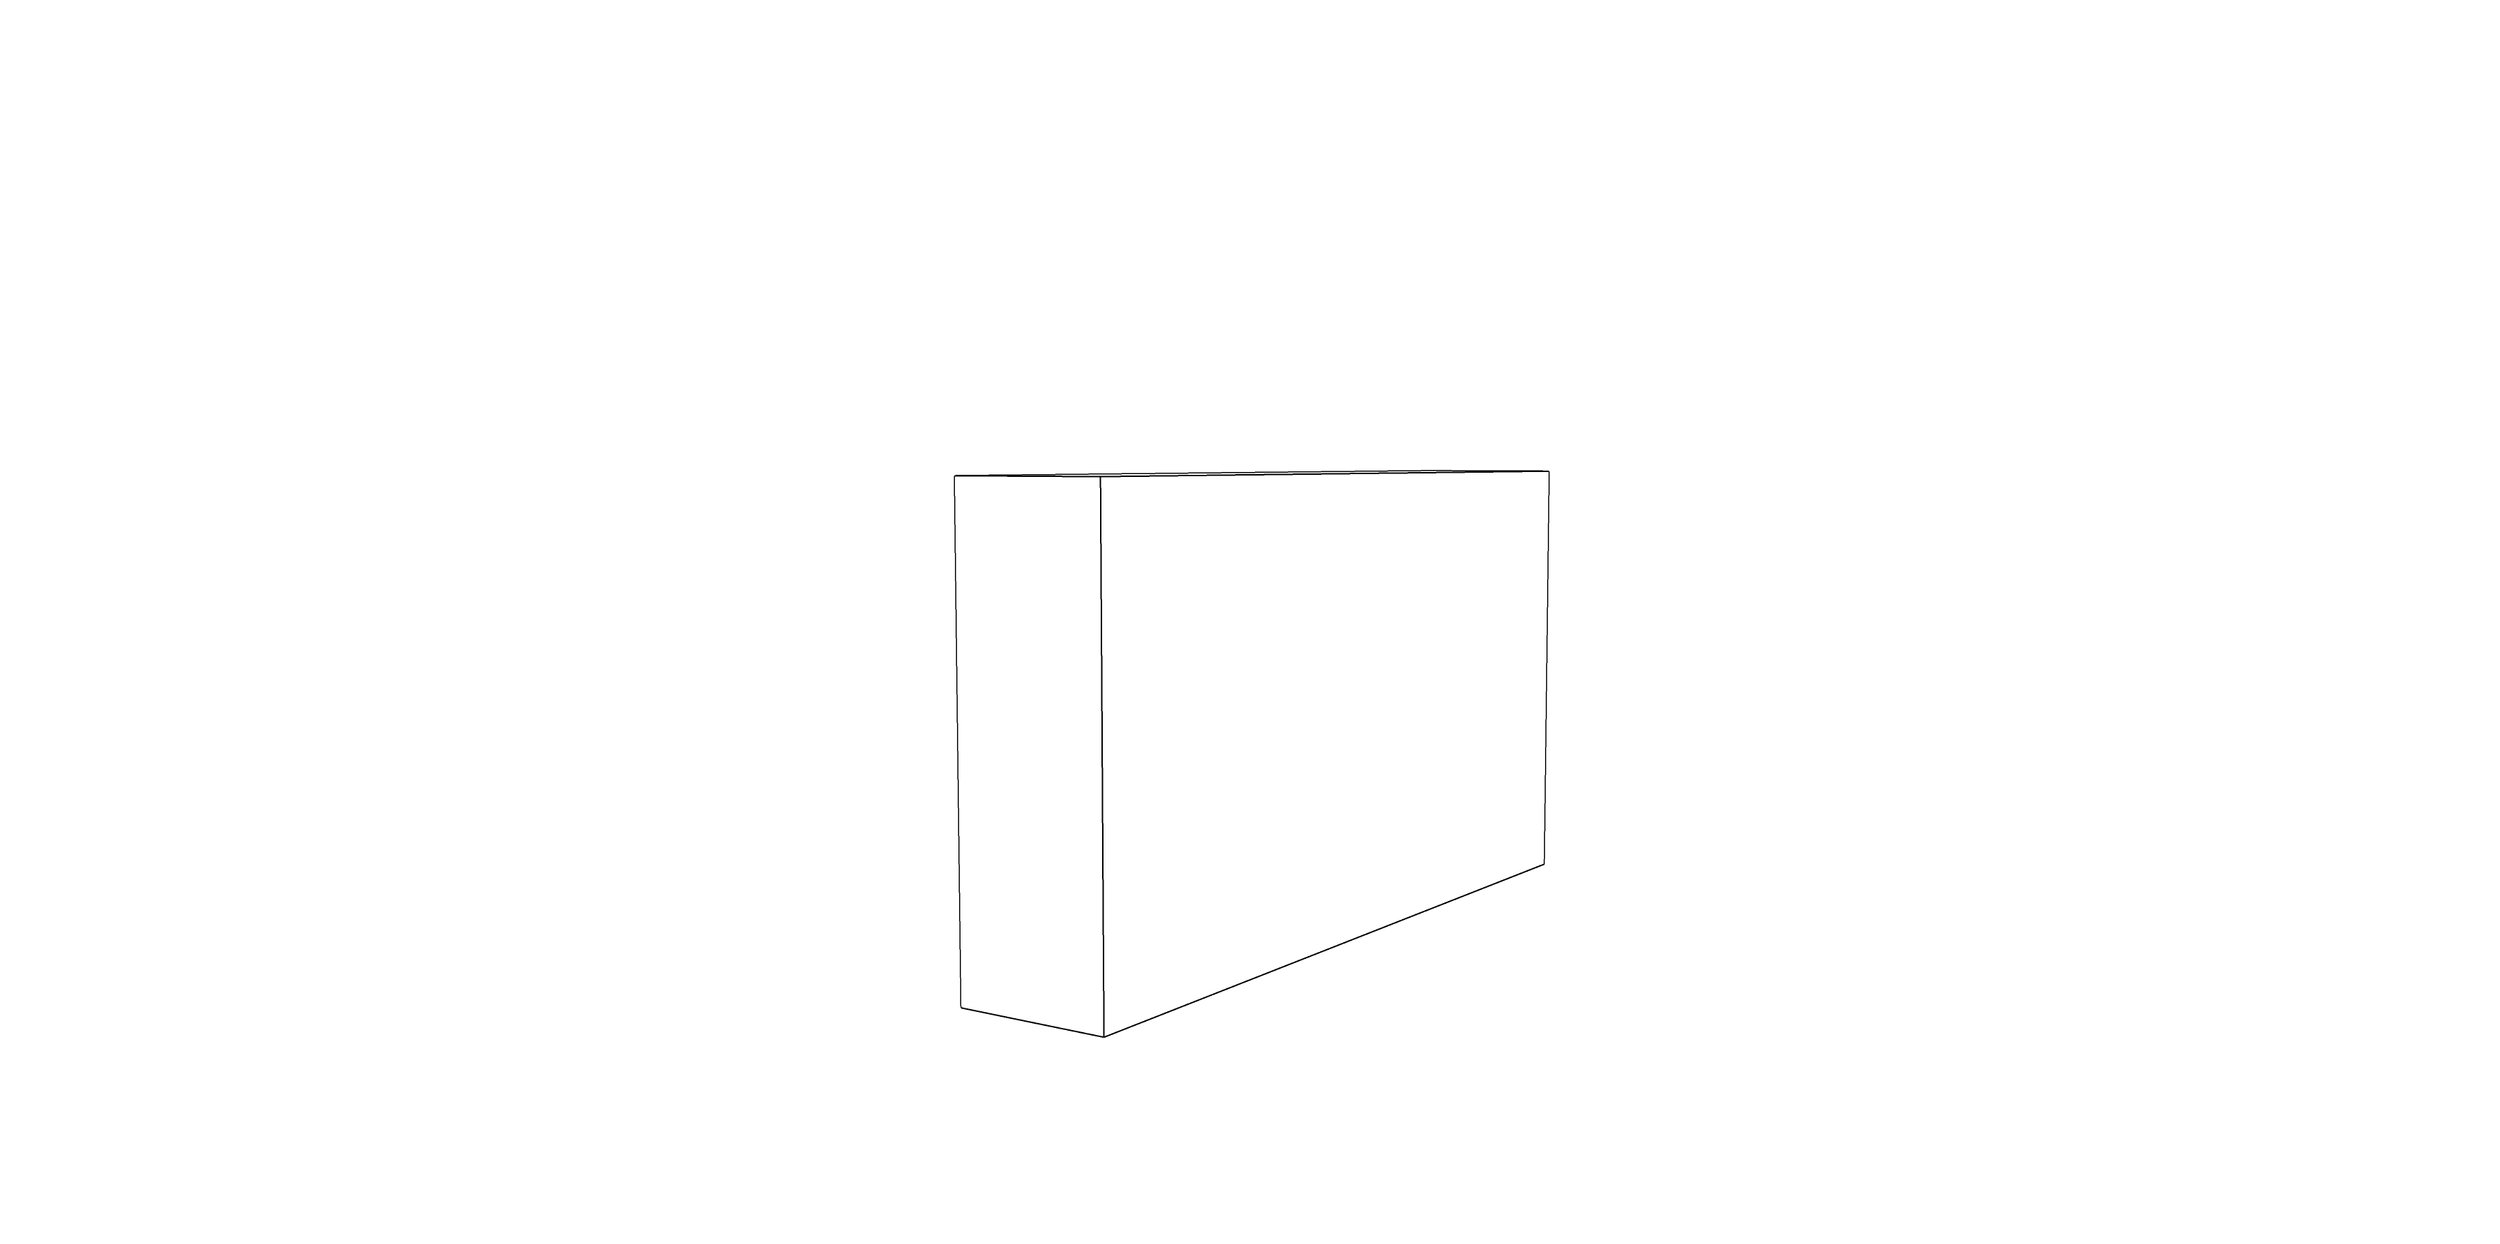
I then went onto start to create the larger shipping container installation, I based the measurements from a 30ft shipping container which I think will fit within the space nicely.
https://www.clevelandcontainers.co.uk/containers/30ft-containers


I created a simple model of the shipping container which i could then take into photoshop but also create floor plans. Those images of the model can be seen below:
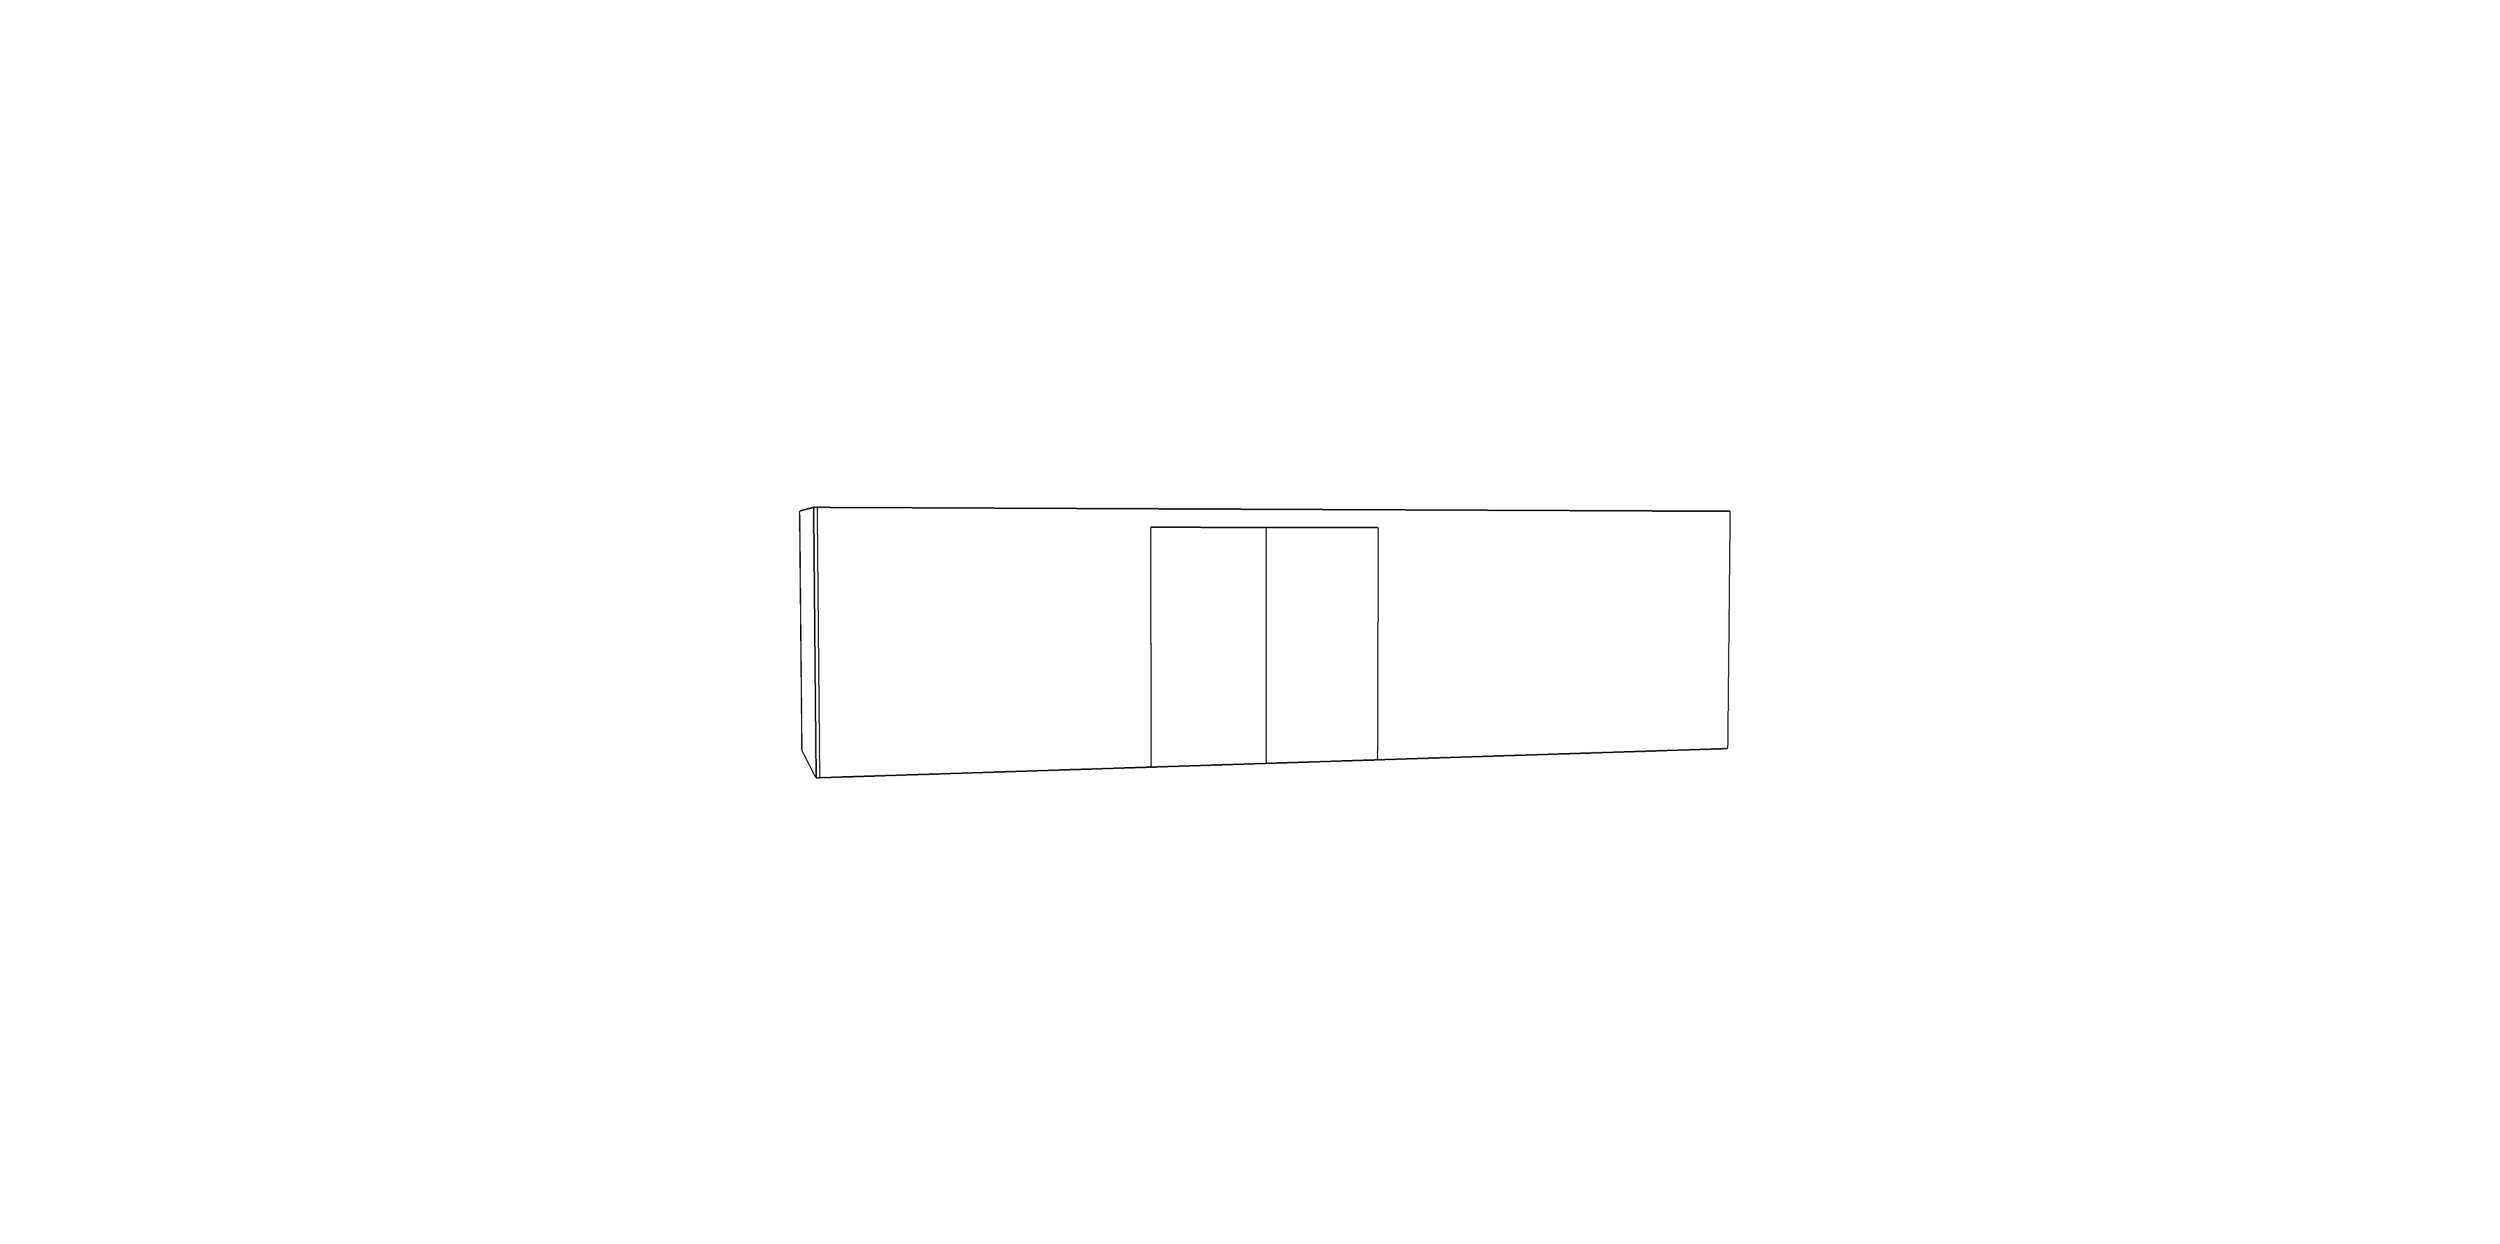
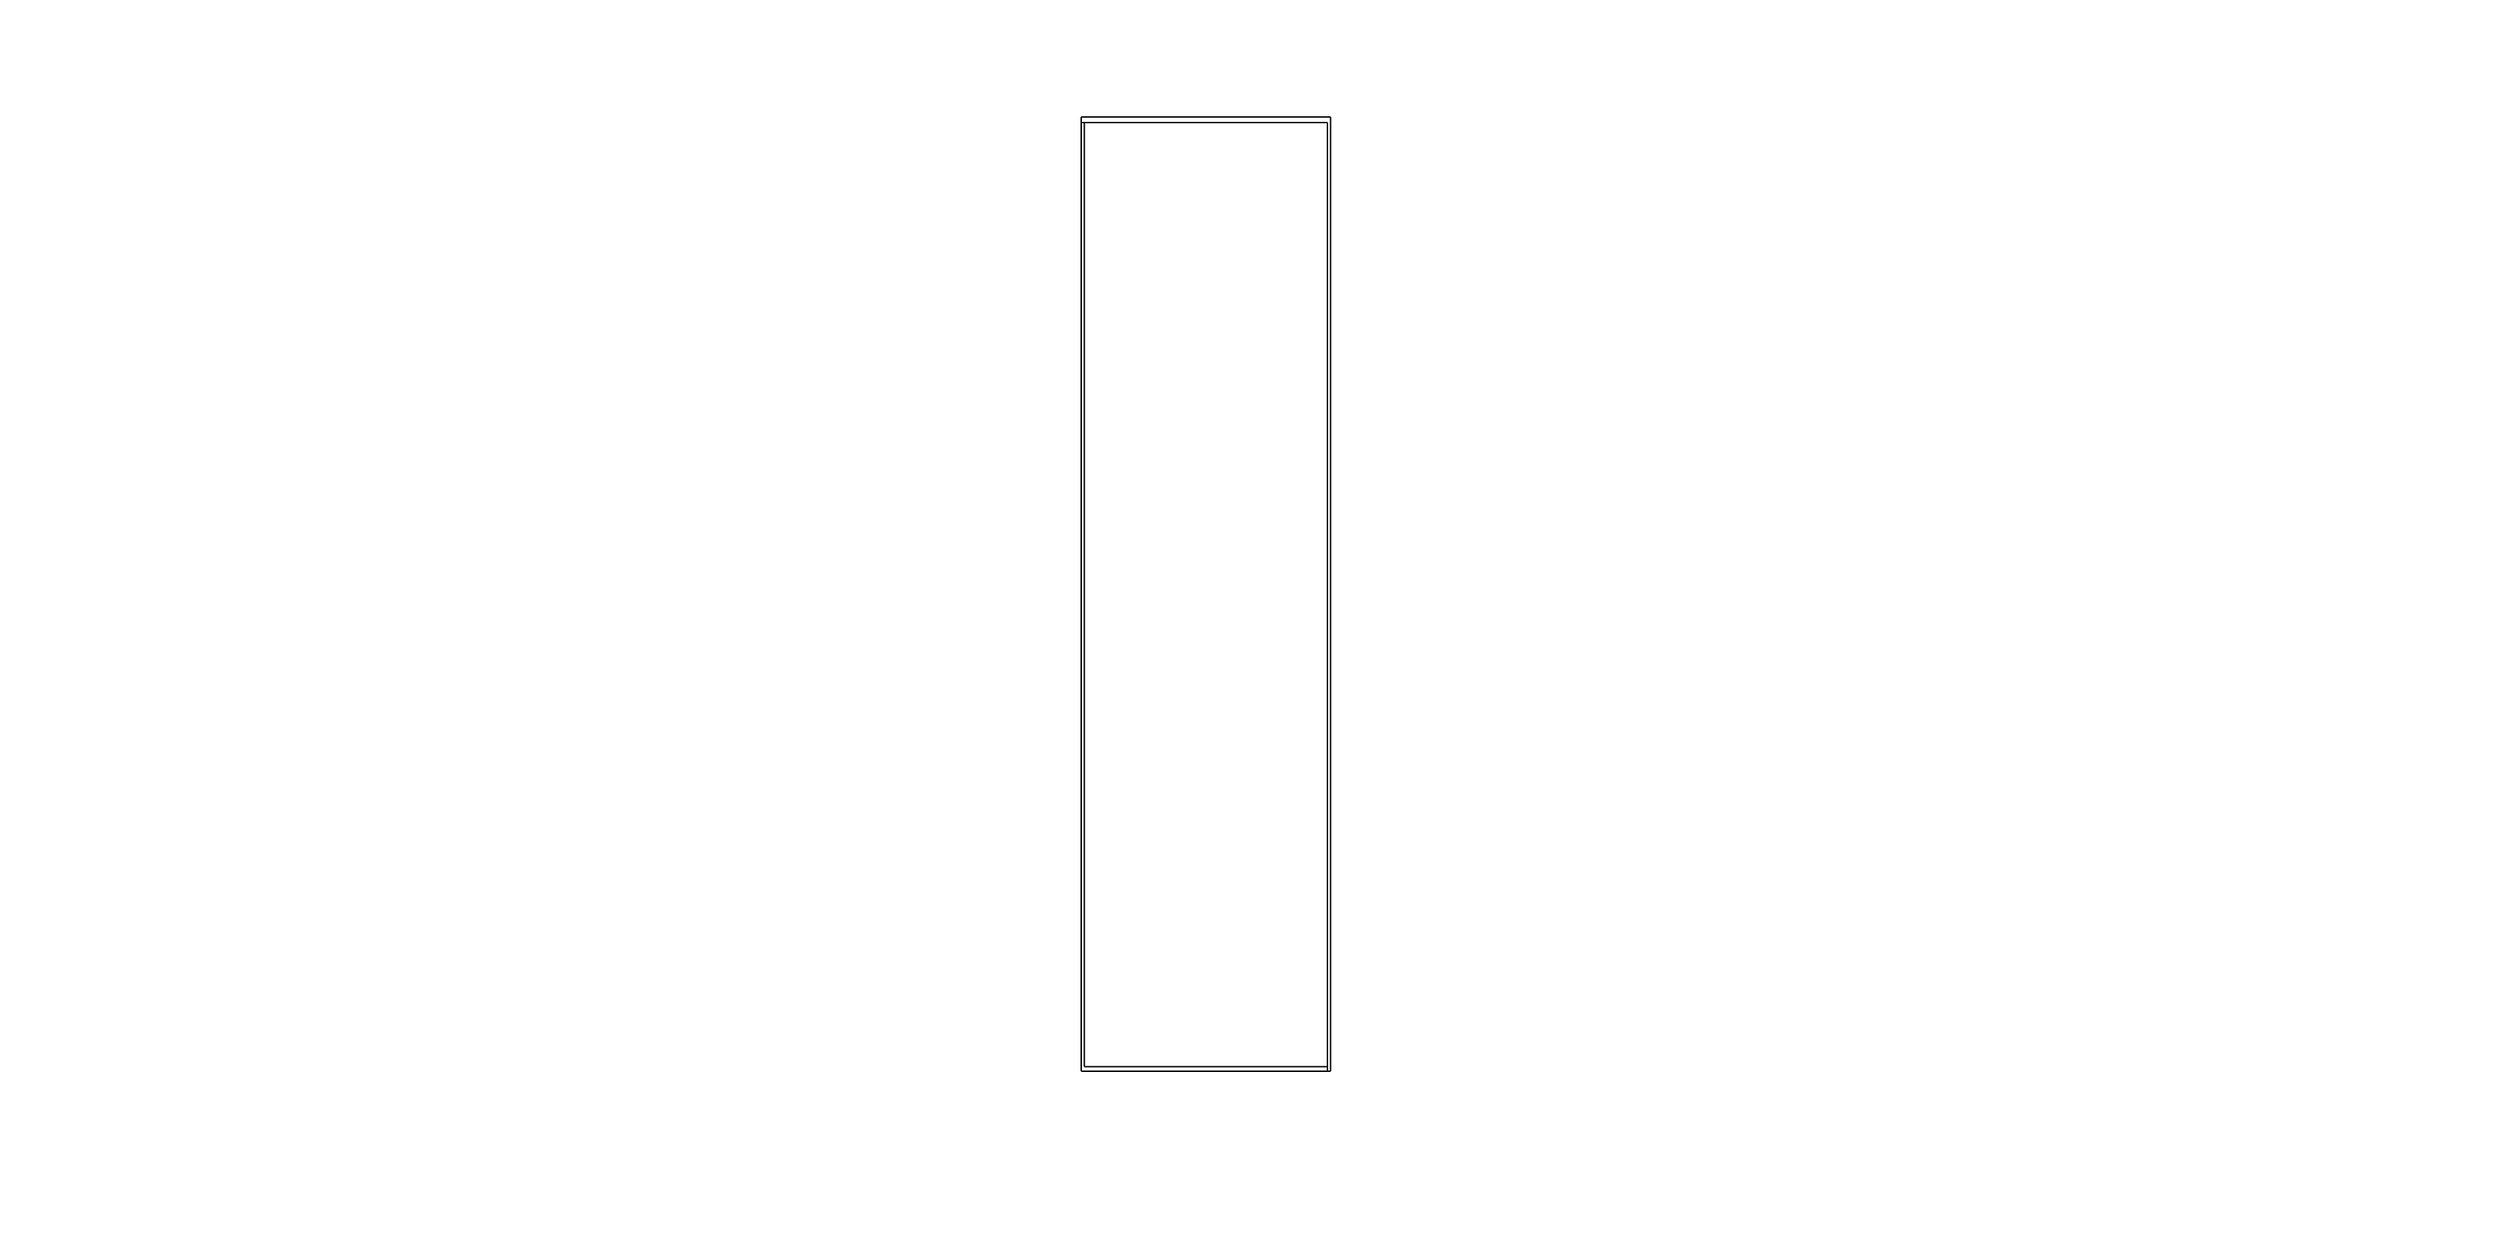
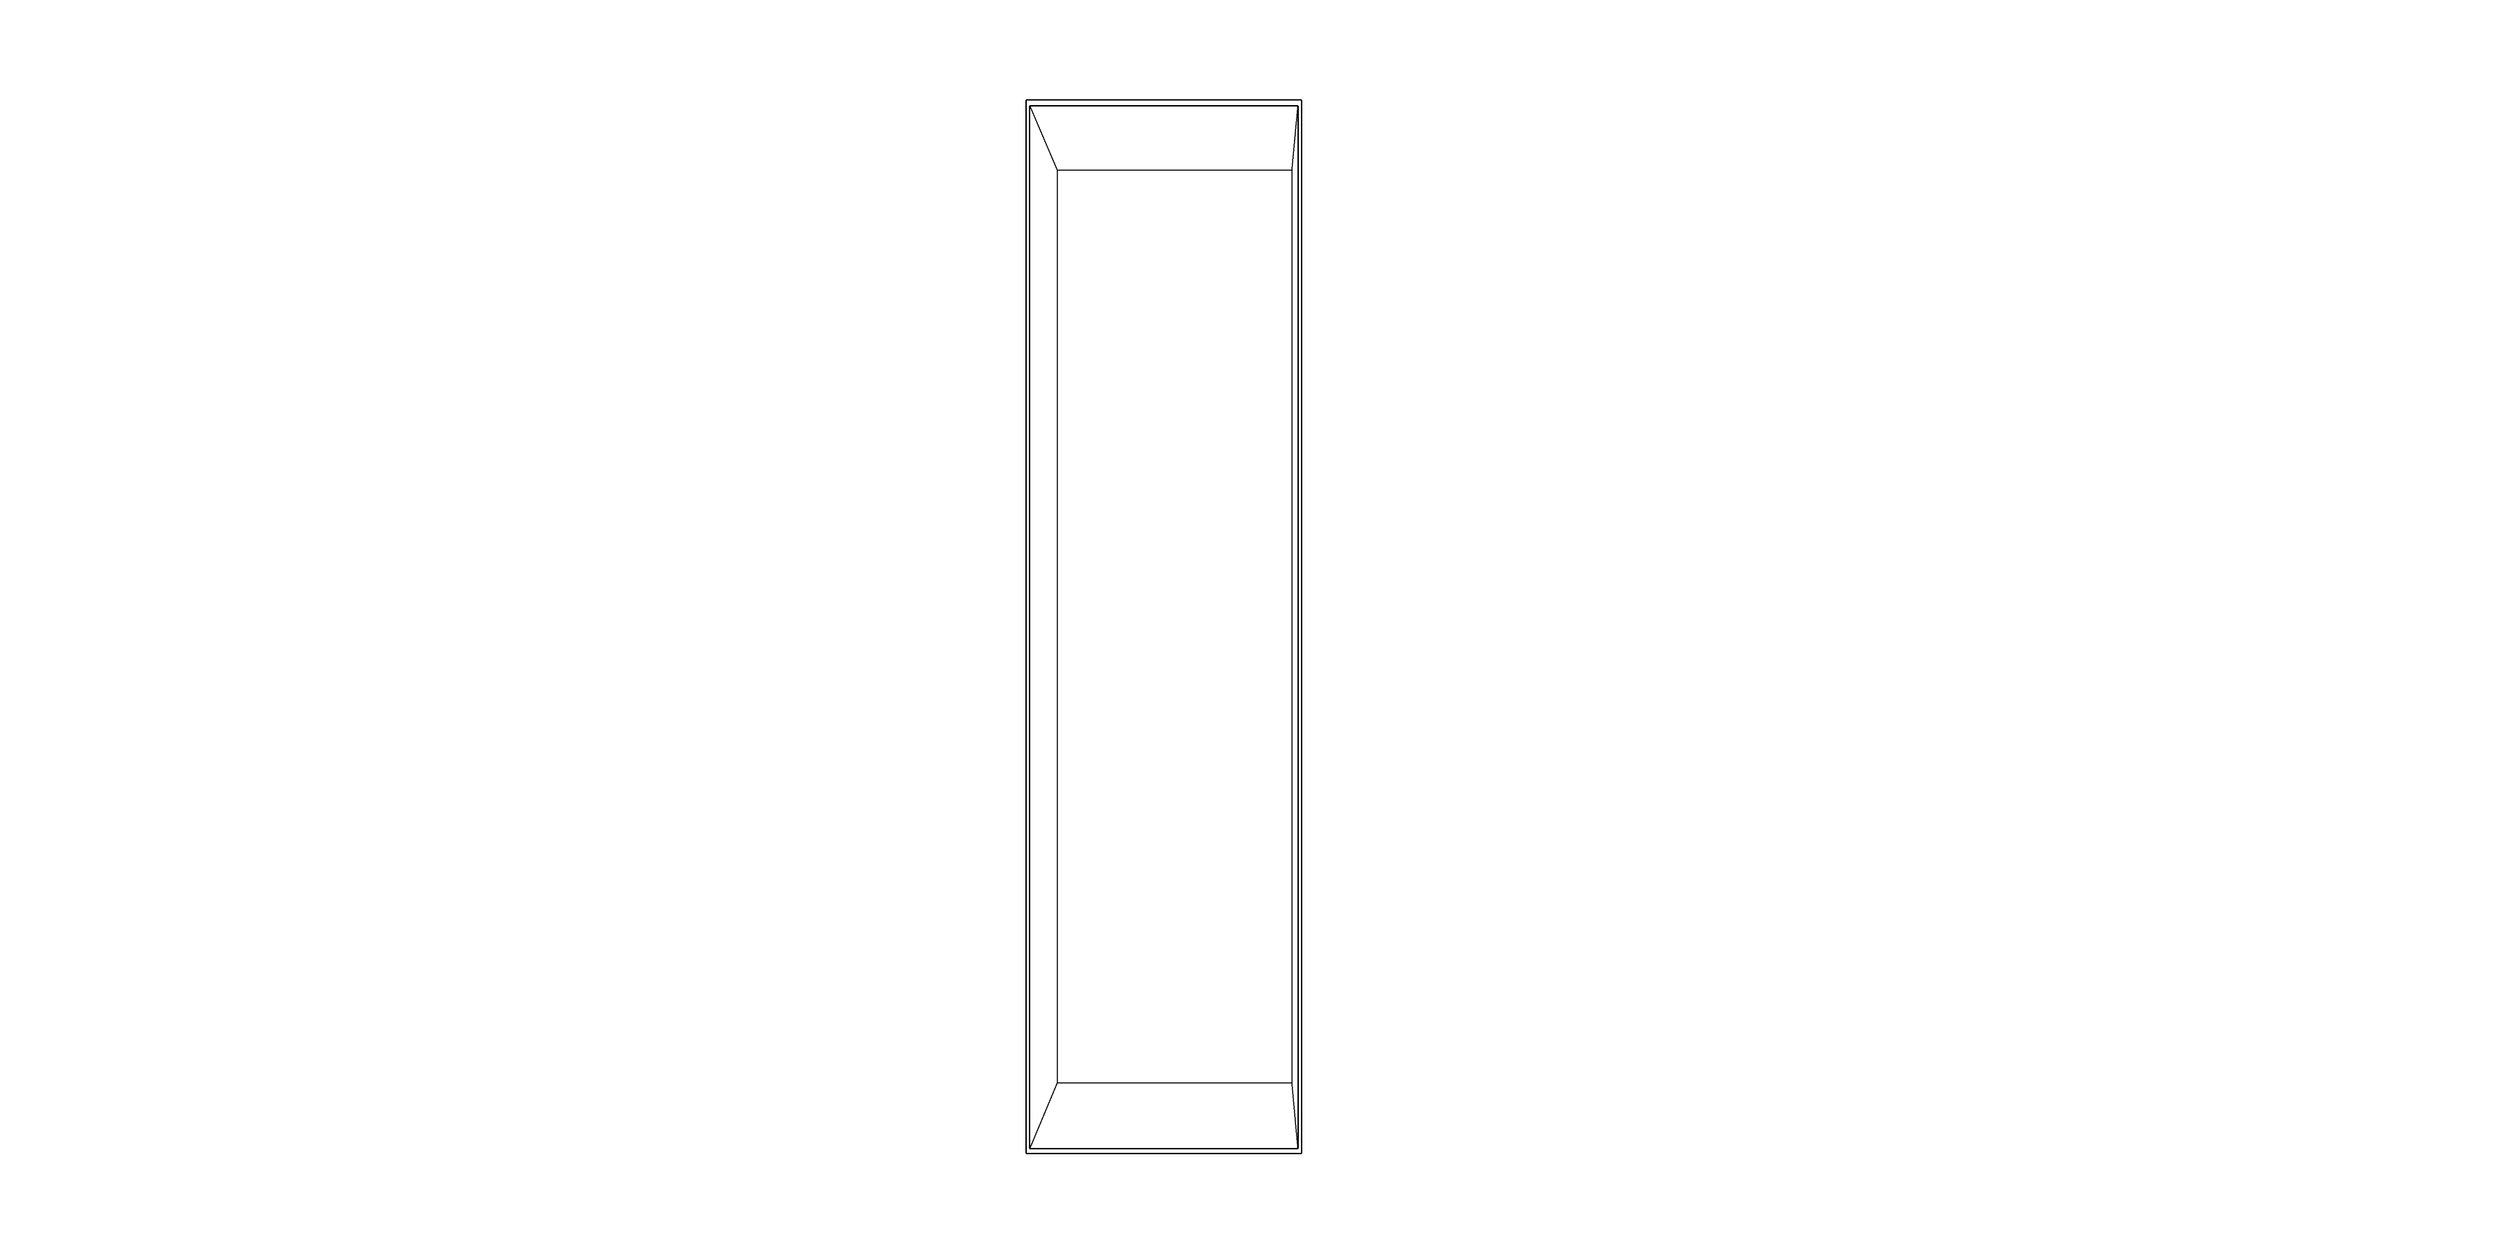
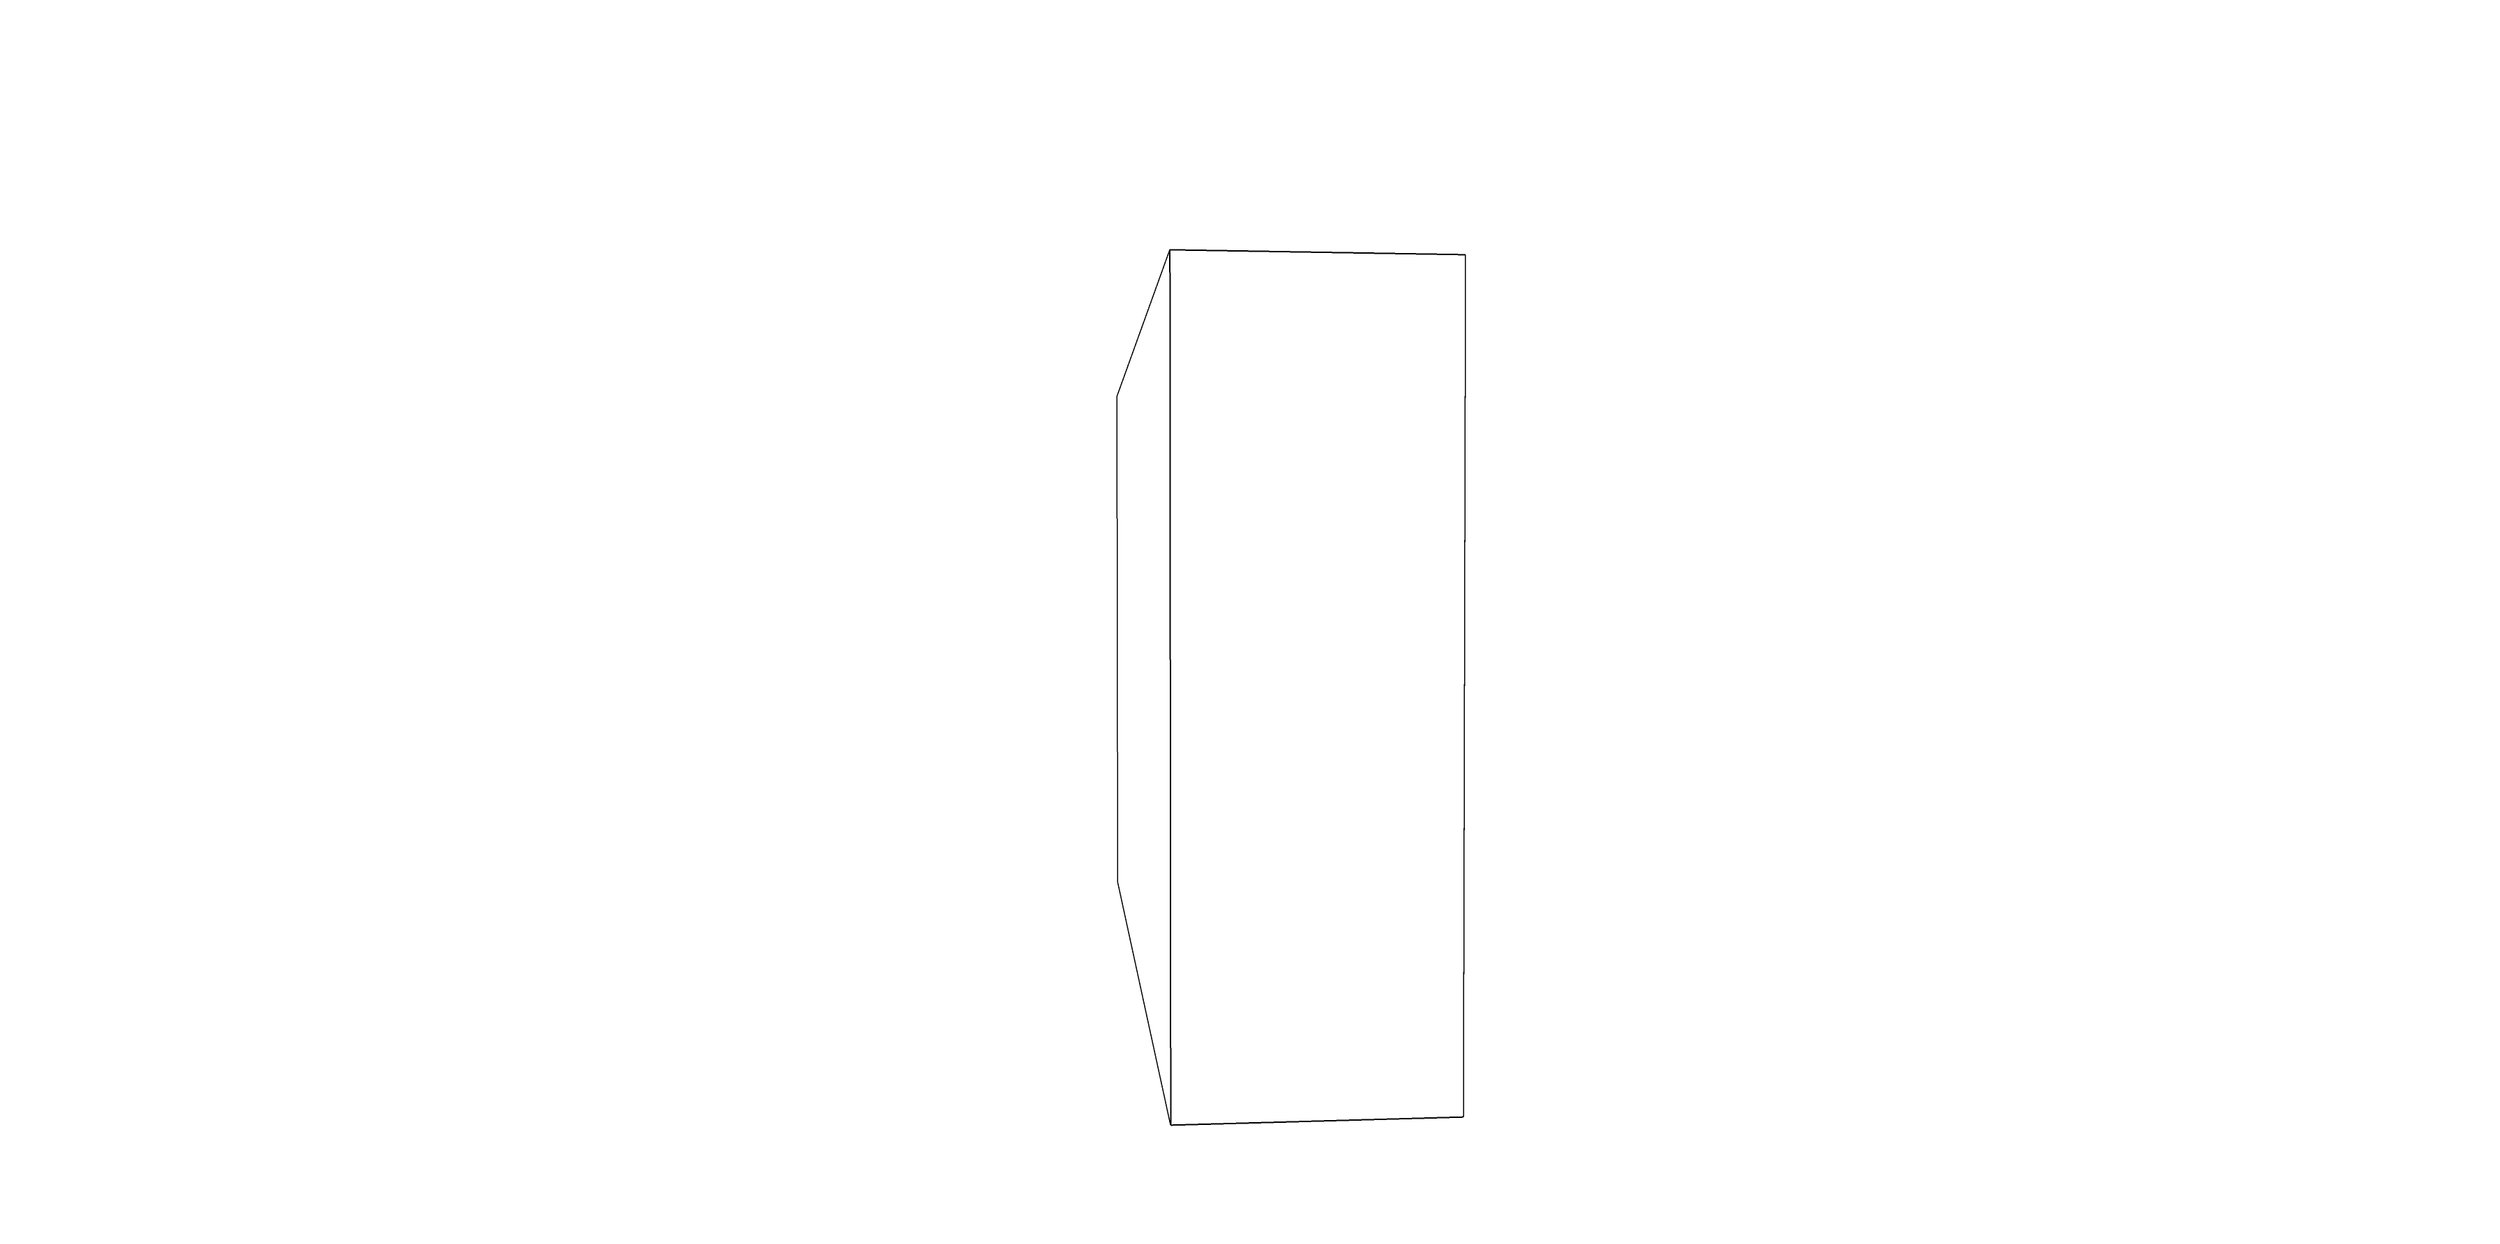
I then did the same with the smaller installations:
which ended up being 4metres long - 750 wide and 2.2 metres high but when compared to a person it seemed like the right measurements

The same with the tringle one - 2.25 metres on each side of the base with 2.2 metres height.
I then went on to photoshop them and make sure that they fitted within the site:
Weekly Summary
I achieved a lot this week to do with the installation which was one of the main aims, I ran out of time but I will continue on where I left off next week. I felt like i was working through alot of problems within the project this week, really getting to grips with how the user would use and understand the brief.
Resources
Unique Tiles. (2020). Digitally Printed Tiles Made to Order. [online] Available at: https://www.uniquetiles.uk/printed-tiles
Week Twenty:
Weekly Focus
The focus for this week is to continue finishing of the installation model and to begin to plan how the website is going to look and work.
Links for Installation People:
https://www.seekpng.com/ipng/u2a9o0i1t4t4r5o0_people-walking-png-people-png-people-cutout-cut/
https://skalgubbar.se/2012/11/26/191-during-the-architecture-study-trip-back-in-june/
https://www.shutterstock.com/image-photo/smiling-mature-students-art-class-painting-782765230
https://www.pinterest.co.uk/pin/571183165225864756/
http://clipart-library.com/clip-art/people-walking-transparent-23.htm
https://www.pngaaa.com/search/people-walking-png/
https://depositphotos.com/223028402/stock-photo-group-of-diverse-men-standing.html
https://immediateentourage.com/side-view-woman-and-man/
https://www.kindpng.com/free/people-standing/2/
https://www.clipartkey.com/search/people-walking/
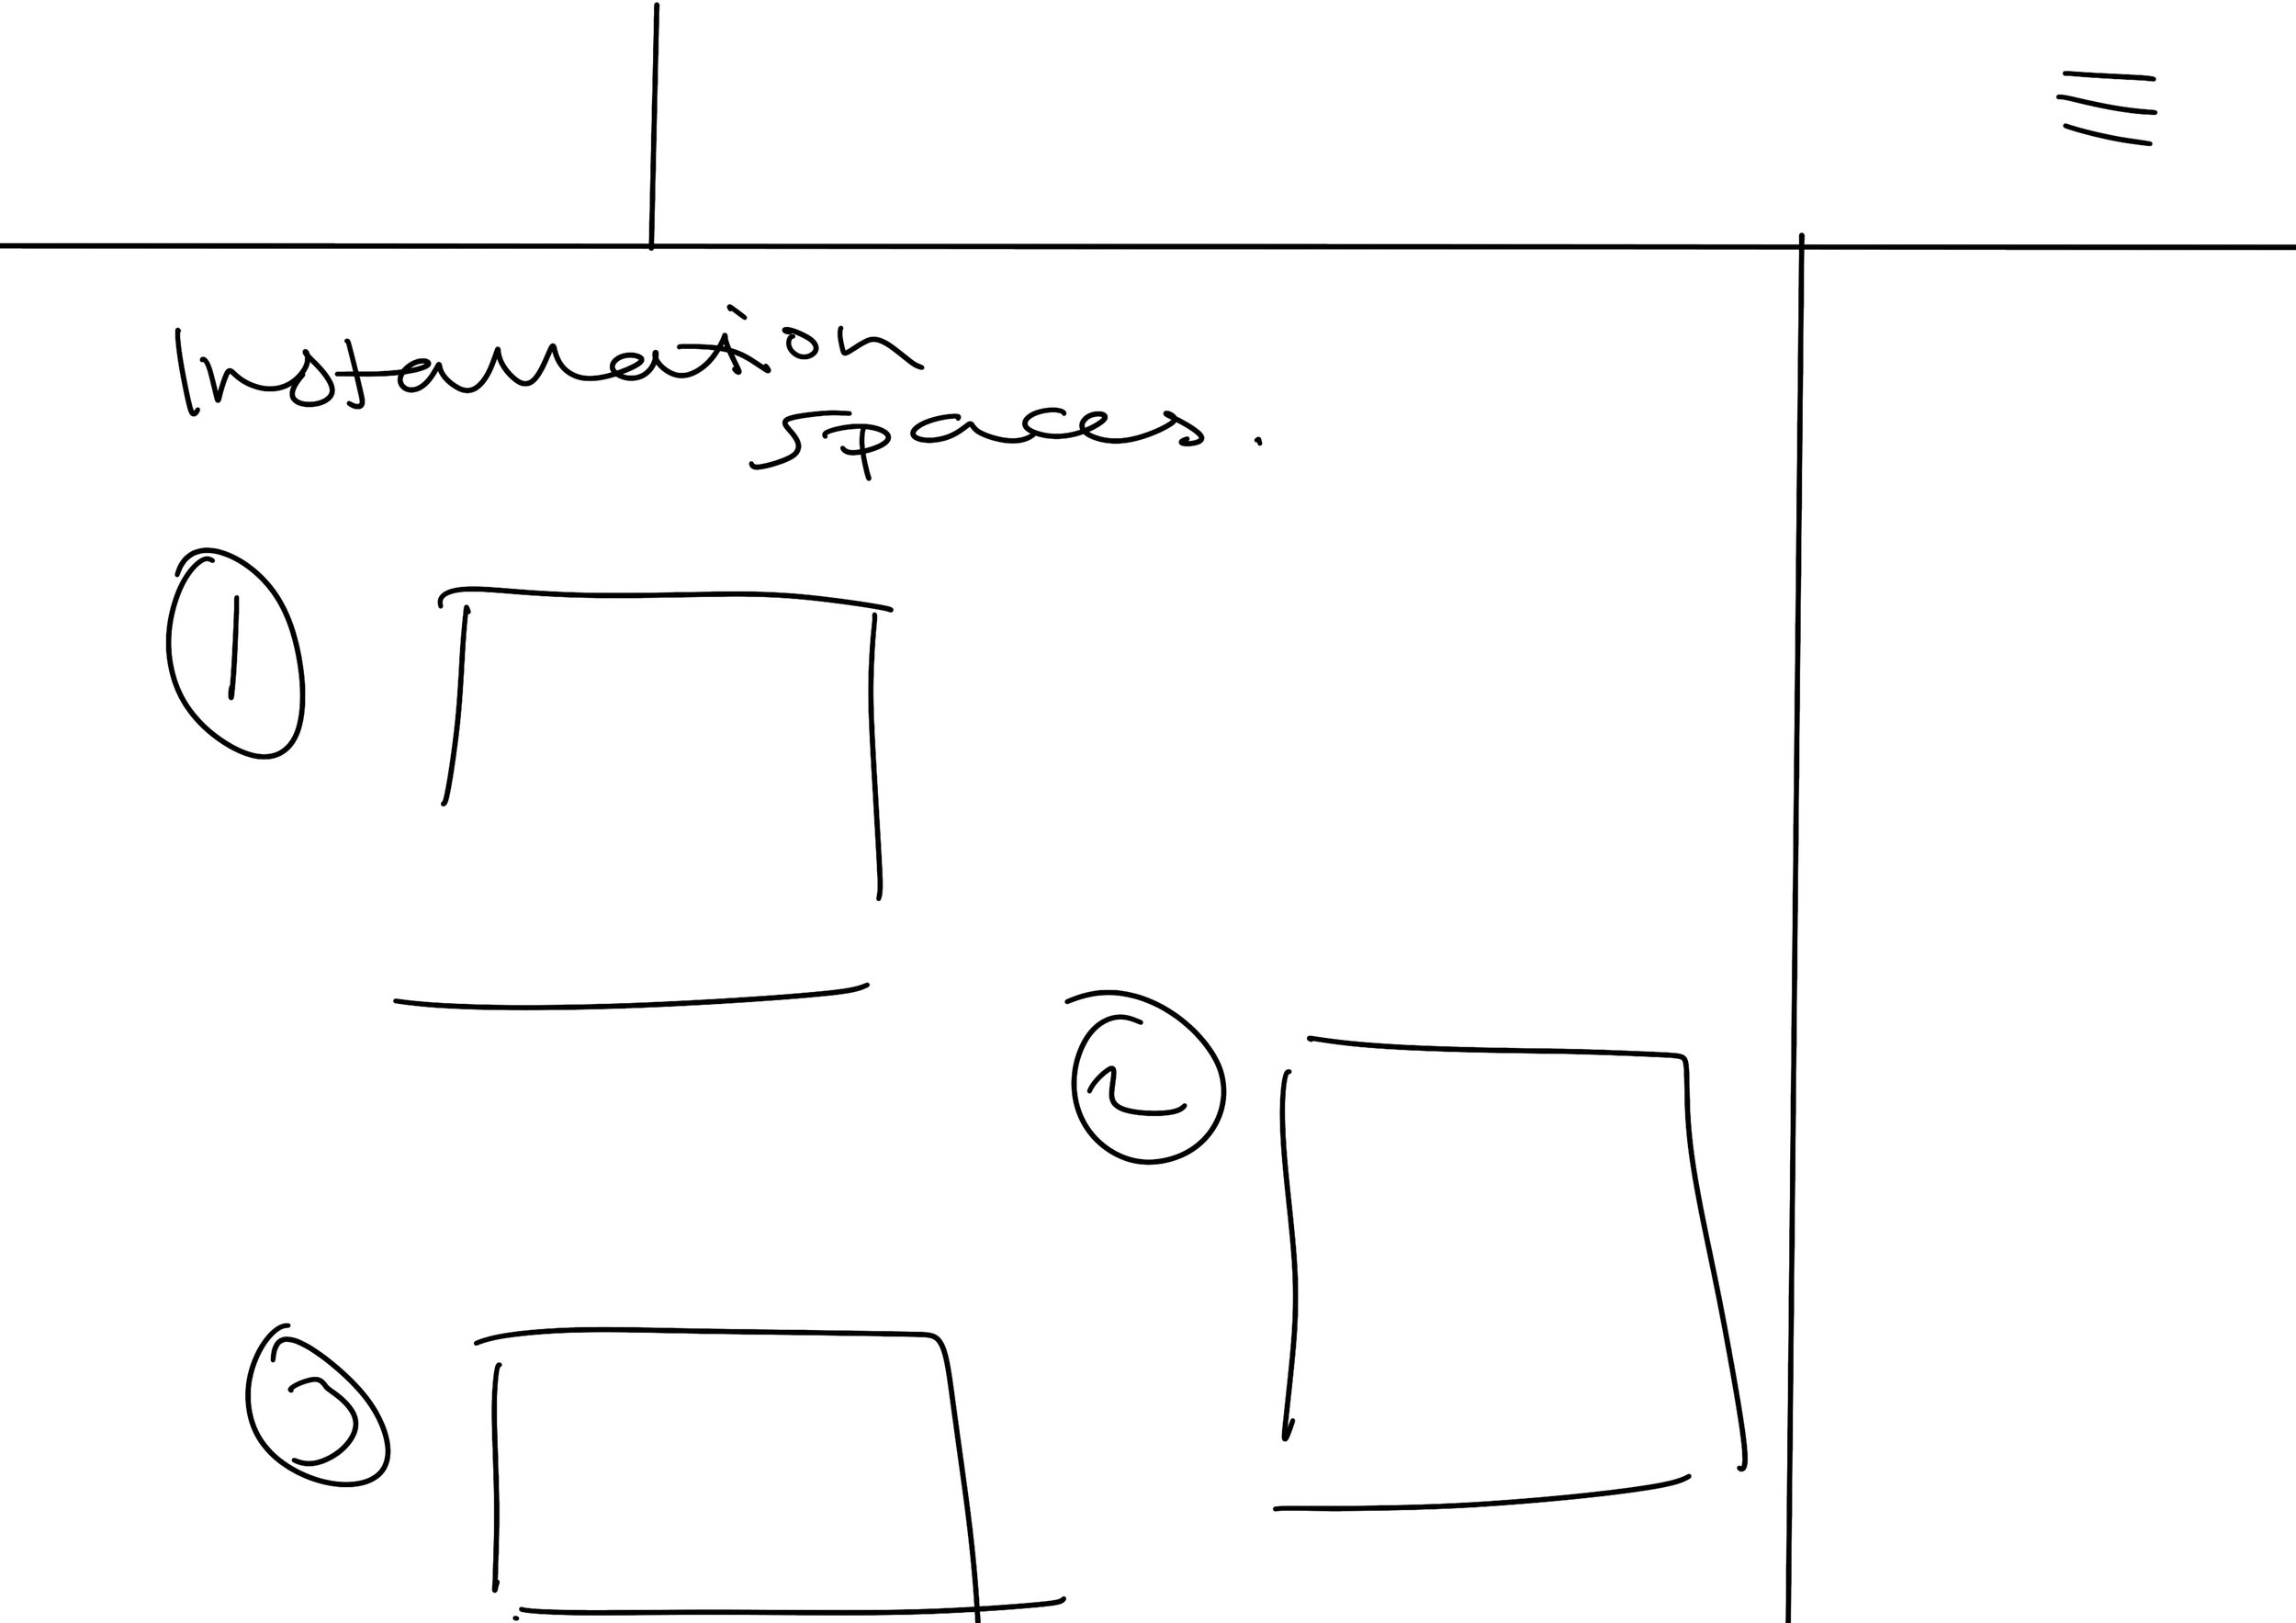
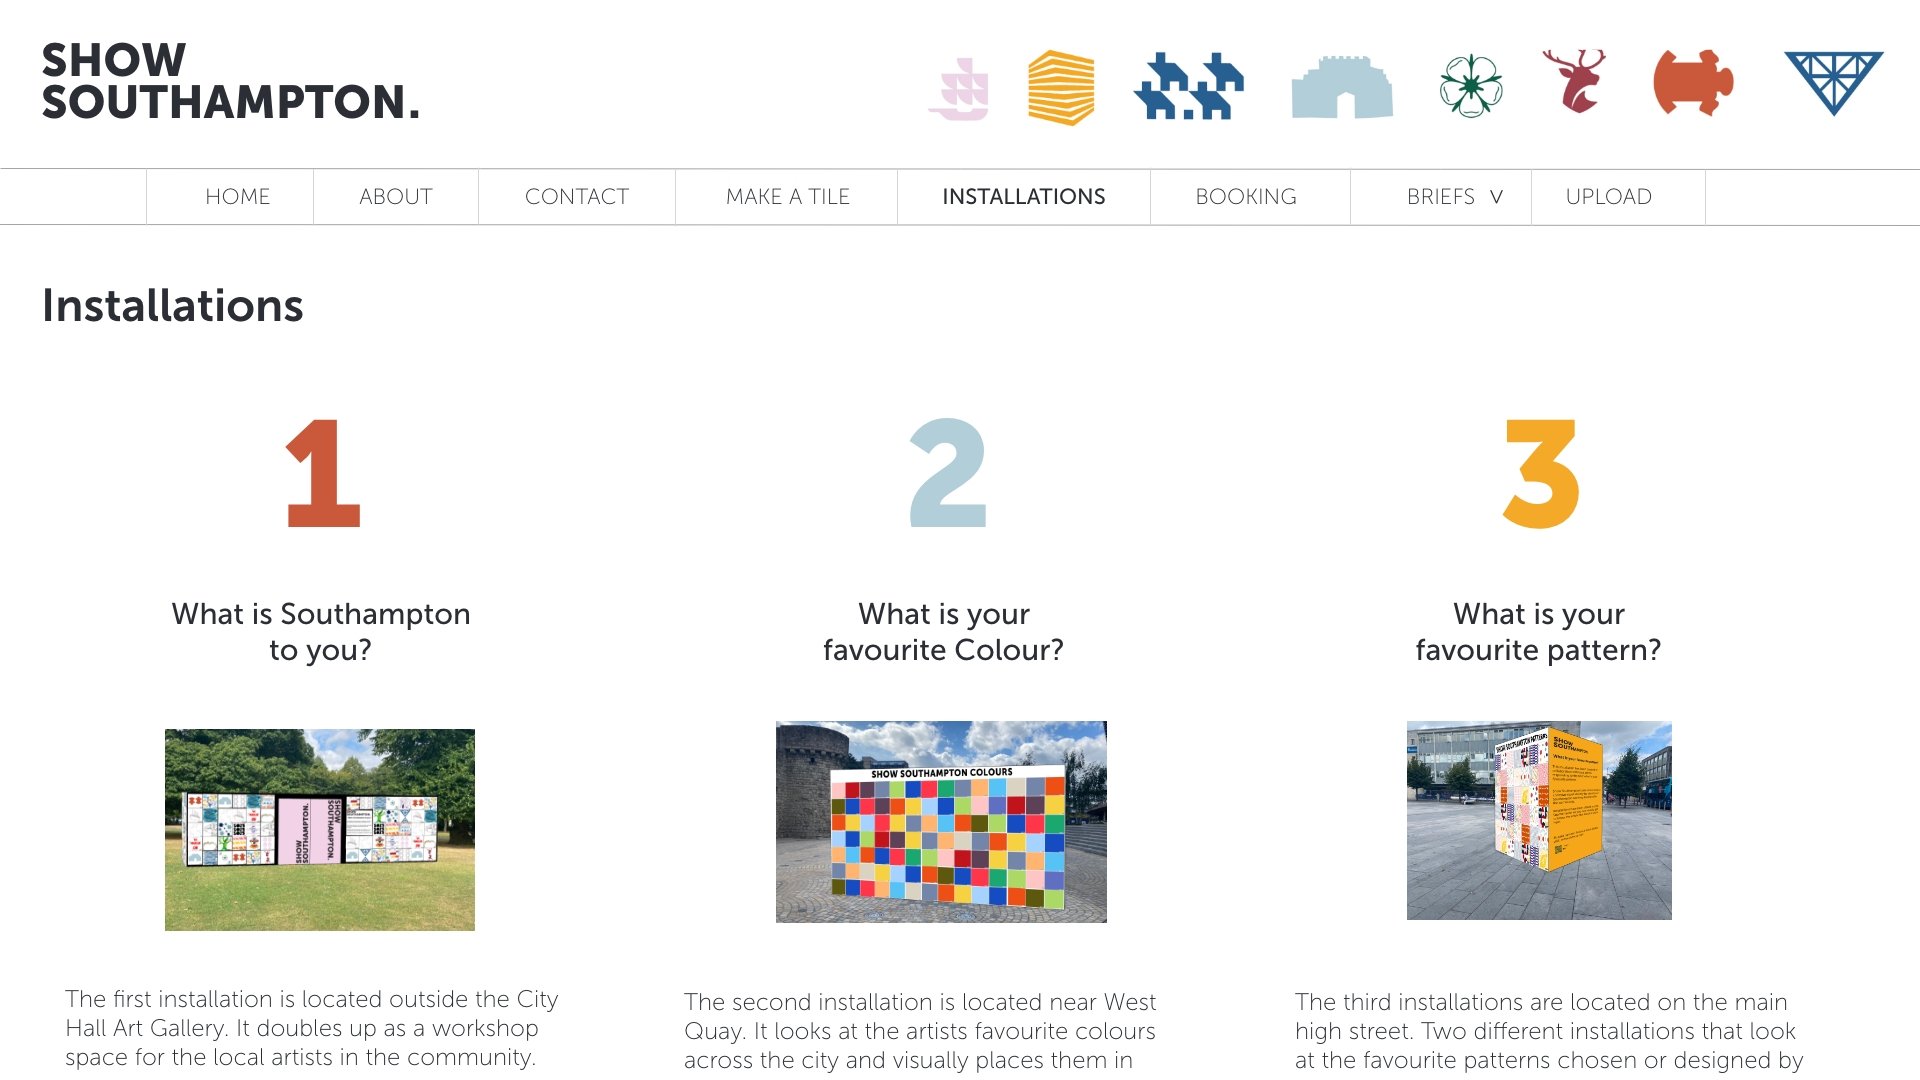
Installation
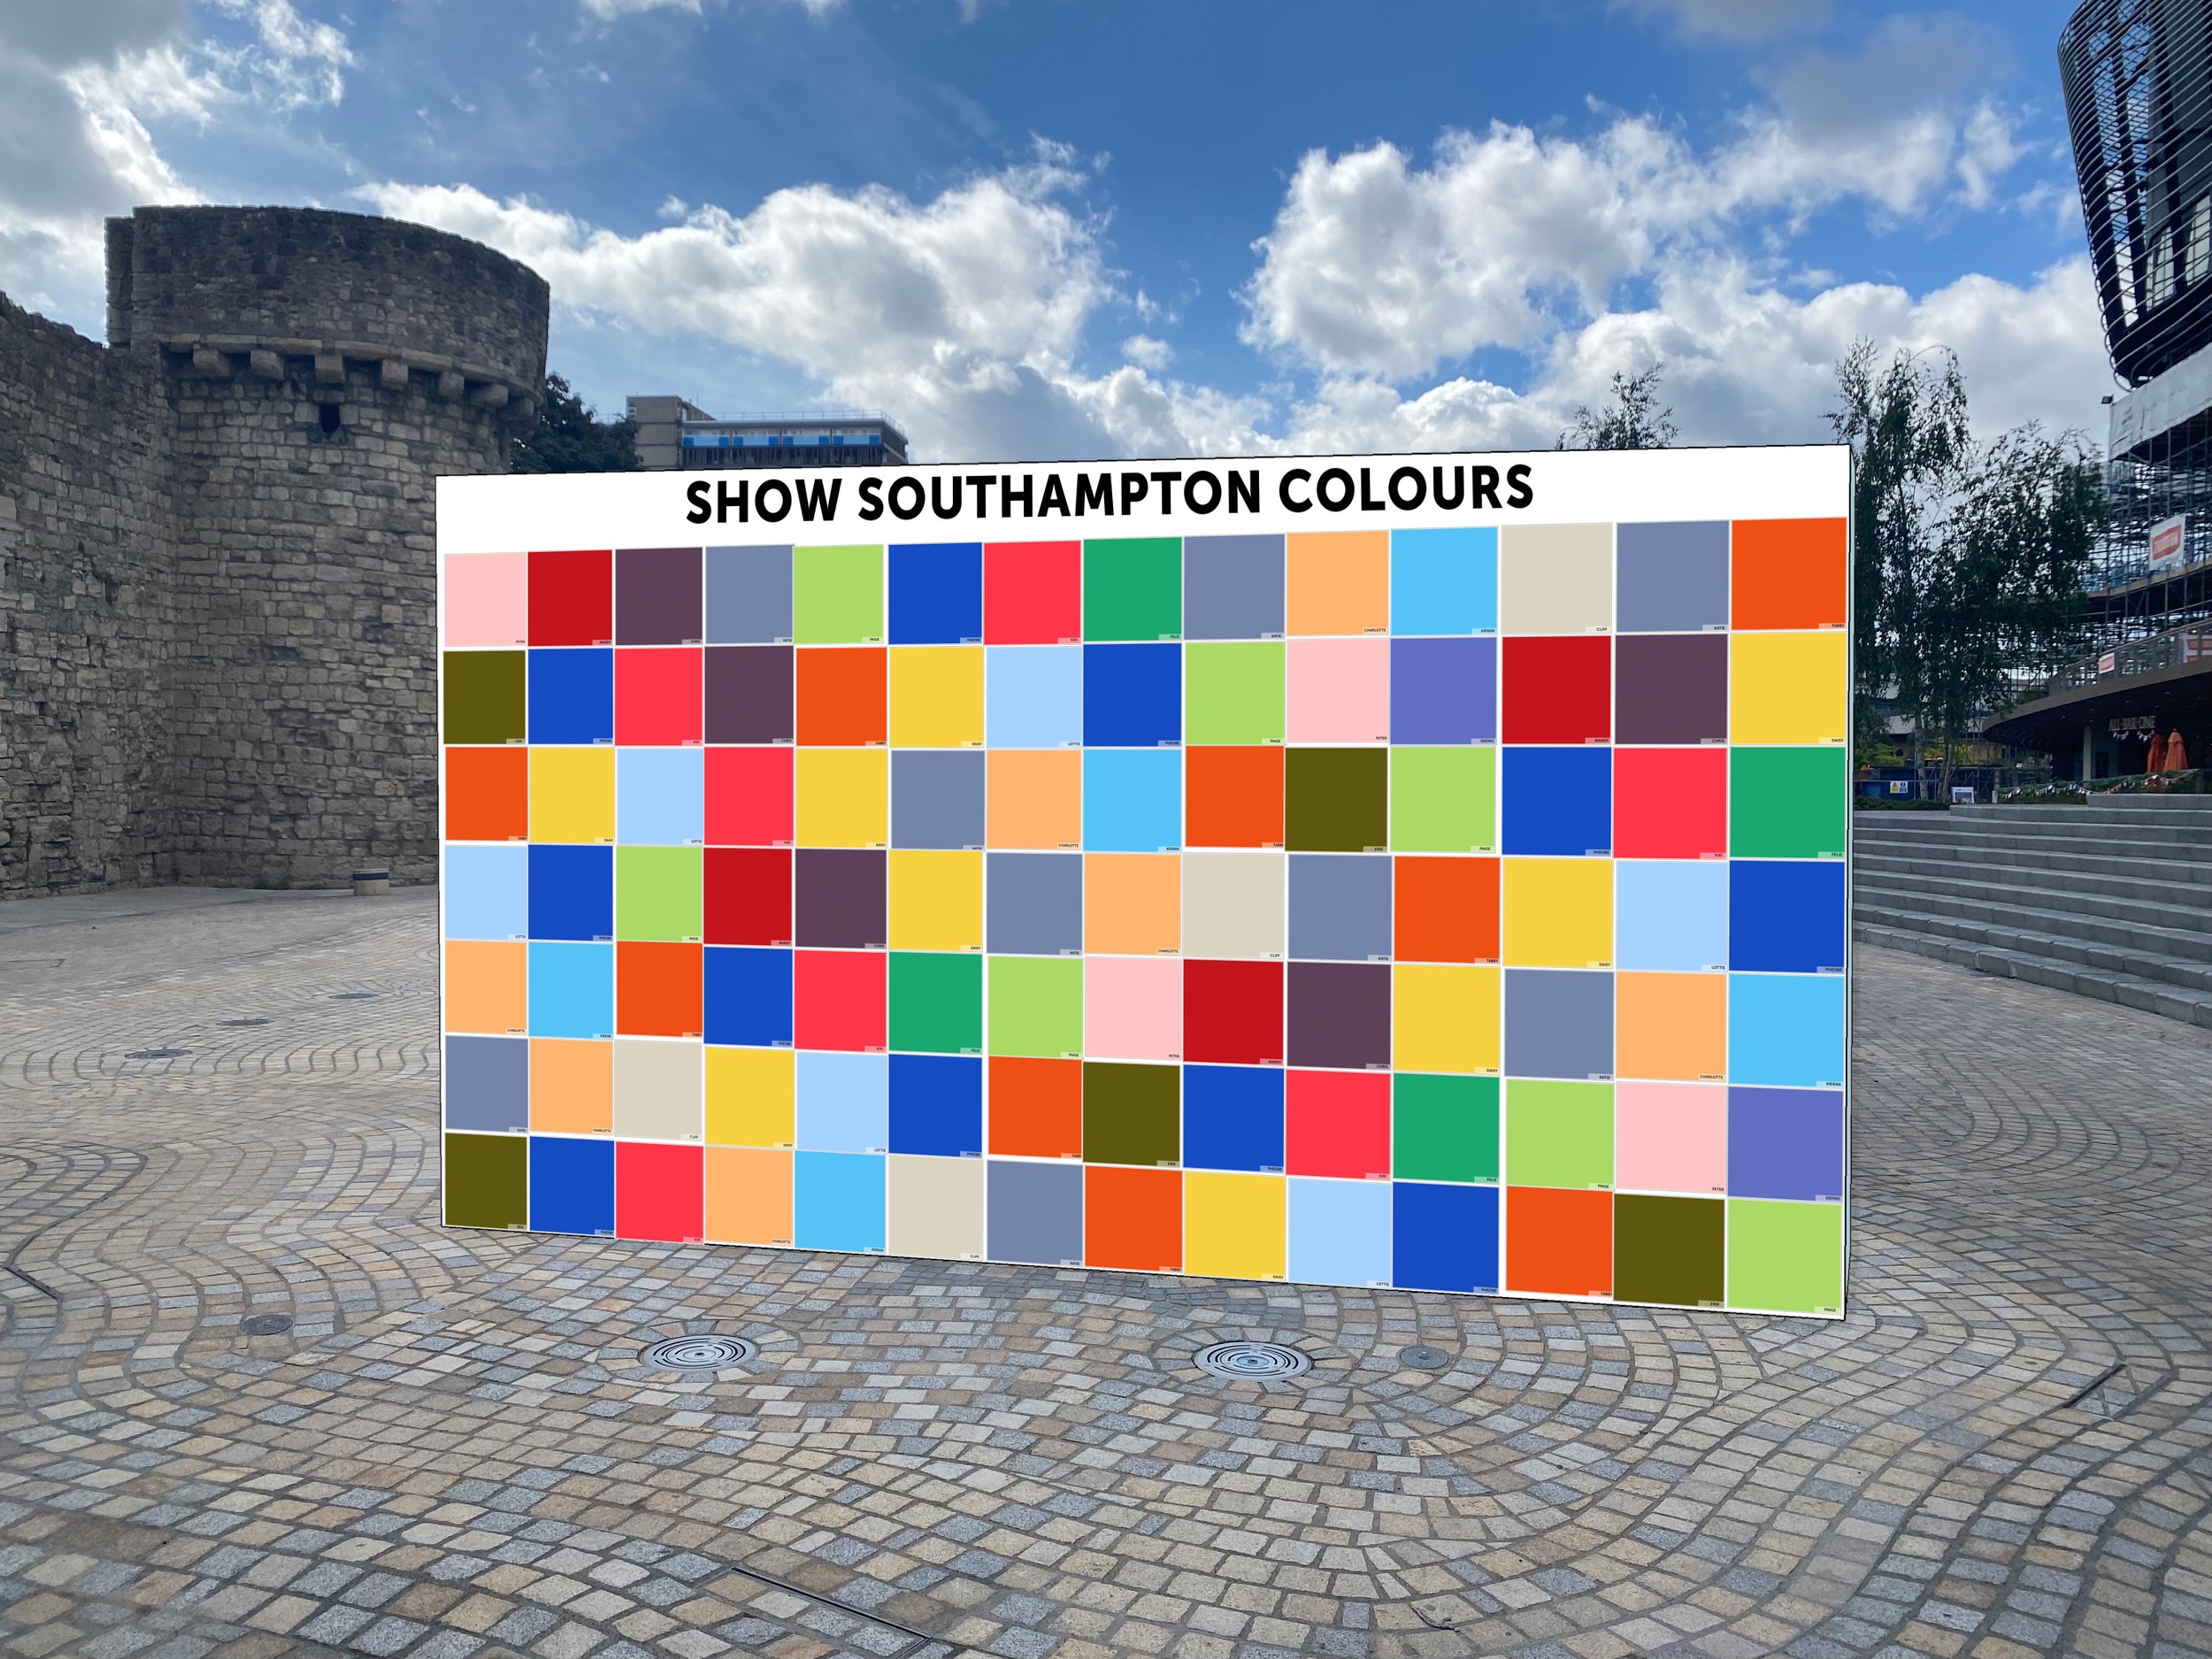
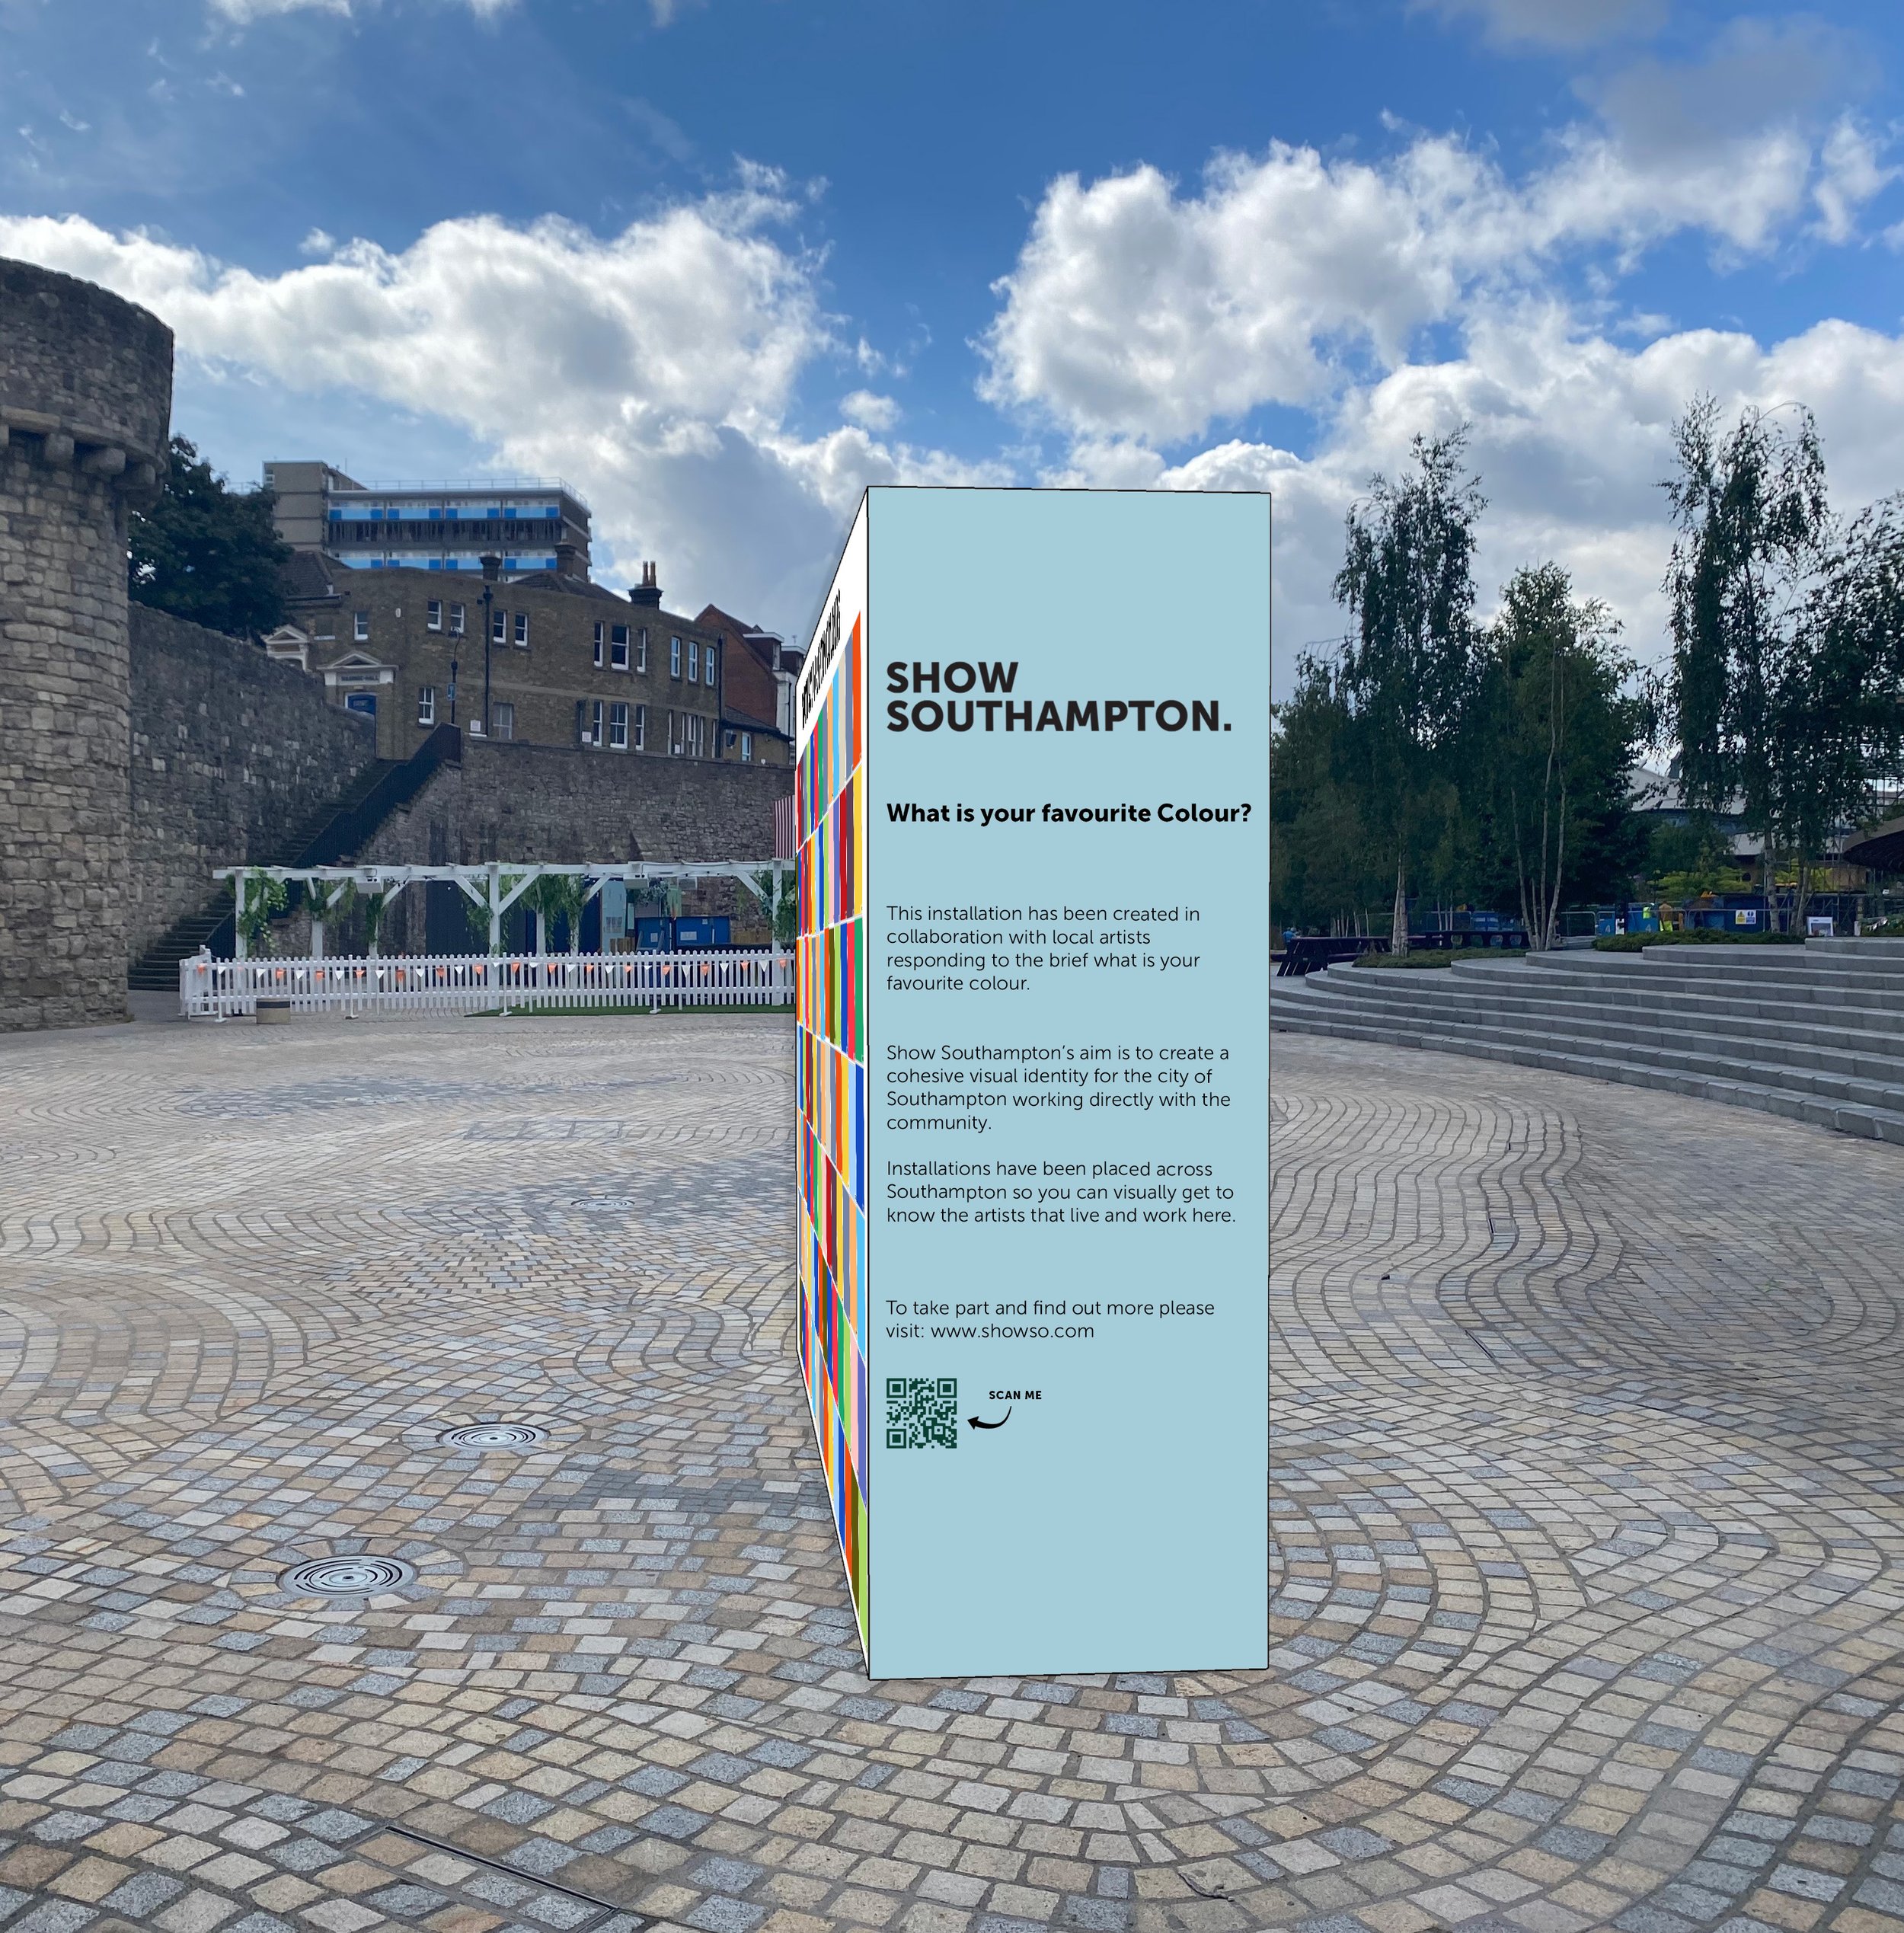
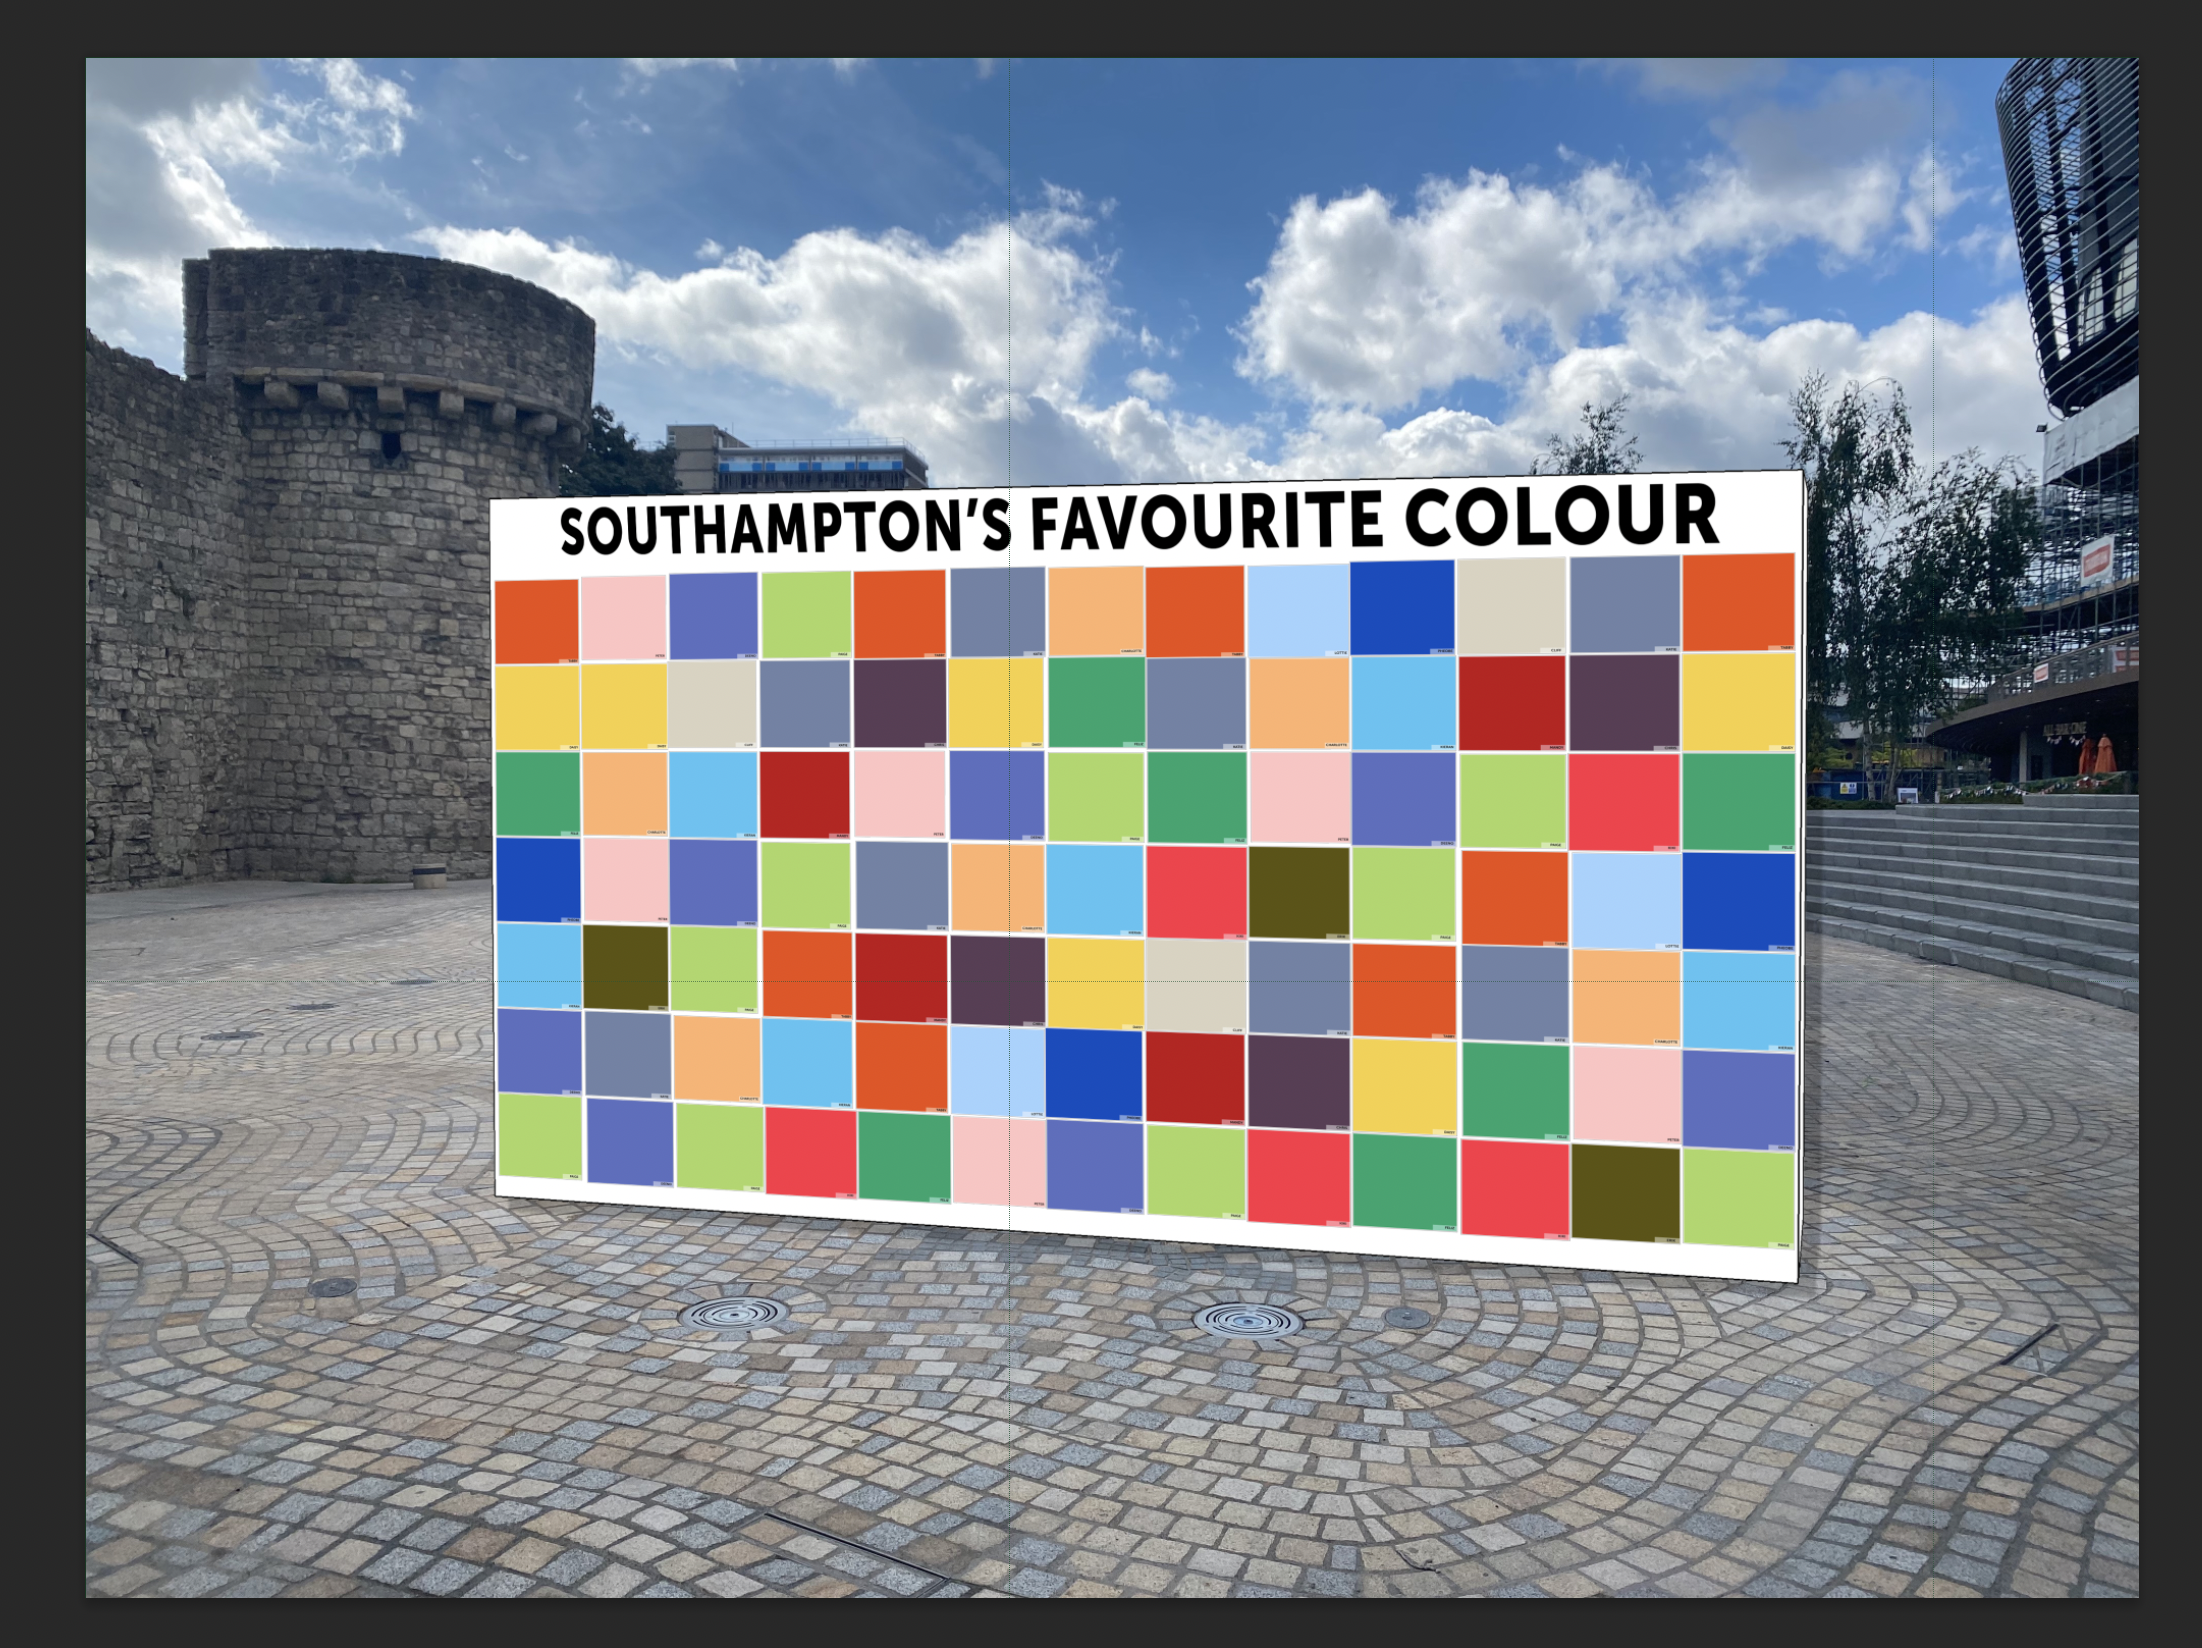
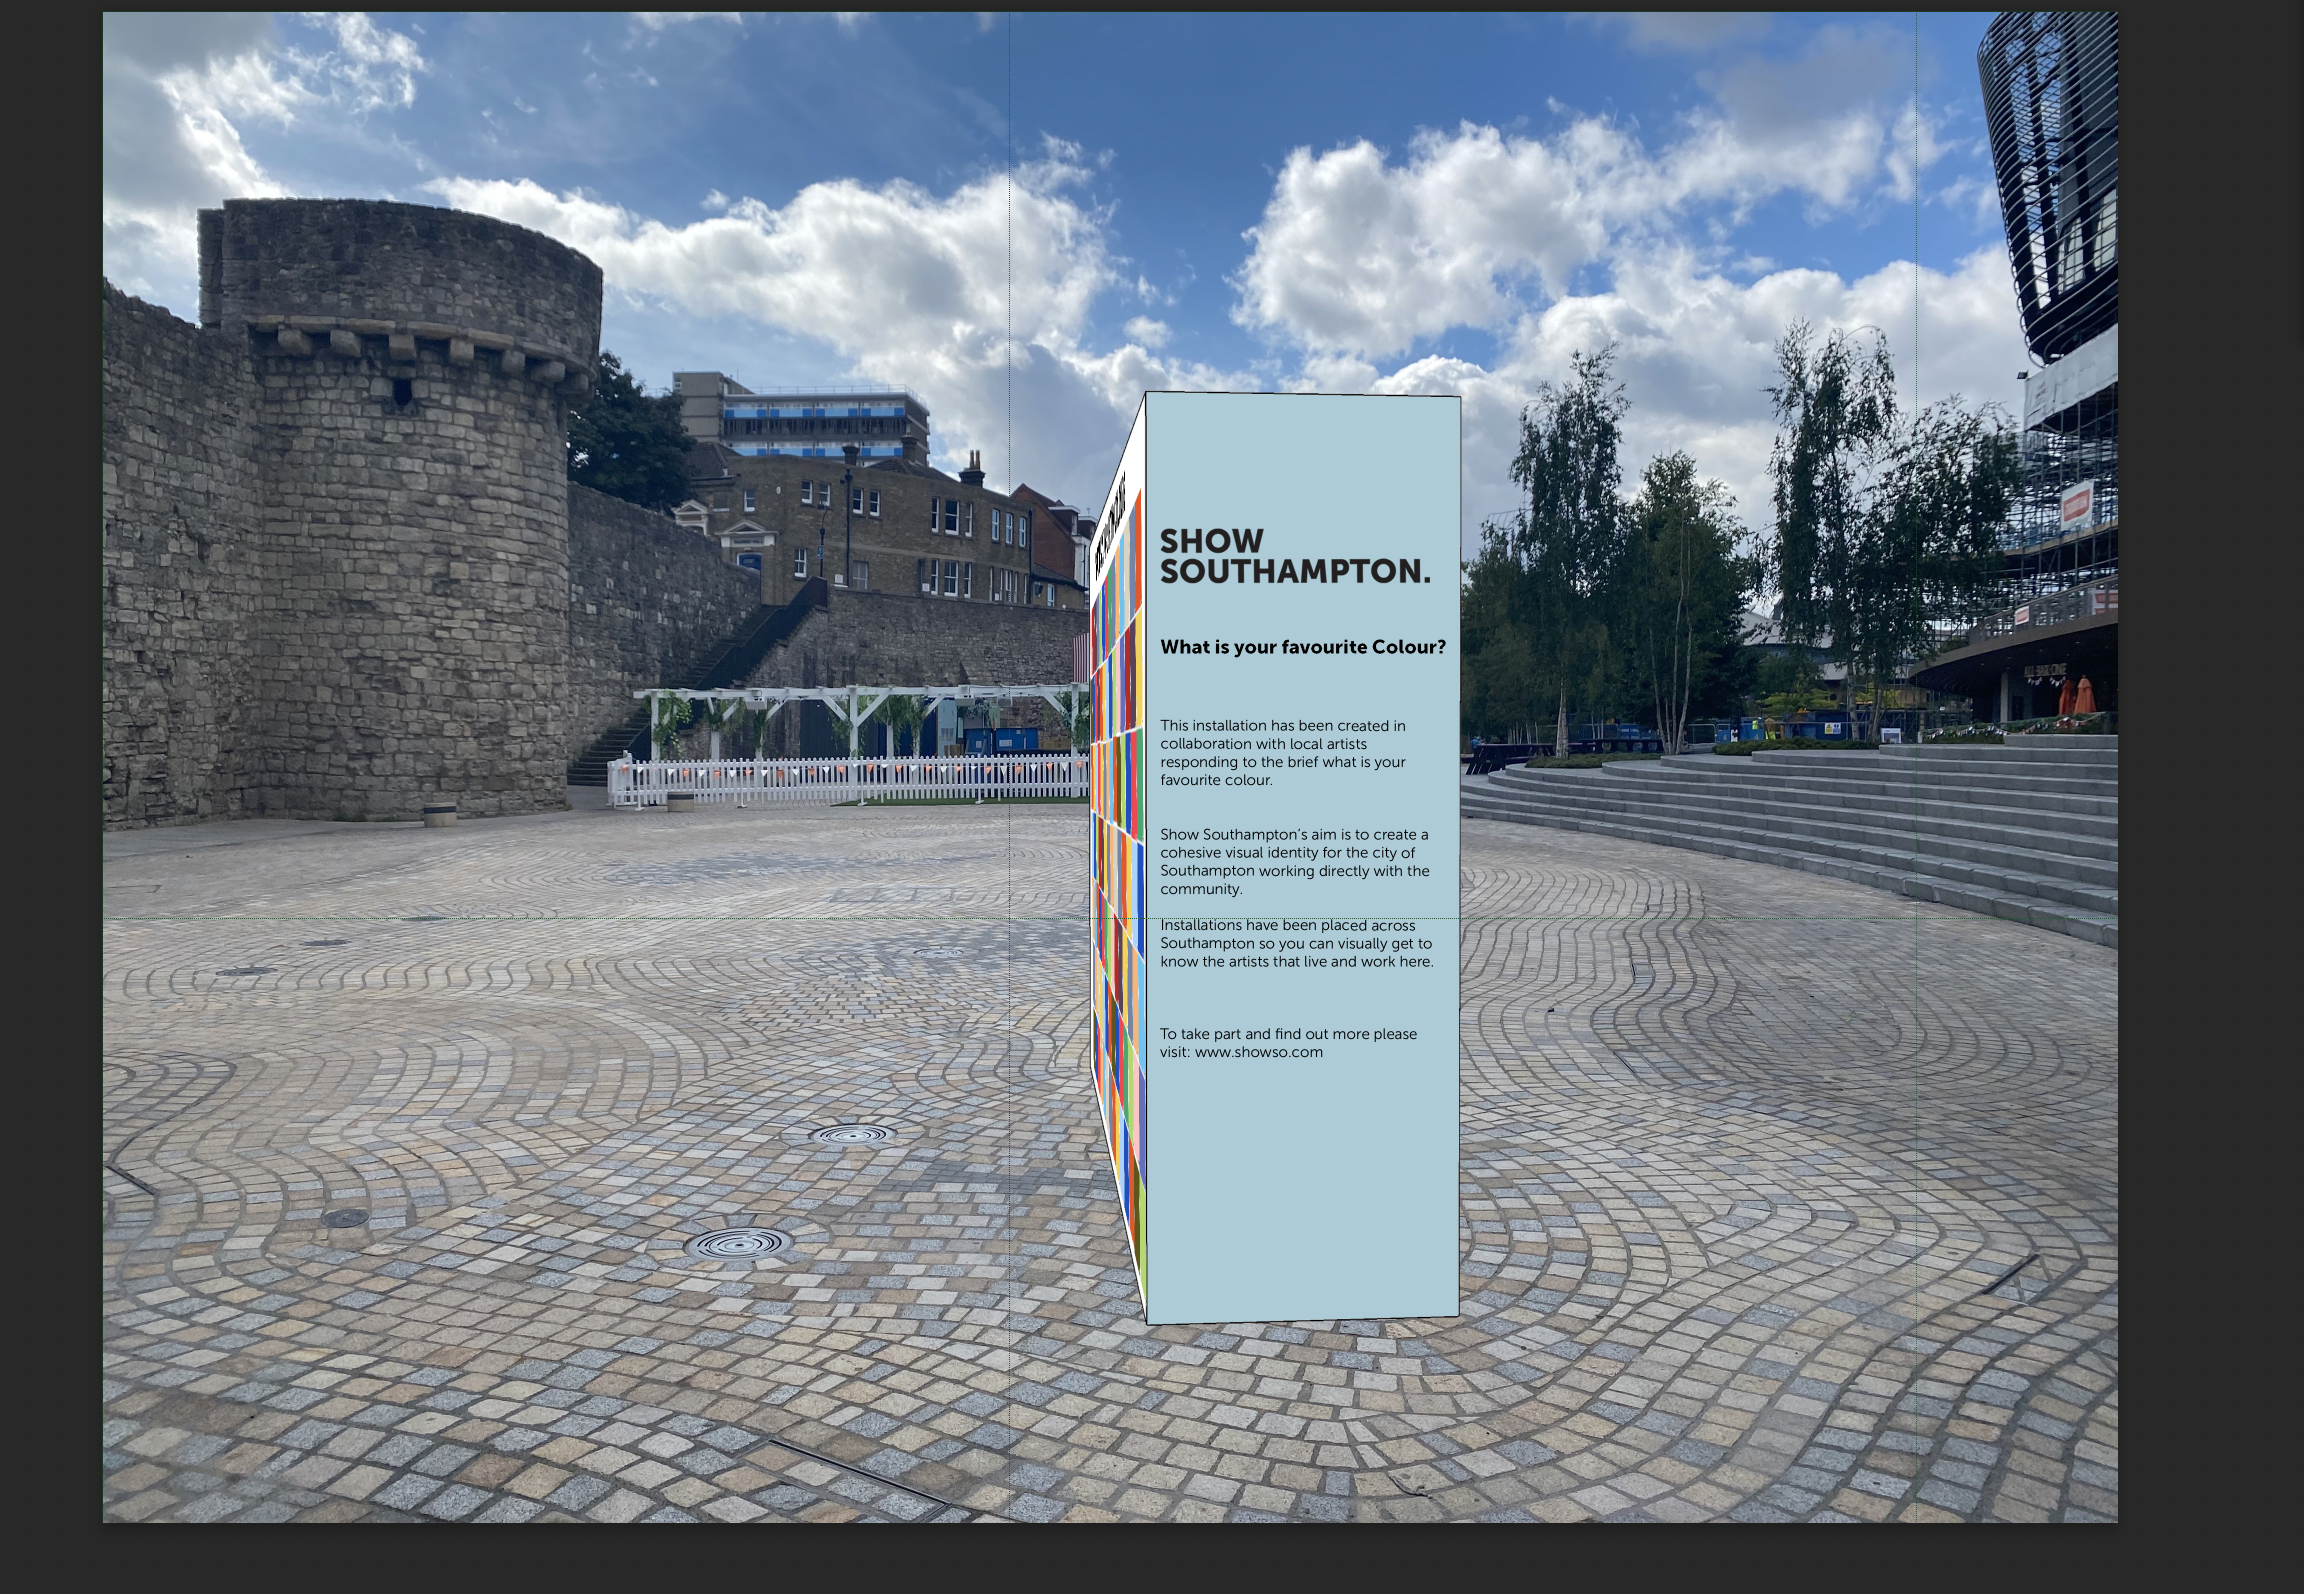
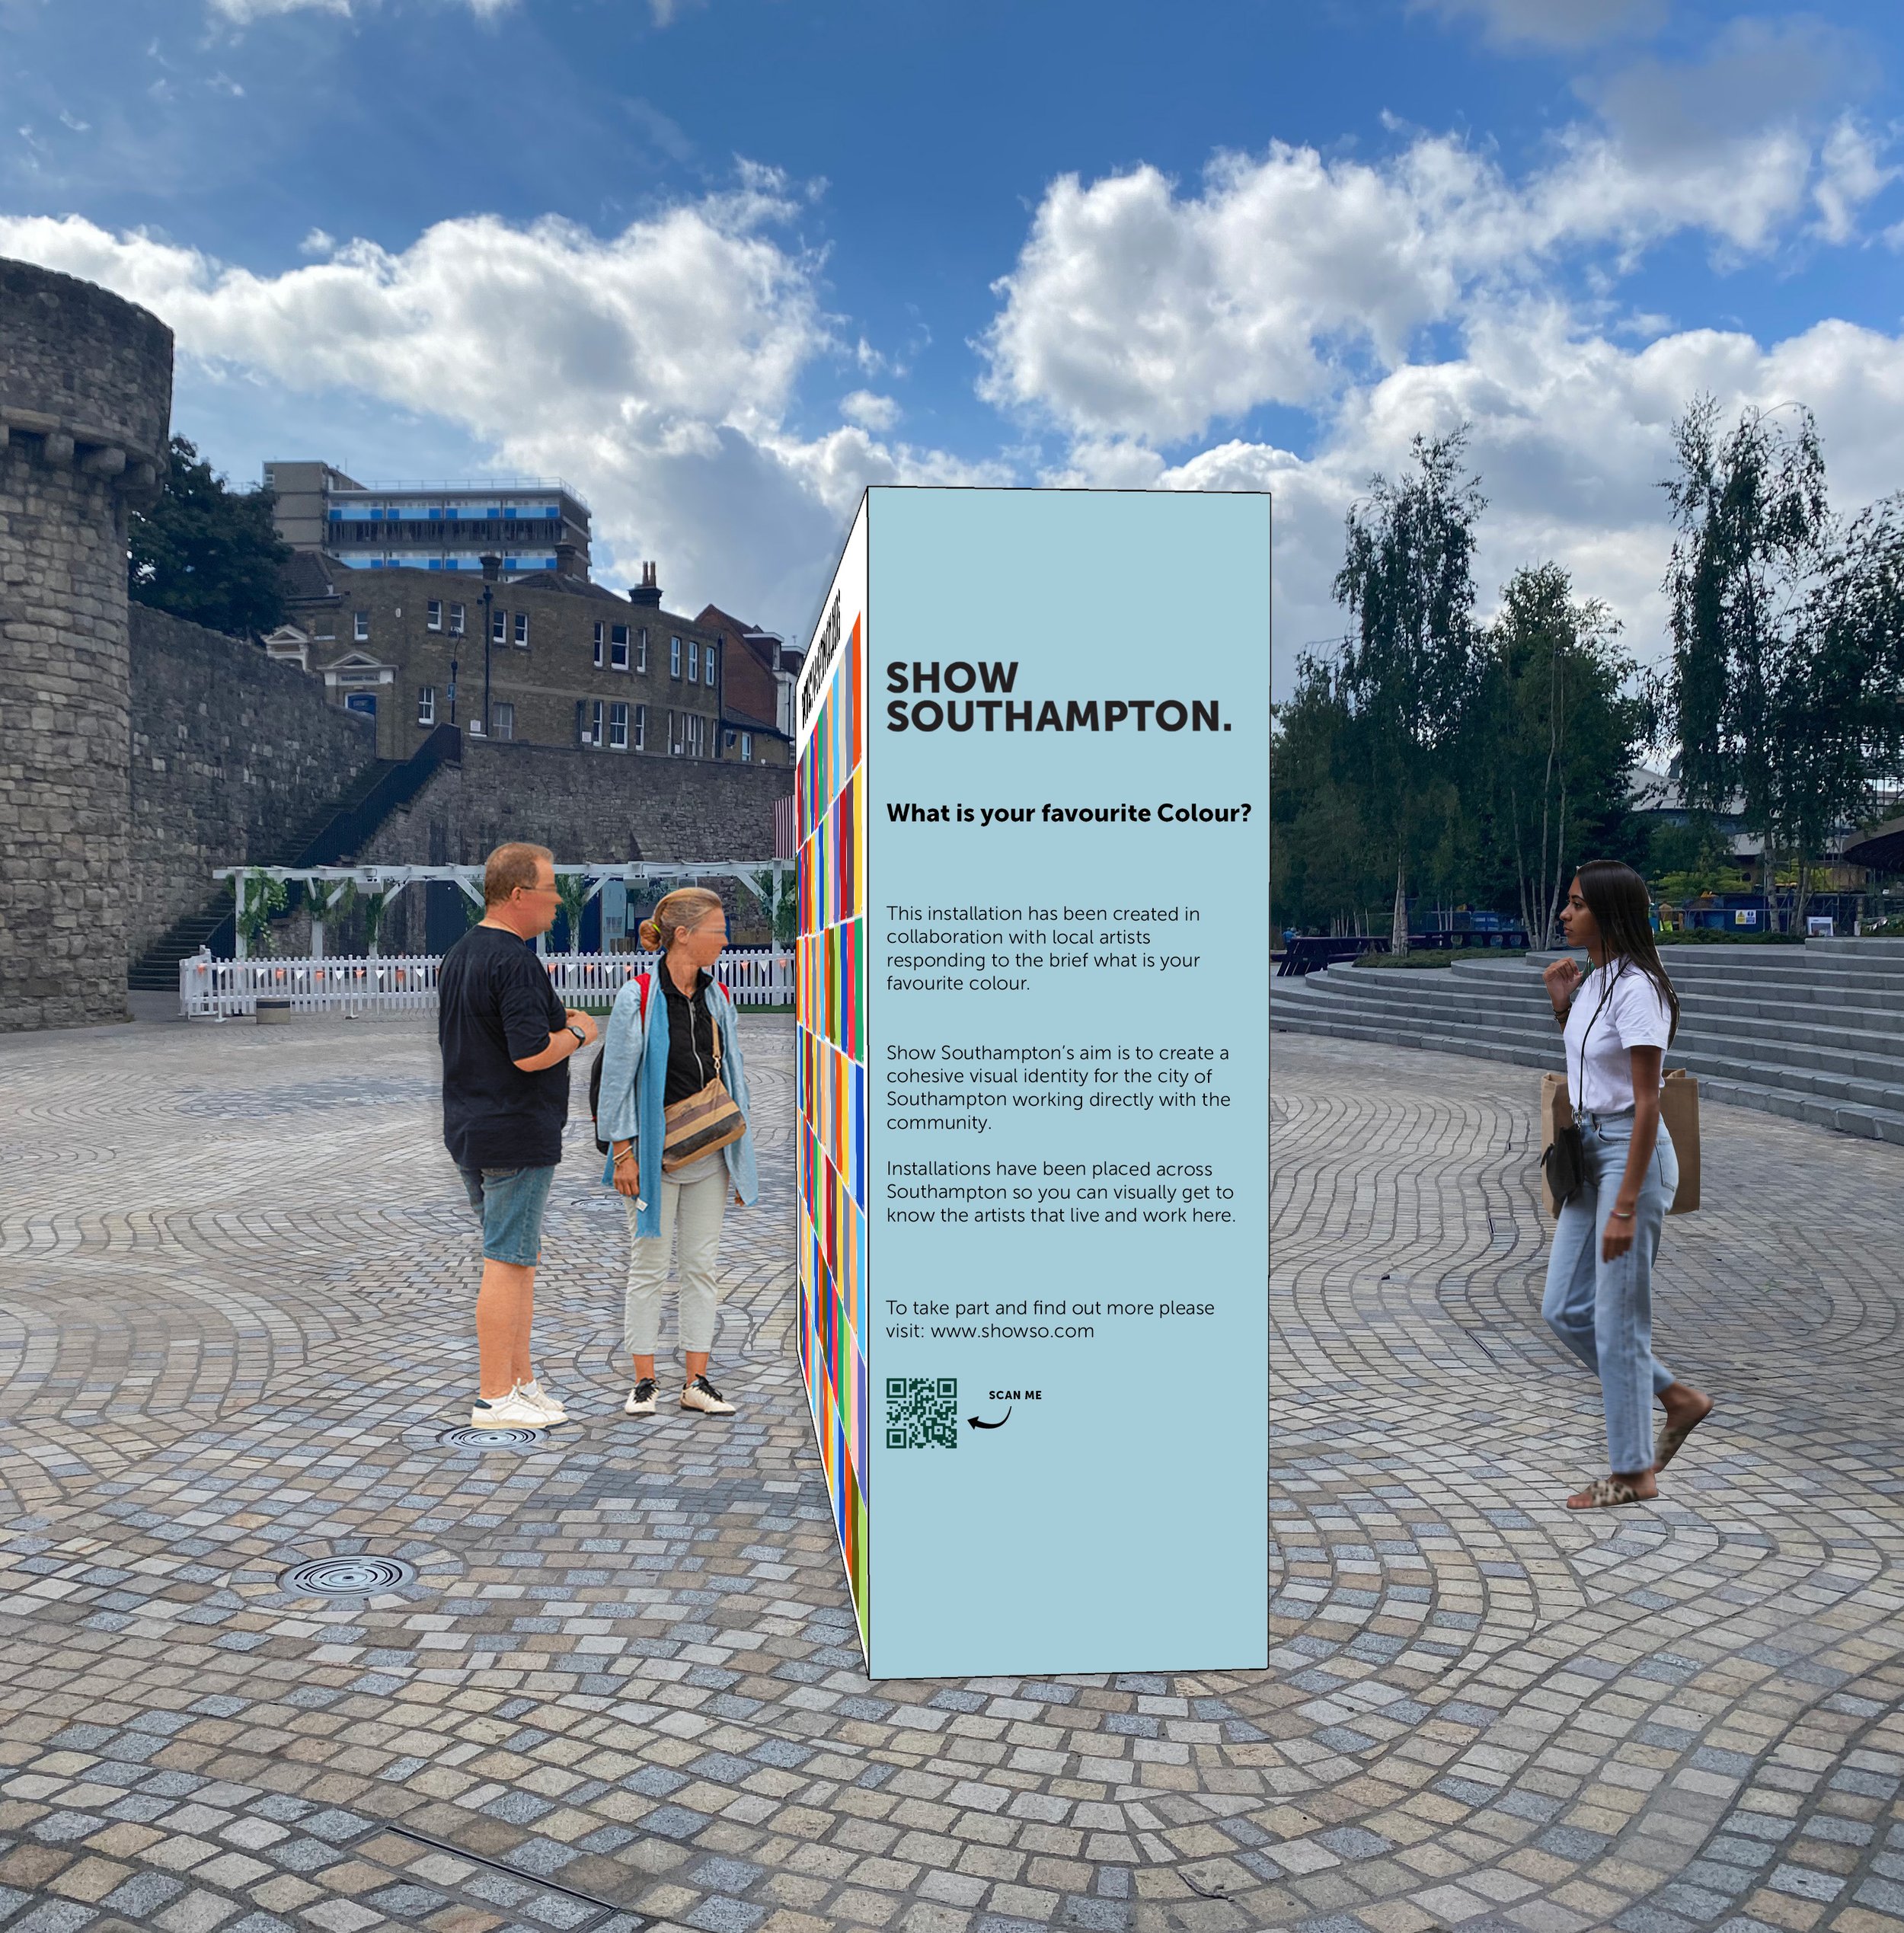
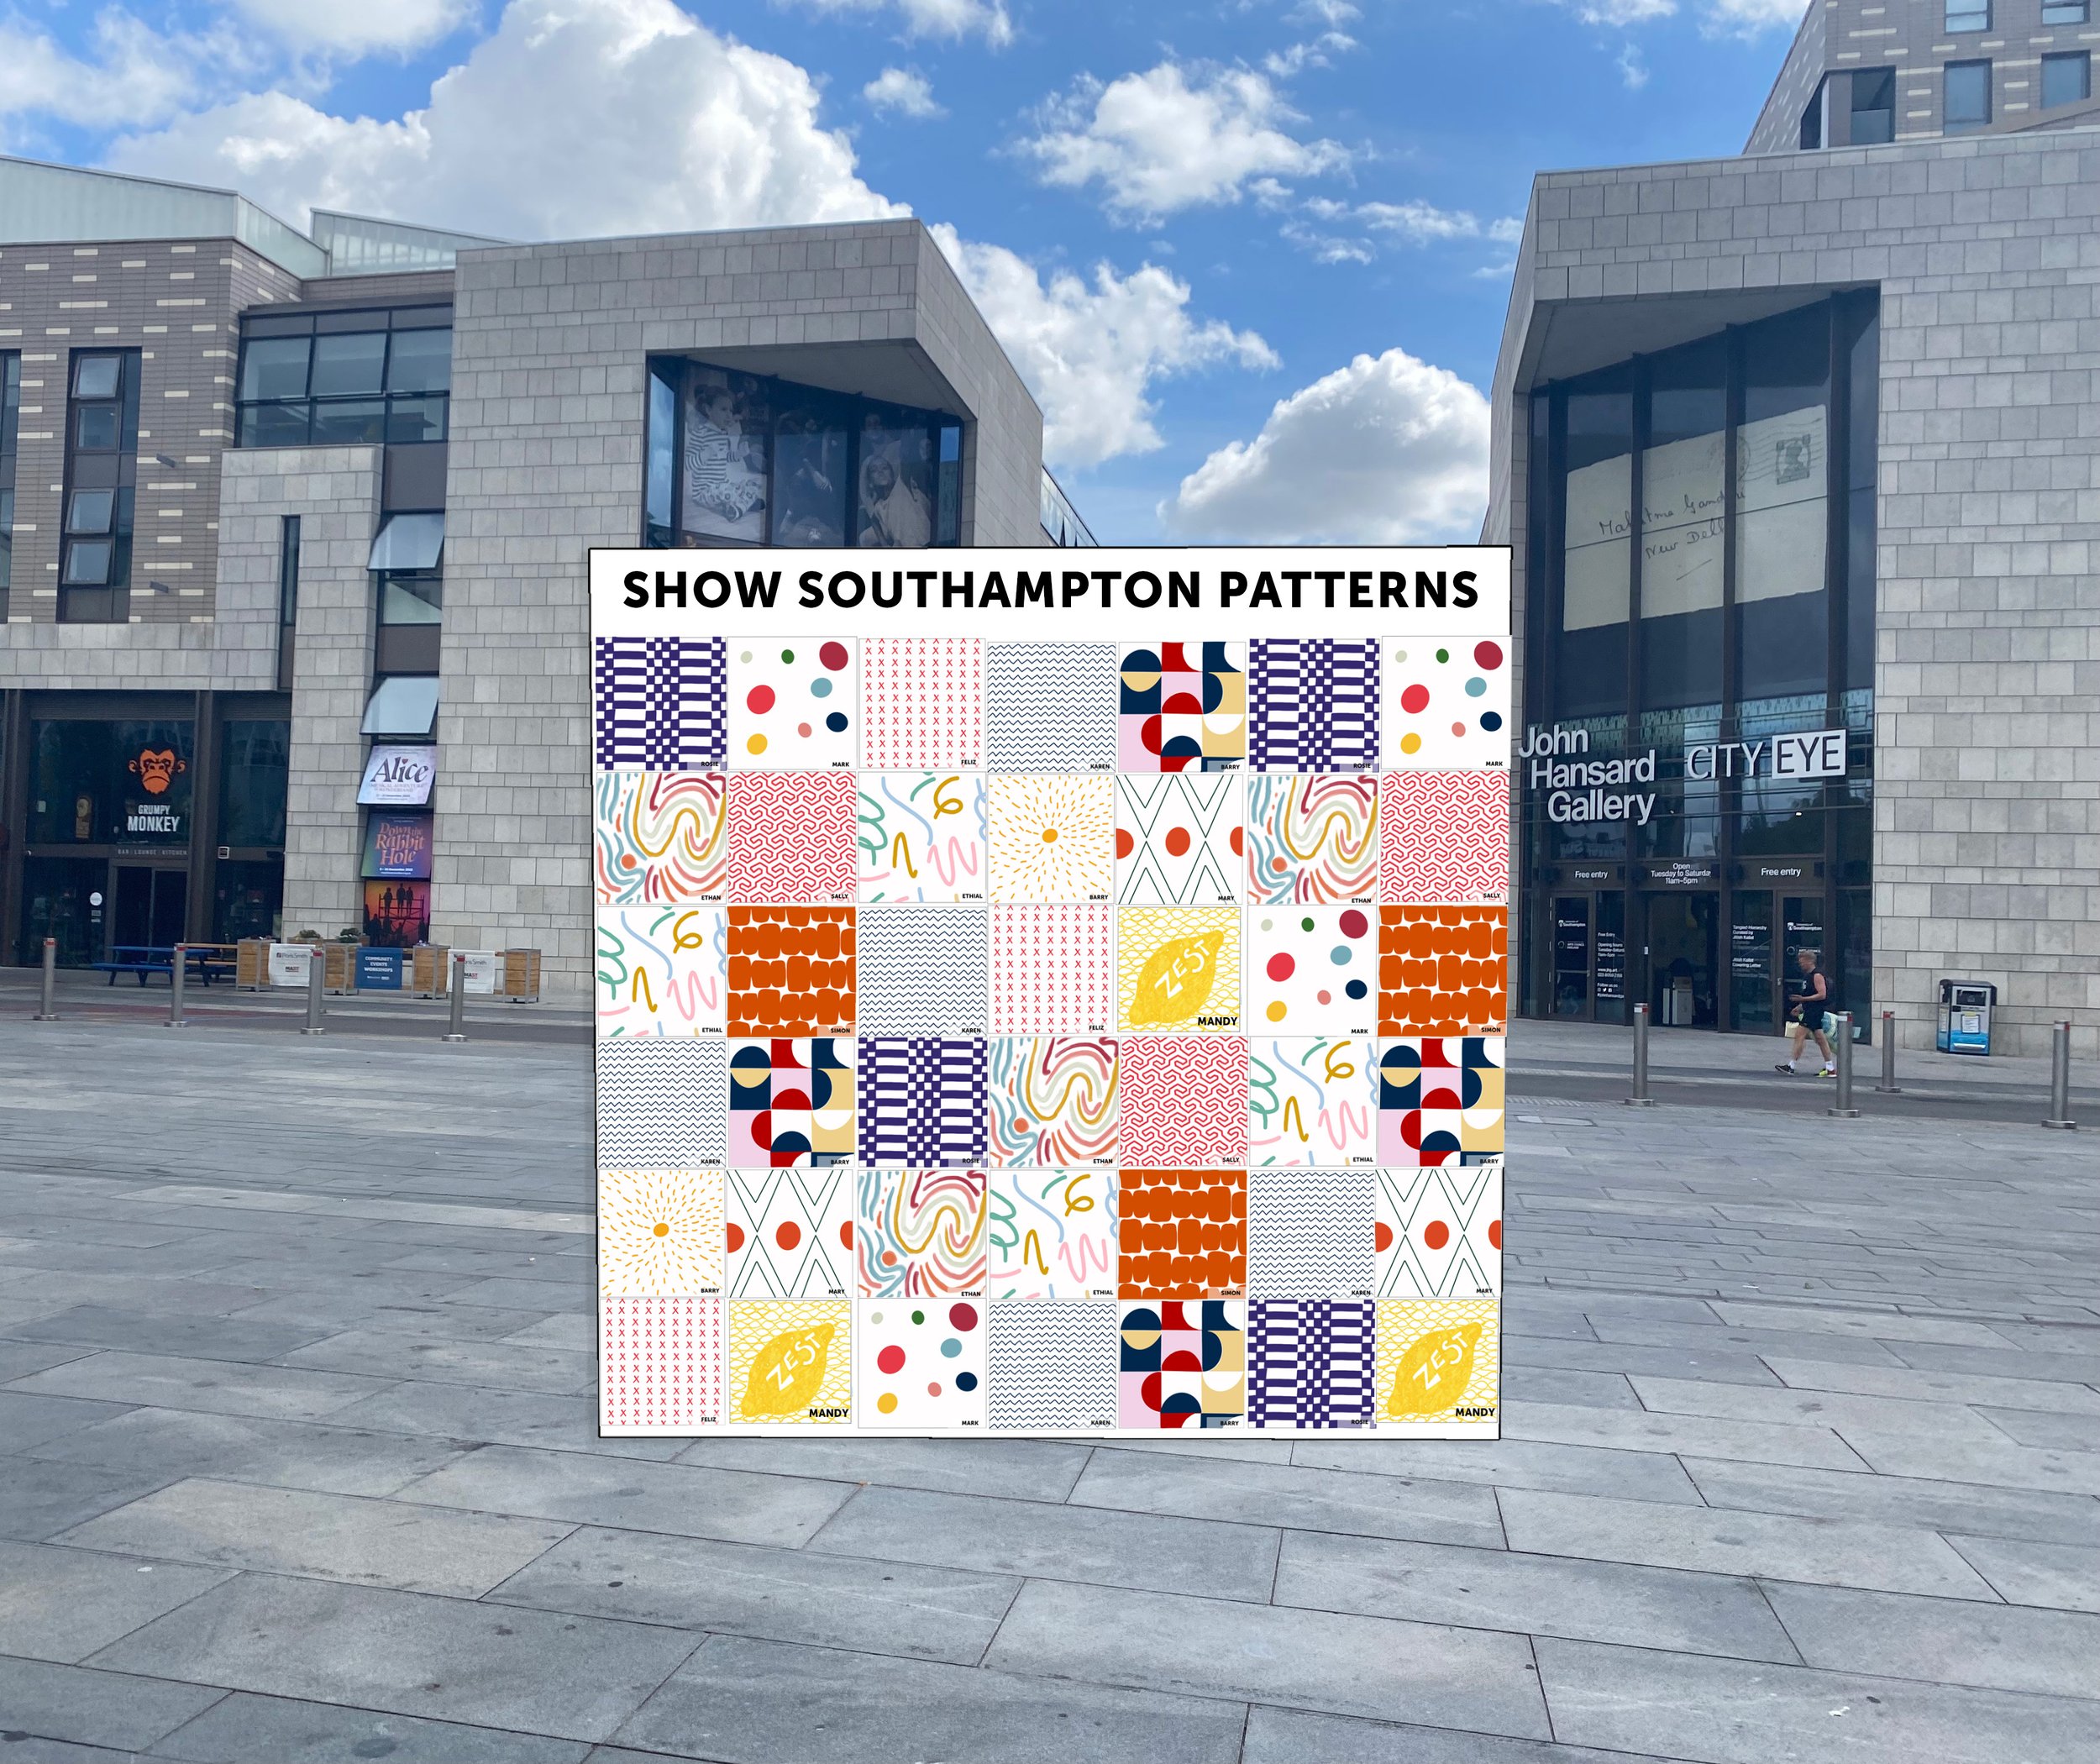
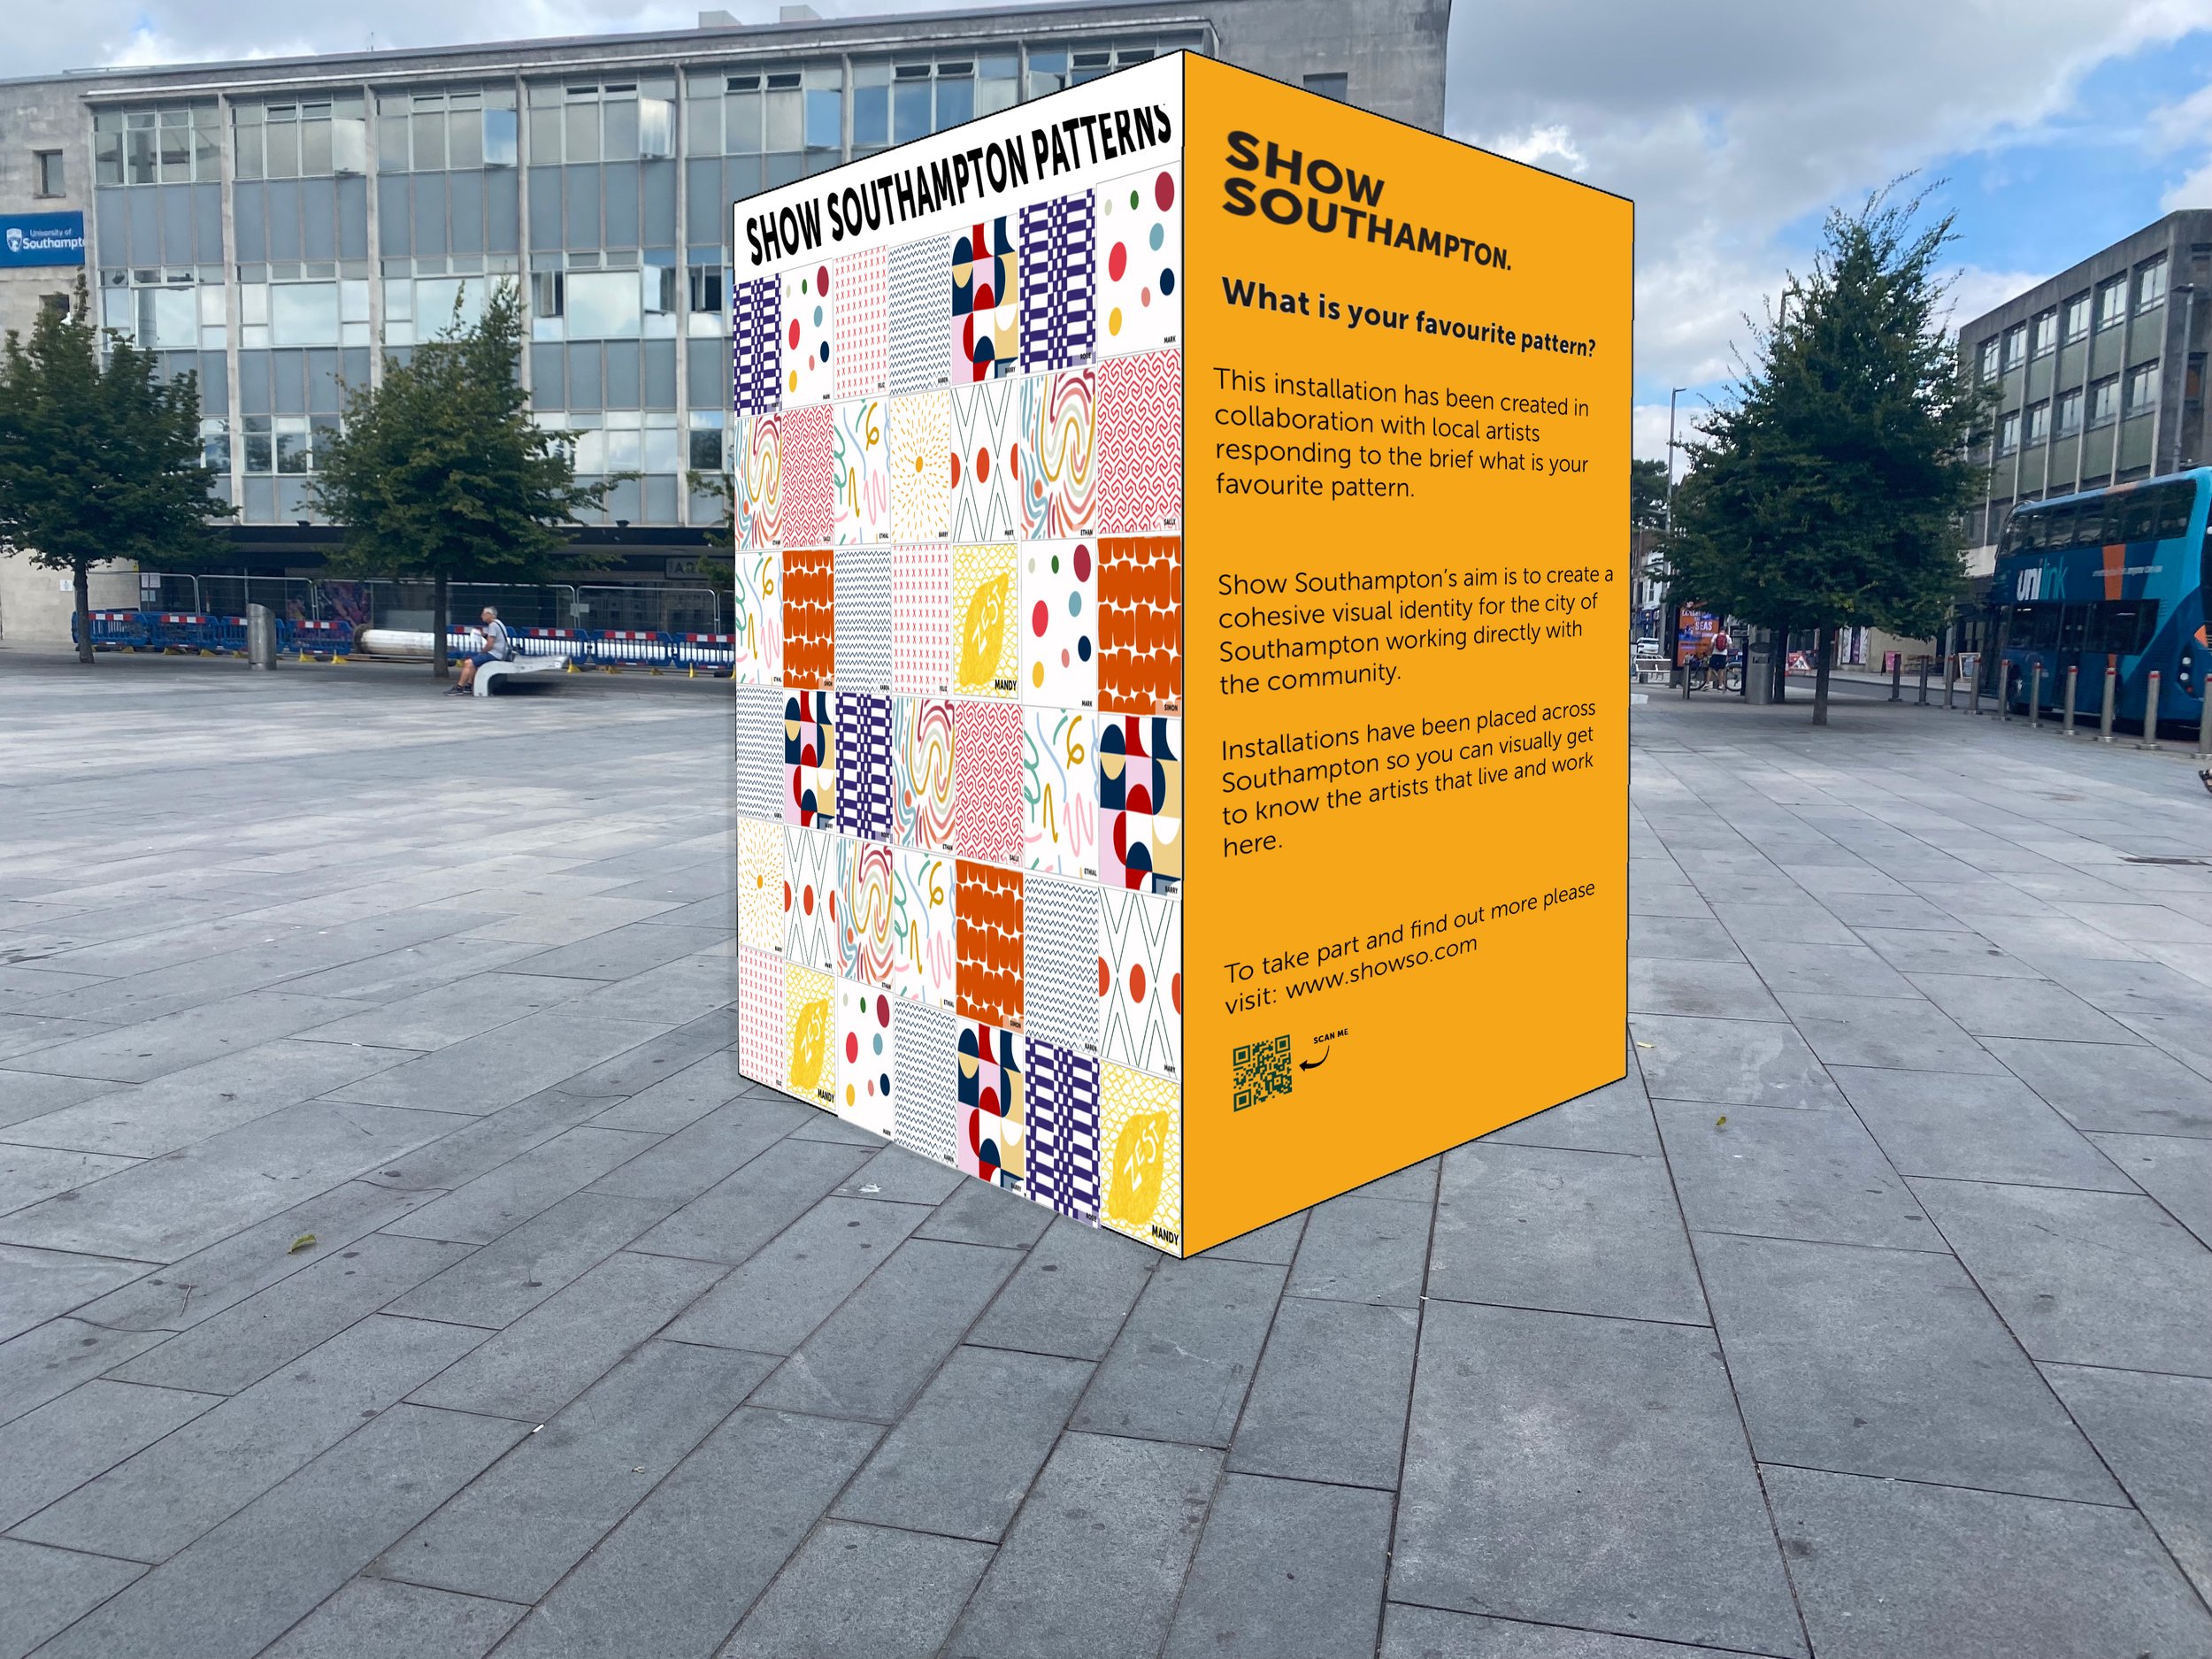
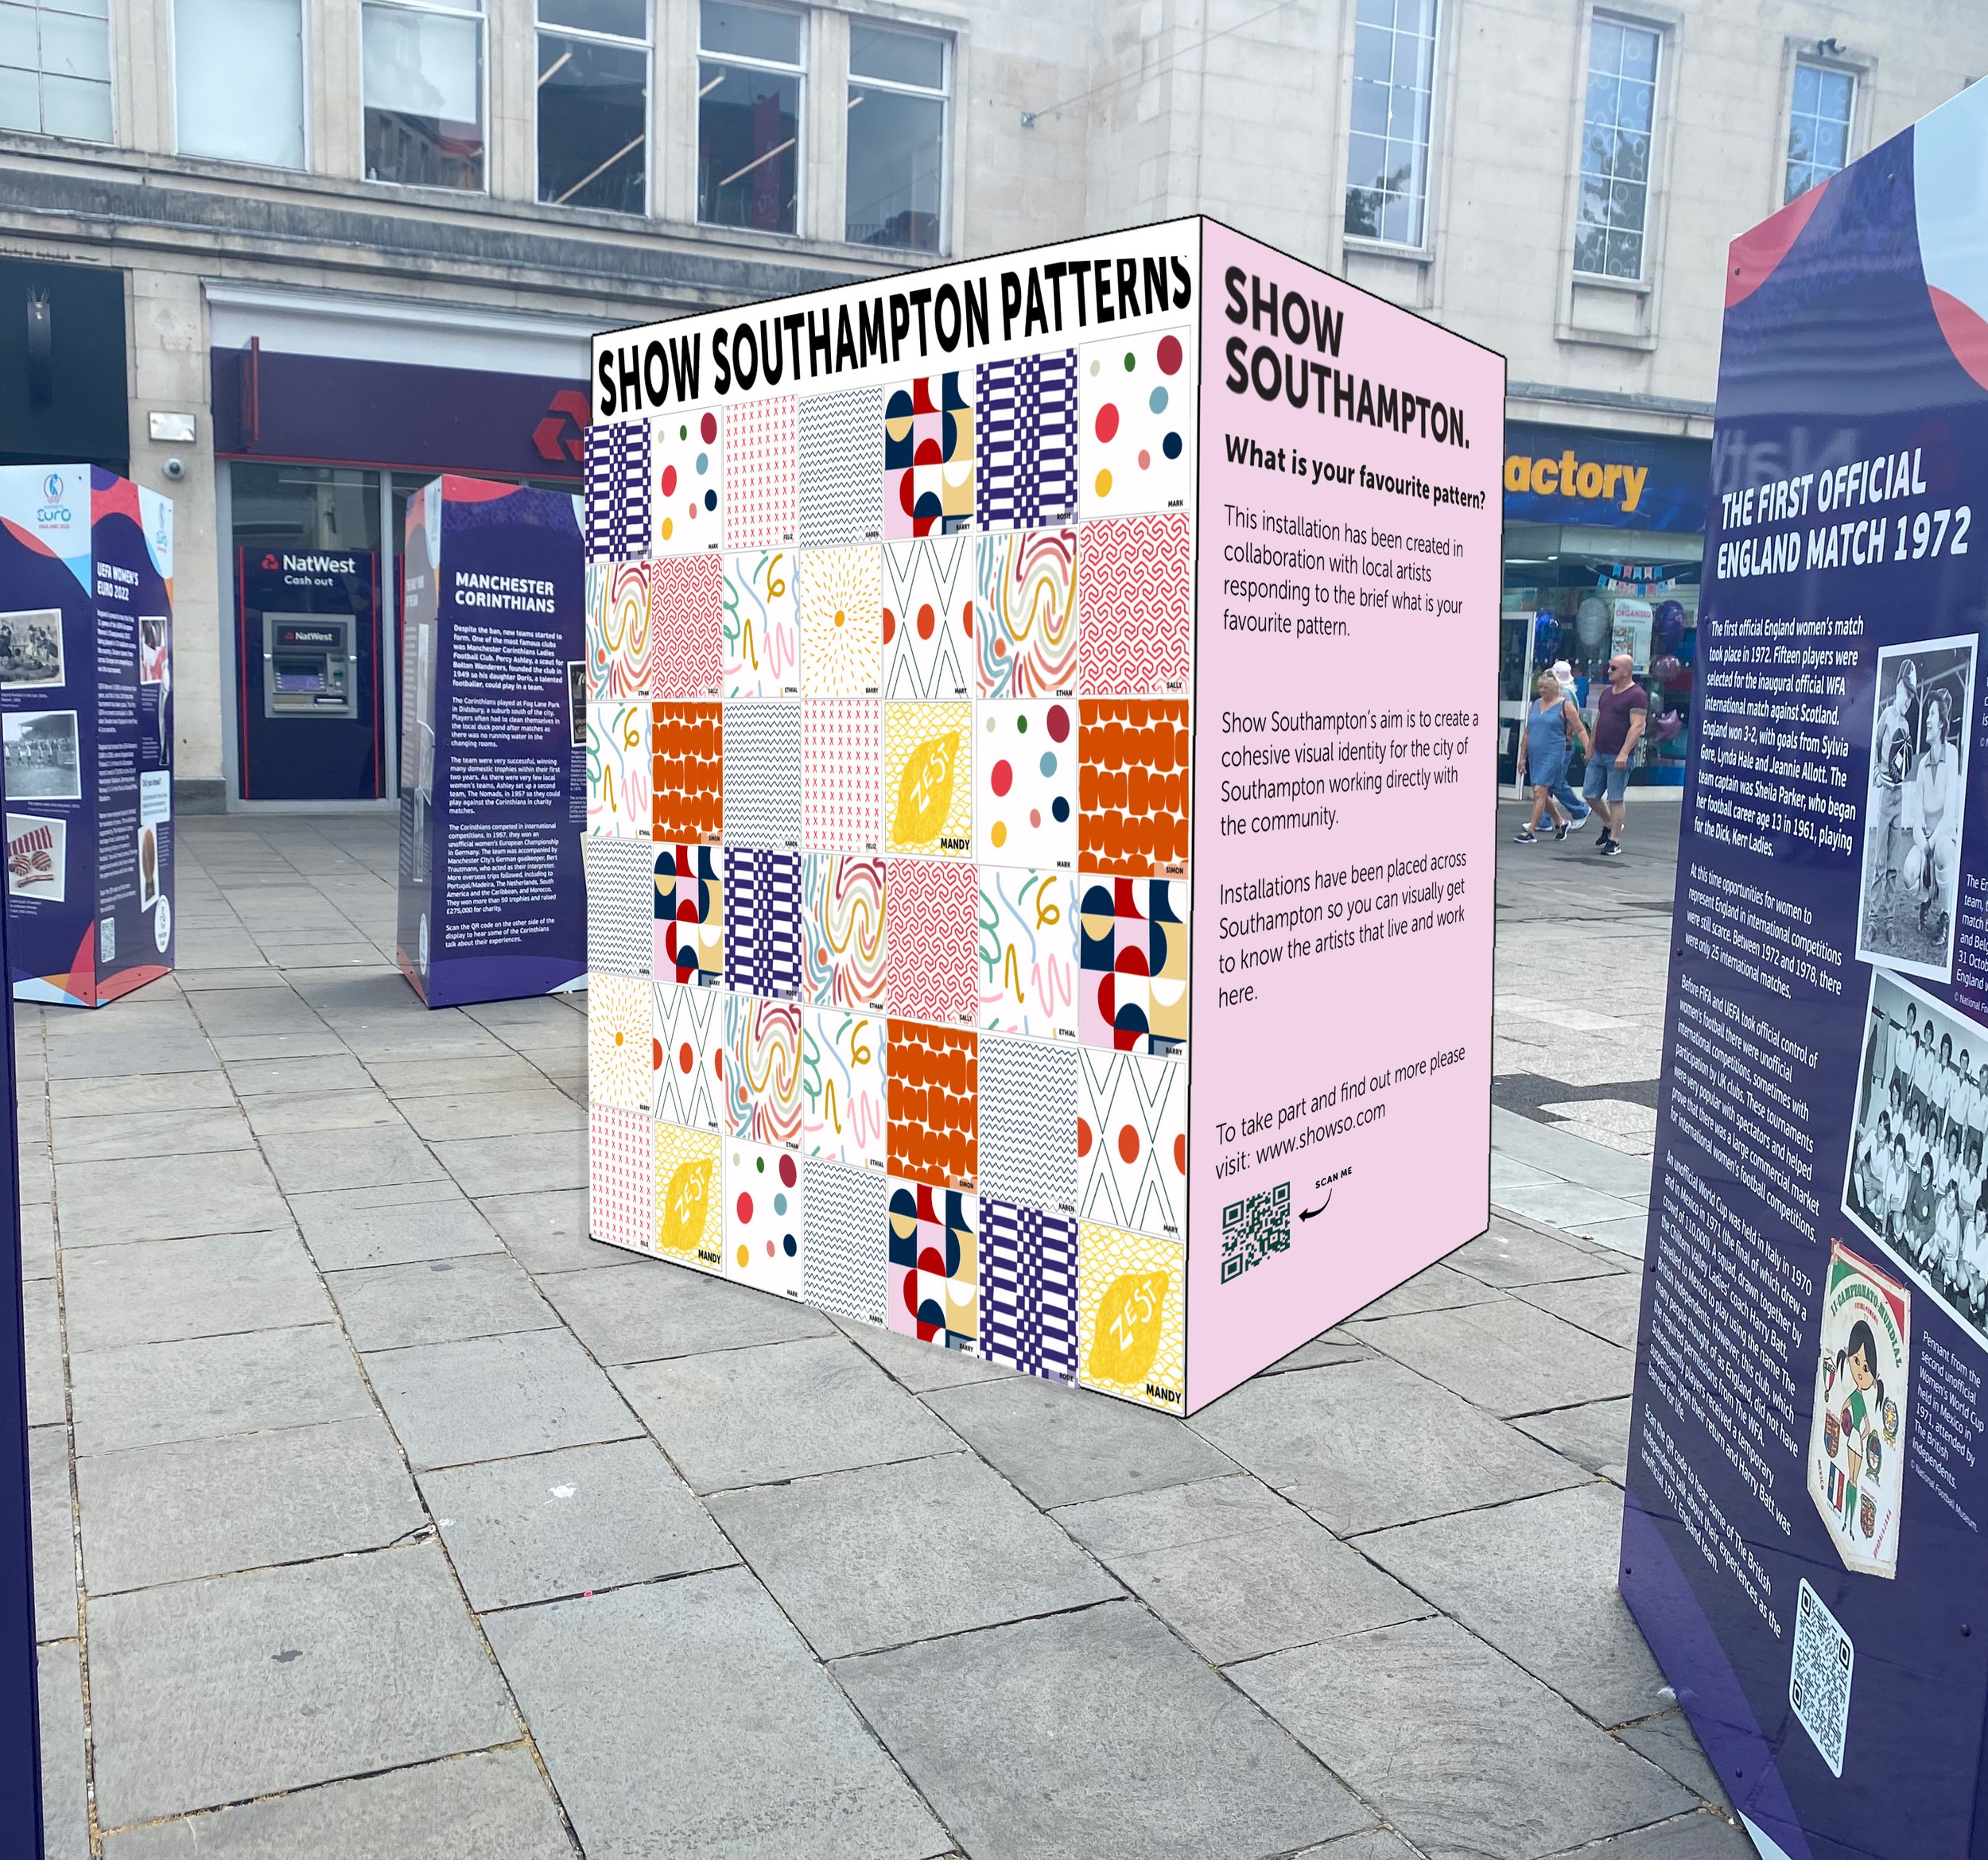
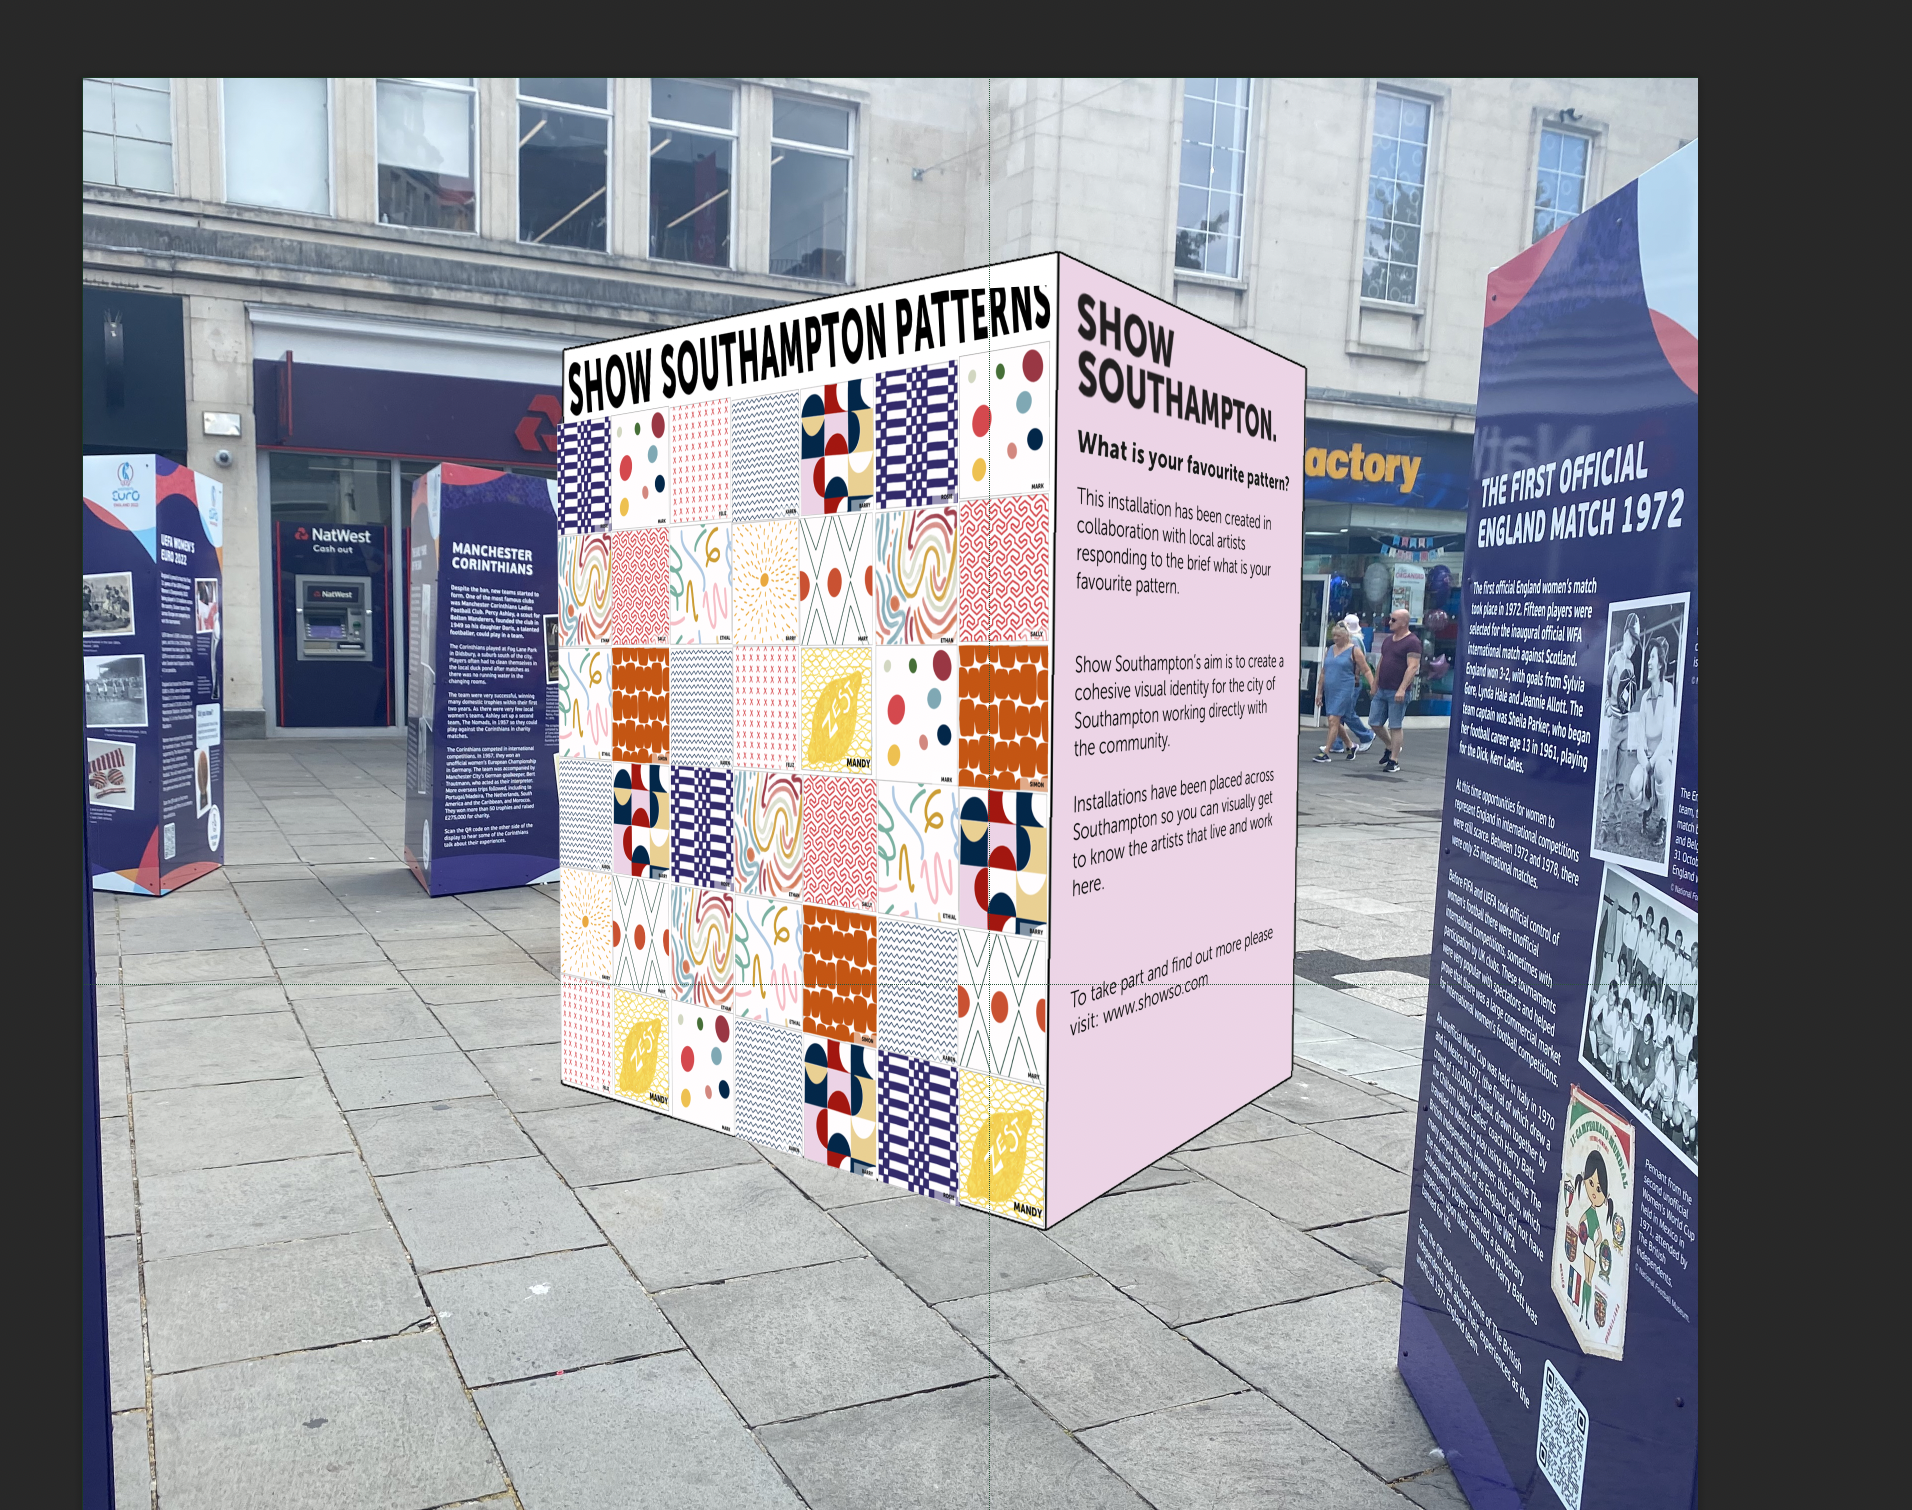
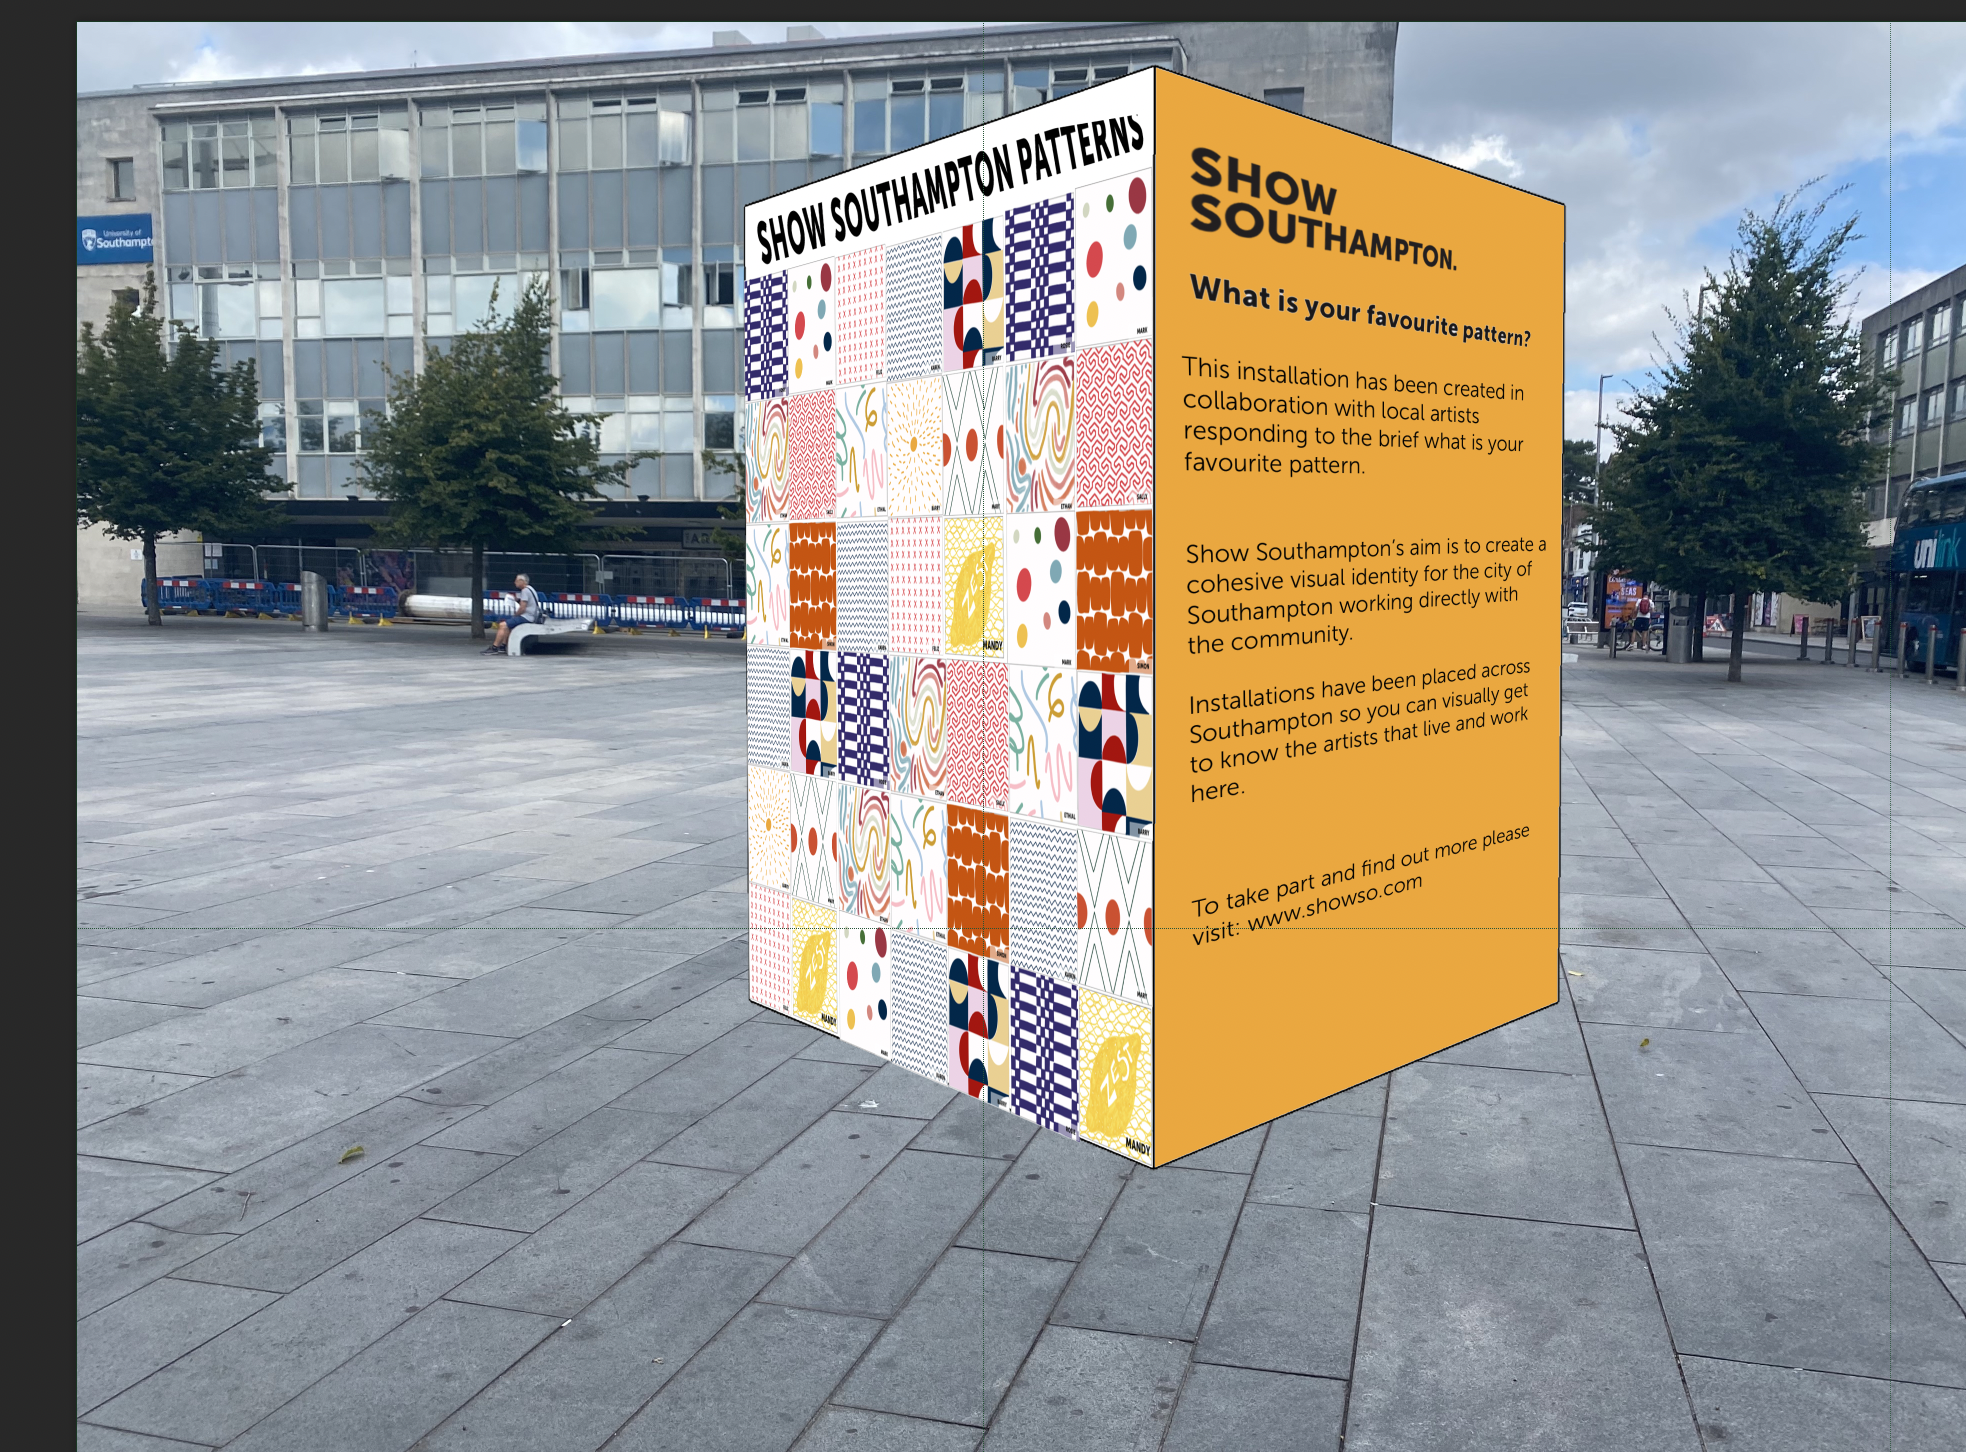
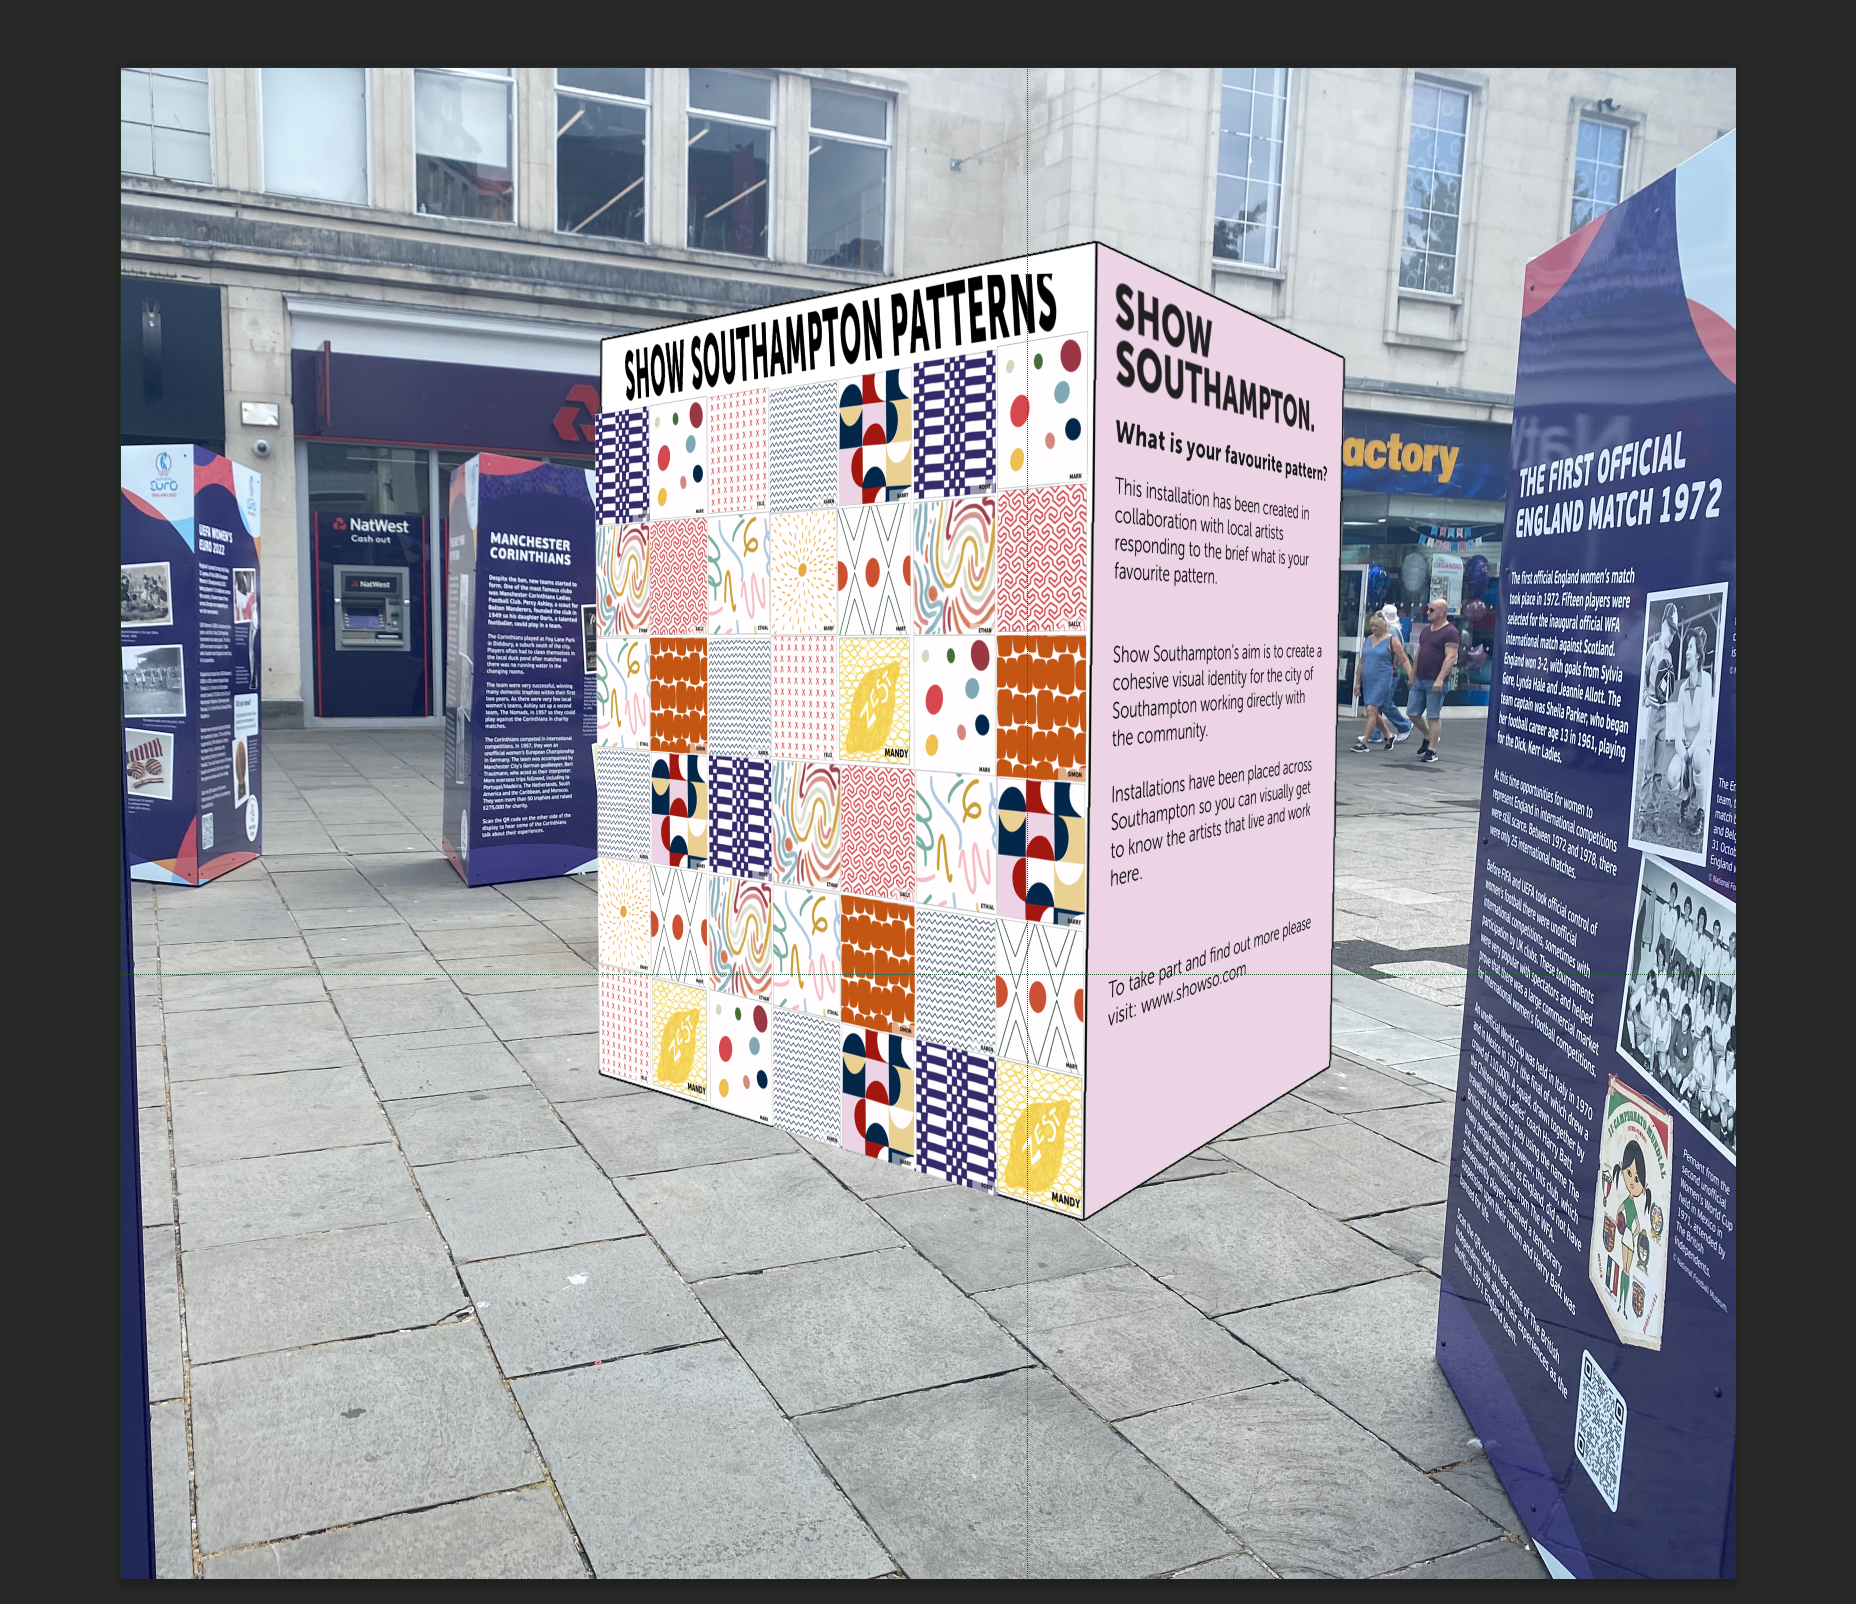
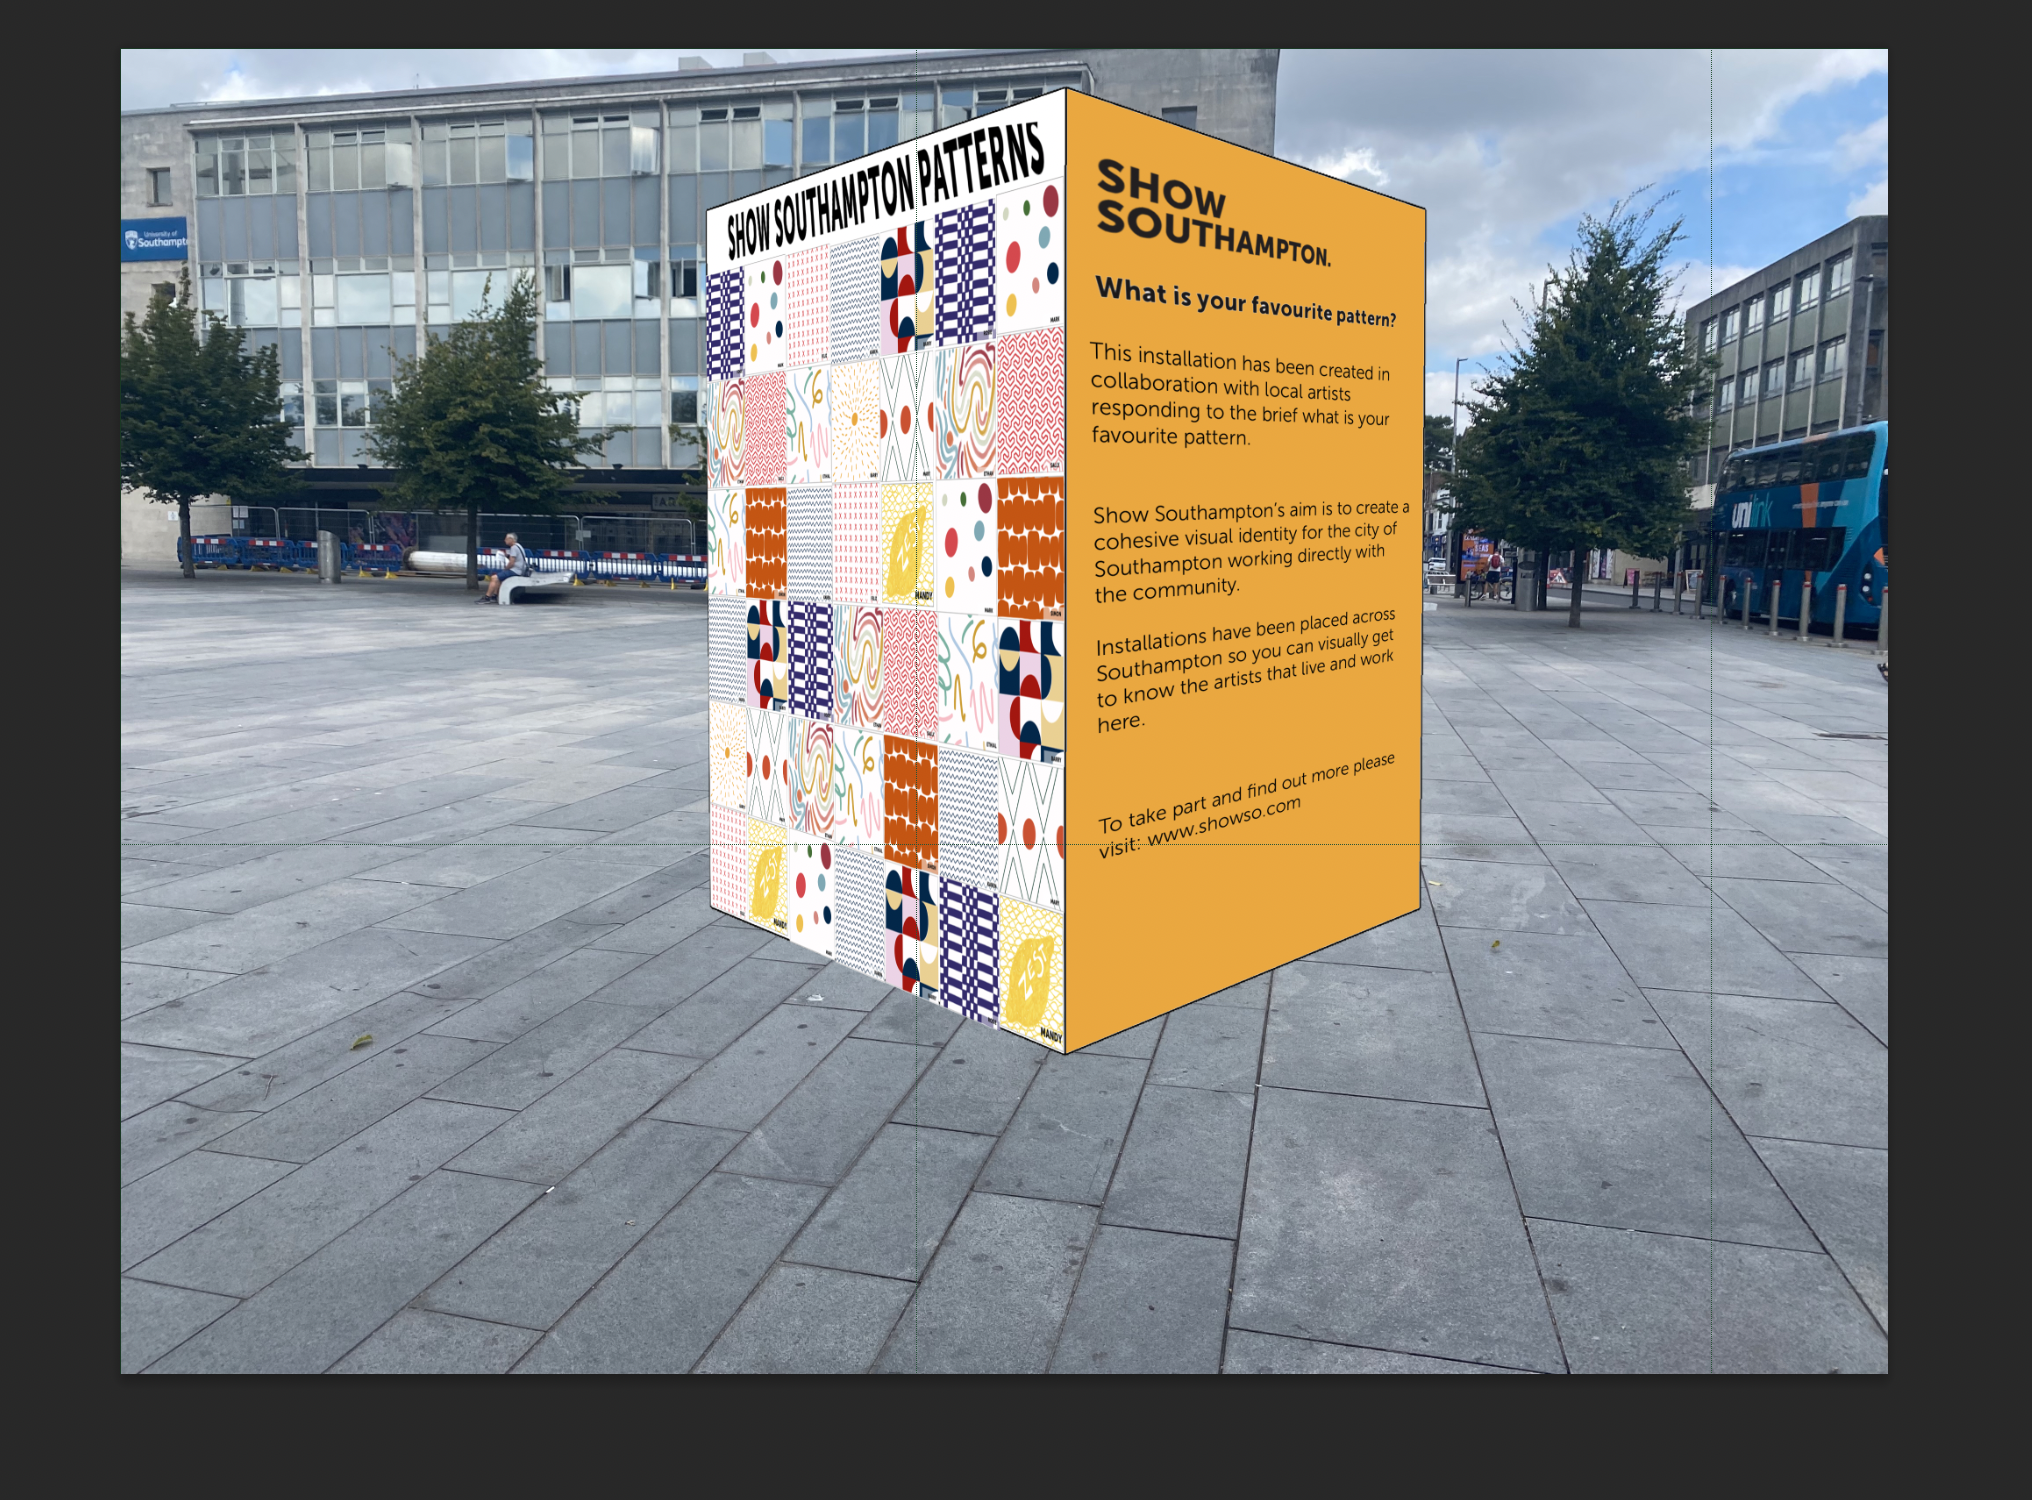
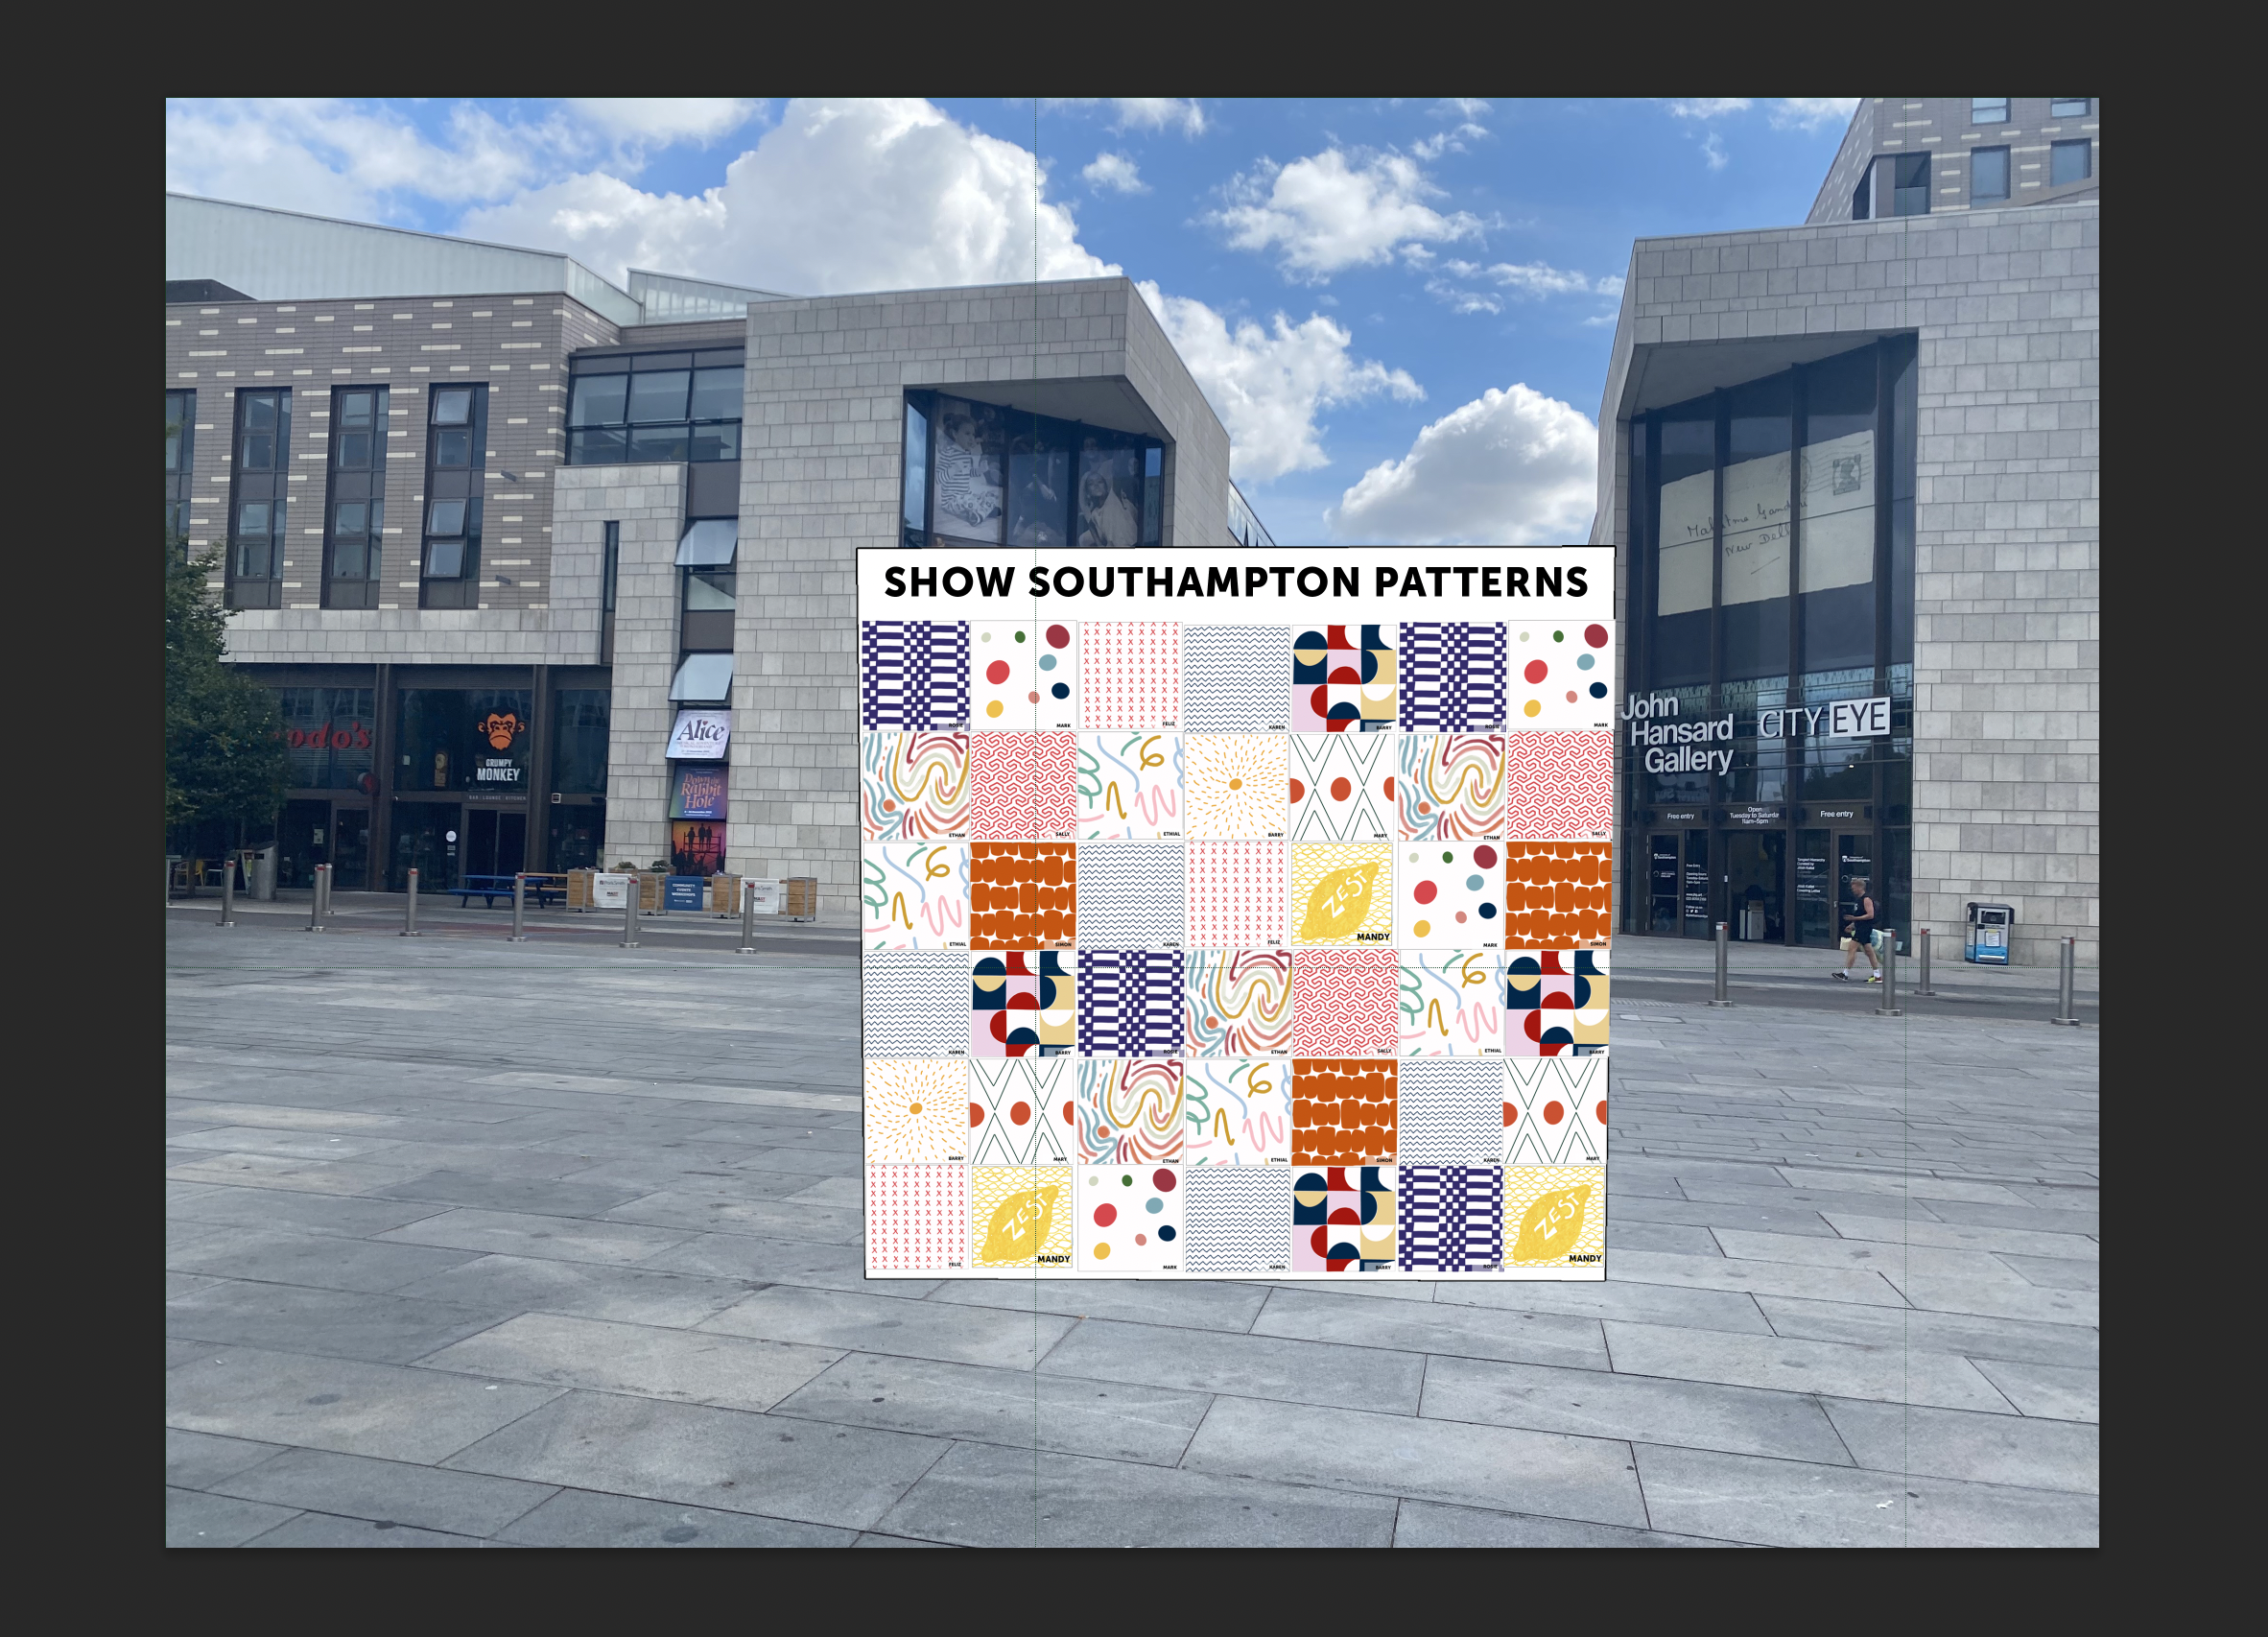
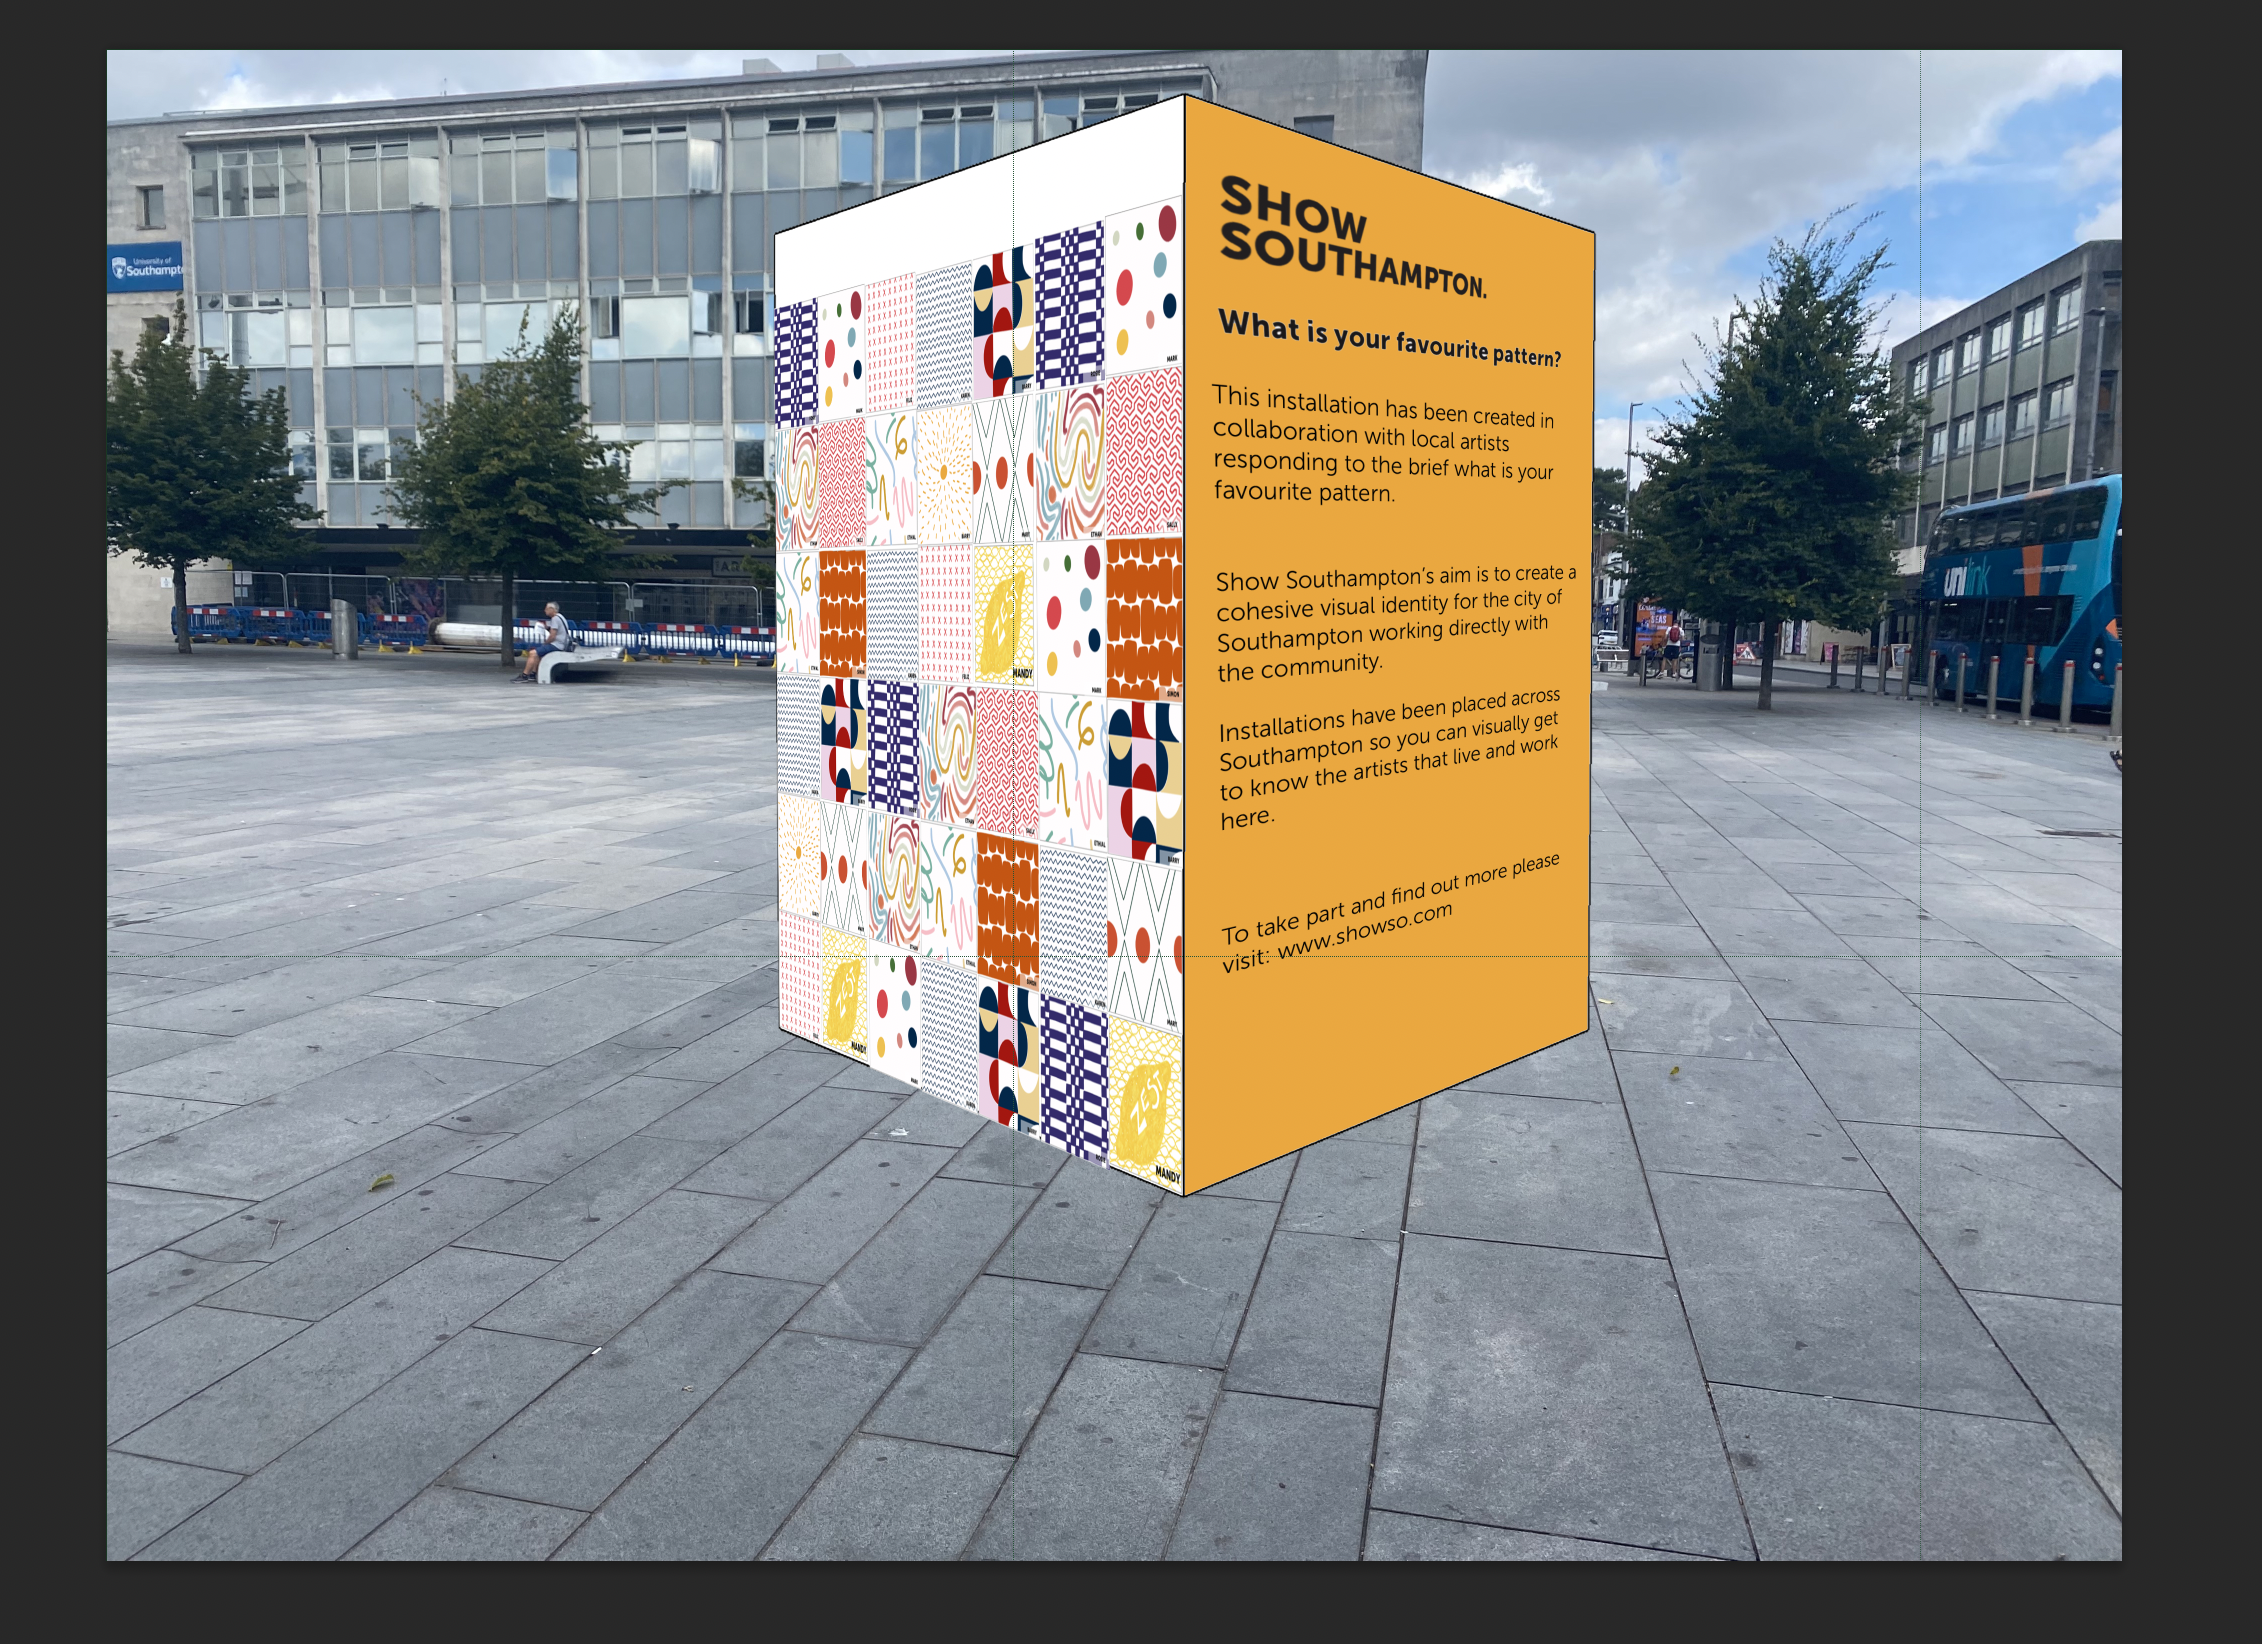
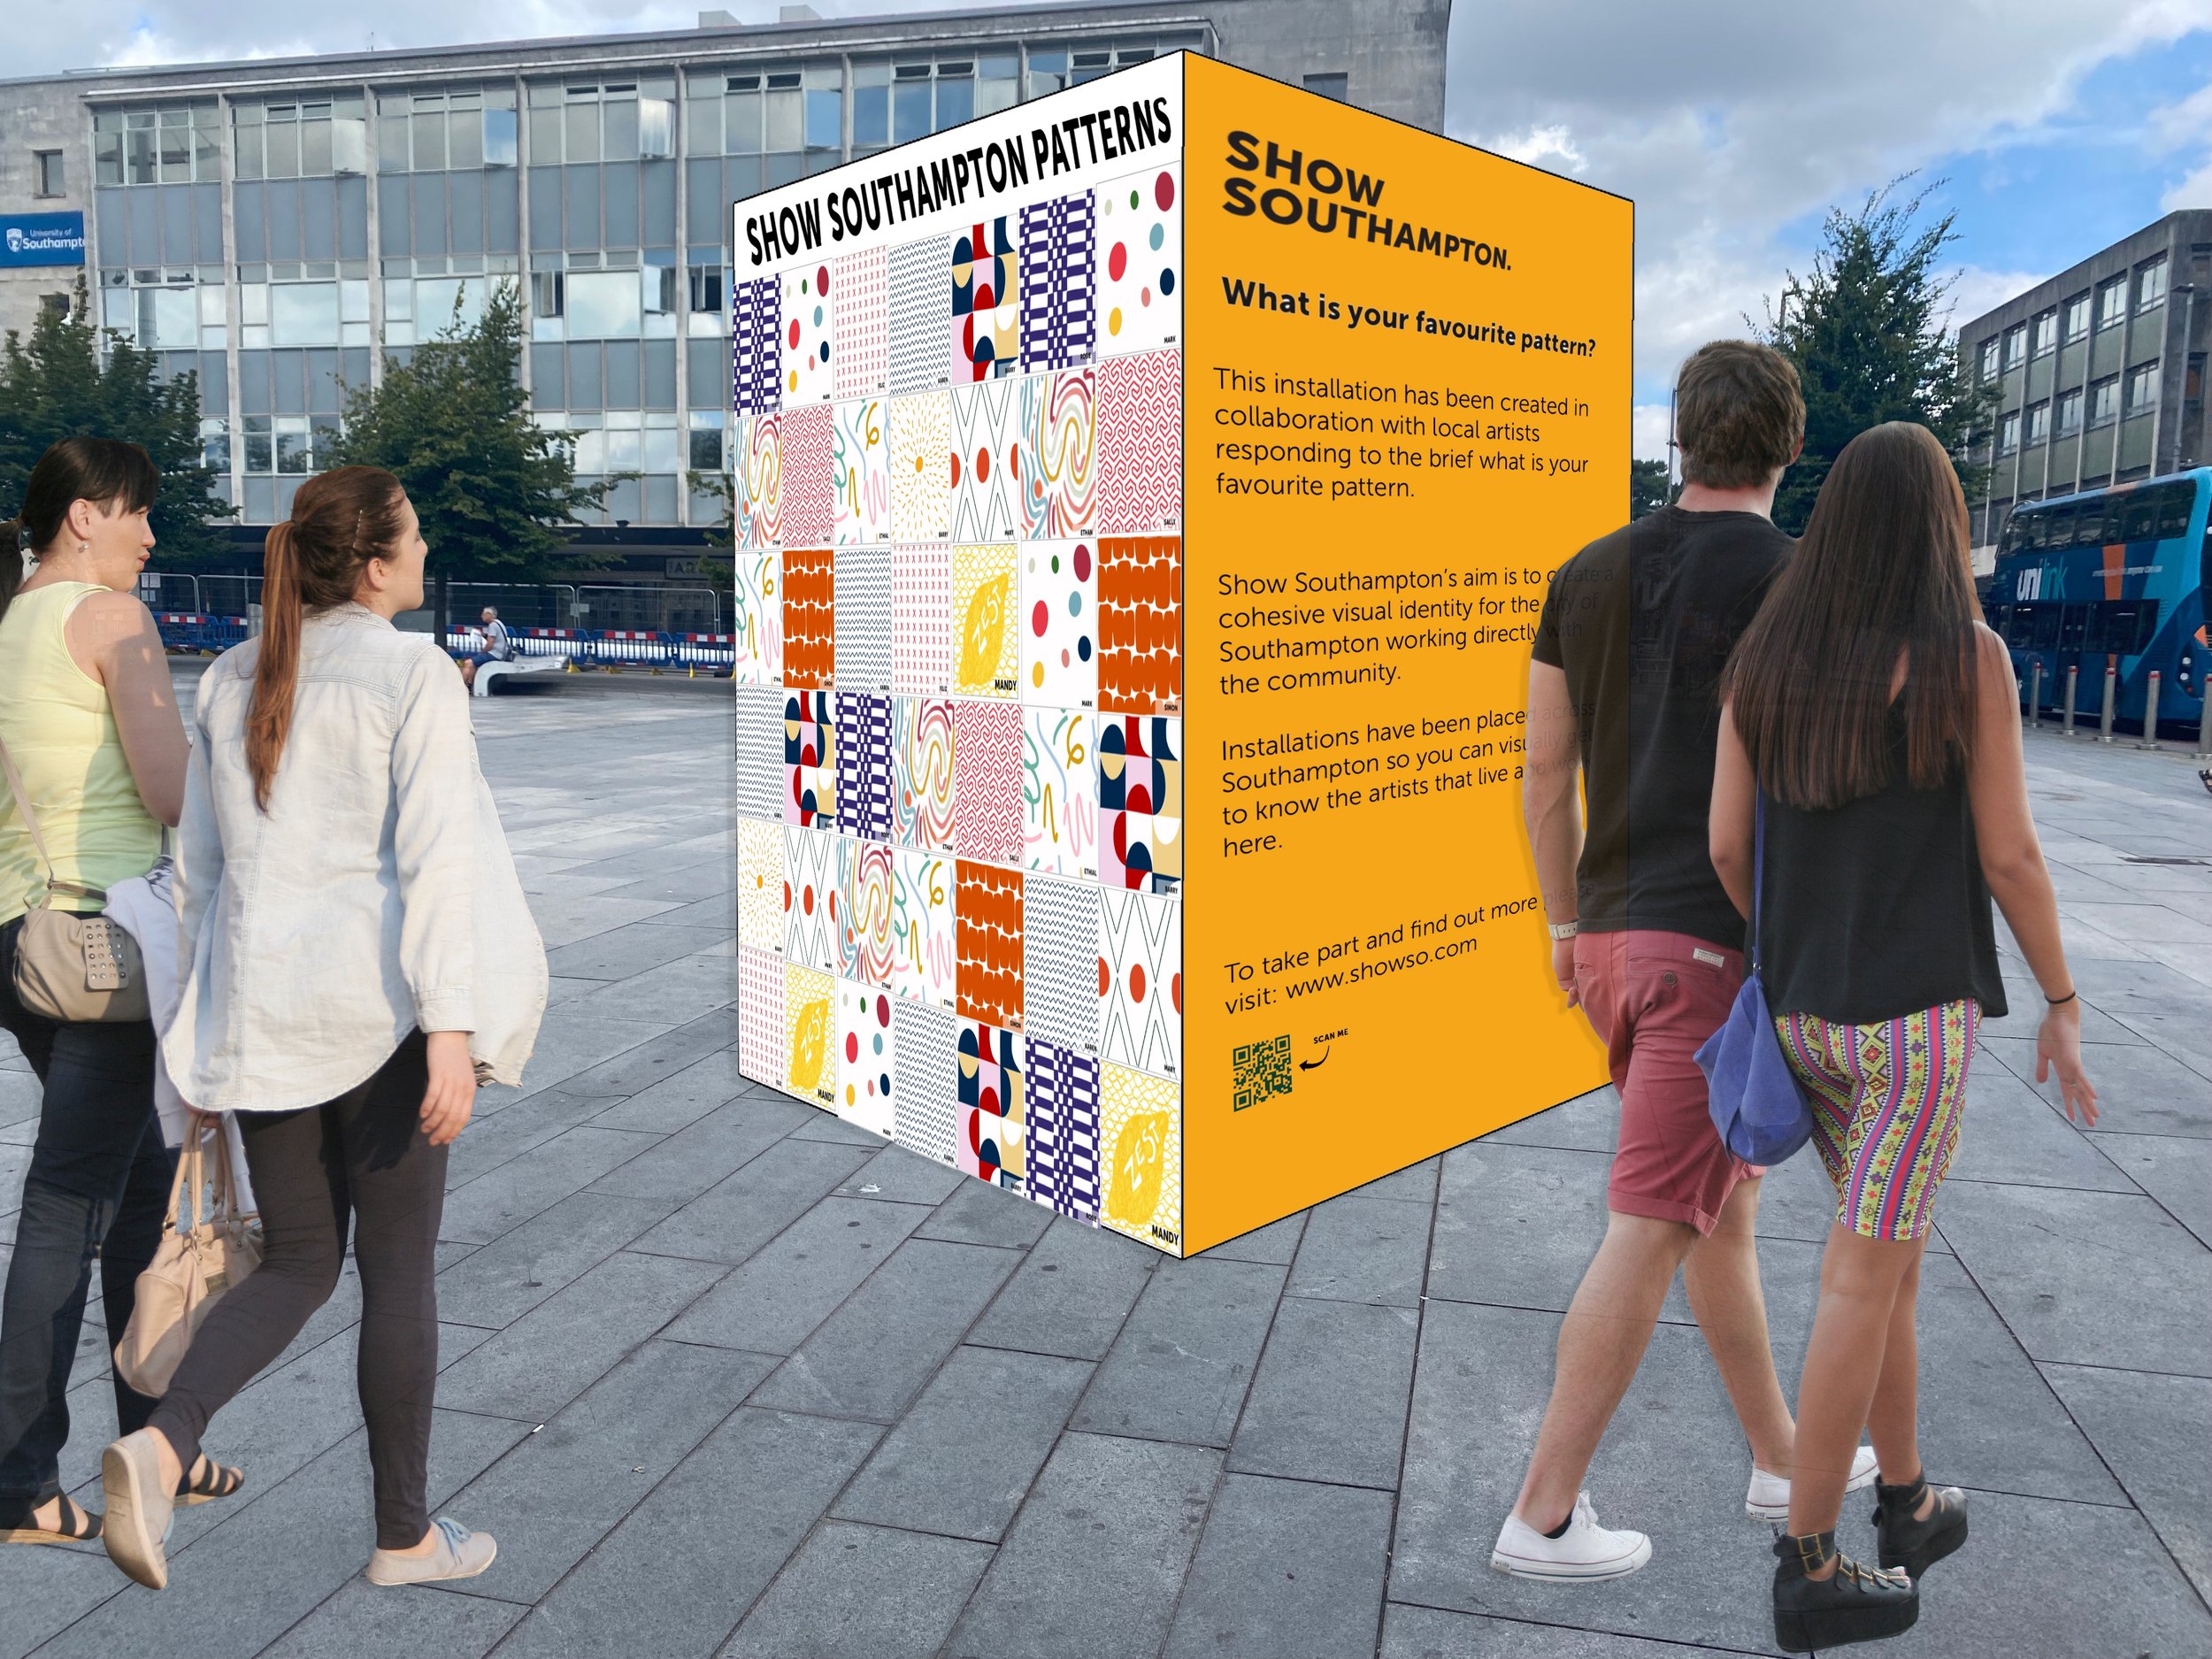
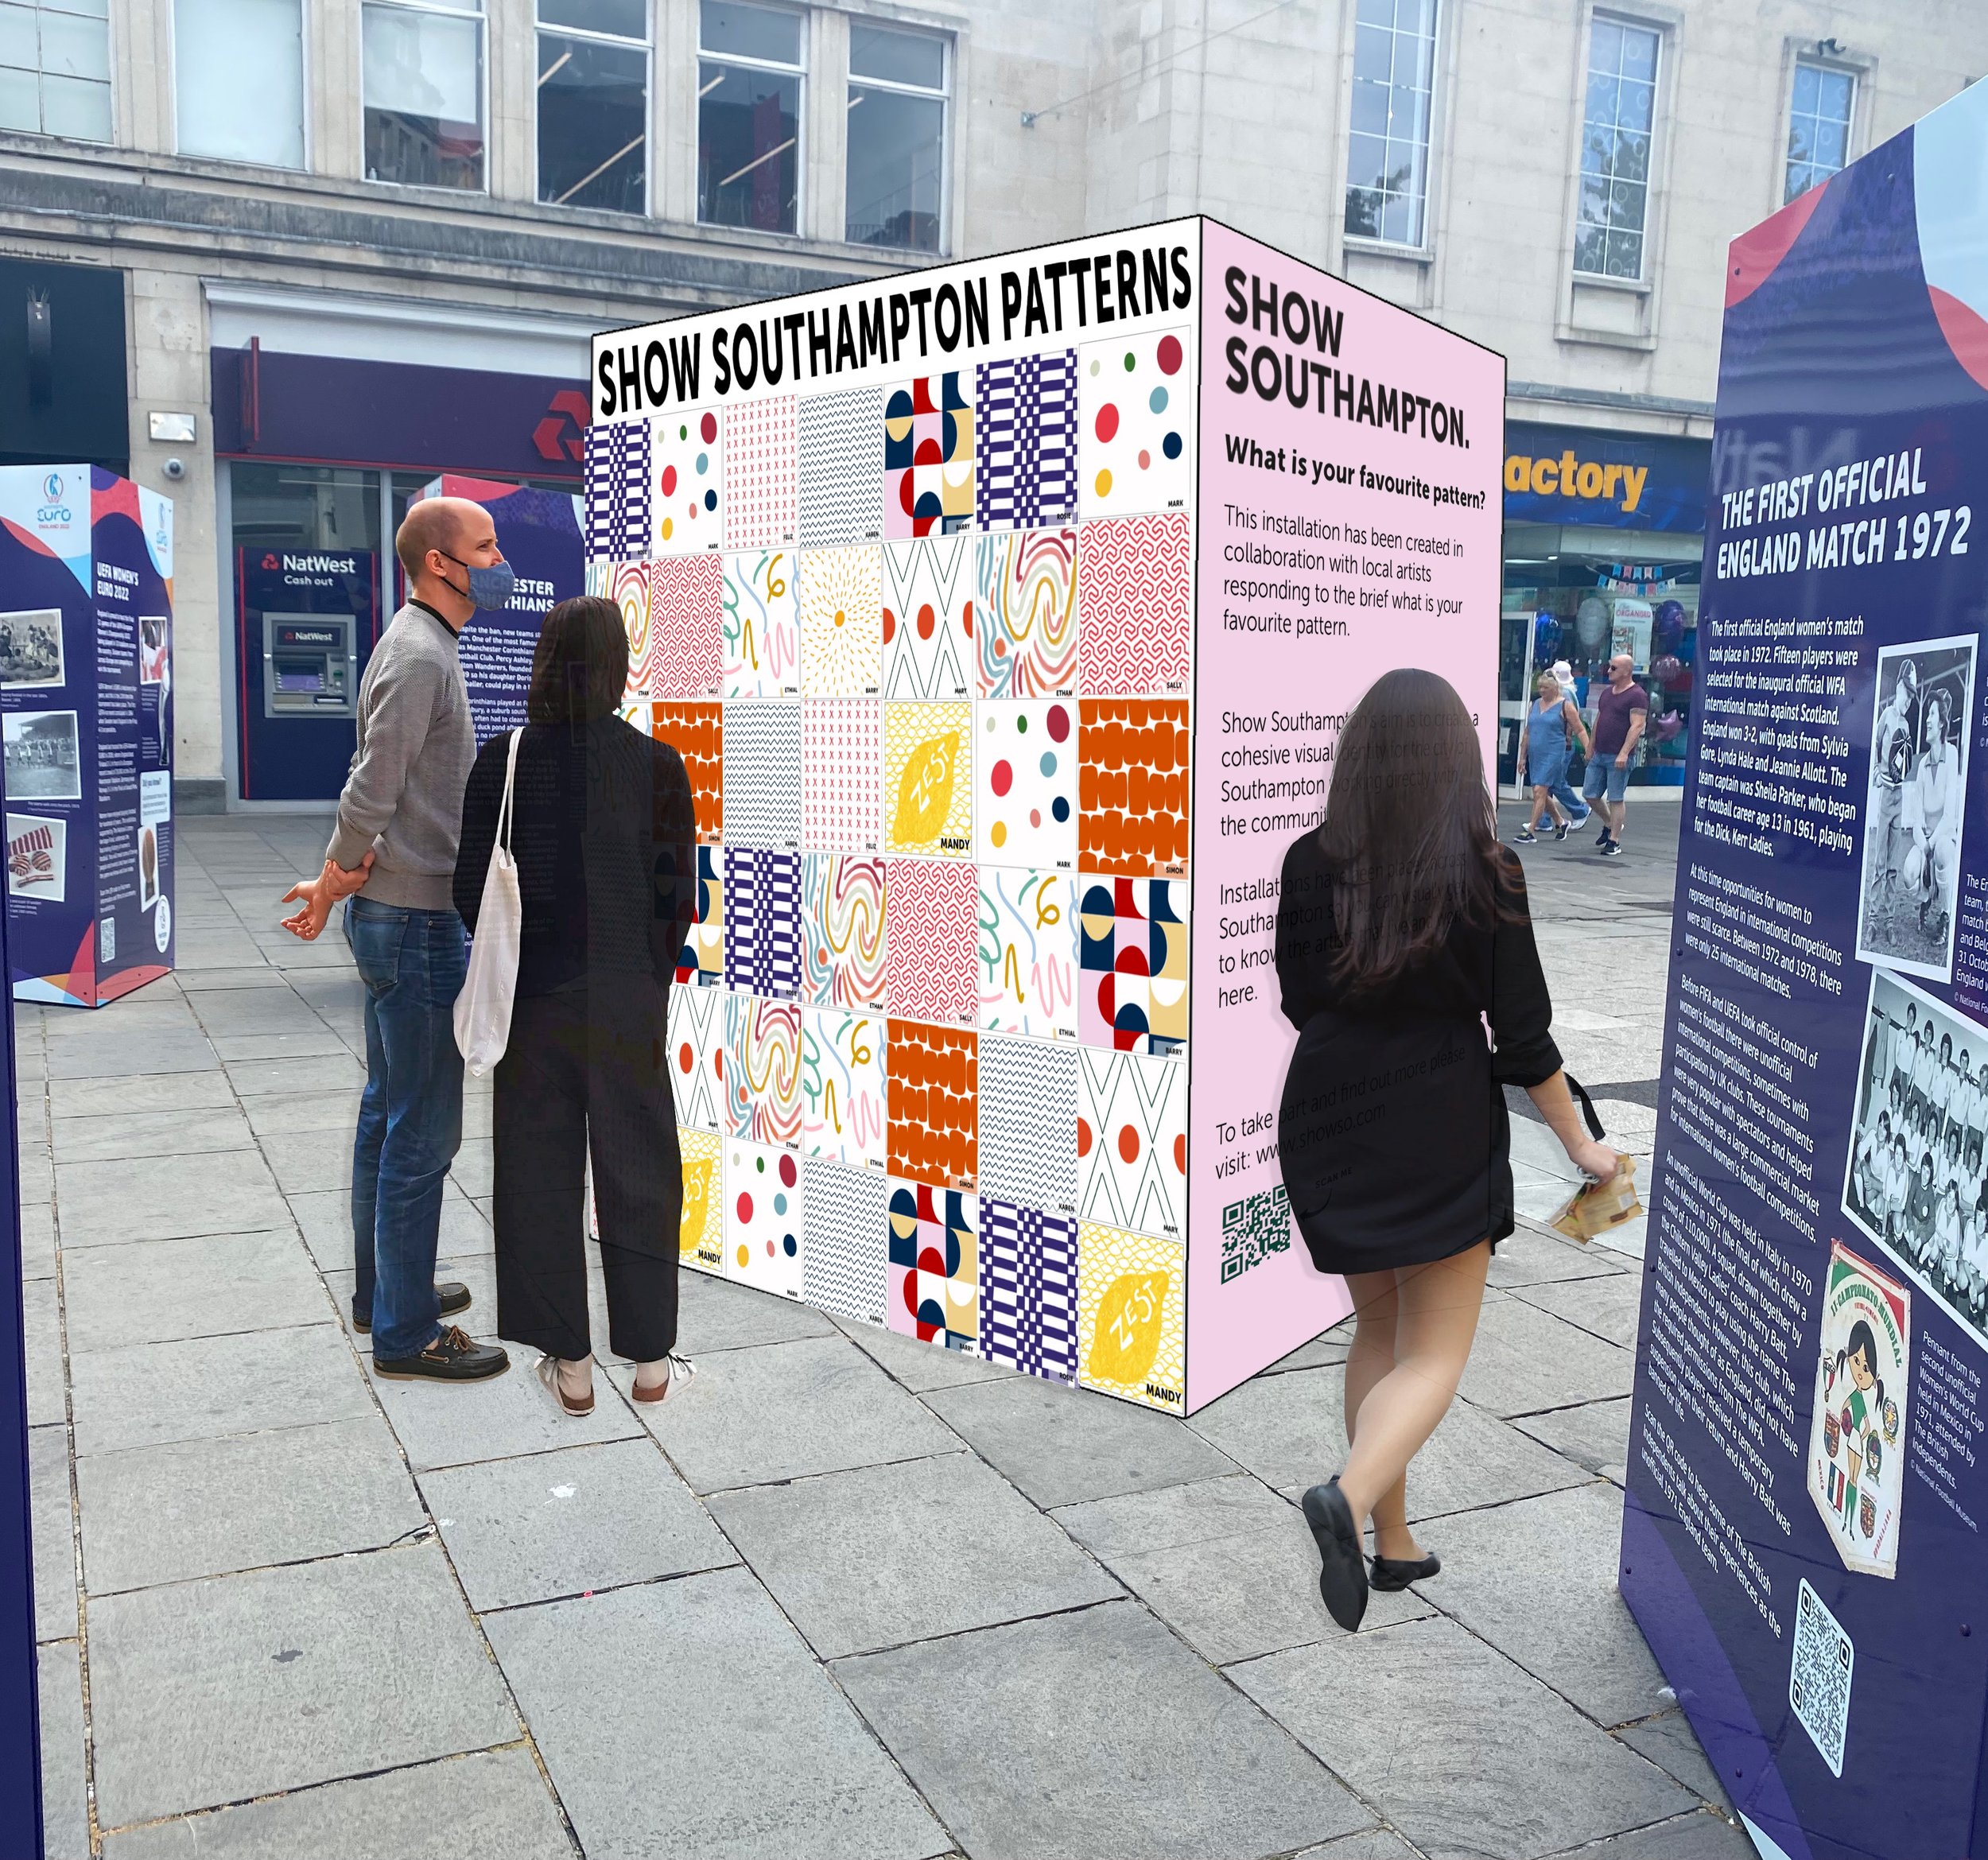
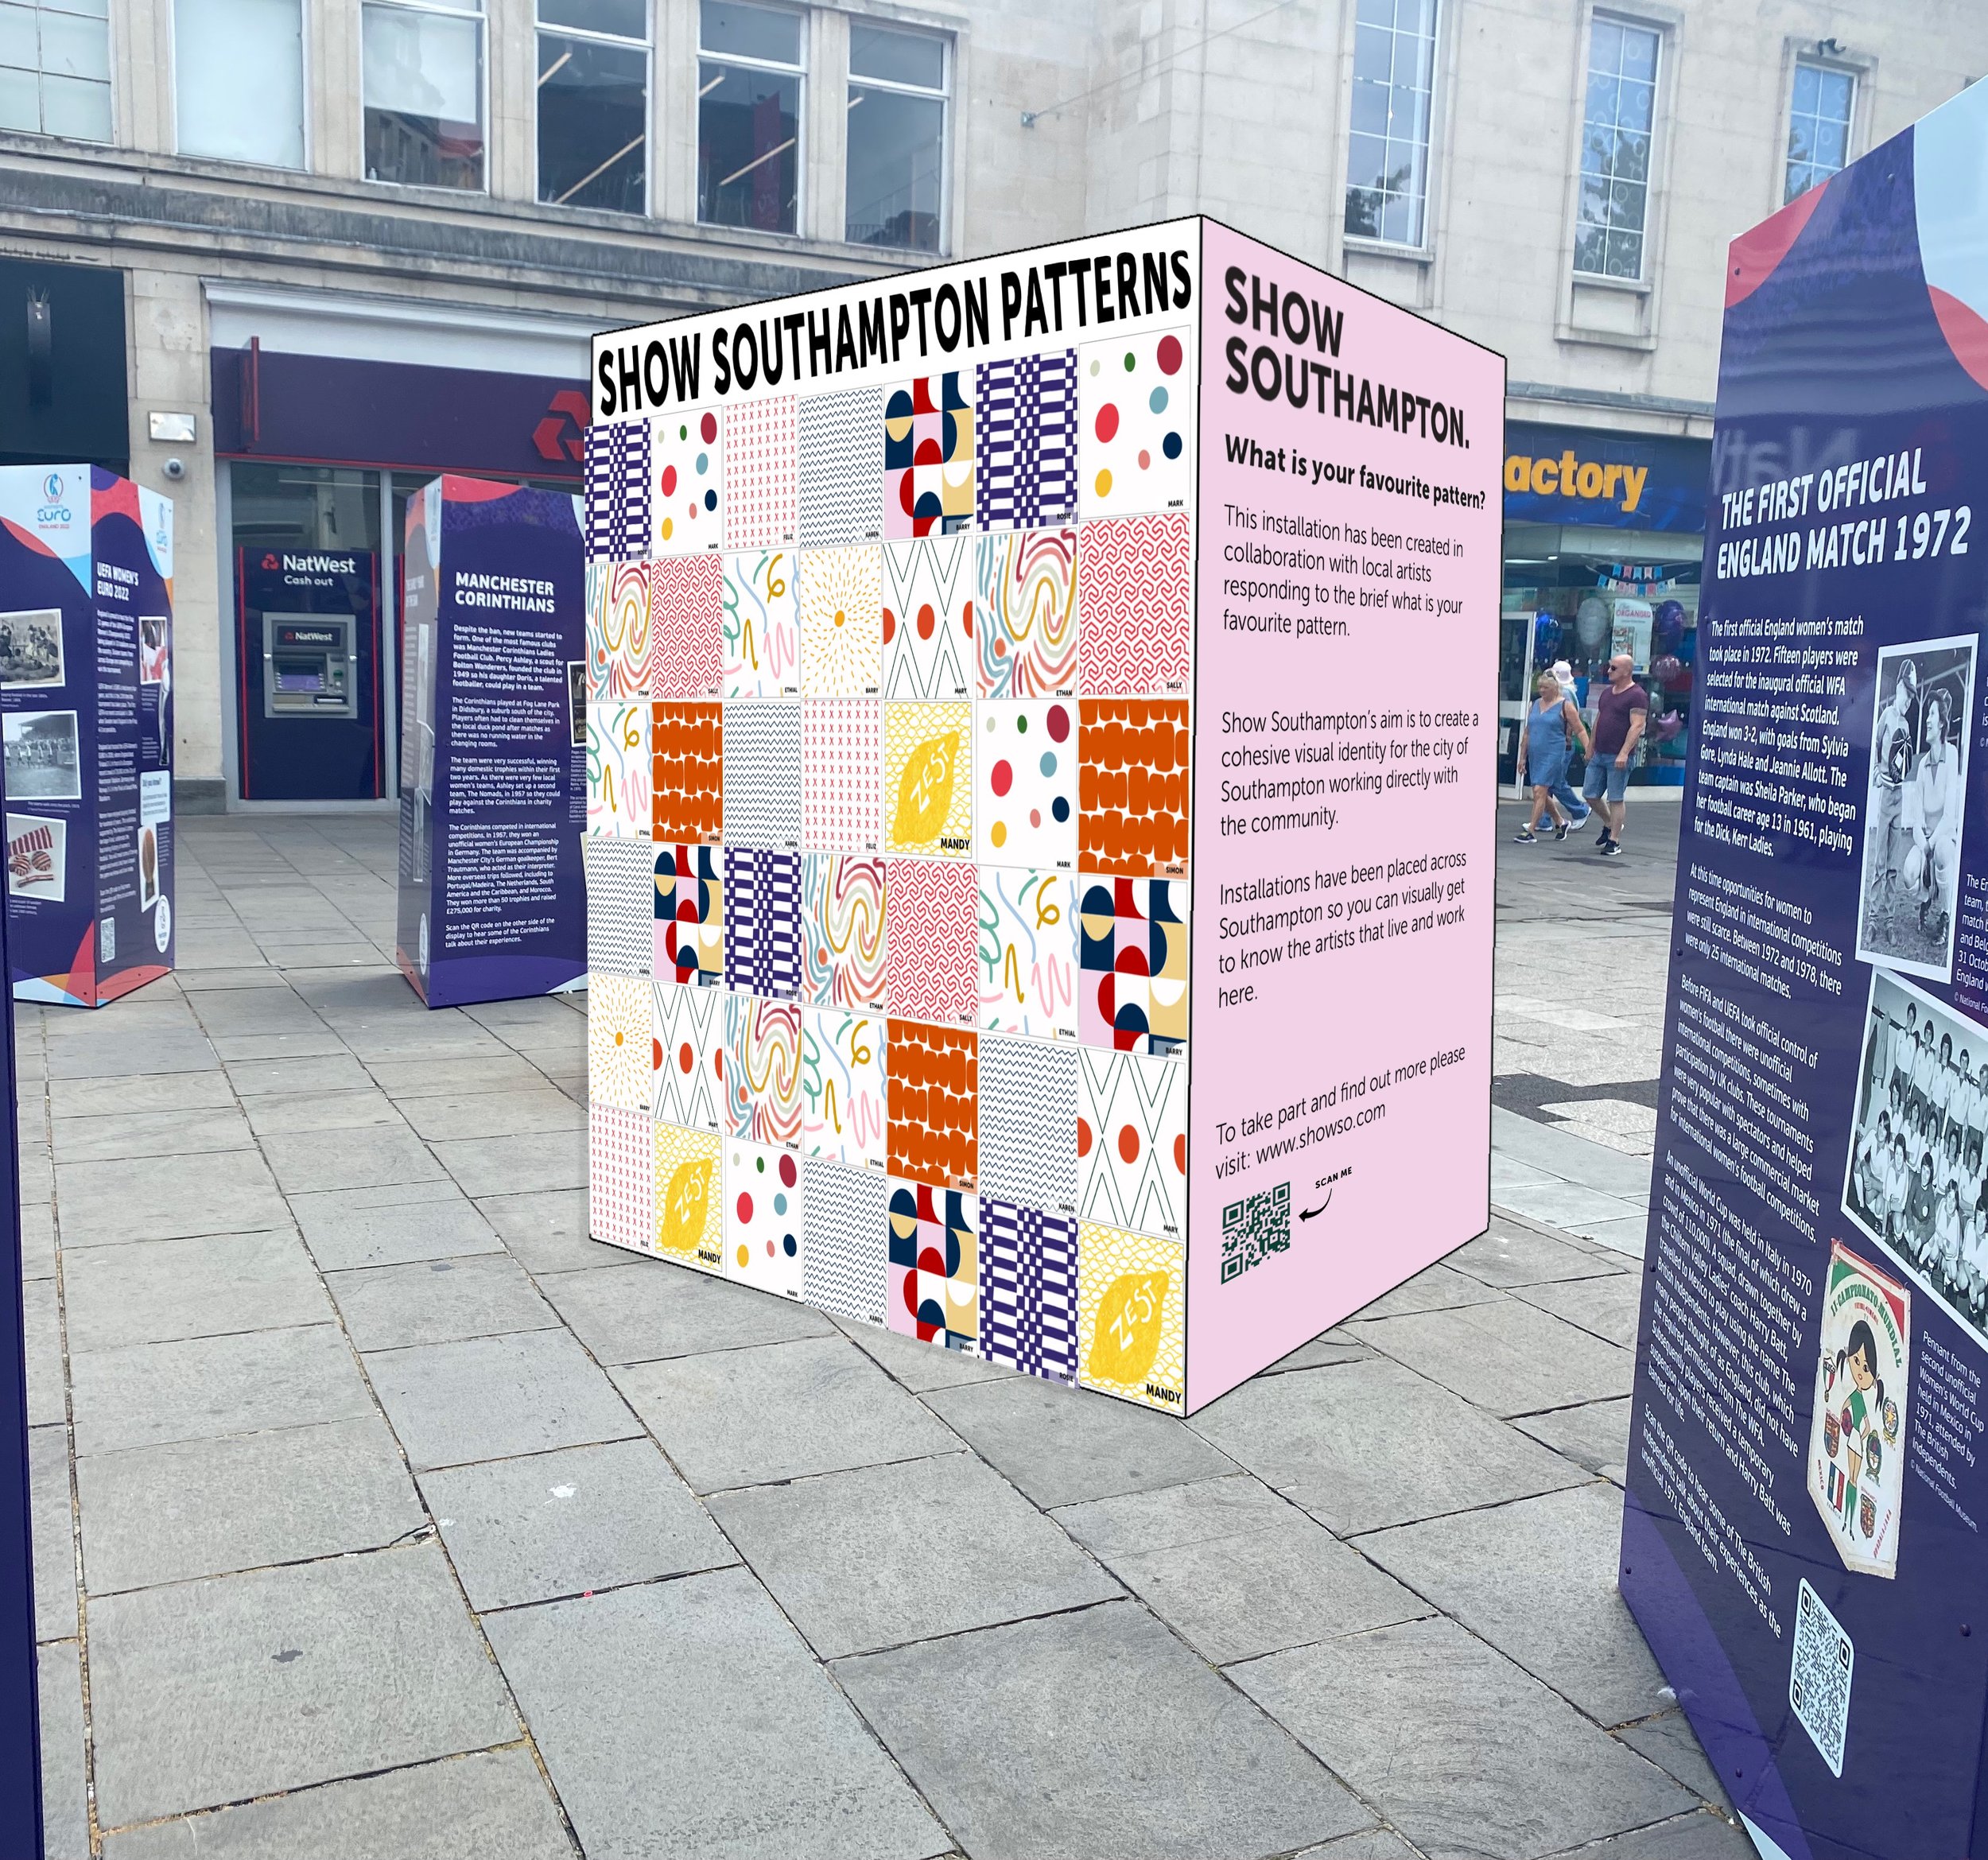
Continuing from last week, I wanted to place the tiles and begin to photoshop the installations so they begin to look like how they would for the actual thing. I want to make sure that I do 2 visuals for each installation as well as a diagram of the height and potentially a how its made and what its made off:
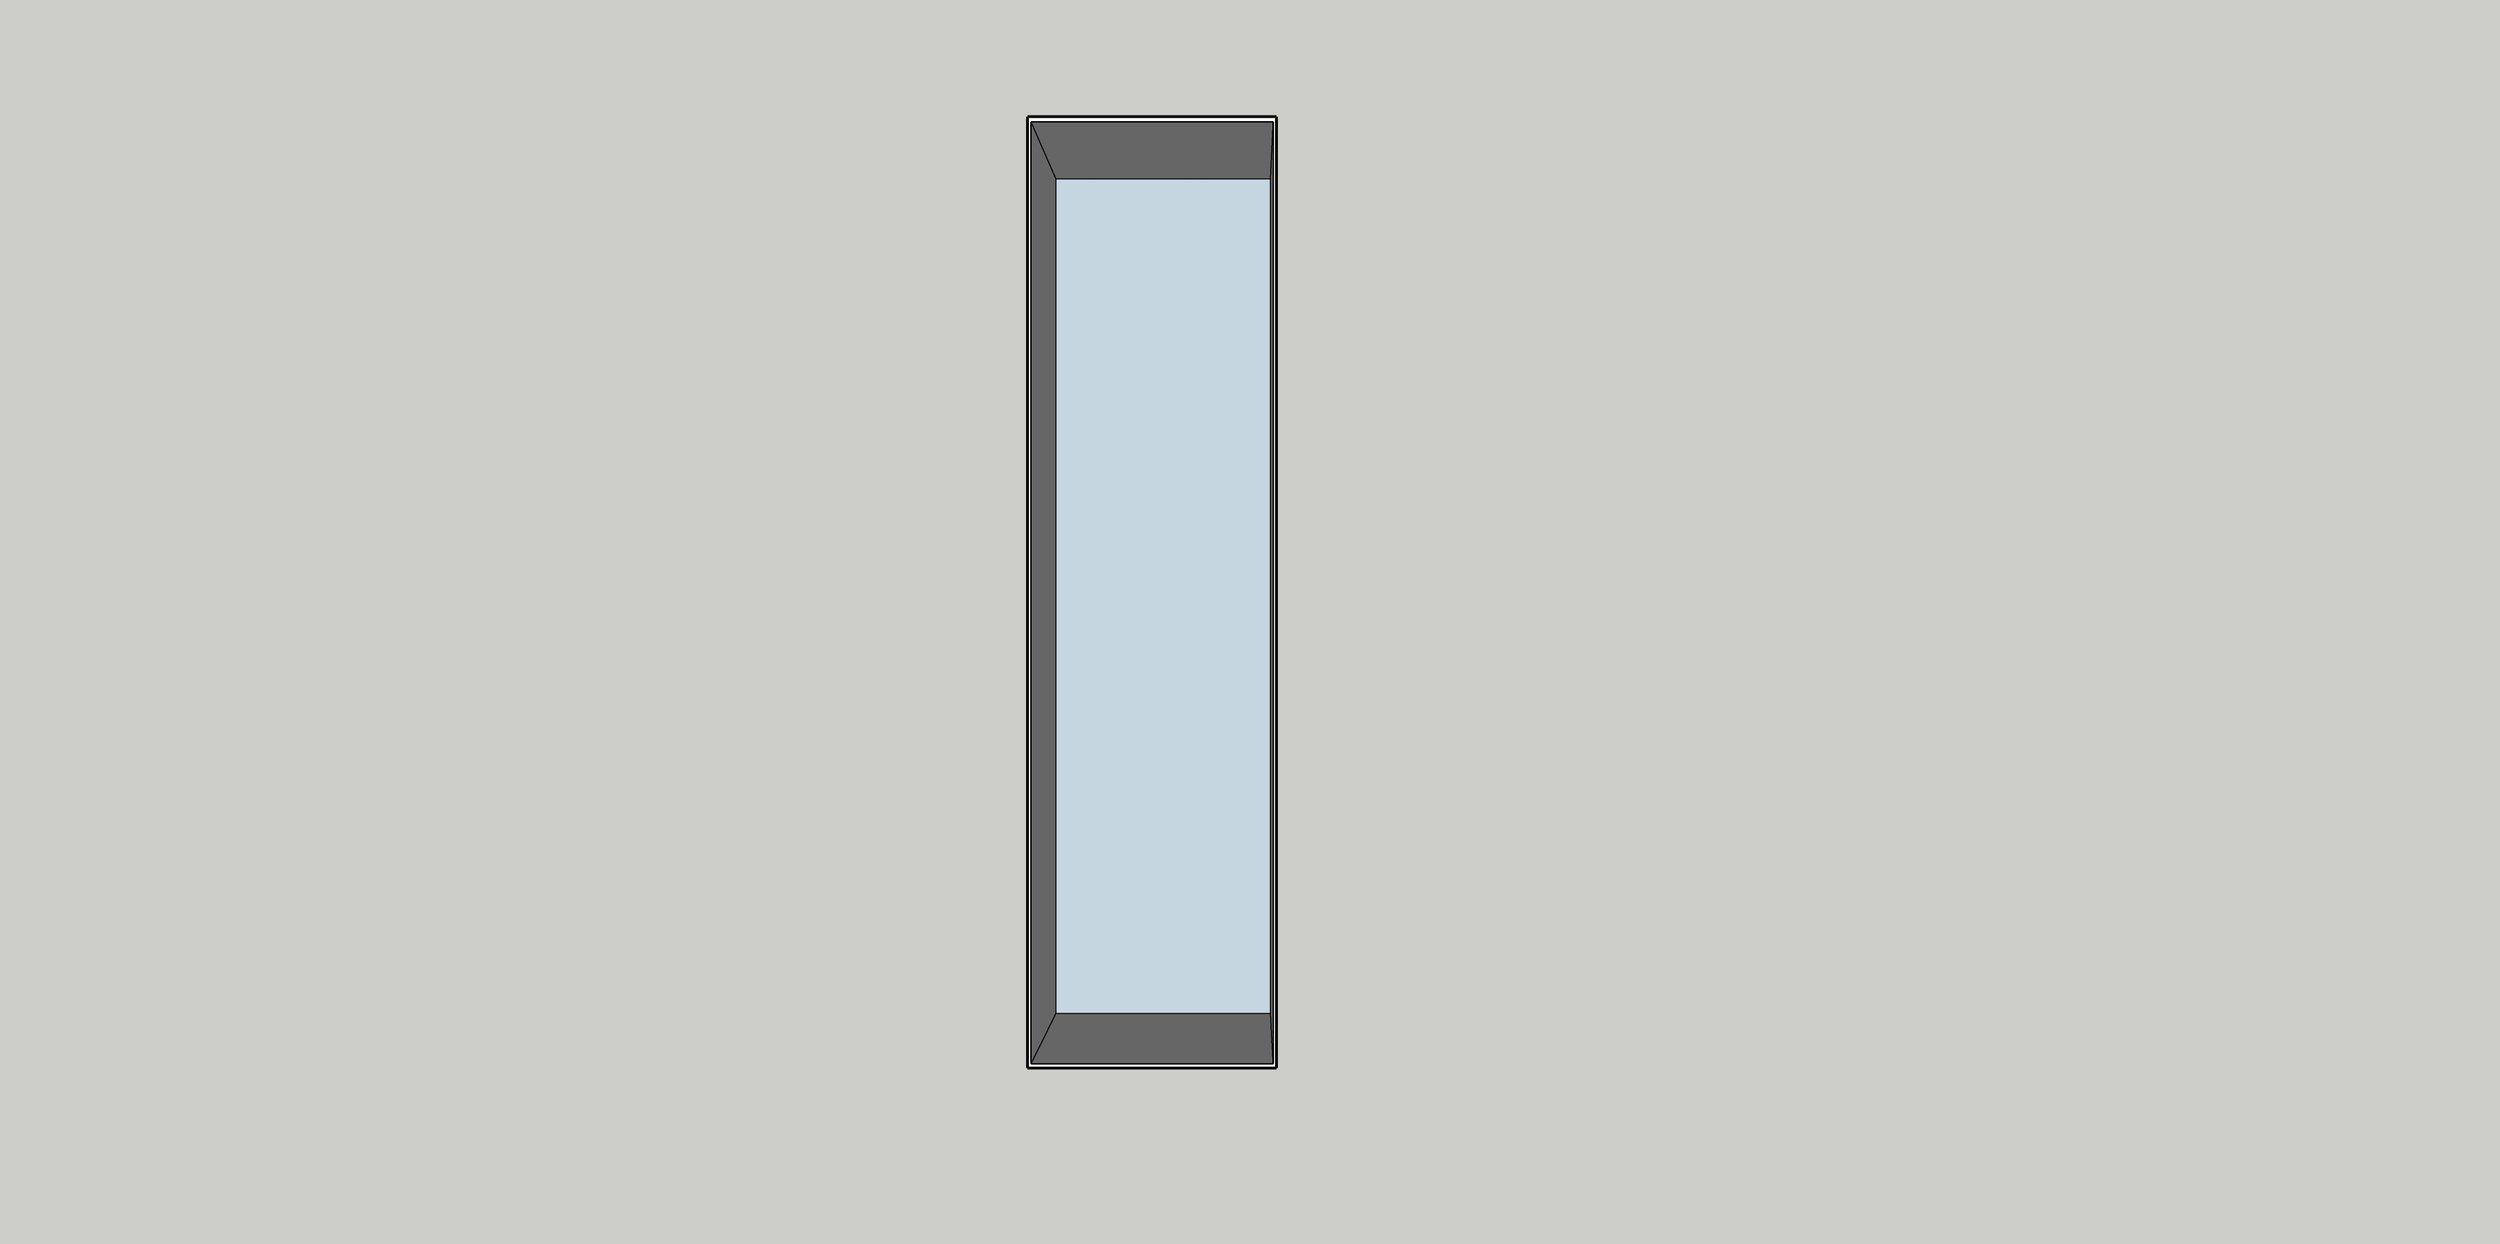
Installation 1
Design Development

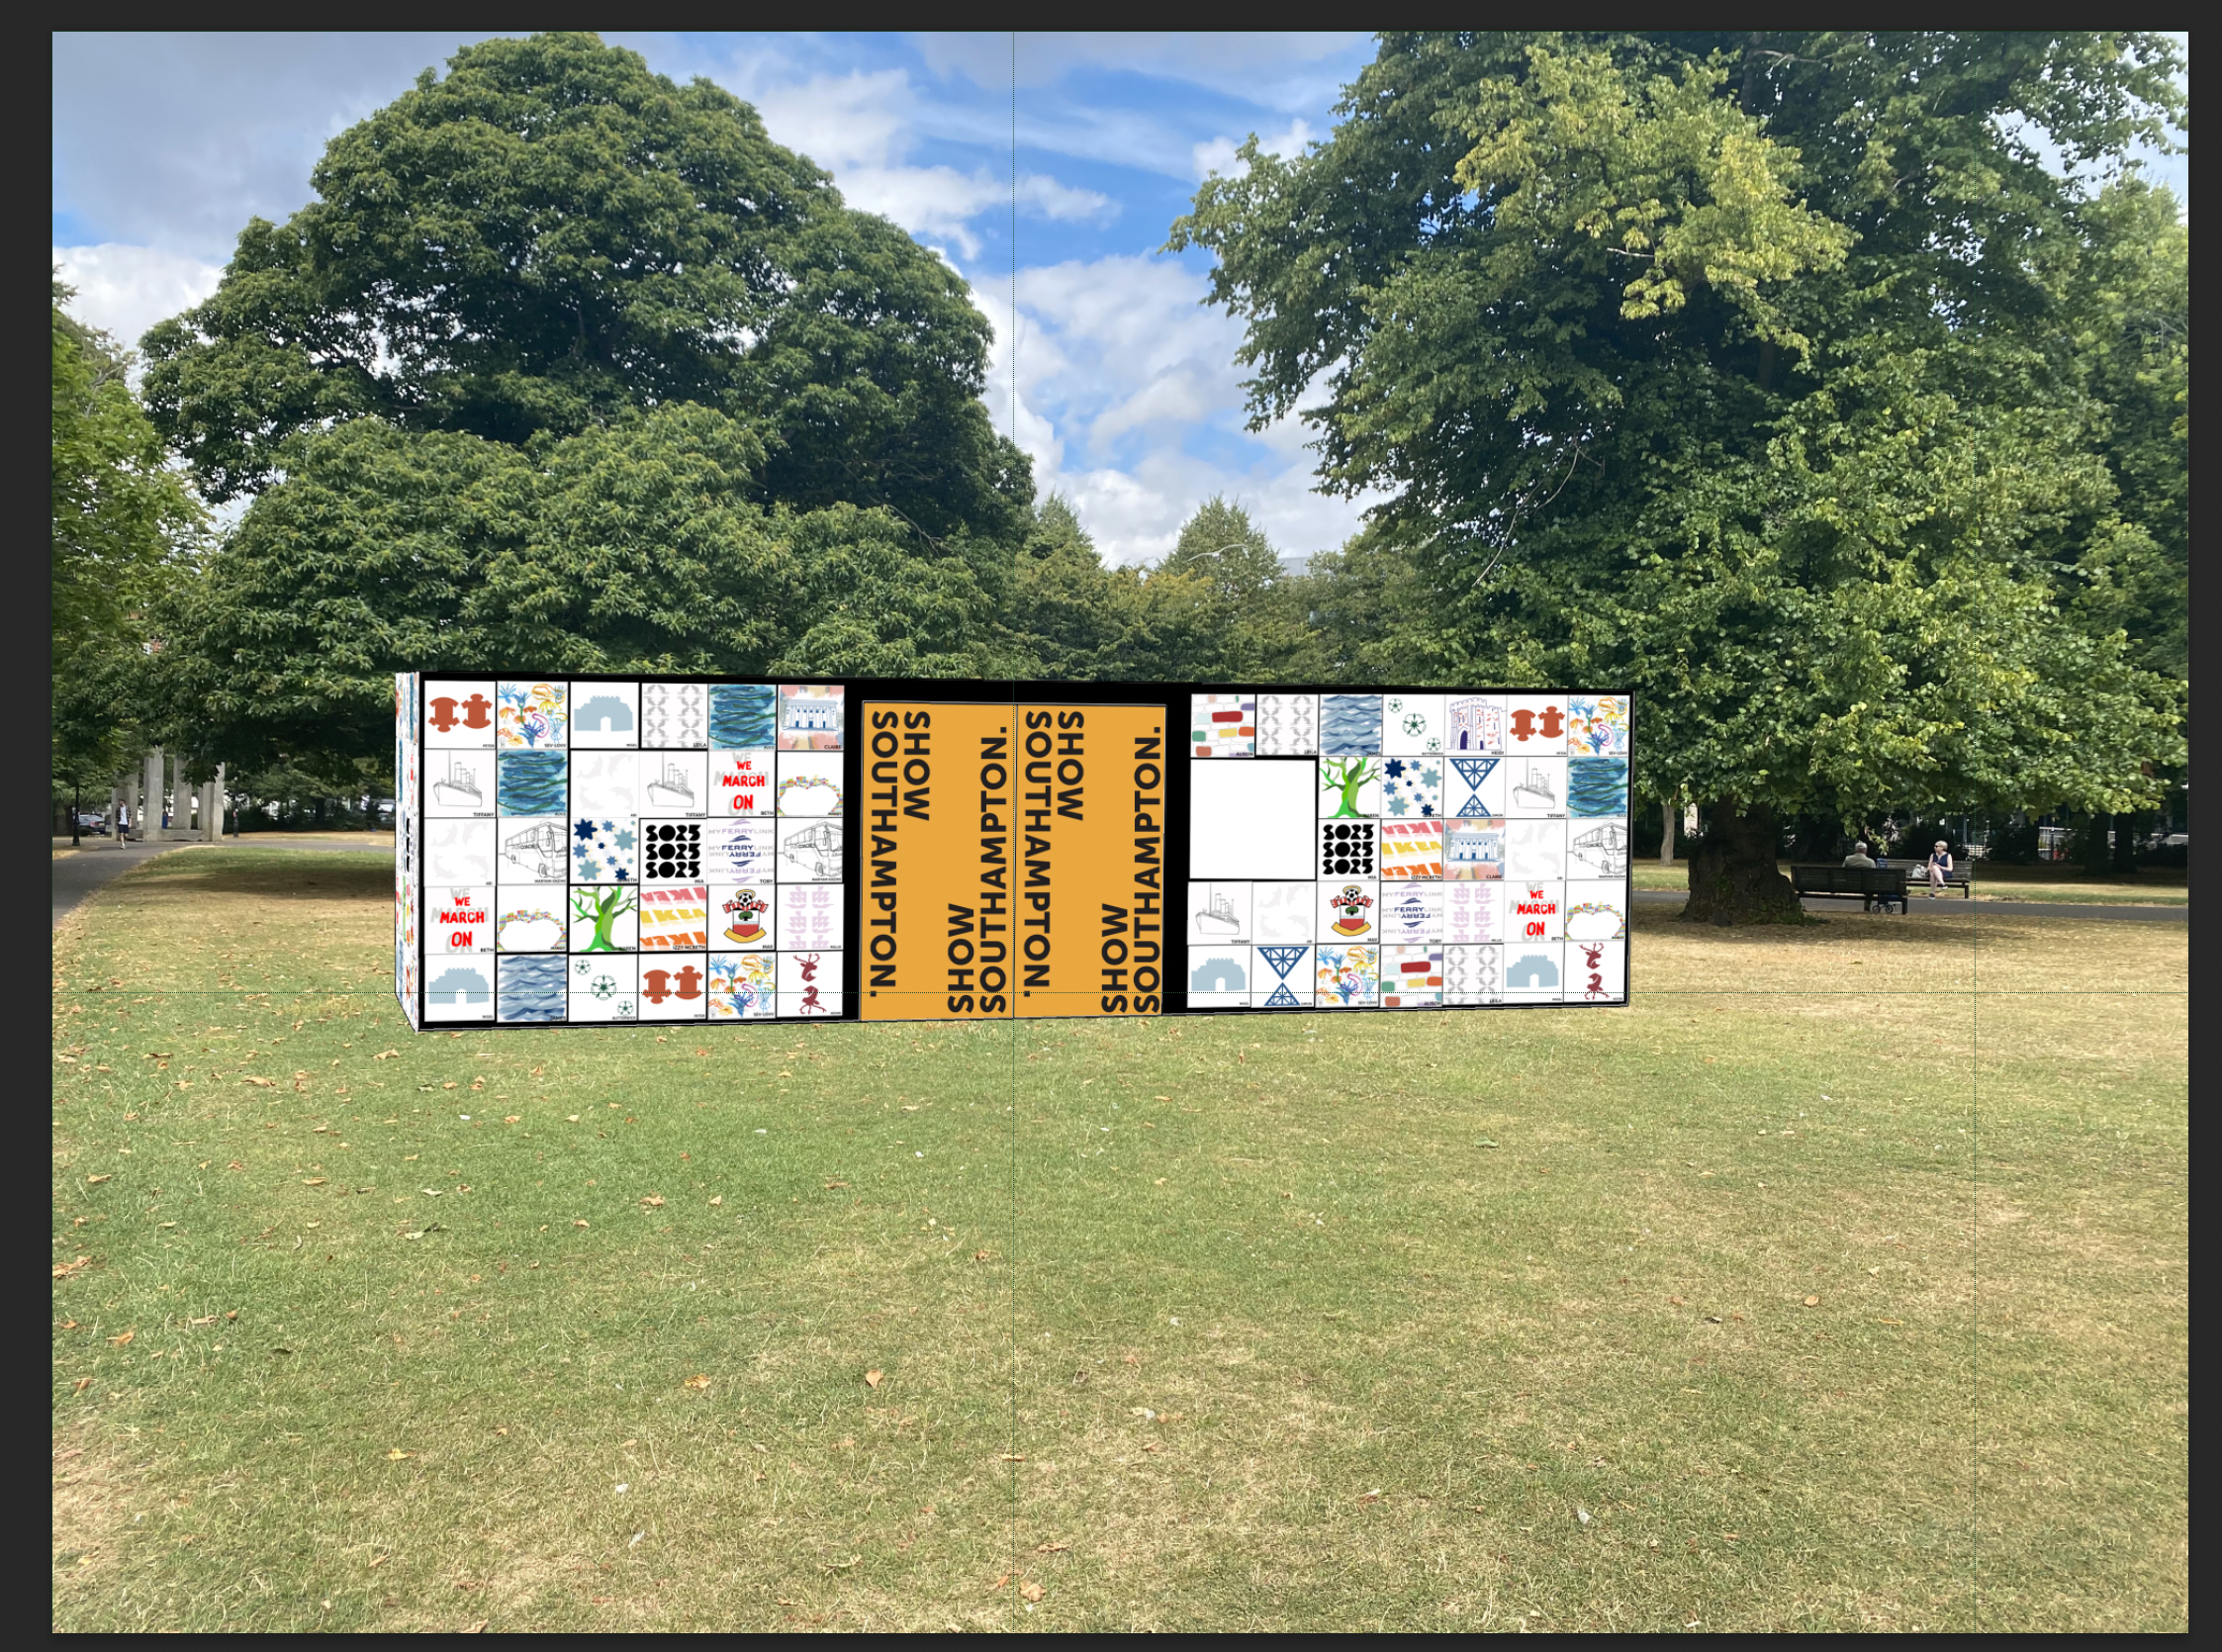
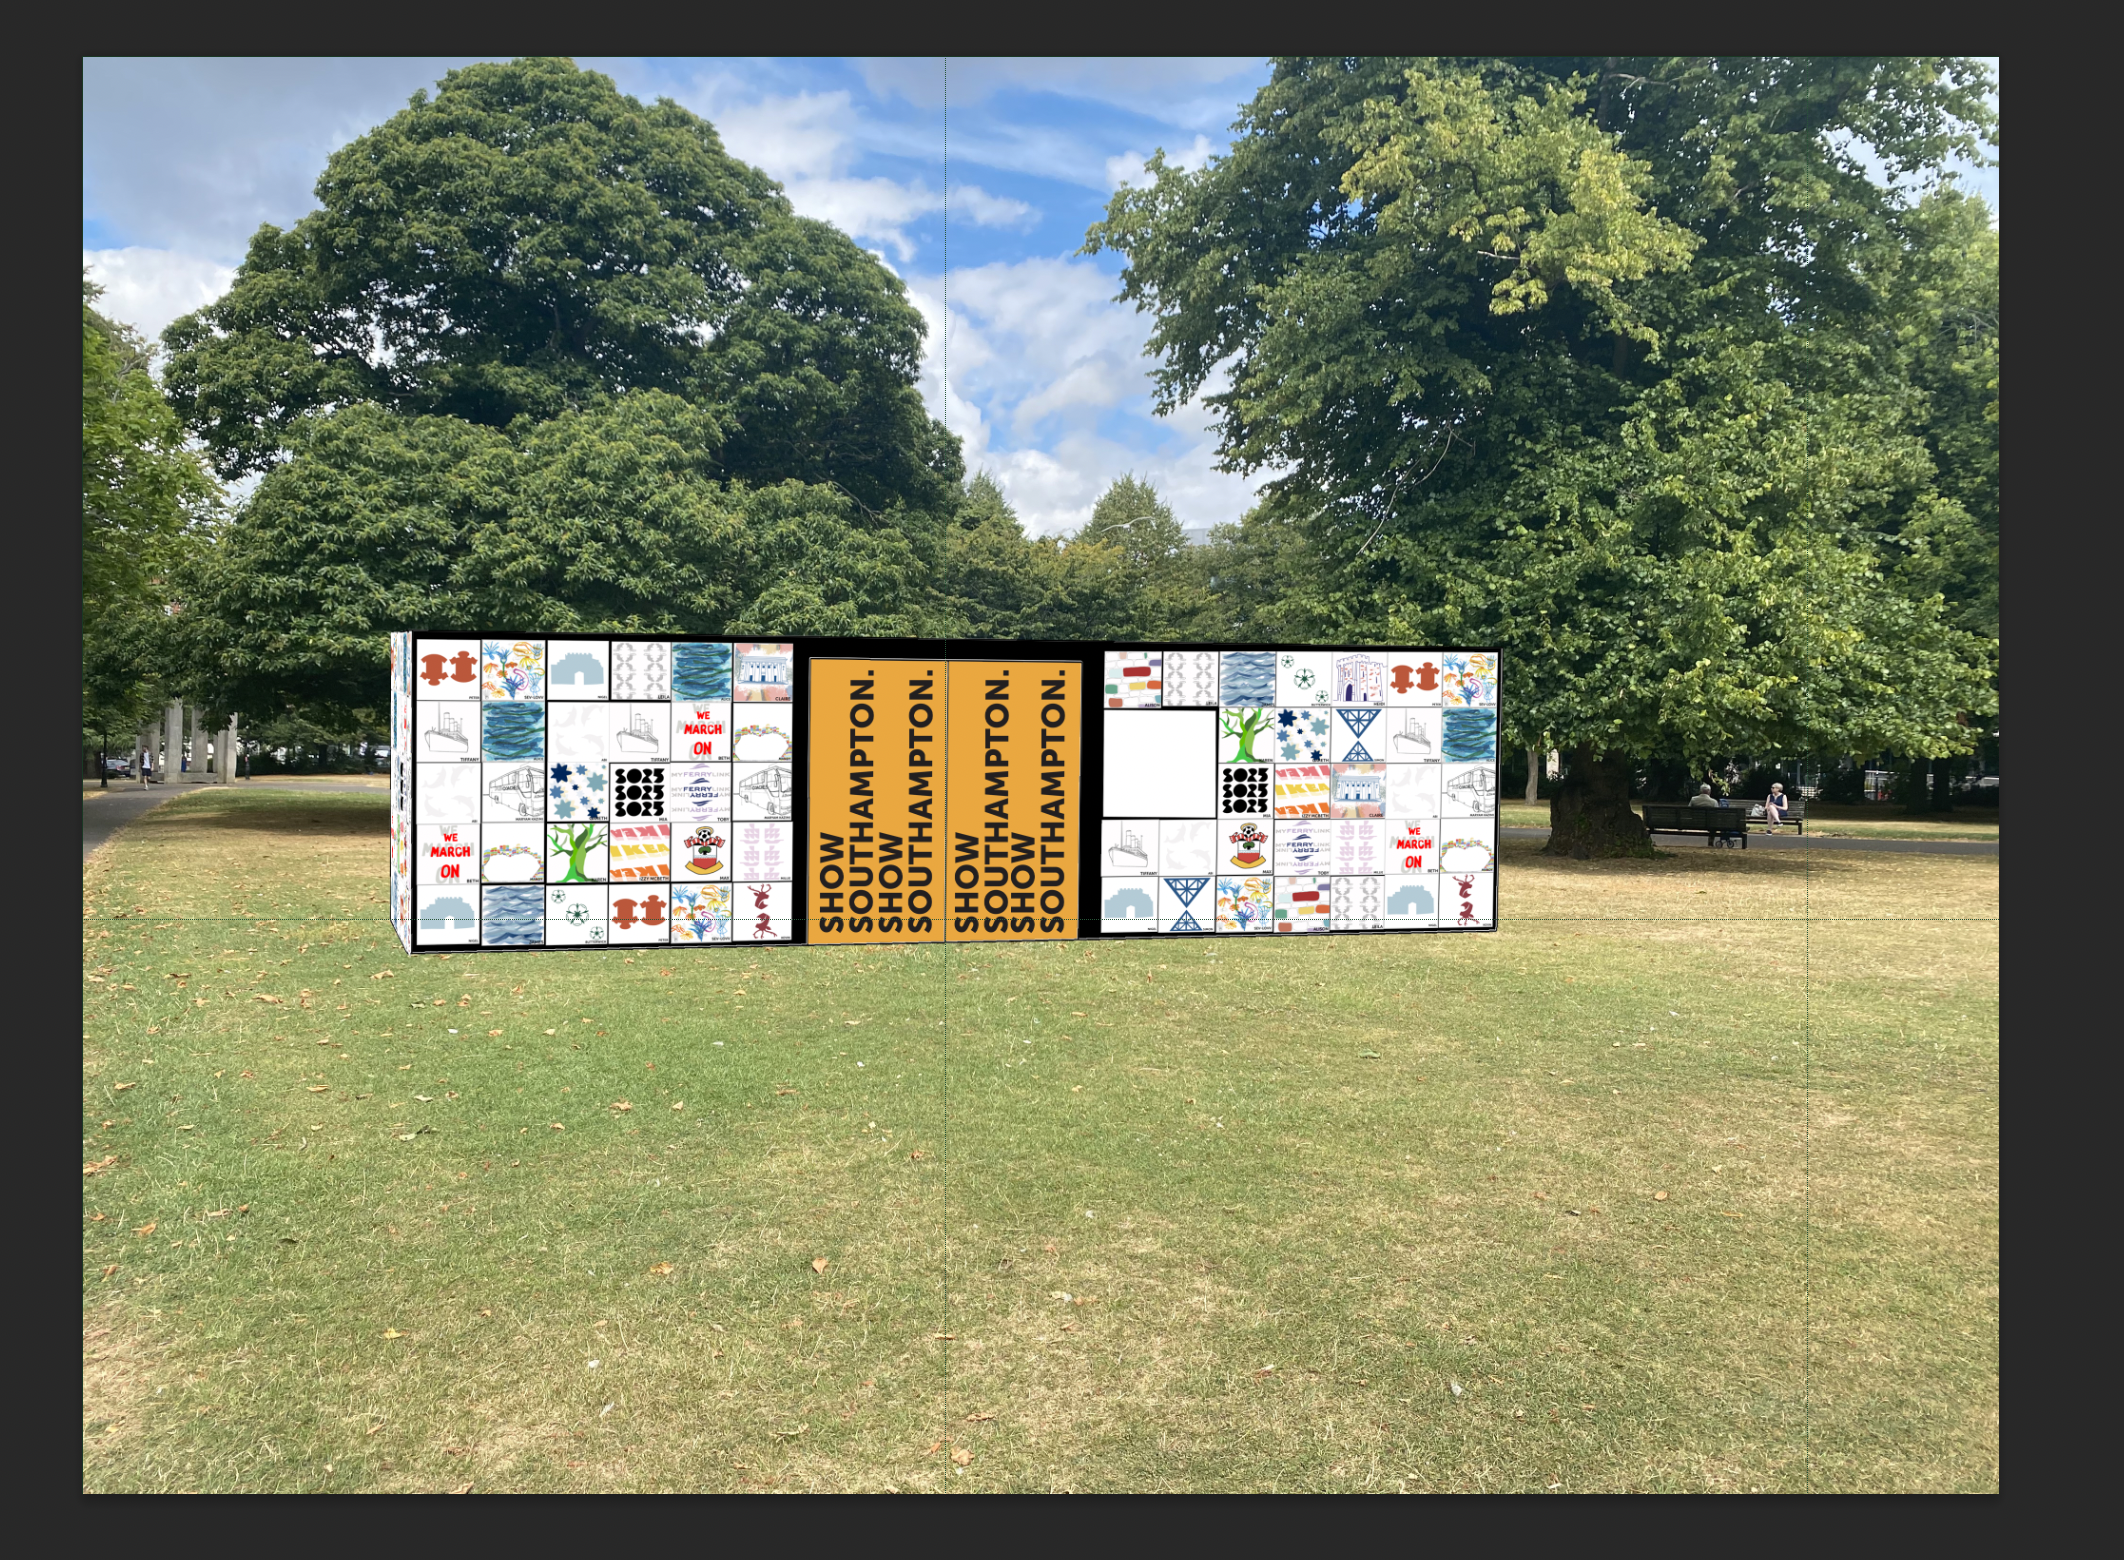
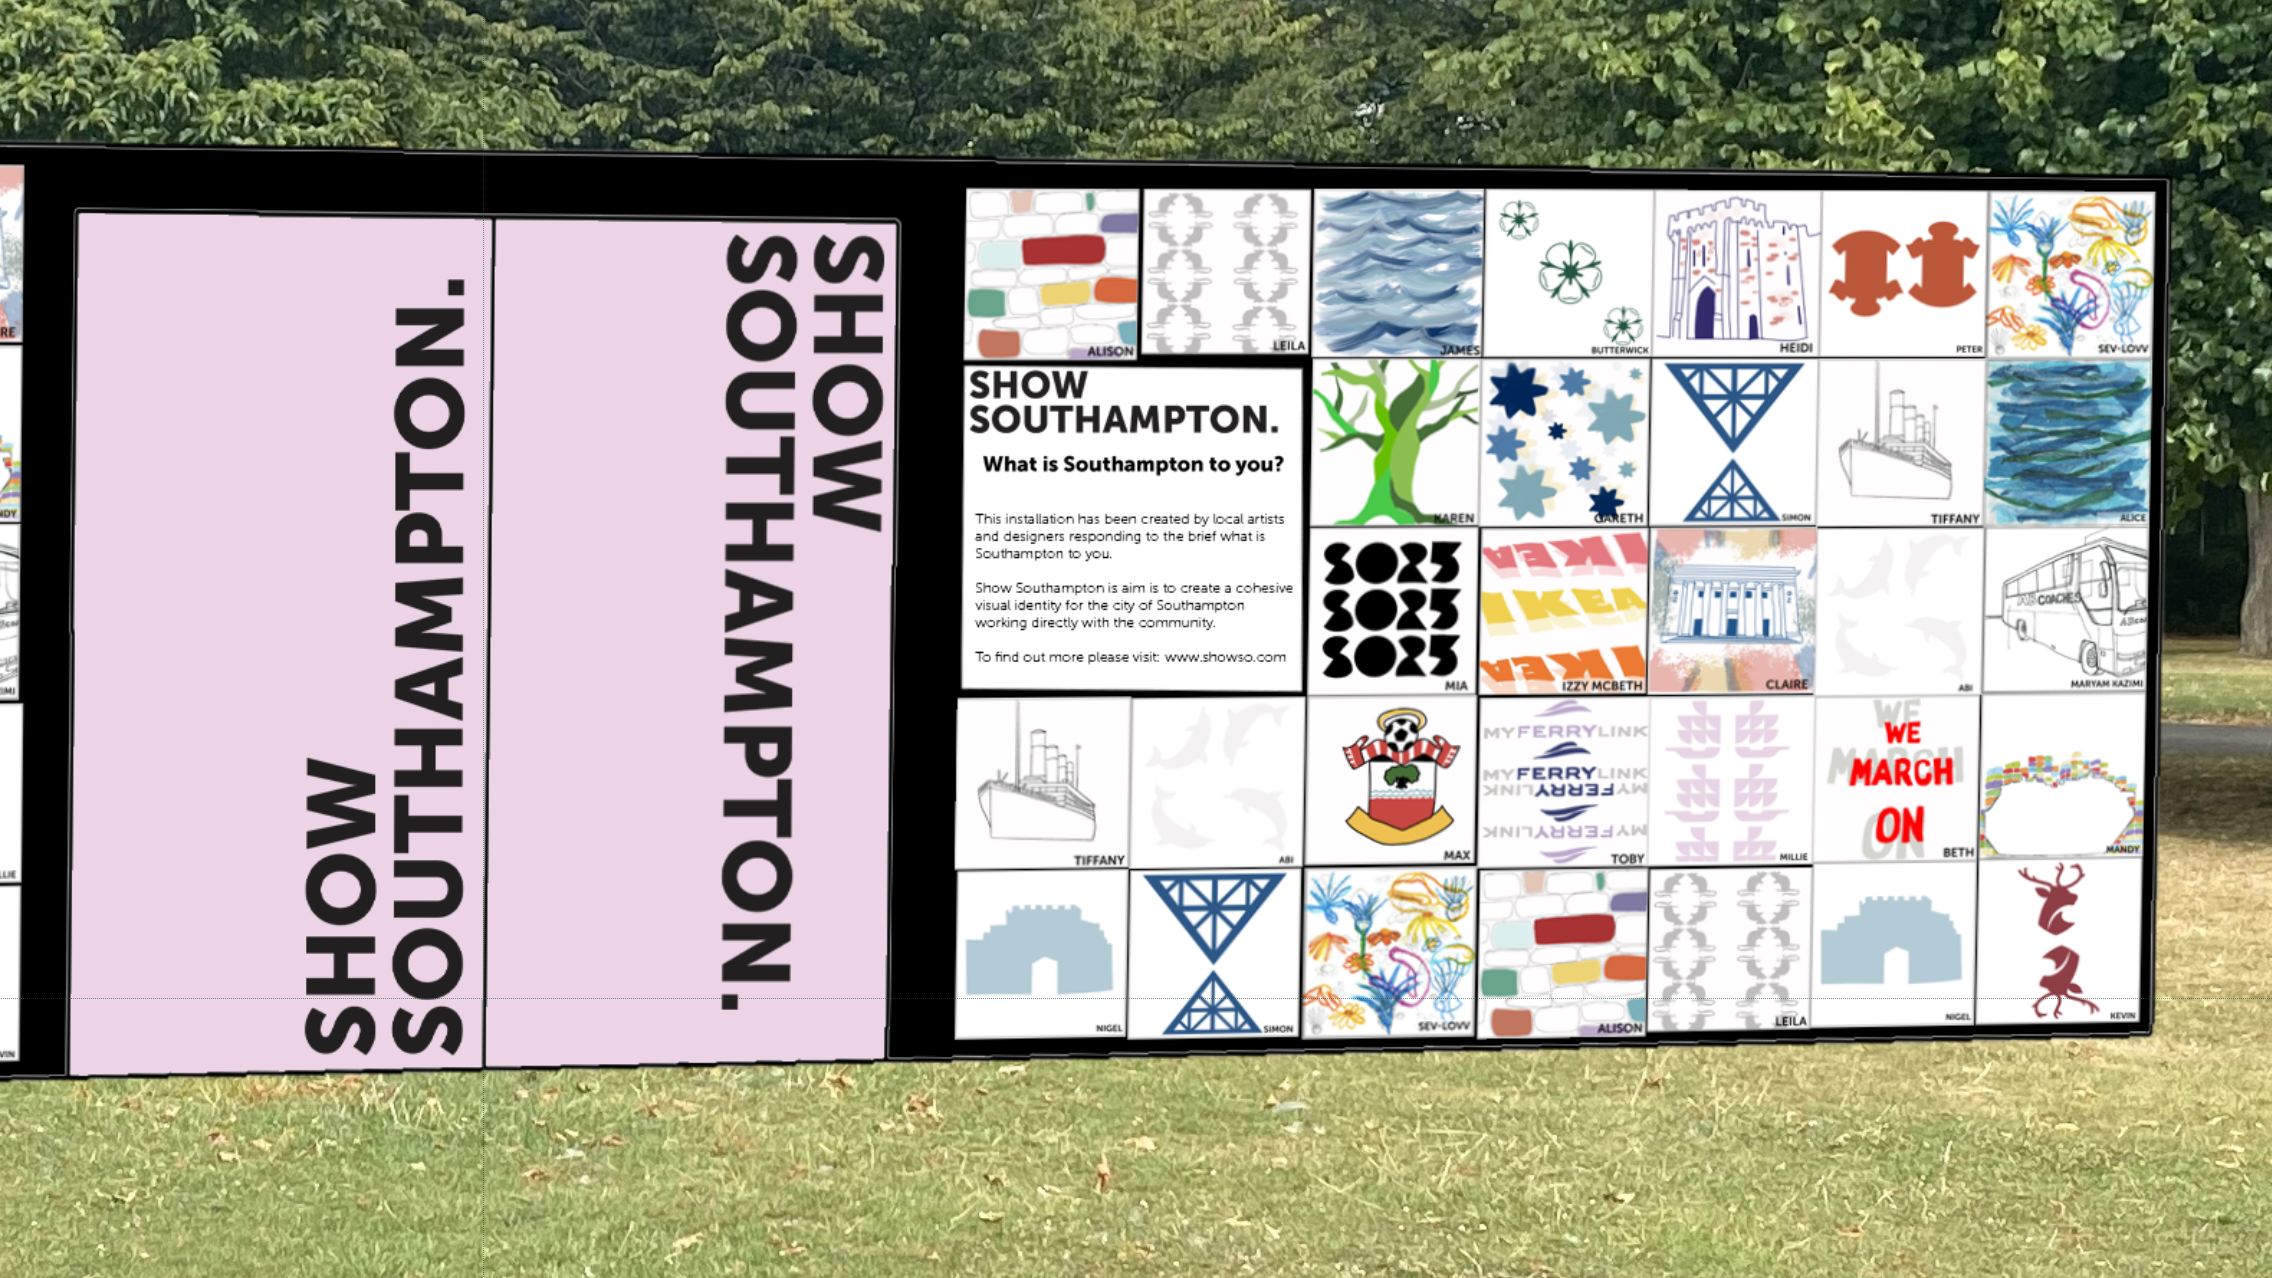
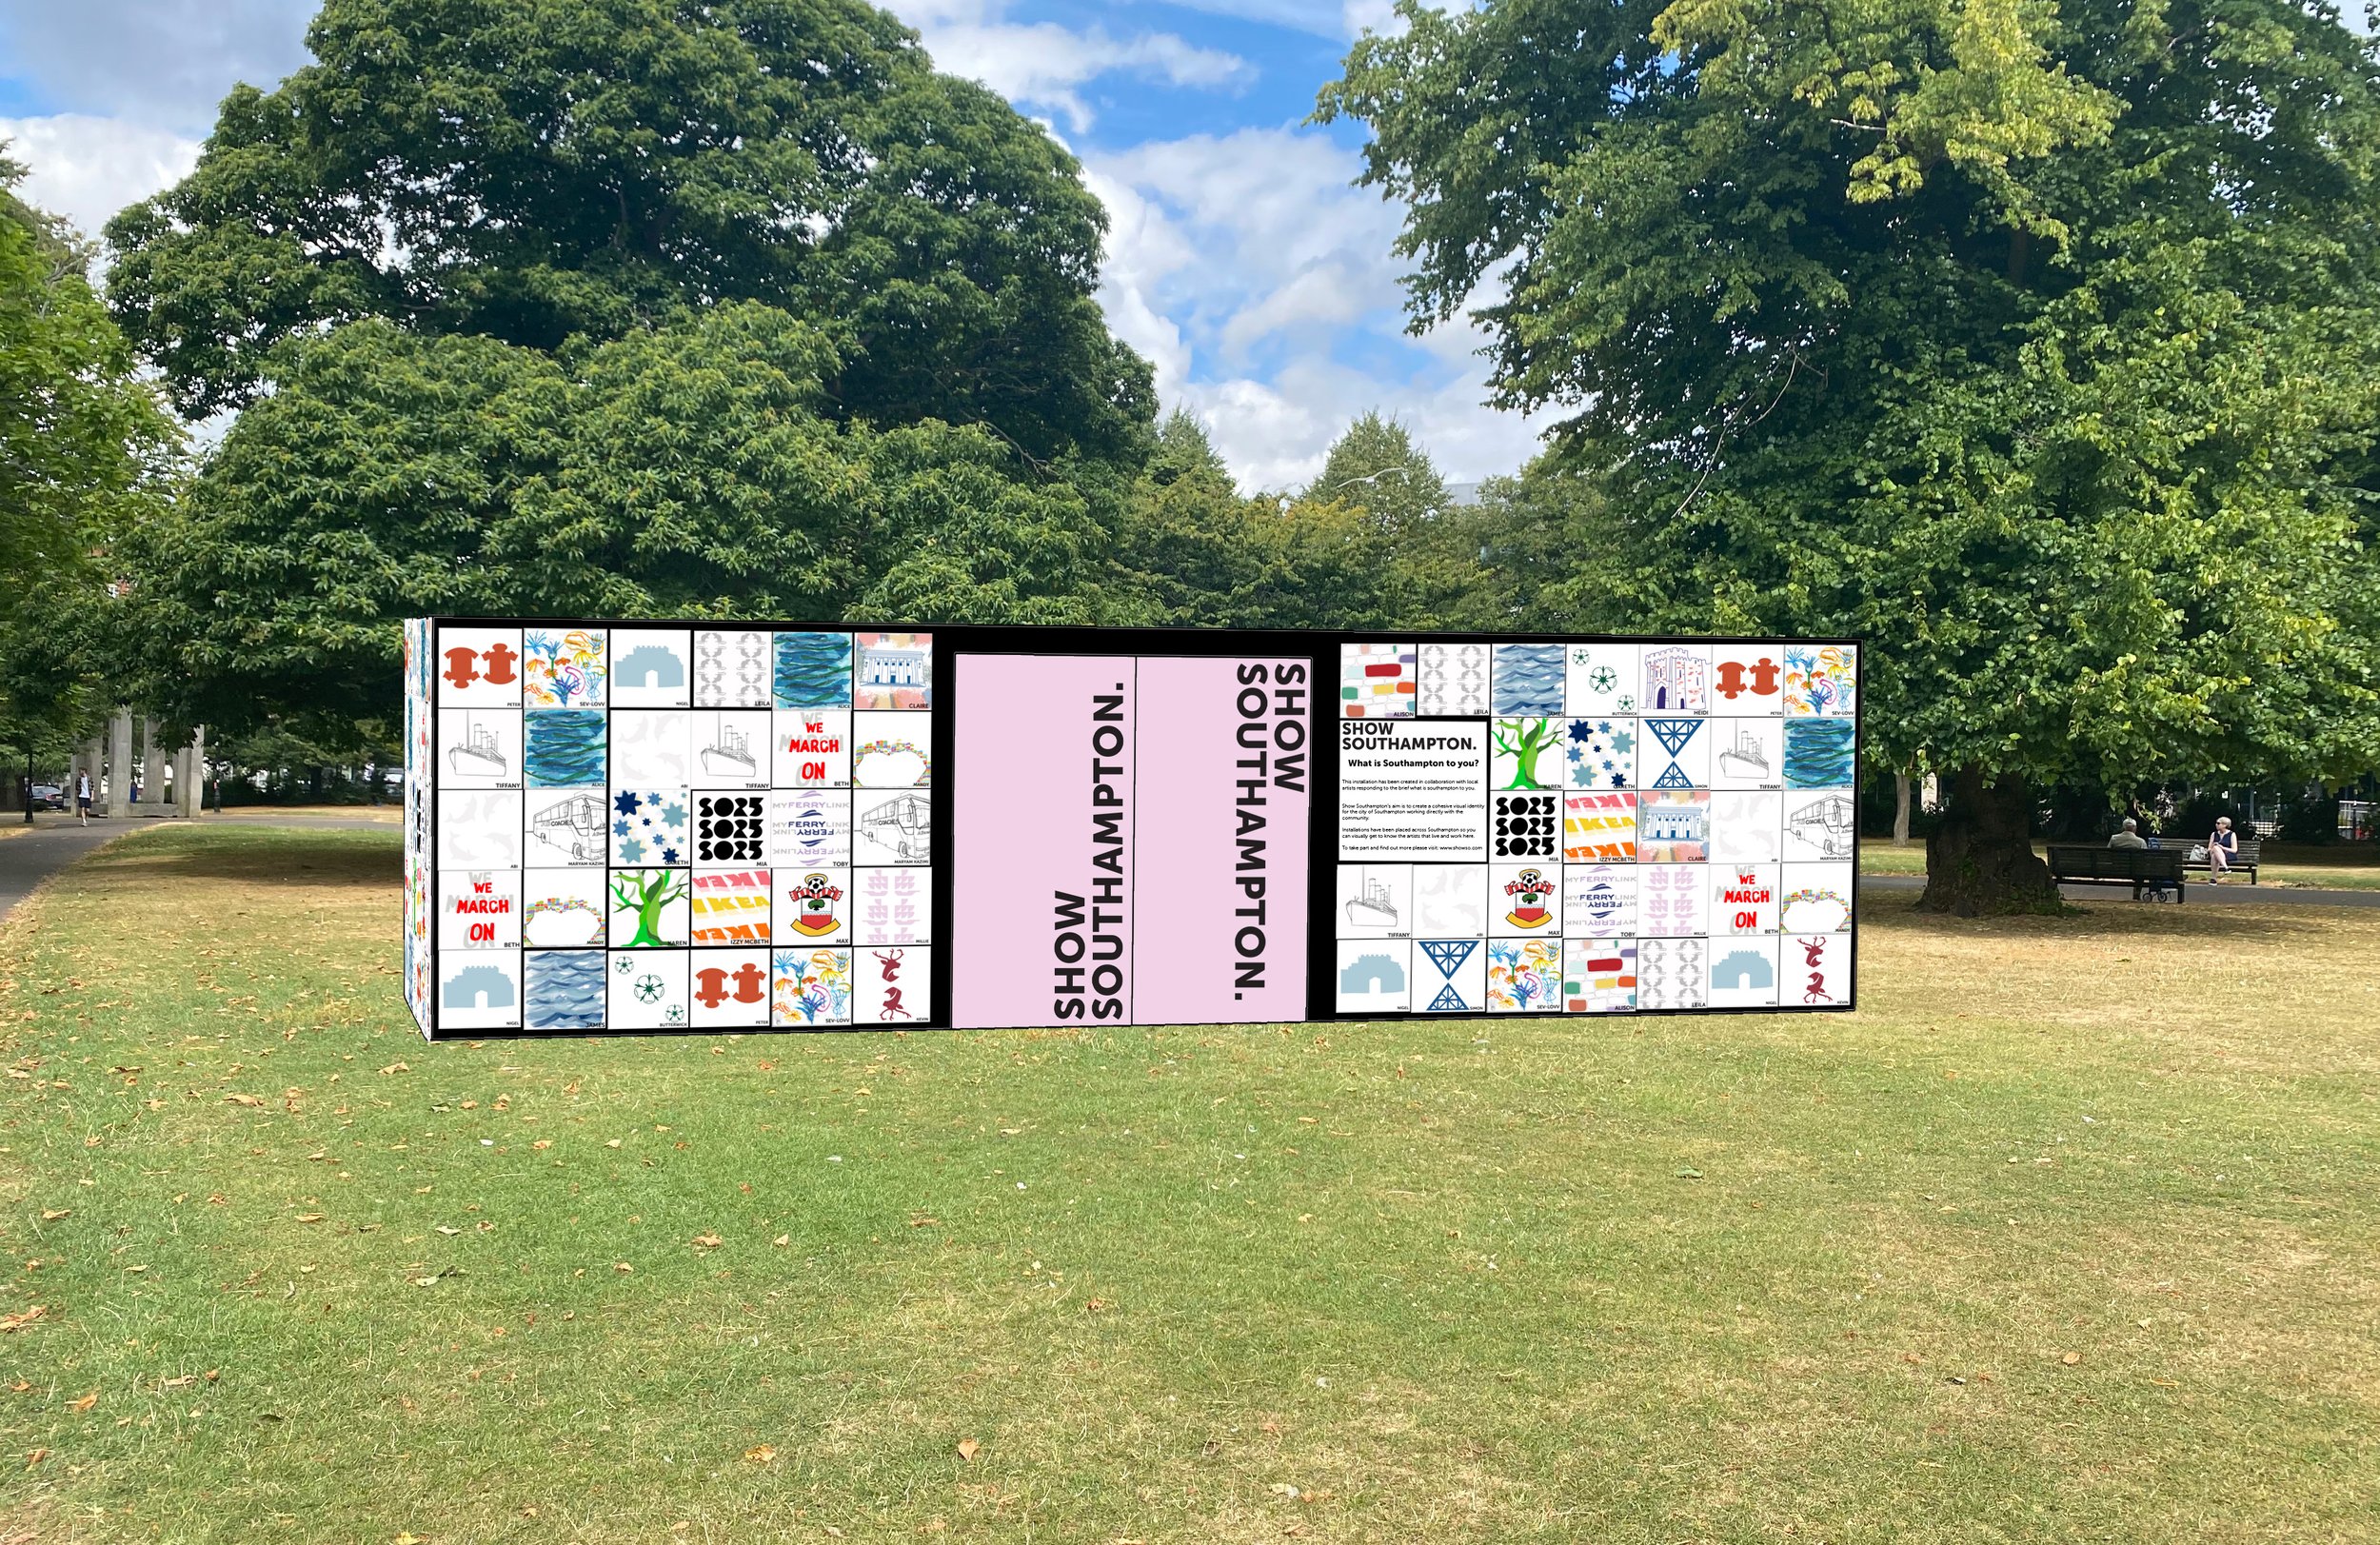
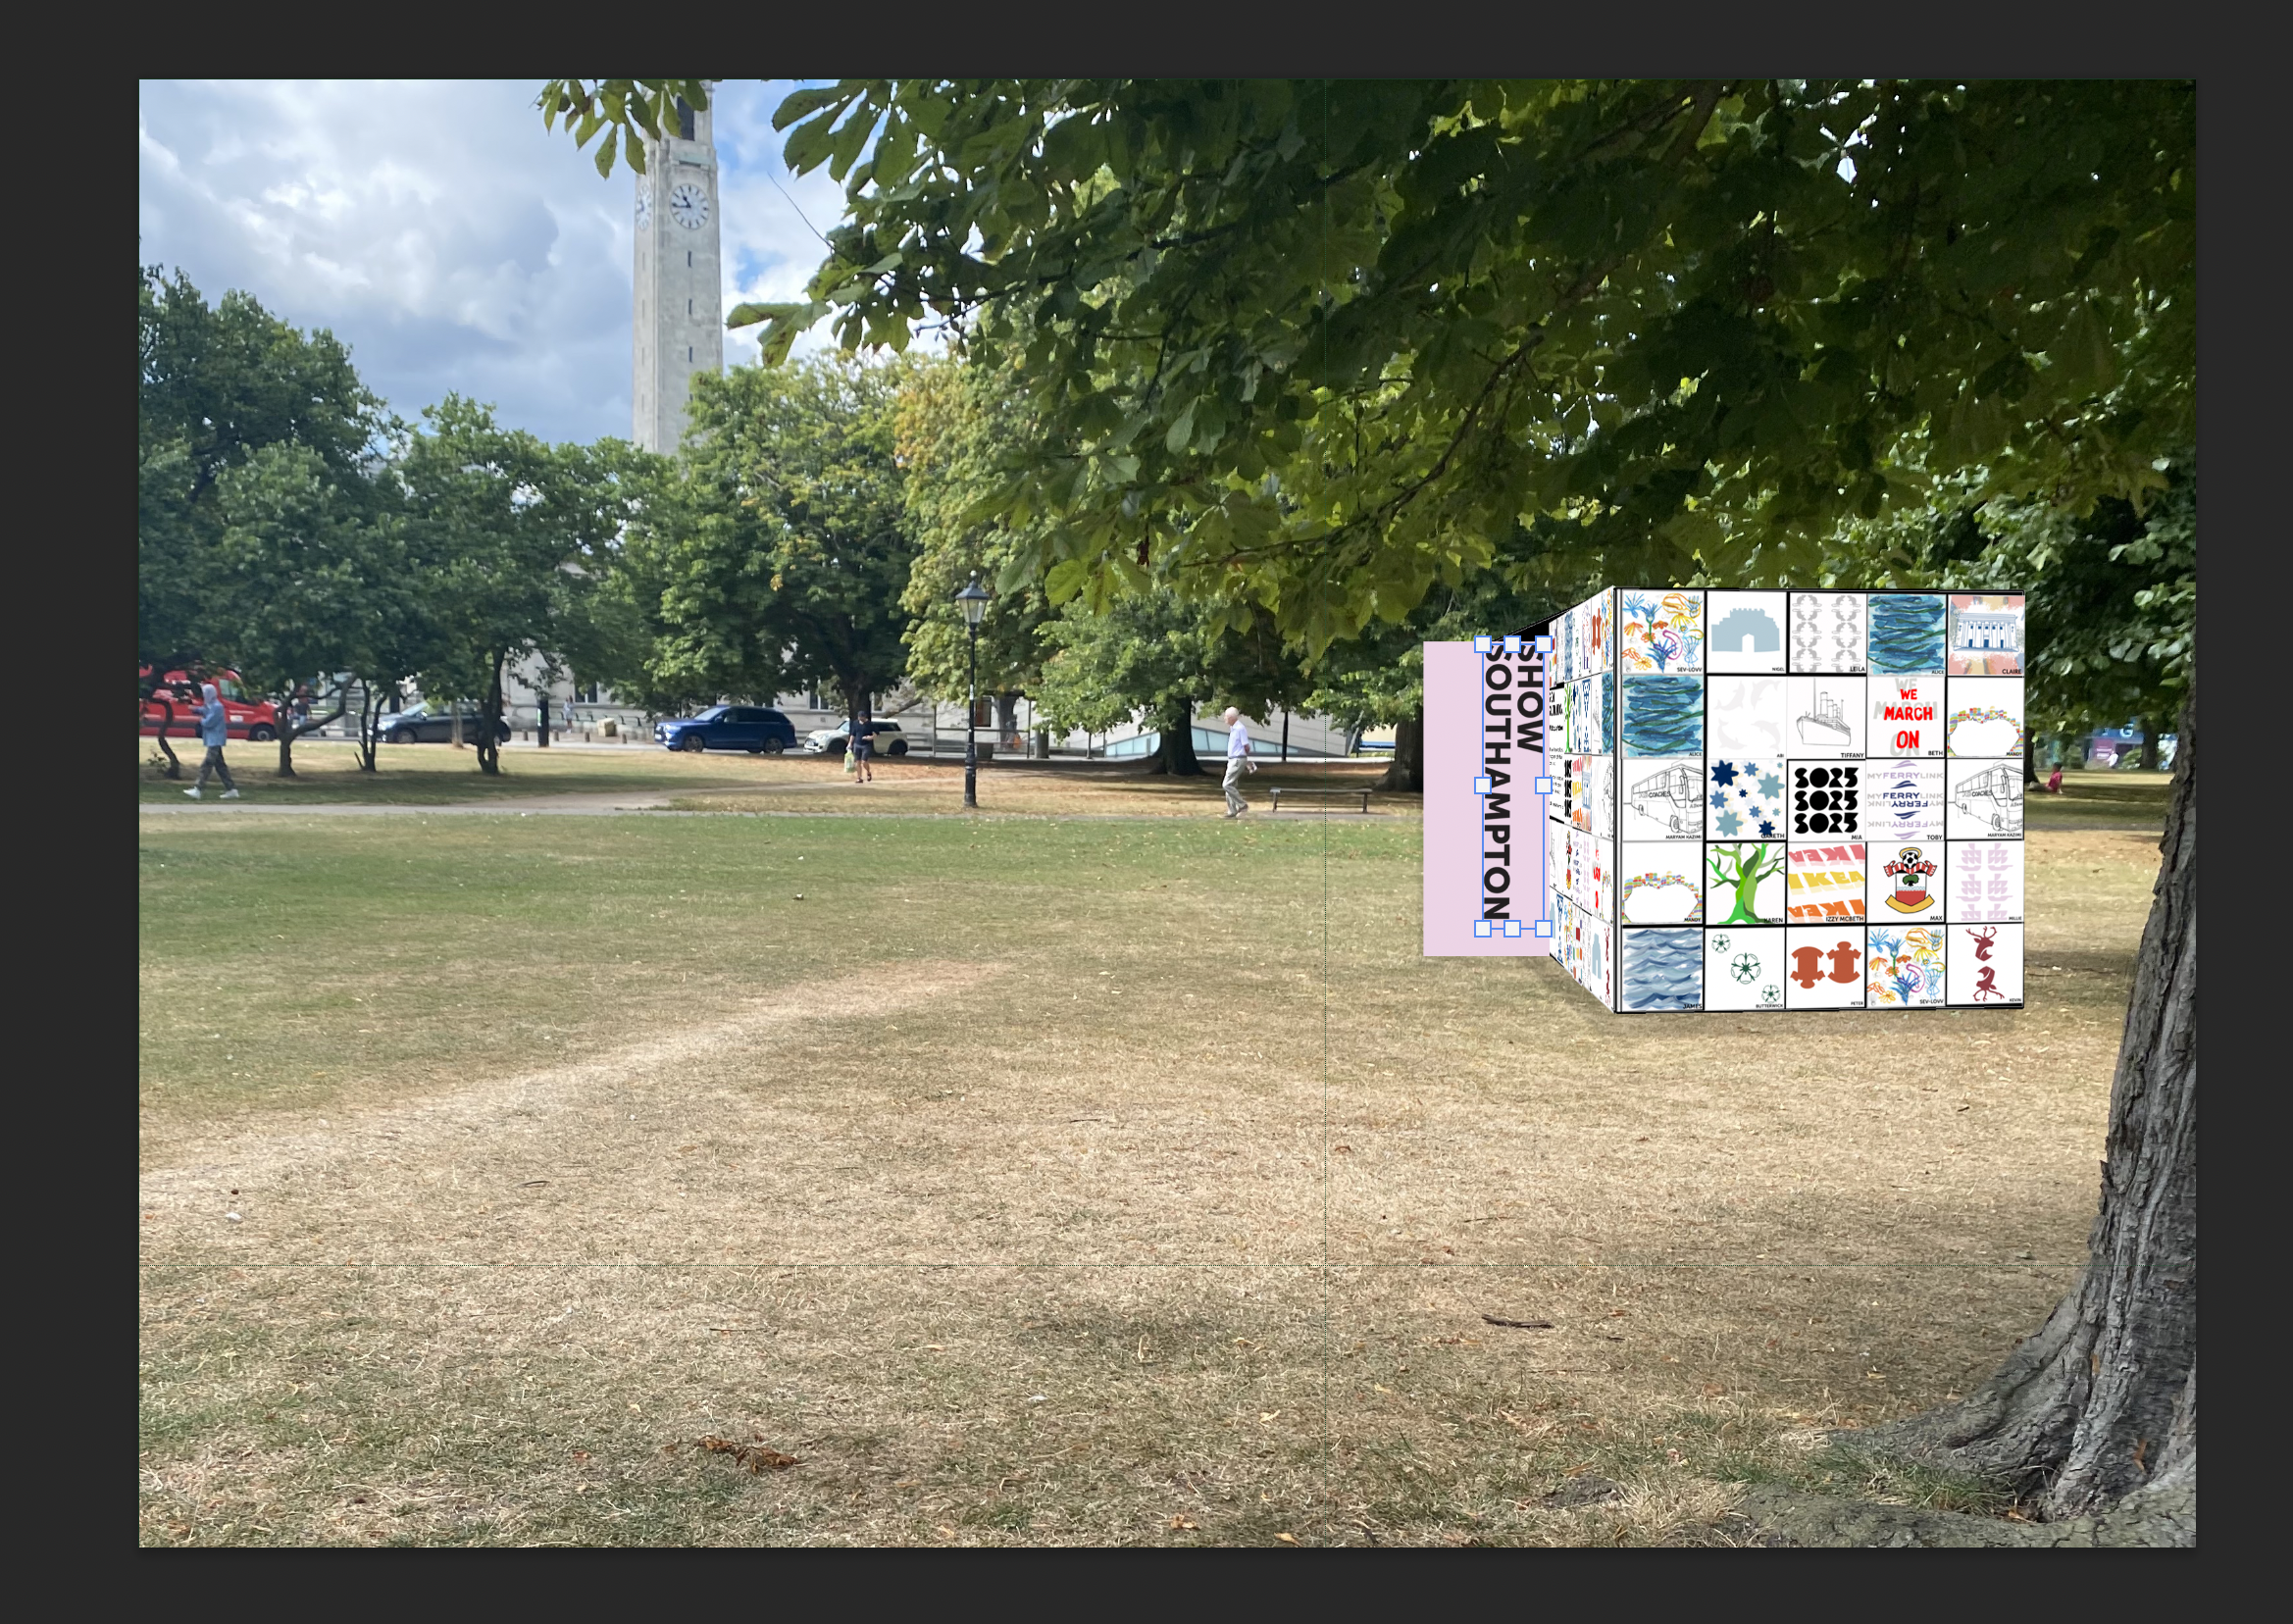
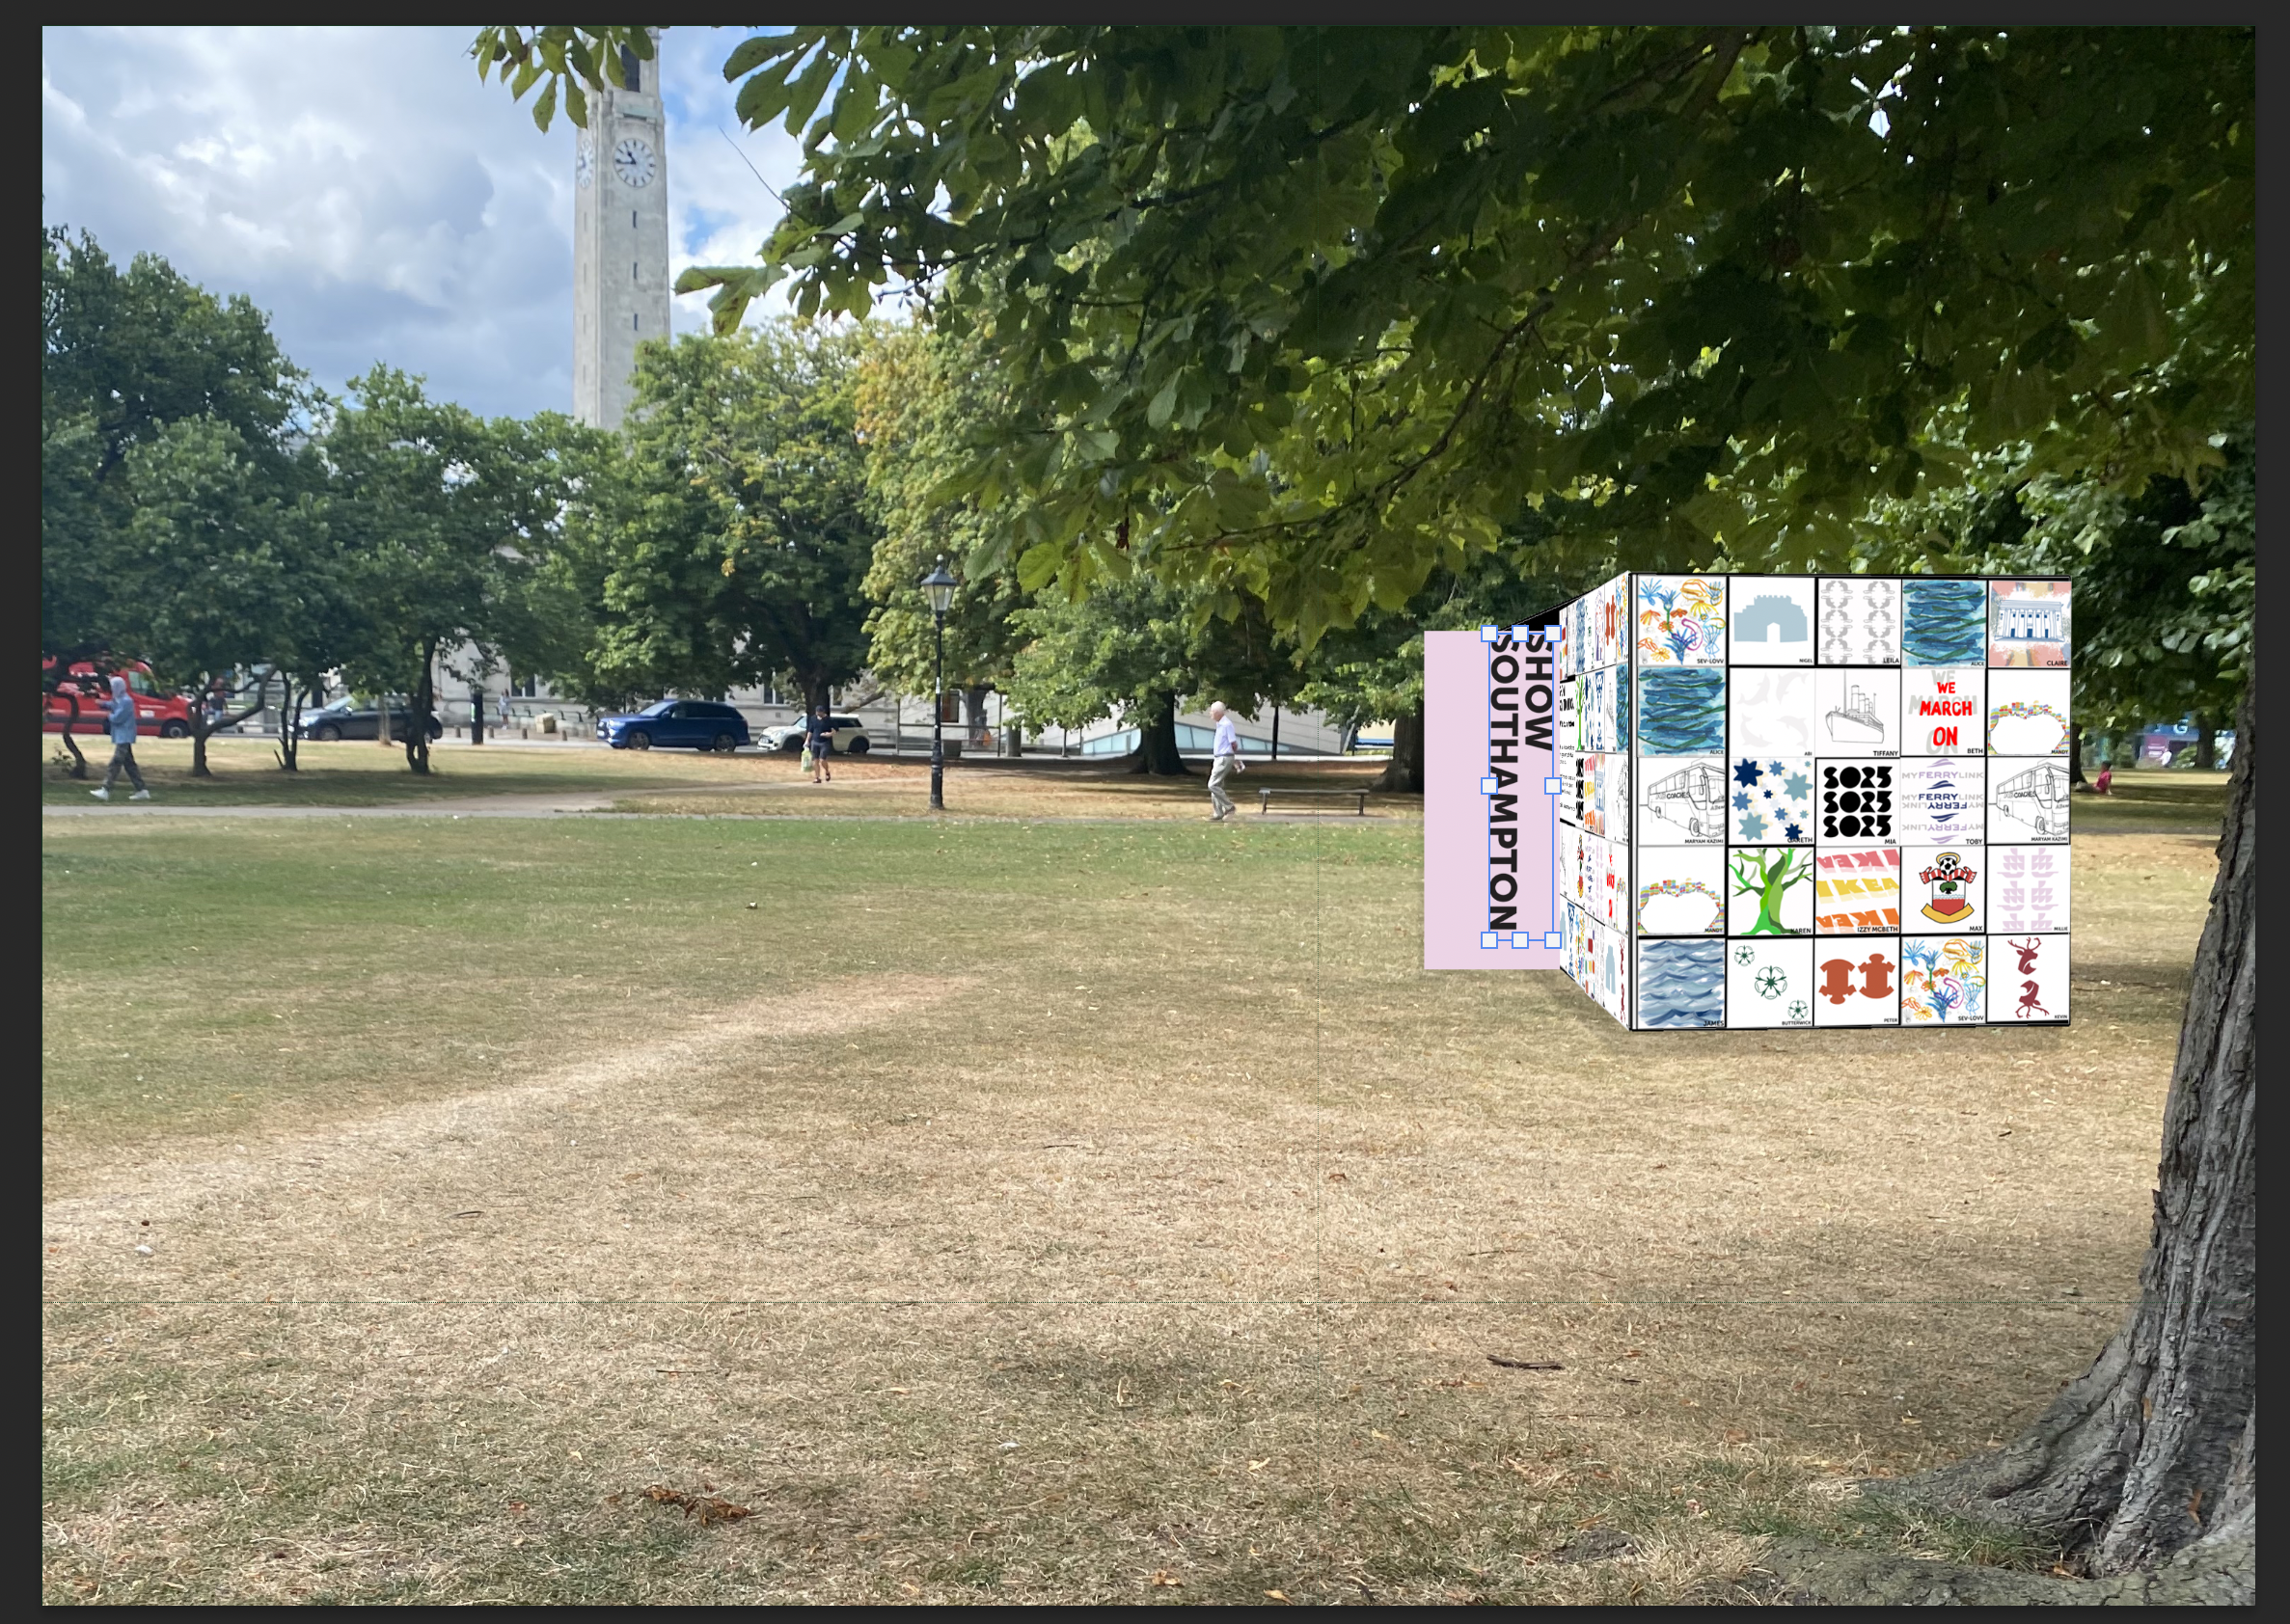
Visual 1


Visual 2


Diagram
I created 2 diagrams - one that explains using the shipping container and the size of it and the other that explains how the tiles will be placed onto the container.

I also created a simple diagram to see how the tiles would be placed onto the installation.

Material

Recycled Wood:
https://www.istockphoto.com/photos/wood-texture
The recycled wood is placed when the shipping container is being reused for its new purpose. It insulates the container and creates a layer against the shipping container metal to make sure the walls and floor are even. Again wood can also be used for the doors.
Recycled Aluminum:
https://www.behance.net/gallery/60064327/20-Seamless-Brushed-Metal-Background-Textures-DOWNLOAD
Aluminum again another metal that could be recycled and used within the installation. Combined with wood this could create a reinforced door as aswell as the structure that the tiles would sit on the exterior of the structure.
Recycled Steel:
https://www.pexels.com/search/metal%20texture/
This steel would of had a previous life but would support the new walls and structures that would be placed within the installation.
Marmoleom:
I chose this material for the flooring of the installation as it is hard wearing and easy to clean for workshops and other things that could spill onto the floor. A quote from the website shows how it is not harmful to the enviroment: “97% natural raw materials
72% rapidly renewable
43% recycled content
Created from natural, renewable materials, Marmoleum flooring is the most sustainable resilient flooring available. It contains no phthalates, no plasticisers and no mineral oil.
The key raw materials used in the Marmoleum production include:
● linseed oil, which comes from the flax plant seeds
● wood flour from controlled forests and
● jute, the natural backing onto which the linoleum is calandered’
Installation 2
Design Development
Visual 1

Visual 2
Diagram

Material

Recycled Wood:
https://www.istockphoto.com/photos/wood-texture
The wood to create the shape of the installation and the walls of the installation.
Old Wooden Crates:
https://www.istockphoto.com/search/2/image?phrase=wood+crate
Another alternative to the wood would be old wooden creates which could be placed within the installation as scraps to create the shape.
Recycled Steel:
https://www.pexels.com/search/metal%20texture/
Steel would be placed within the installation as reinforcements so that the installation could be structurally supported.
Recycled Plastic Sheet:
Another interesting way of making the exterior of the installation weather resistant would be to place recycled plastic sheeting on the exterior. This could then have the wording for the installation information placed on it.
Installation 3
Design Development


Visual 1


Visual 2


Diagram

Material

Recycled Wood:
https://www.istockphoto.com/photos/wood-texture
Wood is used to create the main frame within the installation structure. It could also be used to go behind the aluminium structure that the tiles would sit on.
Stucco:
https://www.dreamstime.com/k-seamless-stucco-texture-light-high-resolution-image155920555
I thought Stucco would be an interesting material to use within an installation as it is made from cement plaster and requires minimal maintenance which would keep the structure of the installation secure.
Recycled Steel:
https://www.pexels.com/search/metal%20texture/
Recycled steel again used to create the structural support within the installation, to make sure that it is sturdy and weather resistant.
Smile Plastics:
https://www.material-lab.co.uk/blog/interview-smile-plastics/
Another alternative to using plastic within the installations on the information walls or to make sure that the materials inside dont get too wet are smile plastics which are created from recycled plastics. They can be created into any colour or shape which I thought might be a fun sustainable solution.
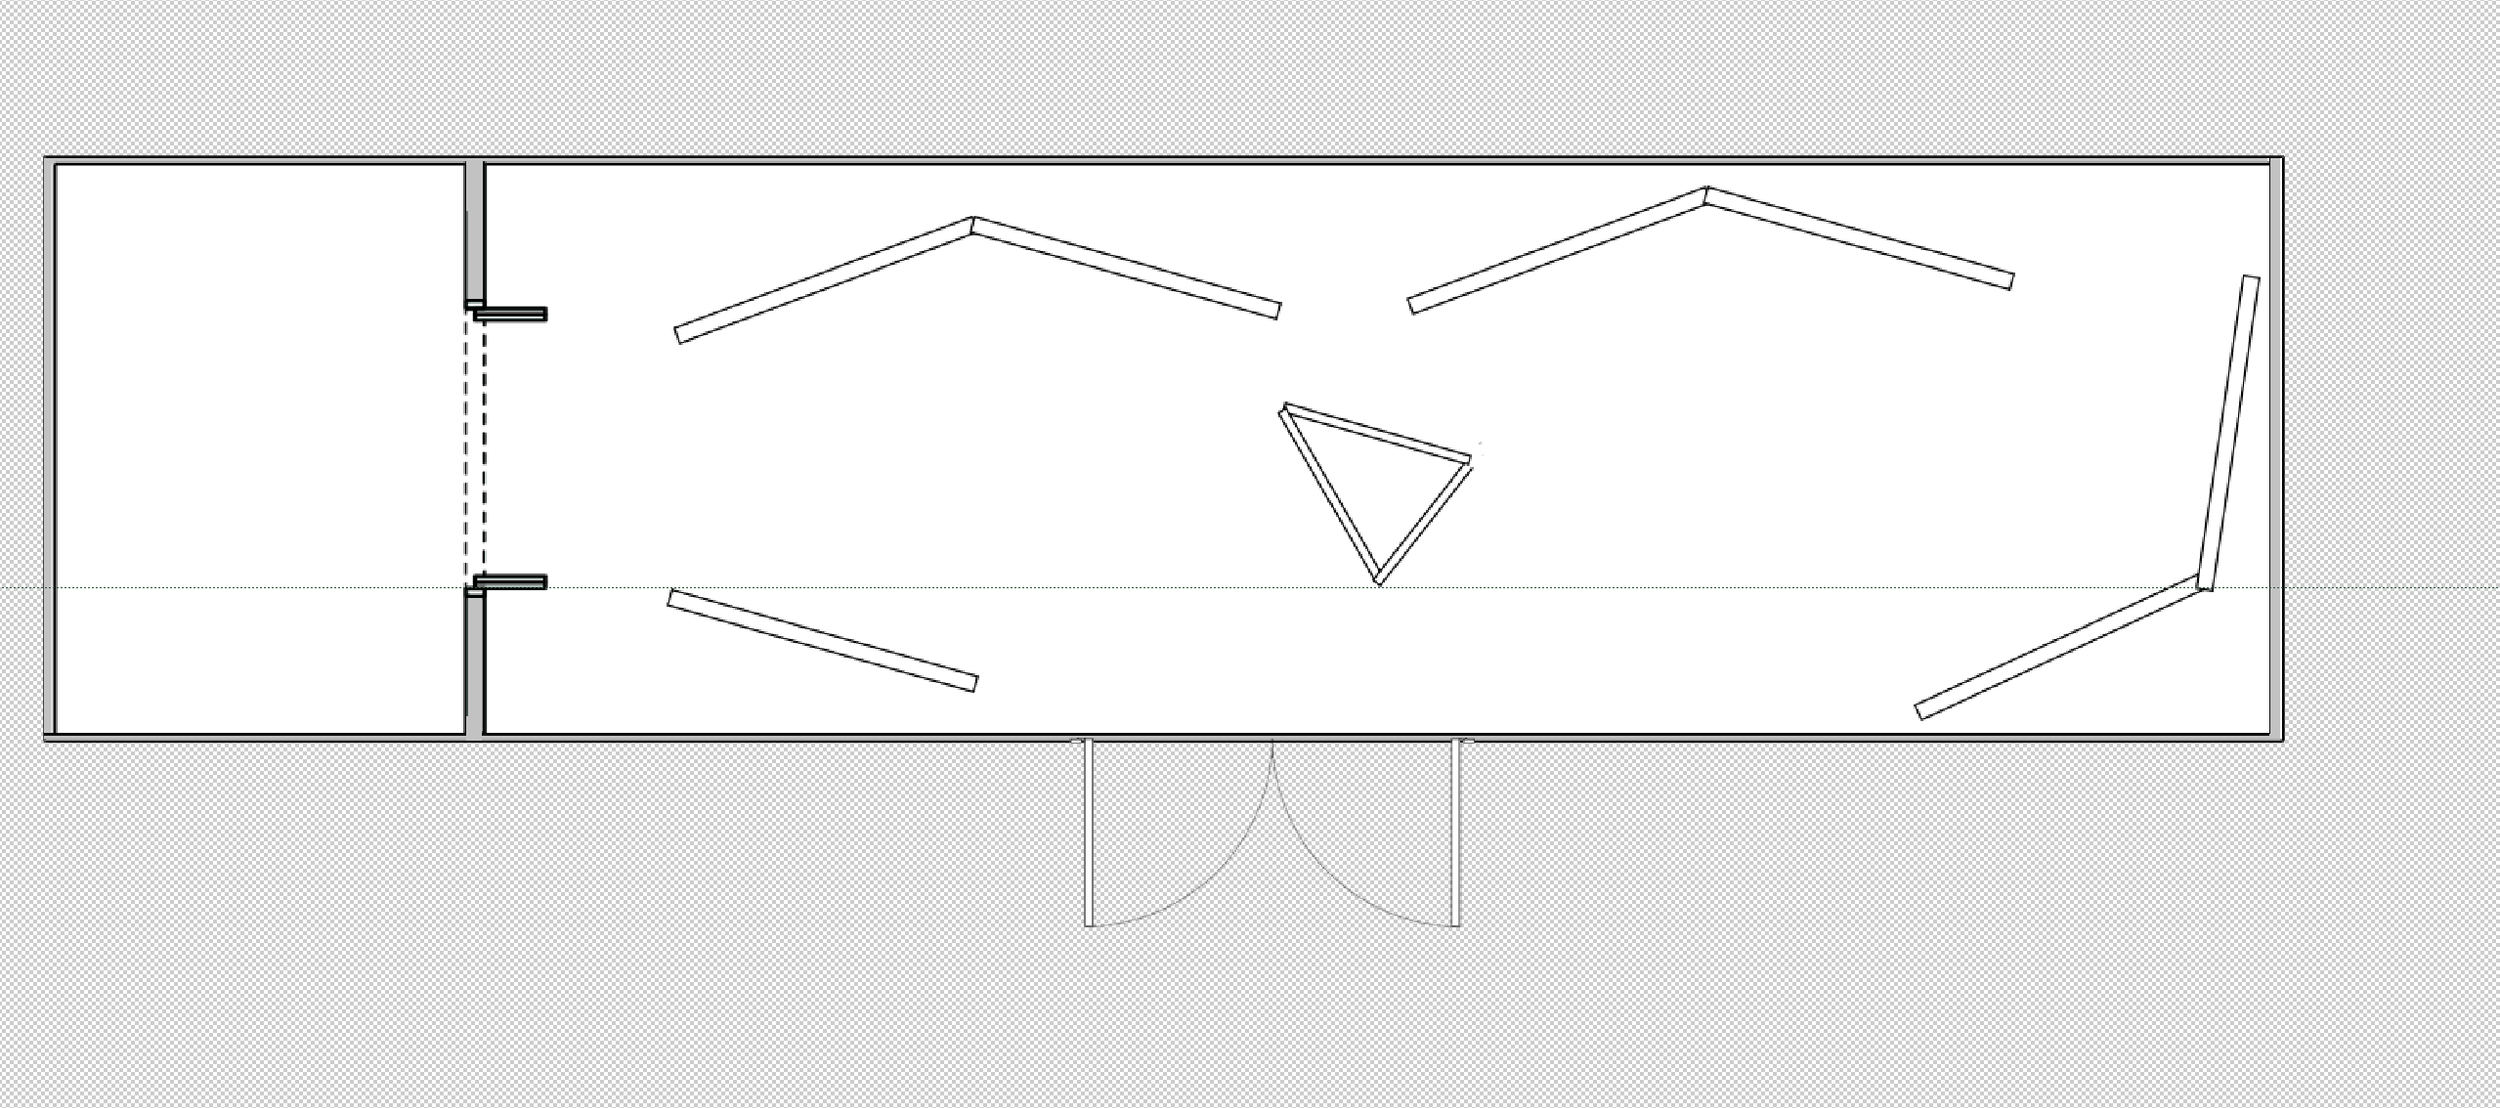
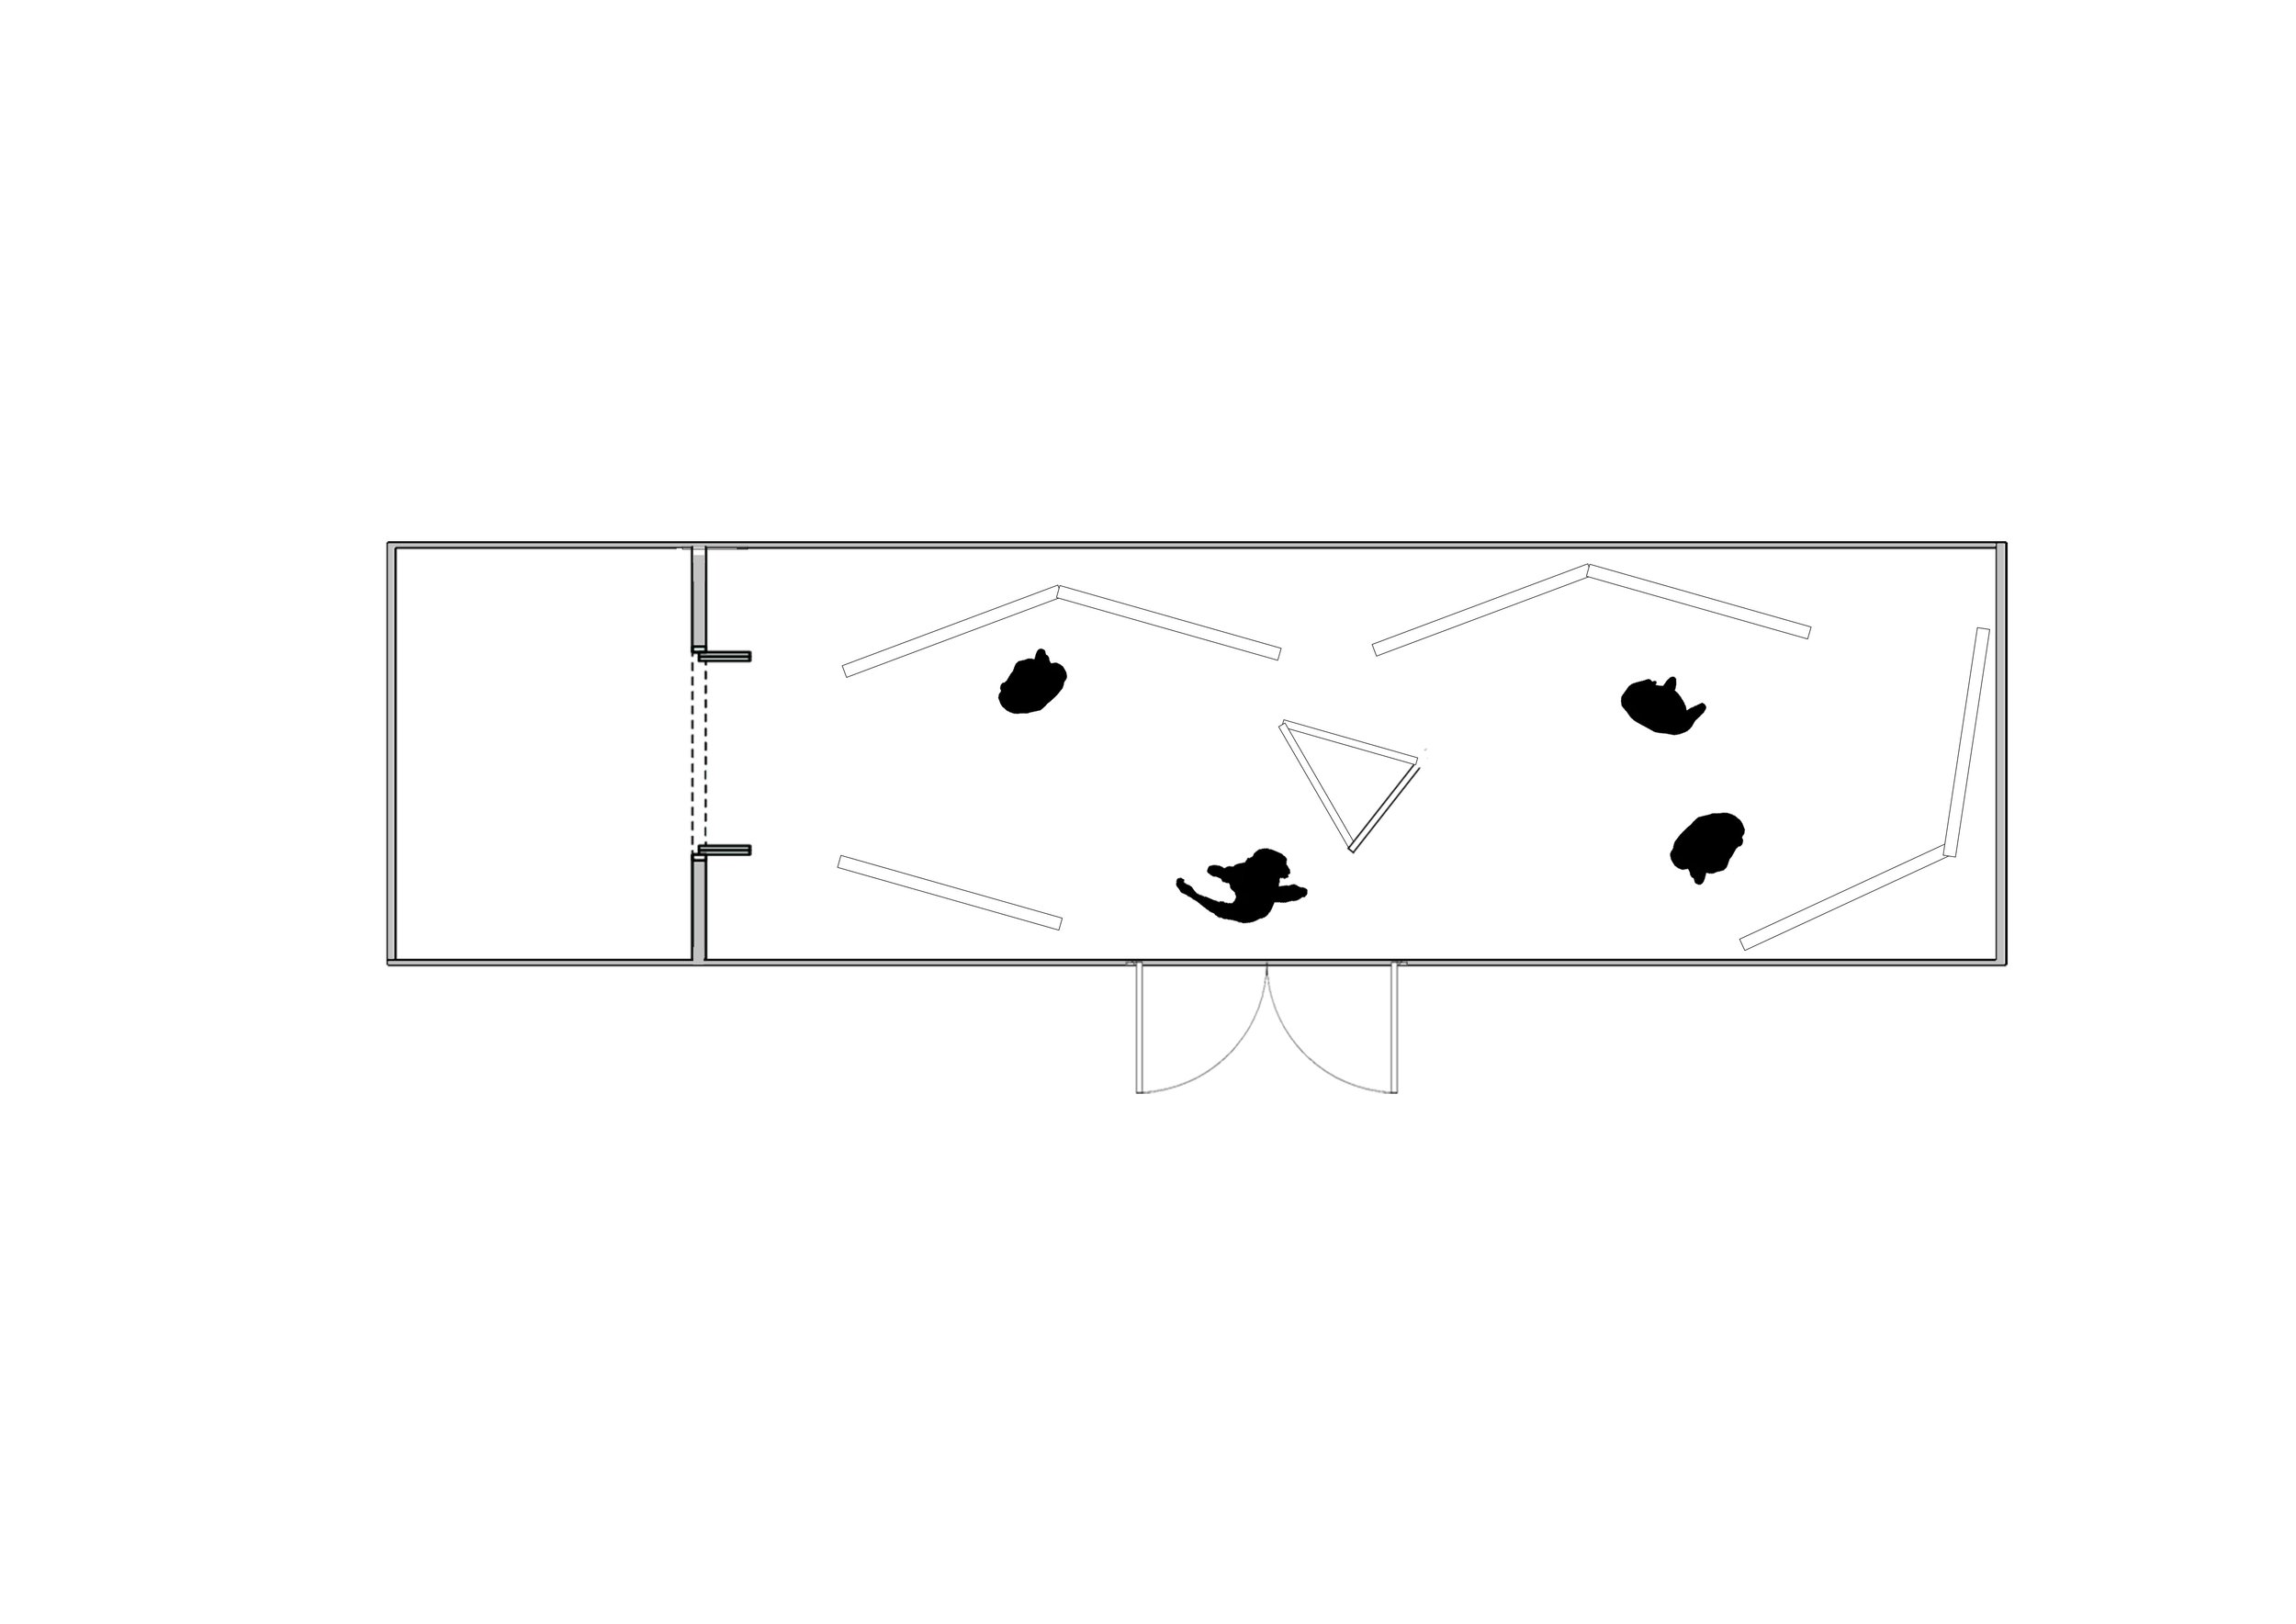
Floor Plans
For the floor plans there are 3 main uses for the space, which I decided to put into floor plans:

Use 1: Workshop

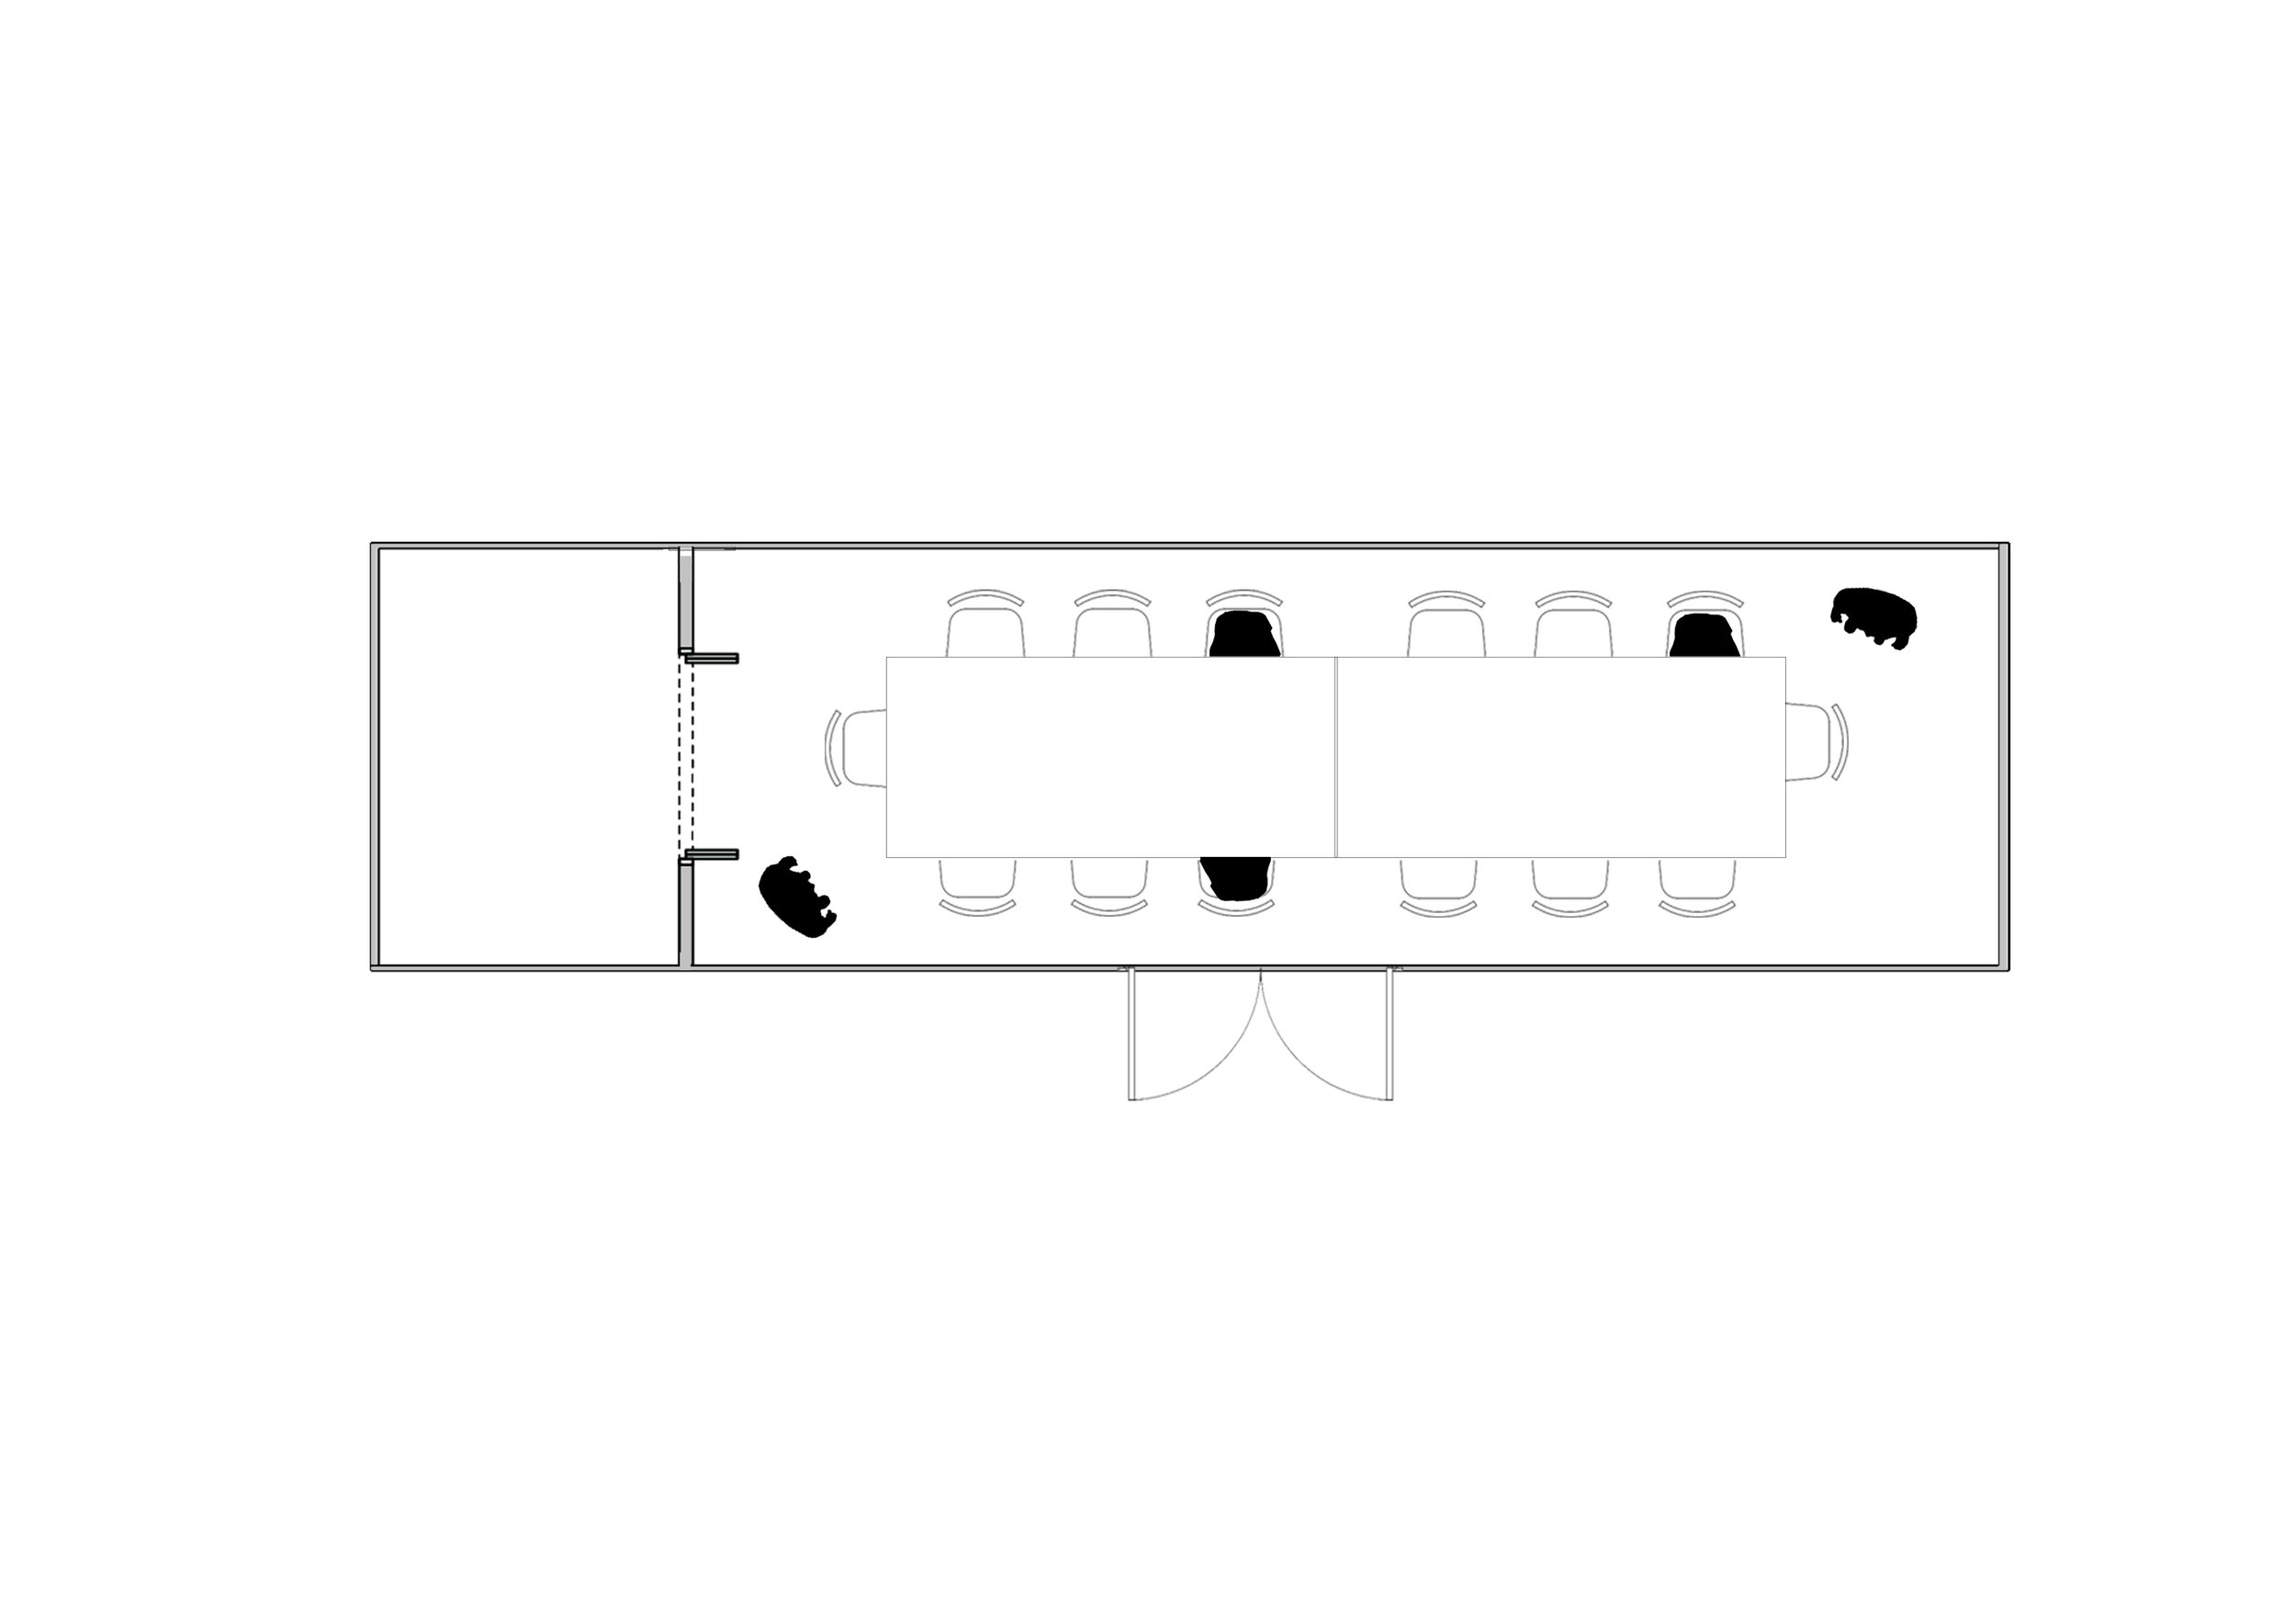
Use 2: Exhibition
Use 3: Talk


Ceiling Plan:


Website
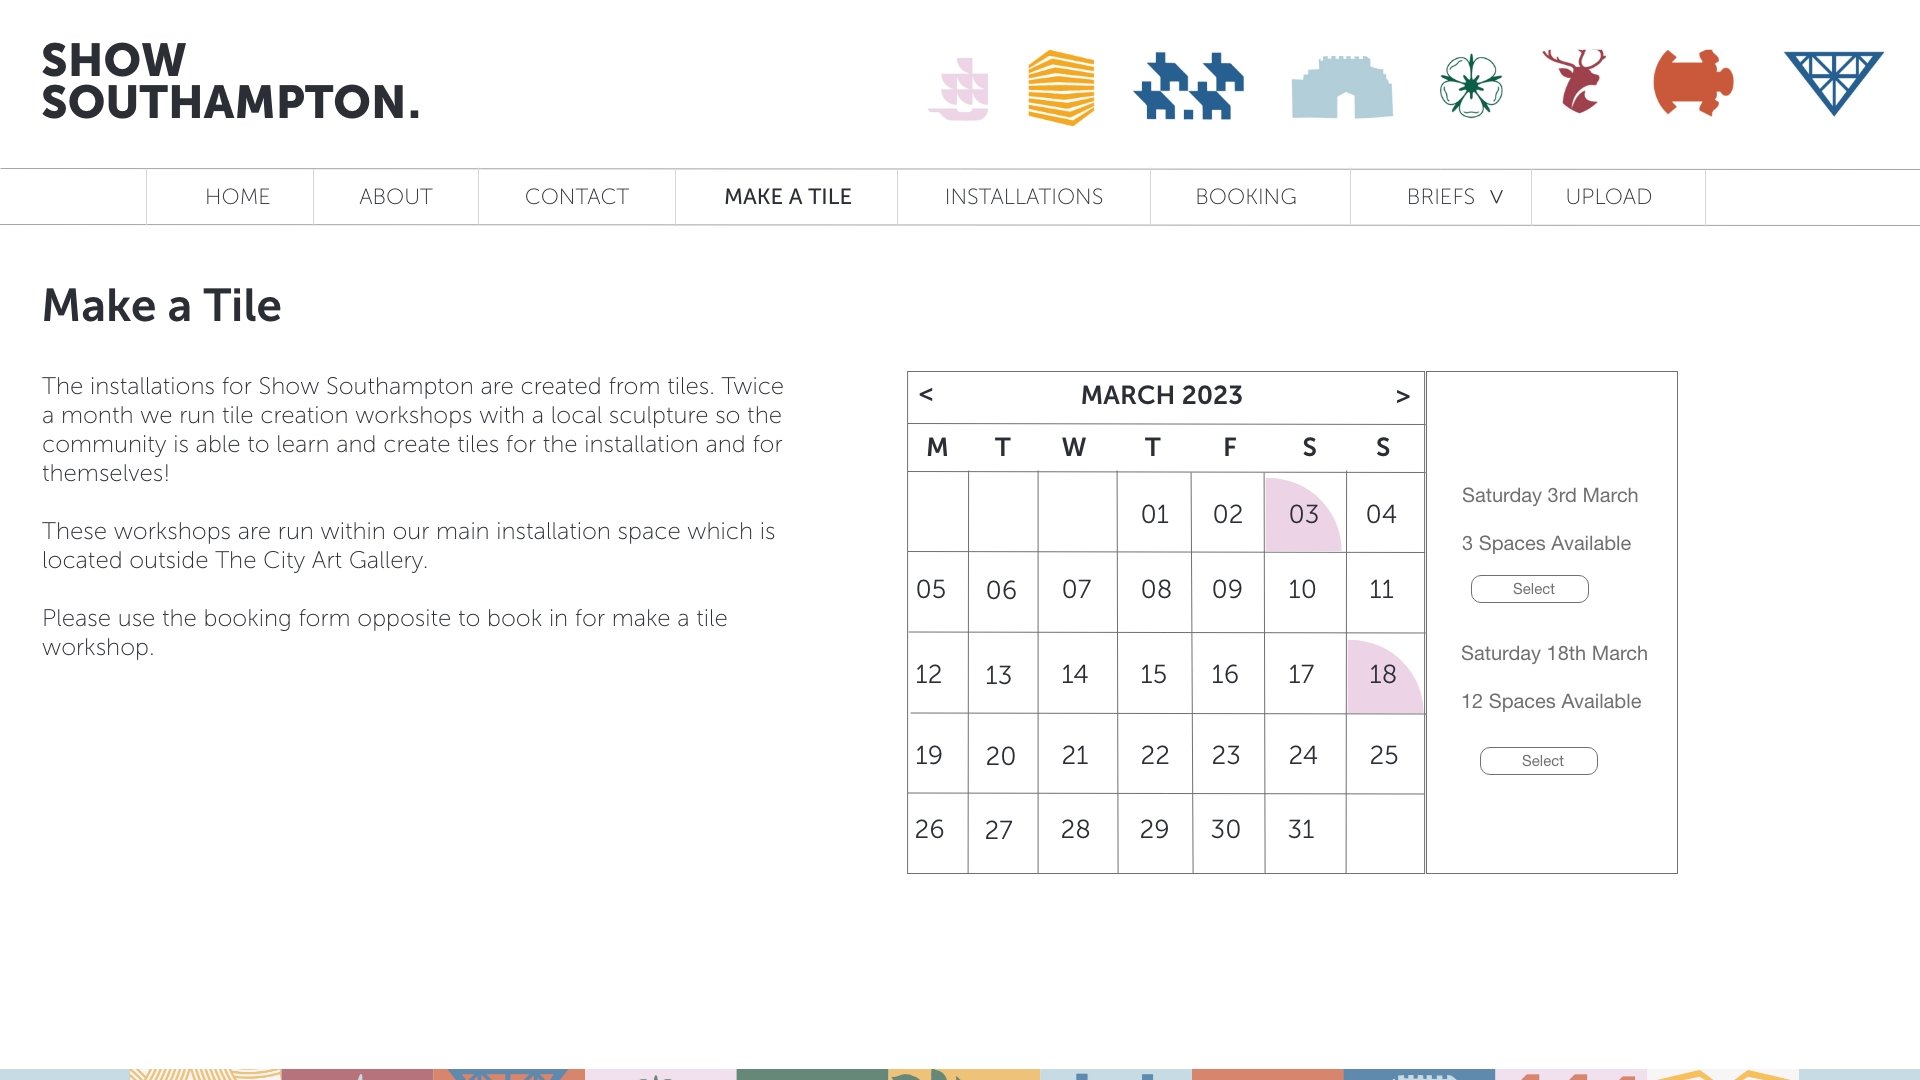
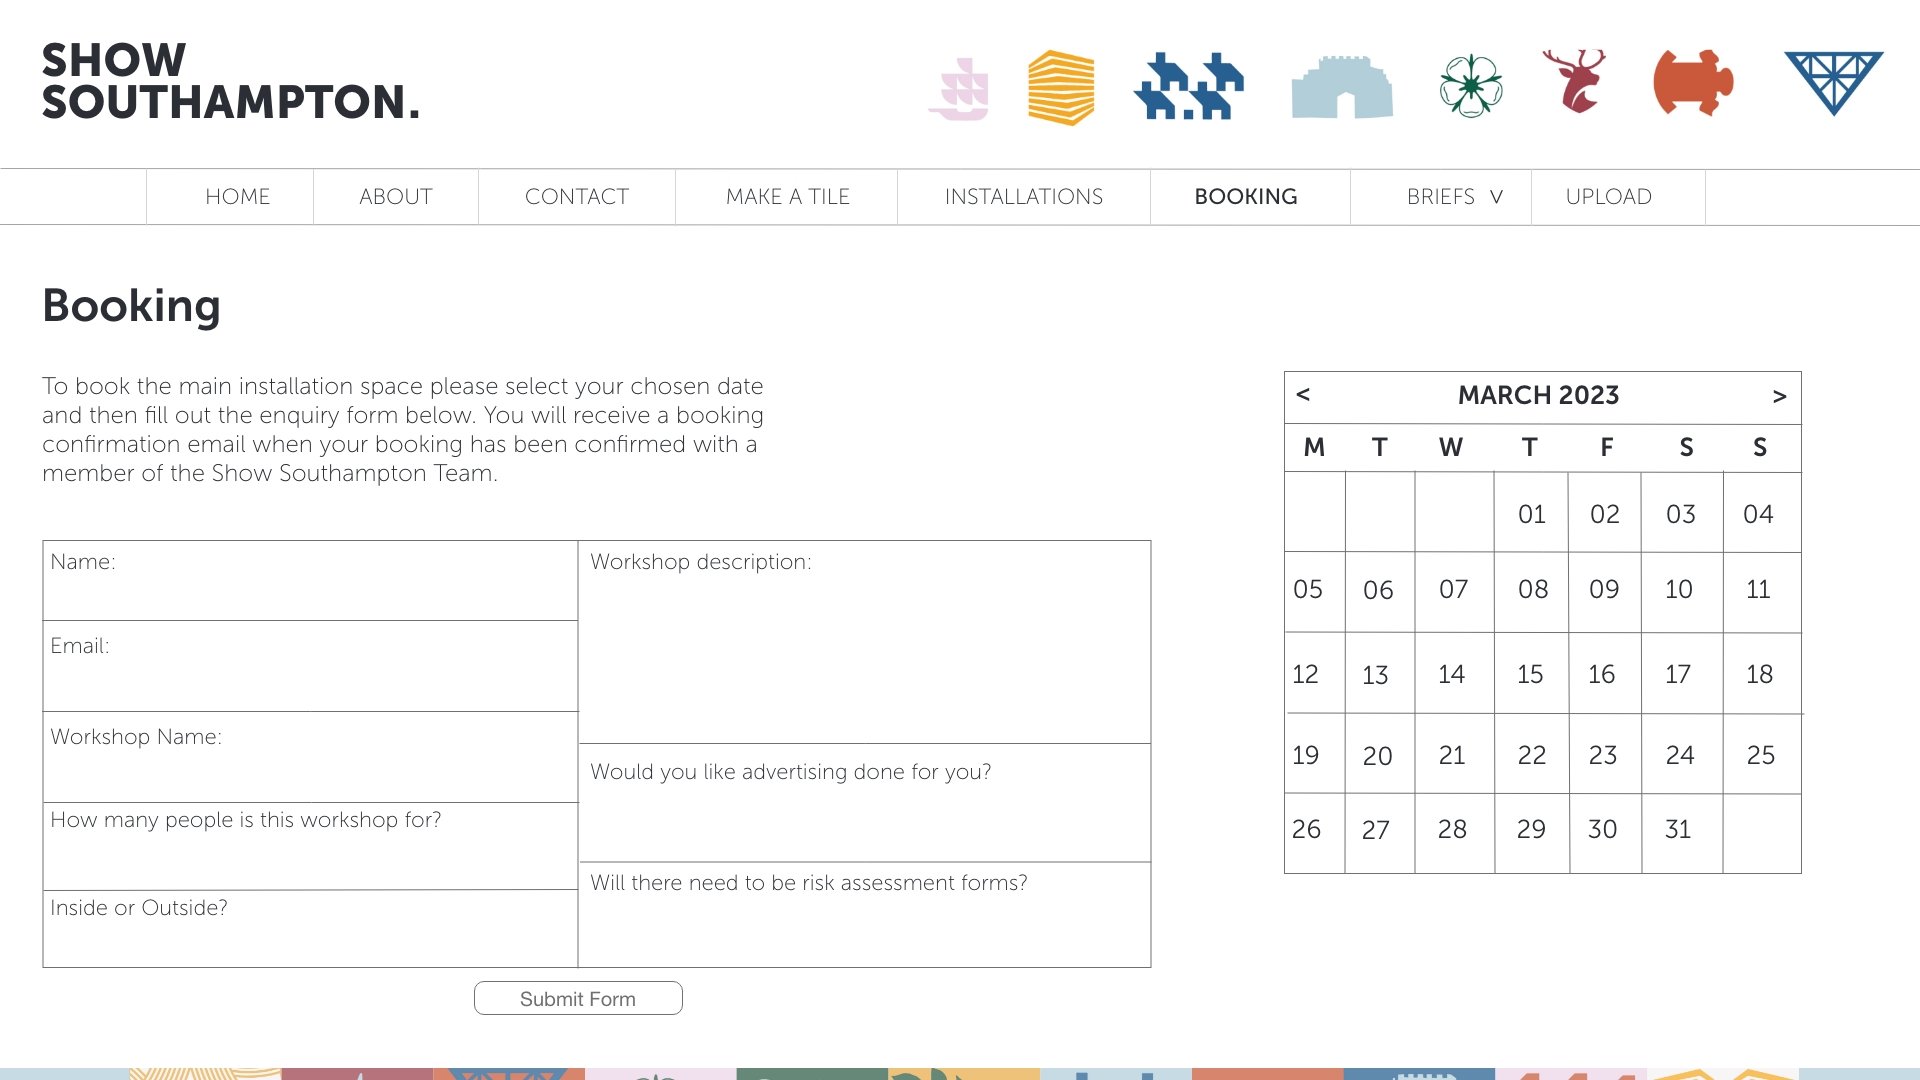
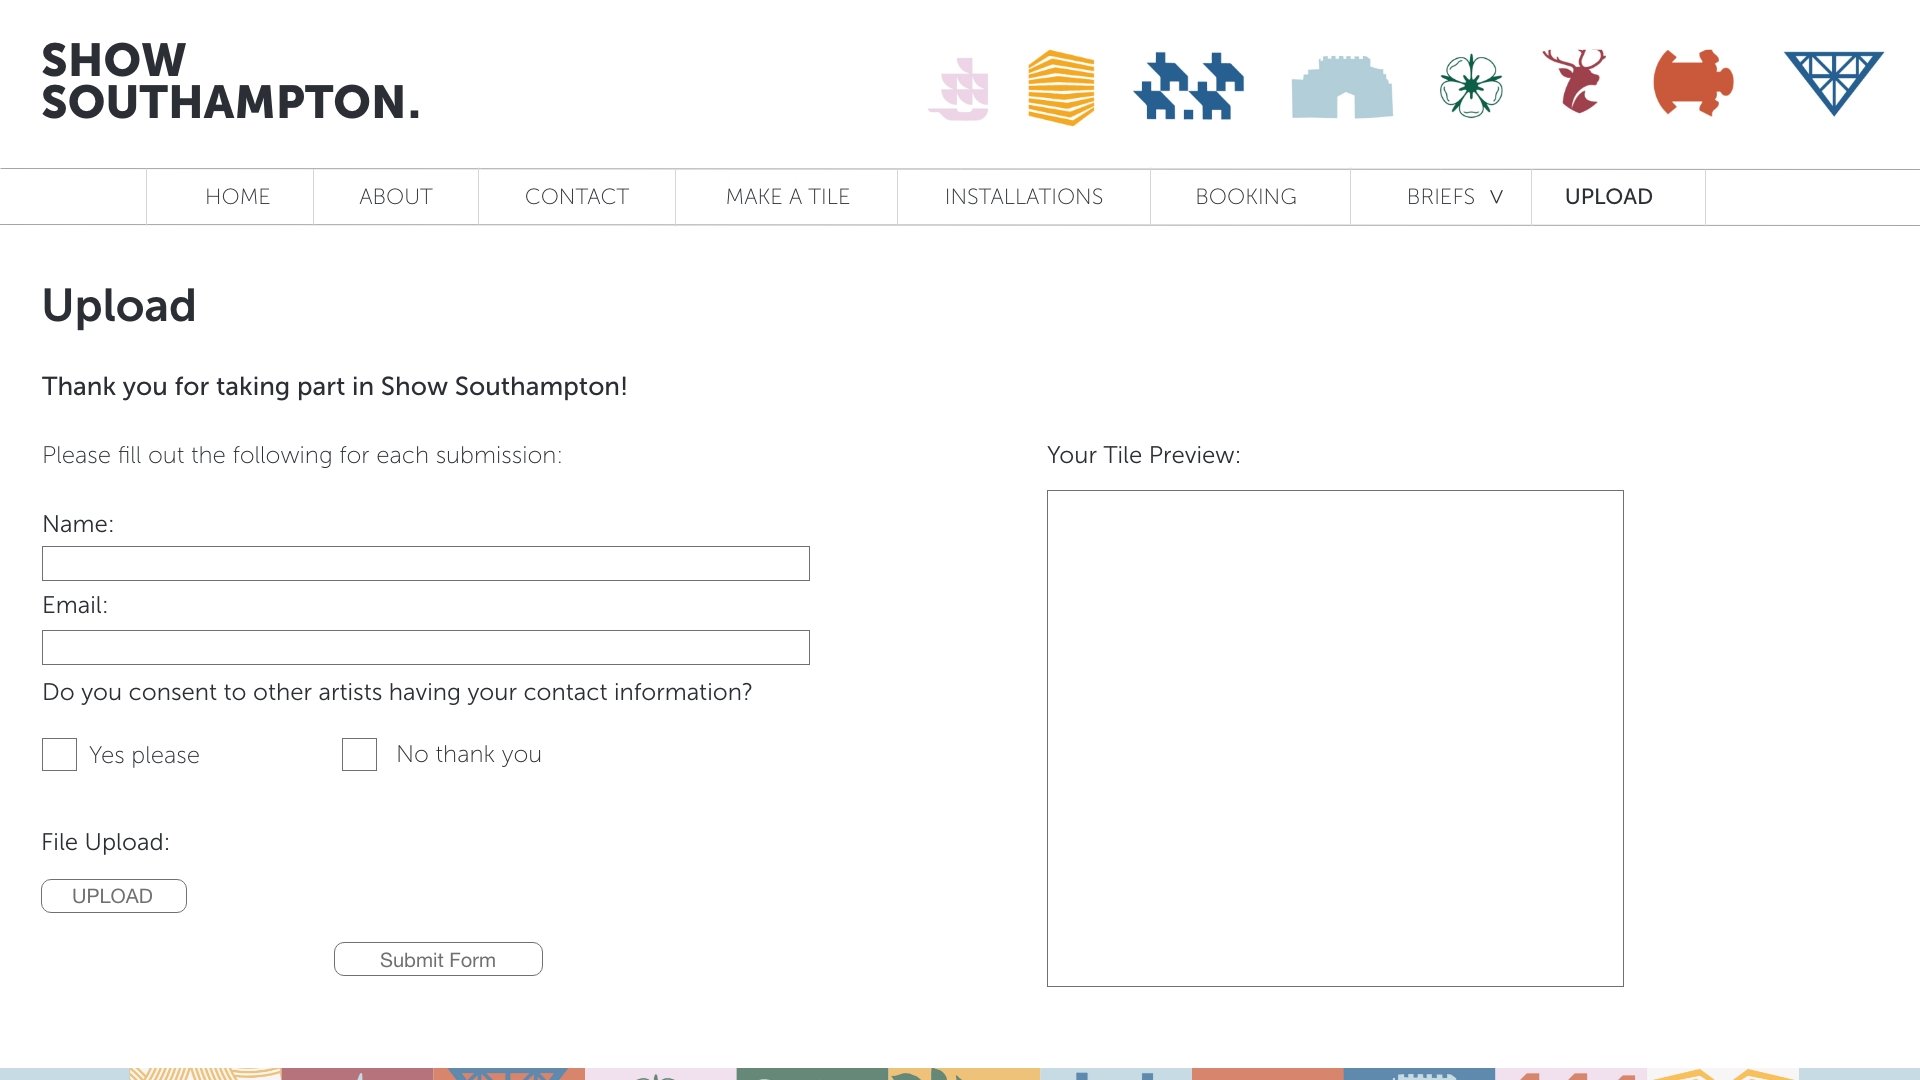
Pages I needed to include:
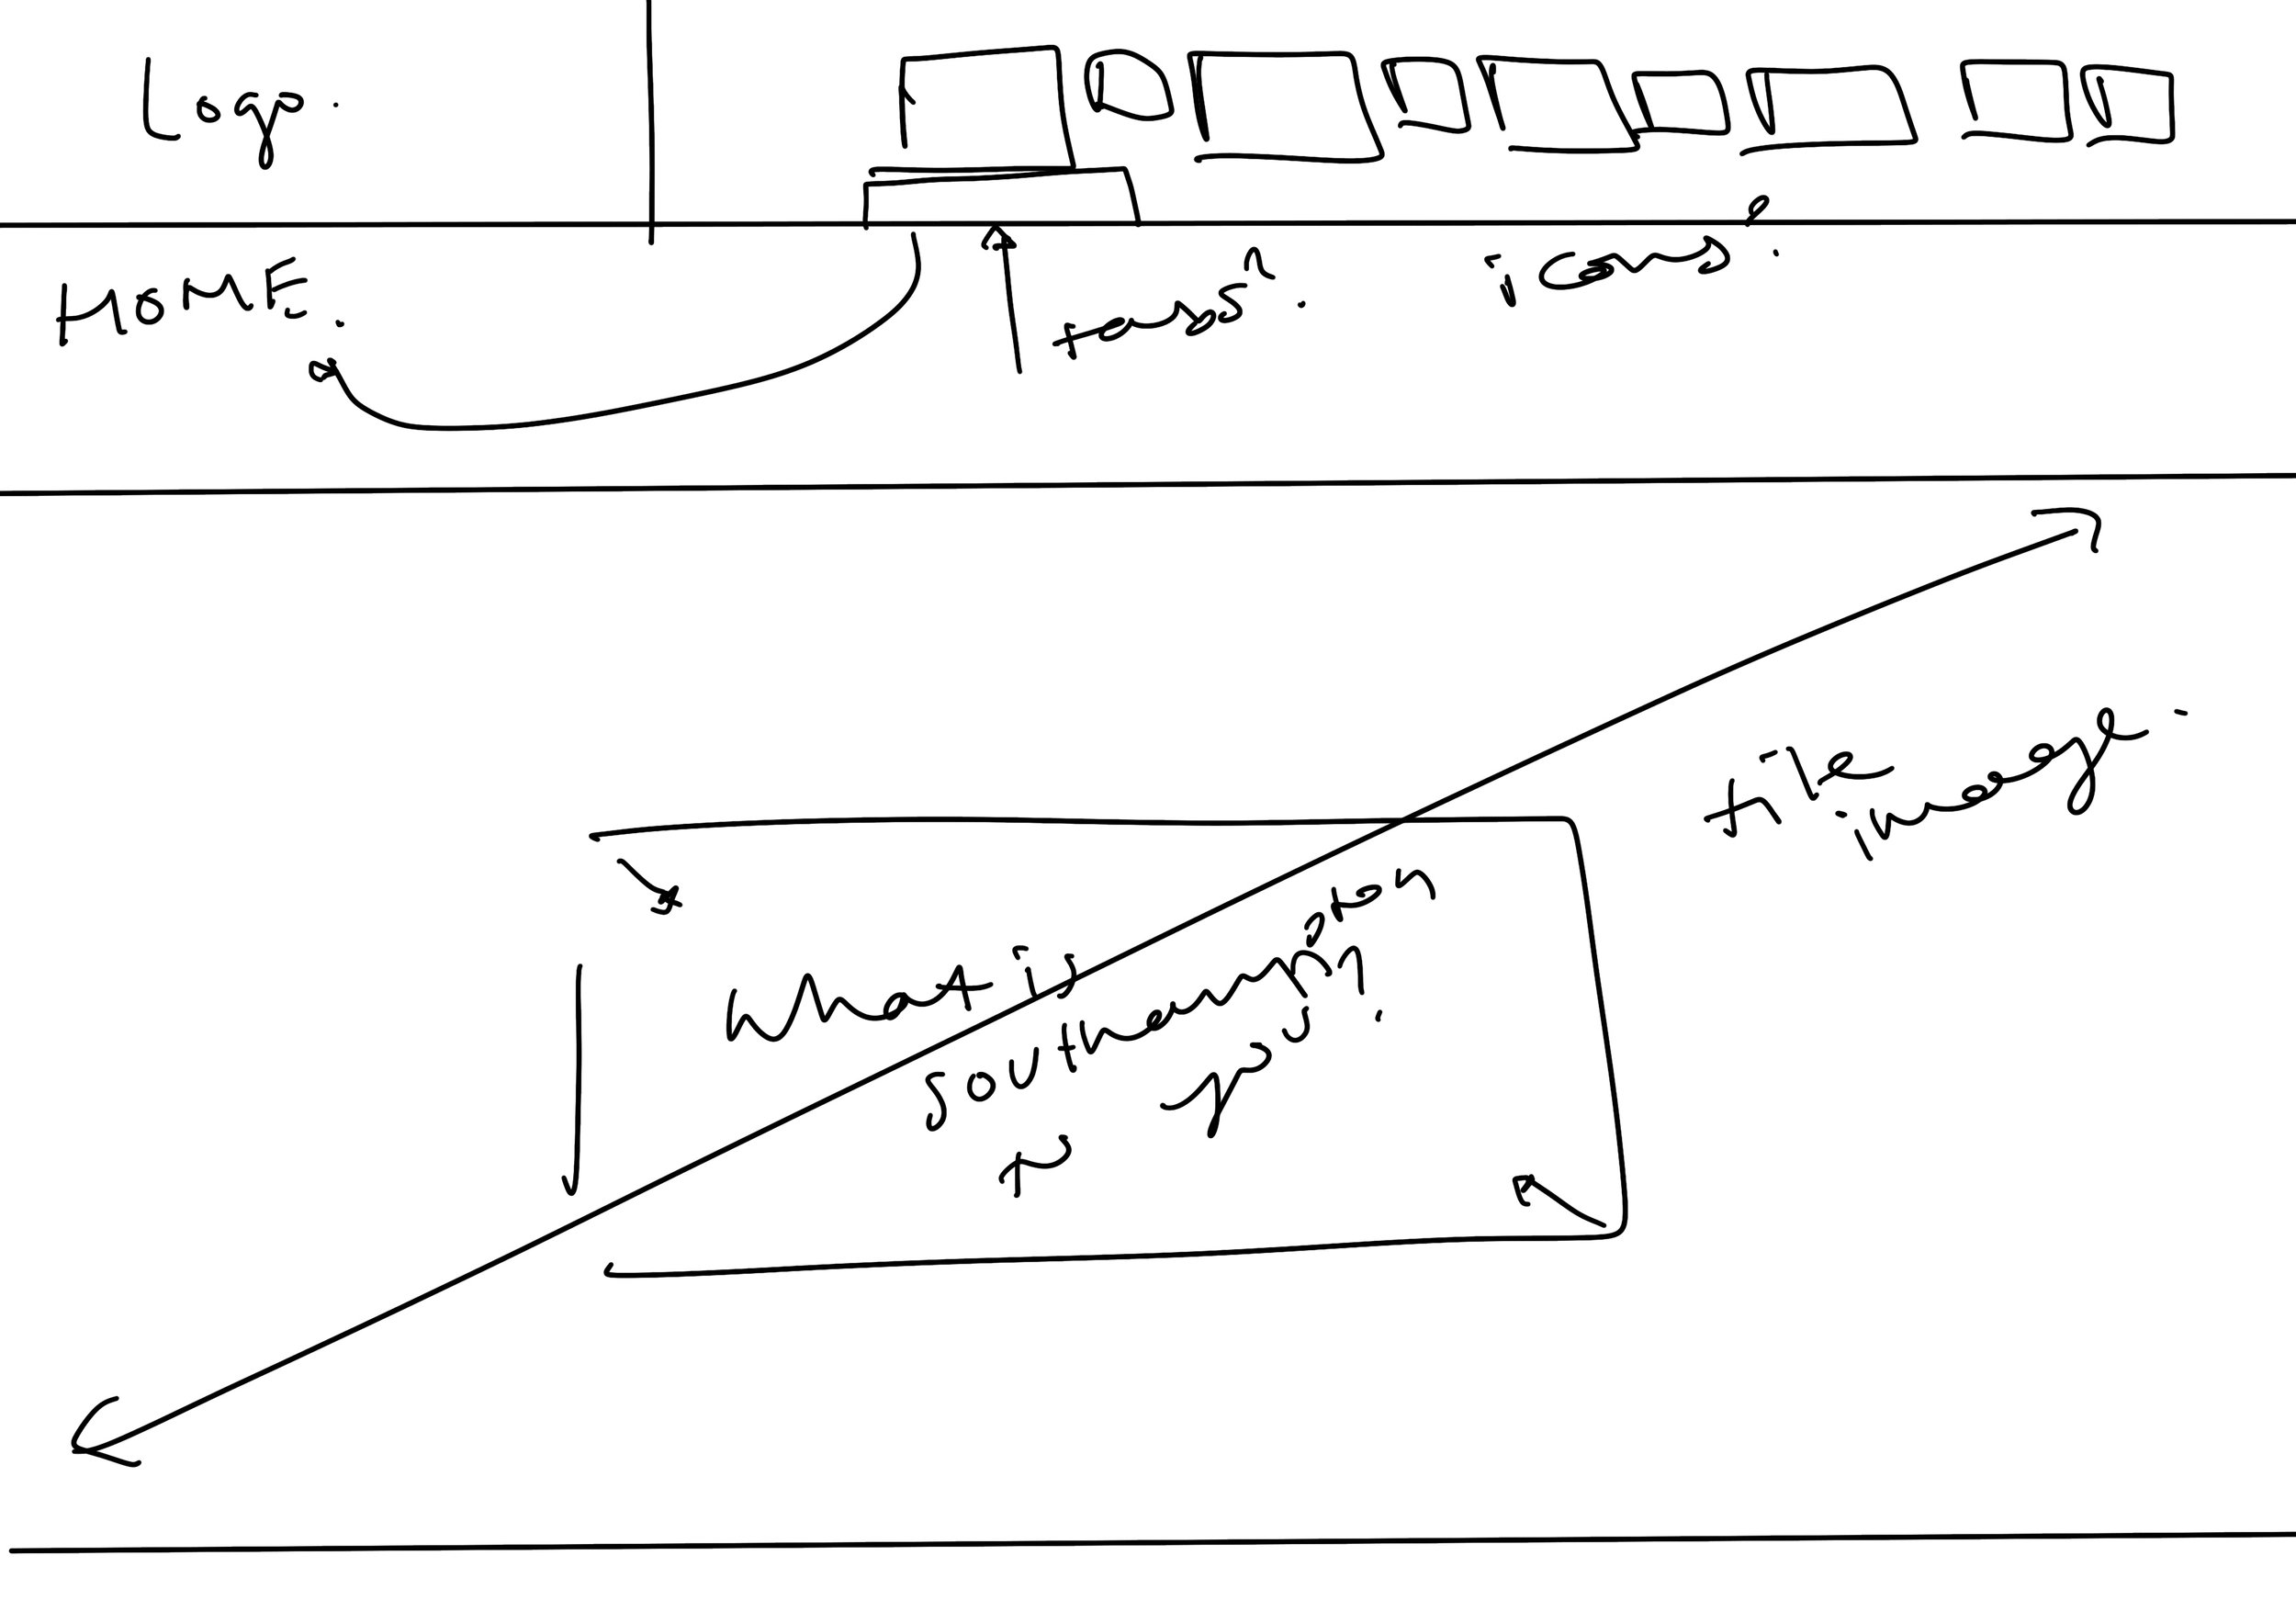
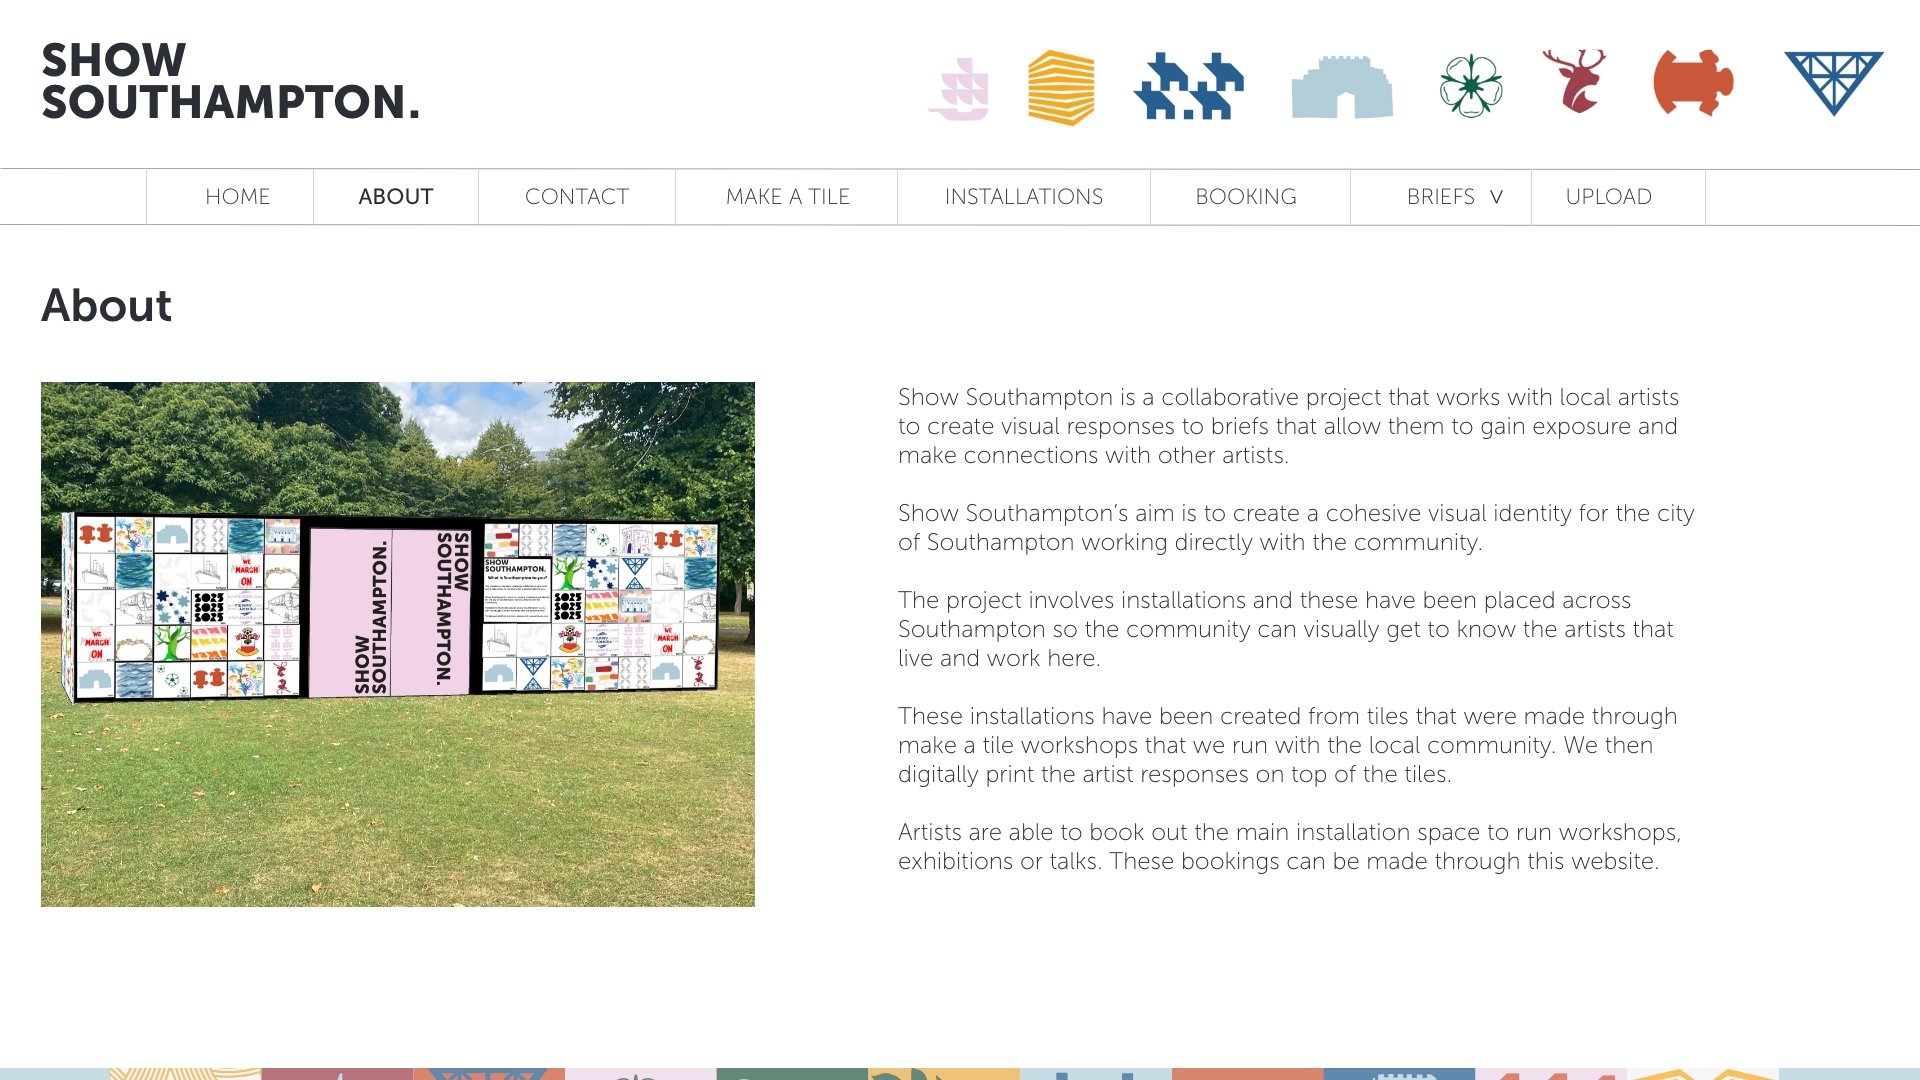
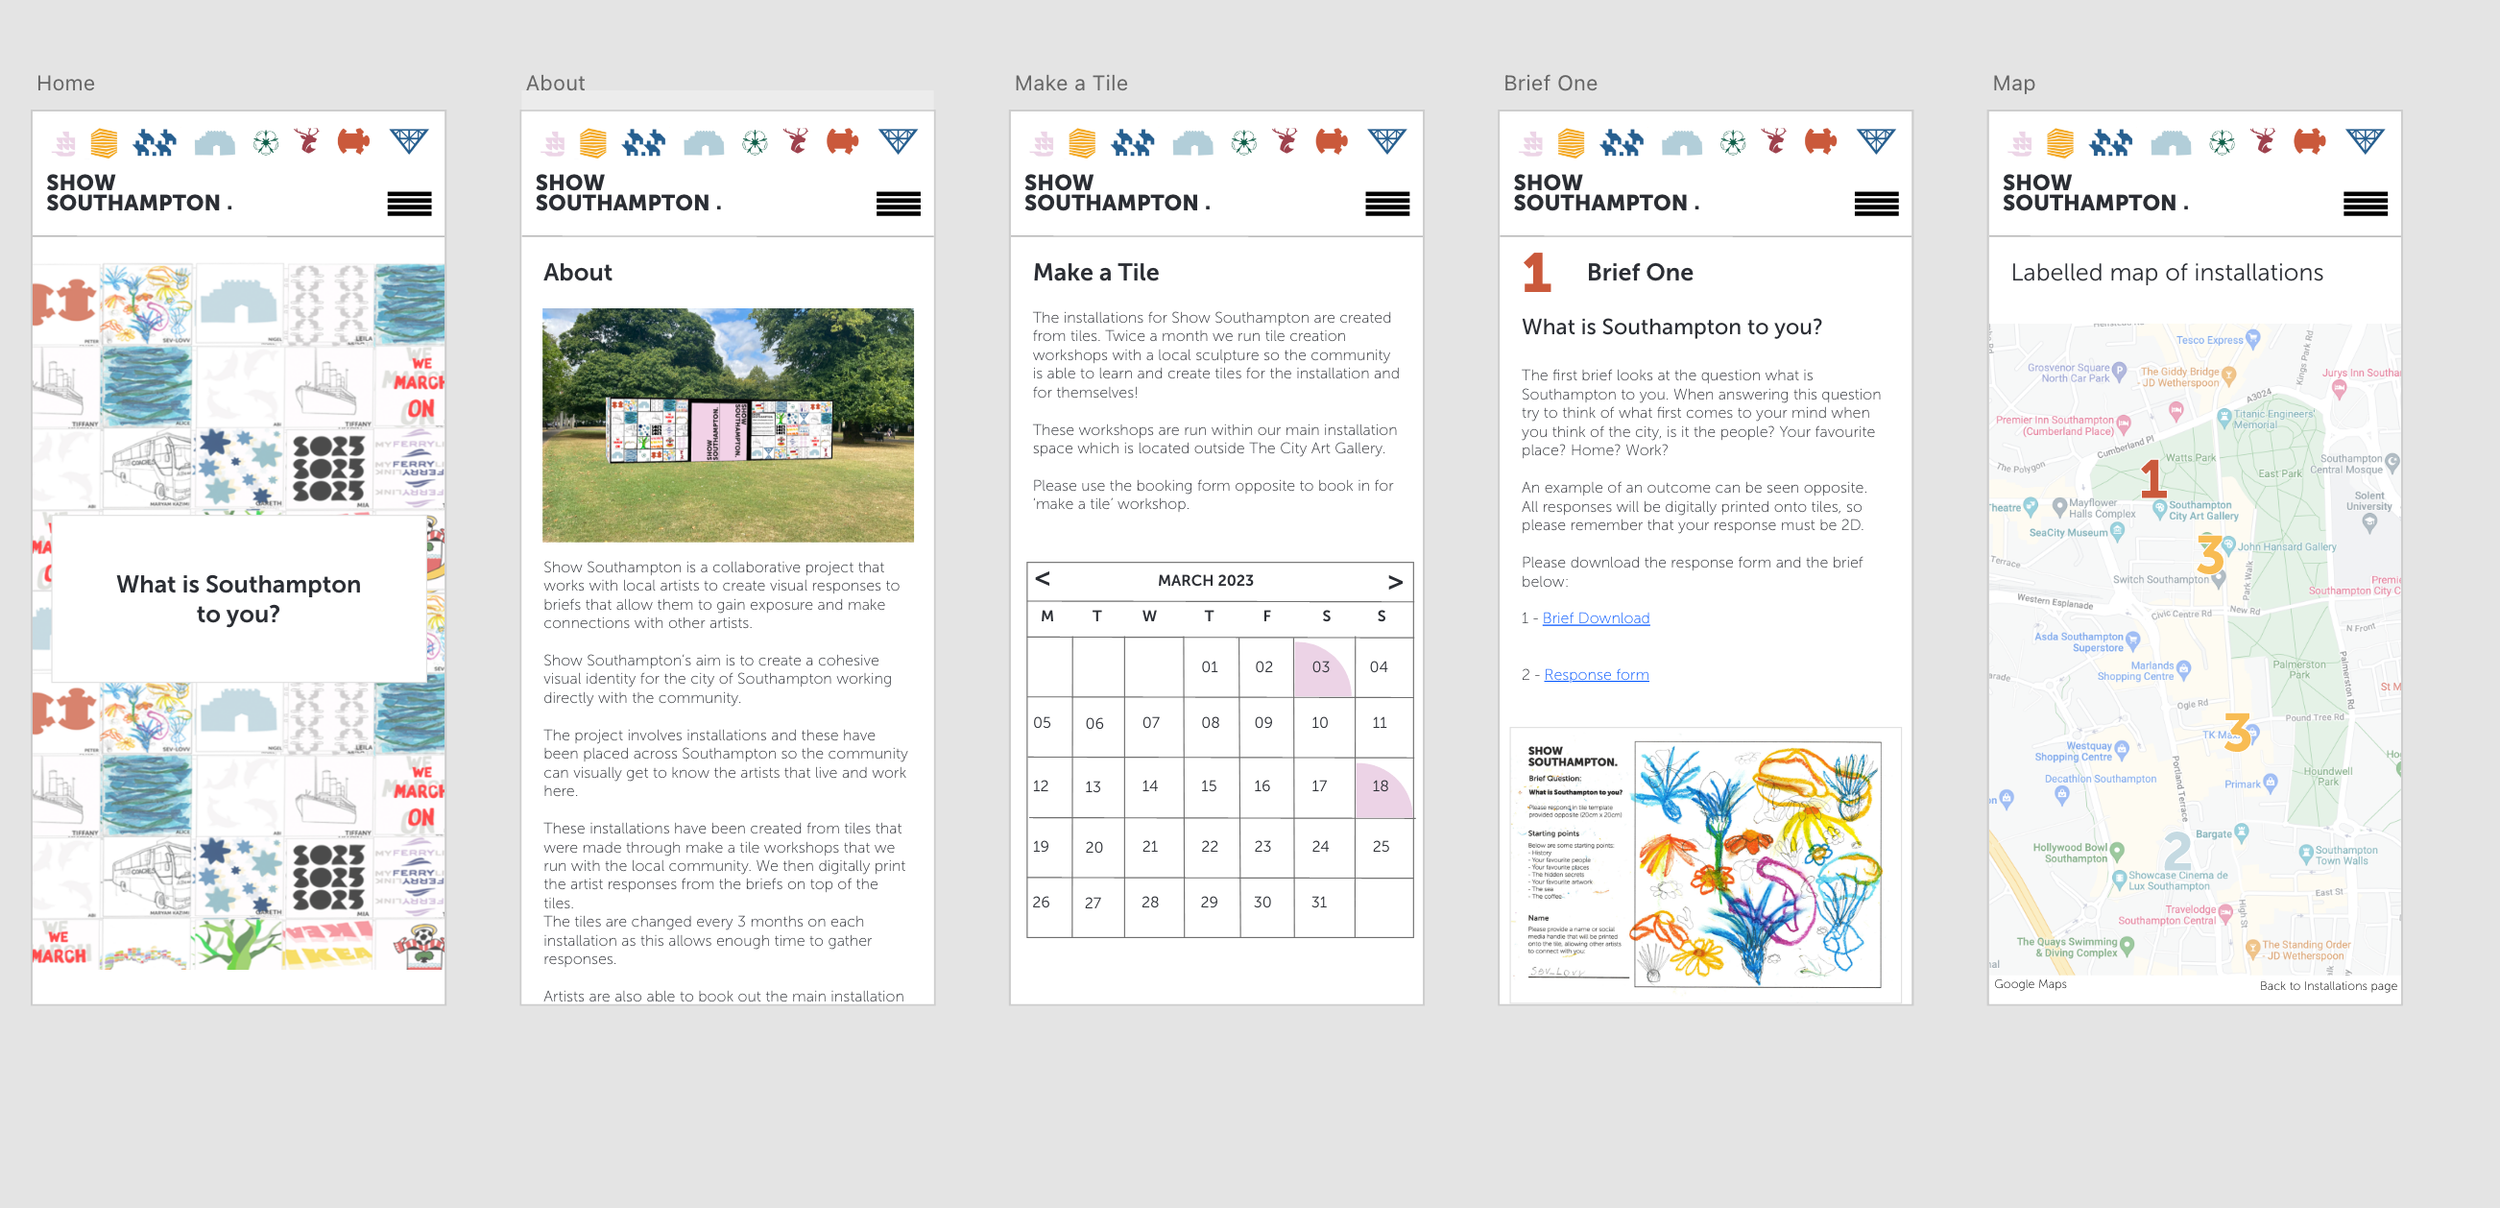
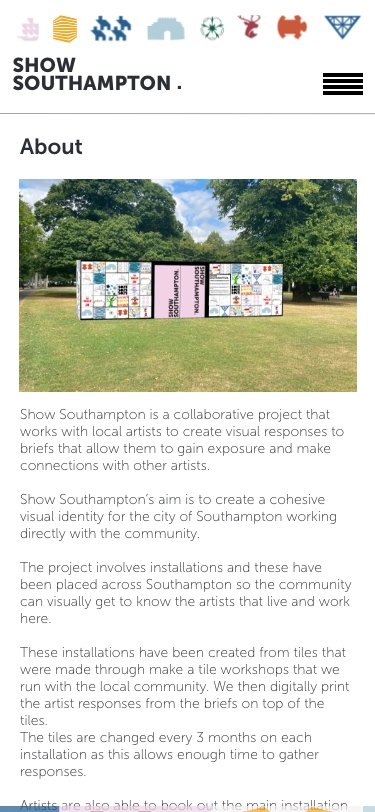
Home
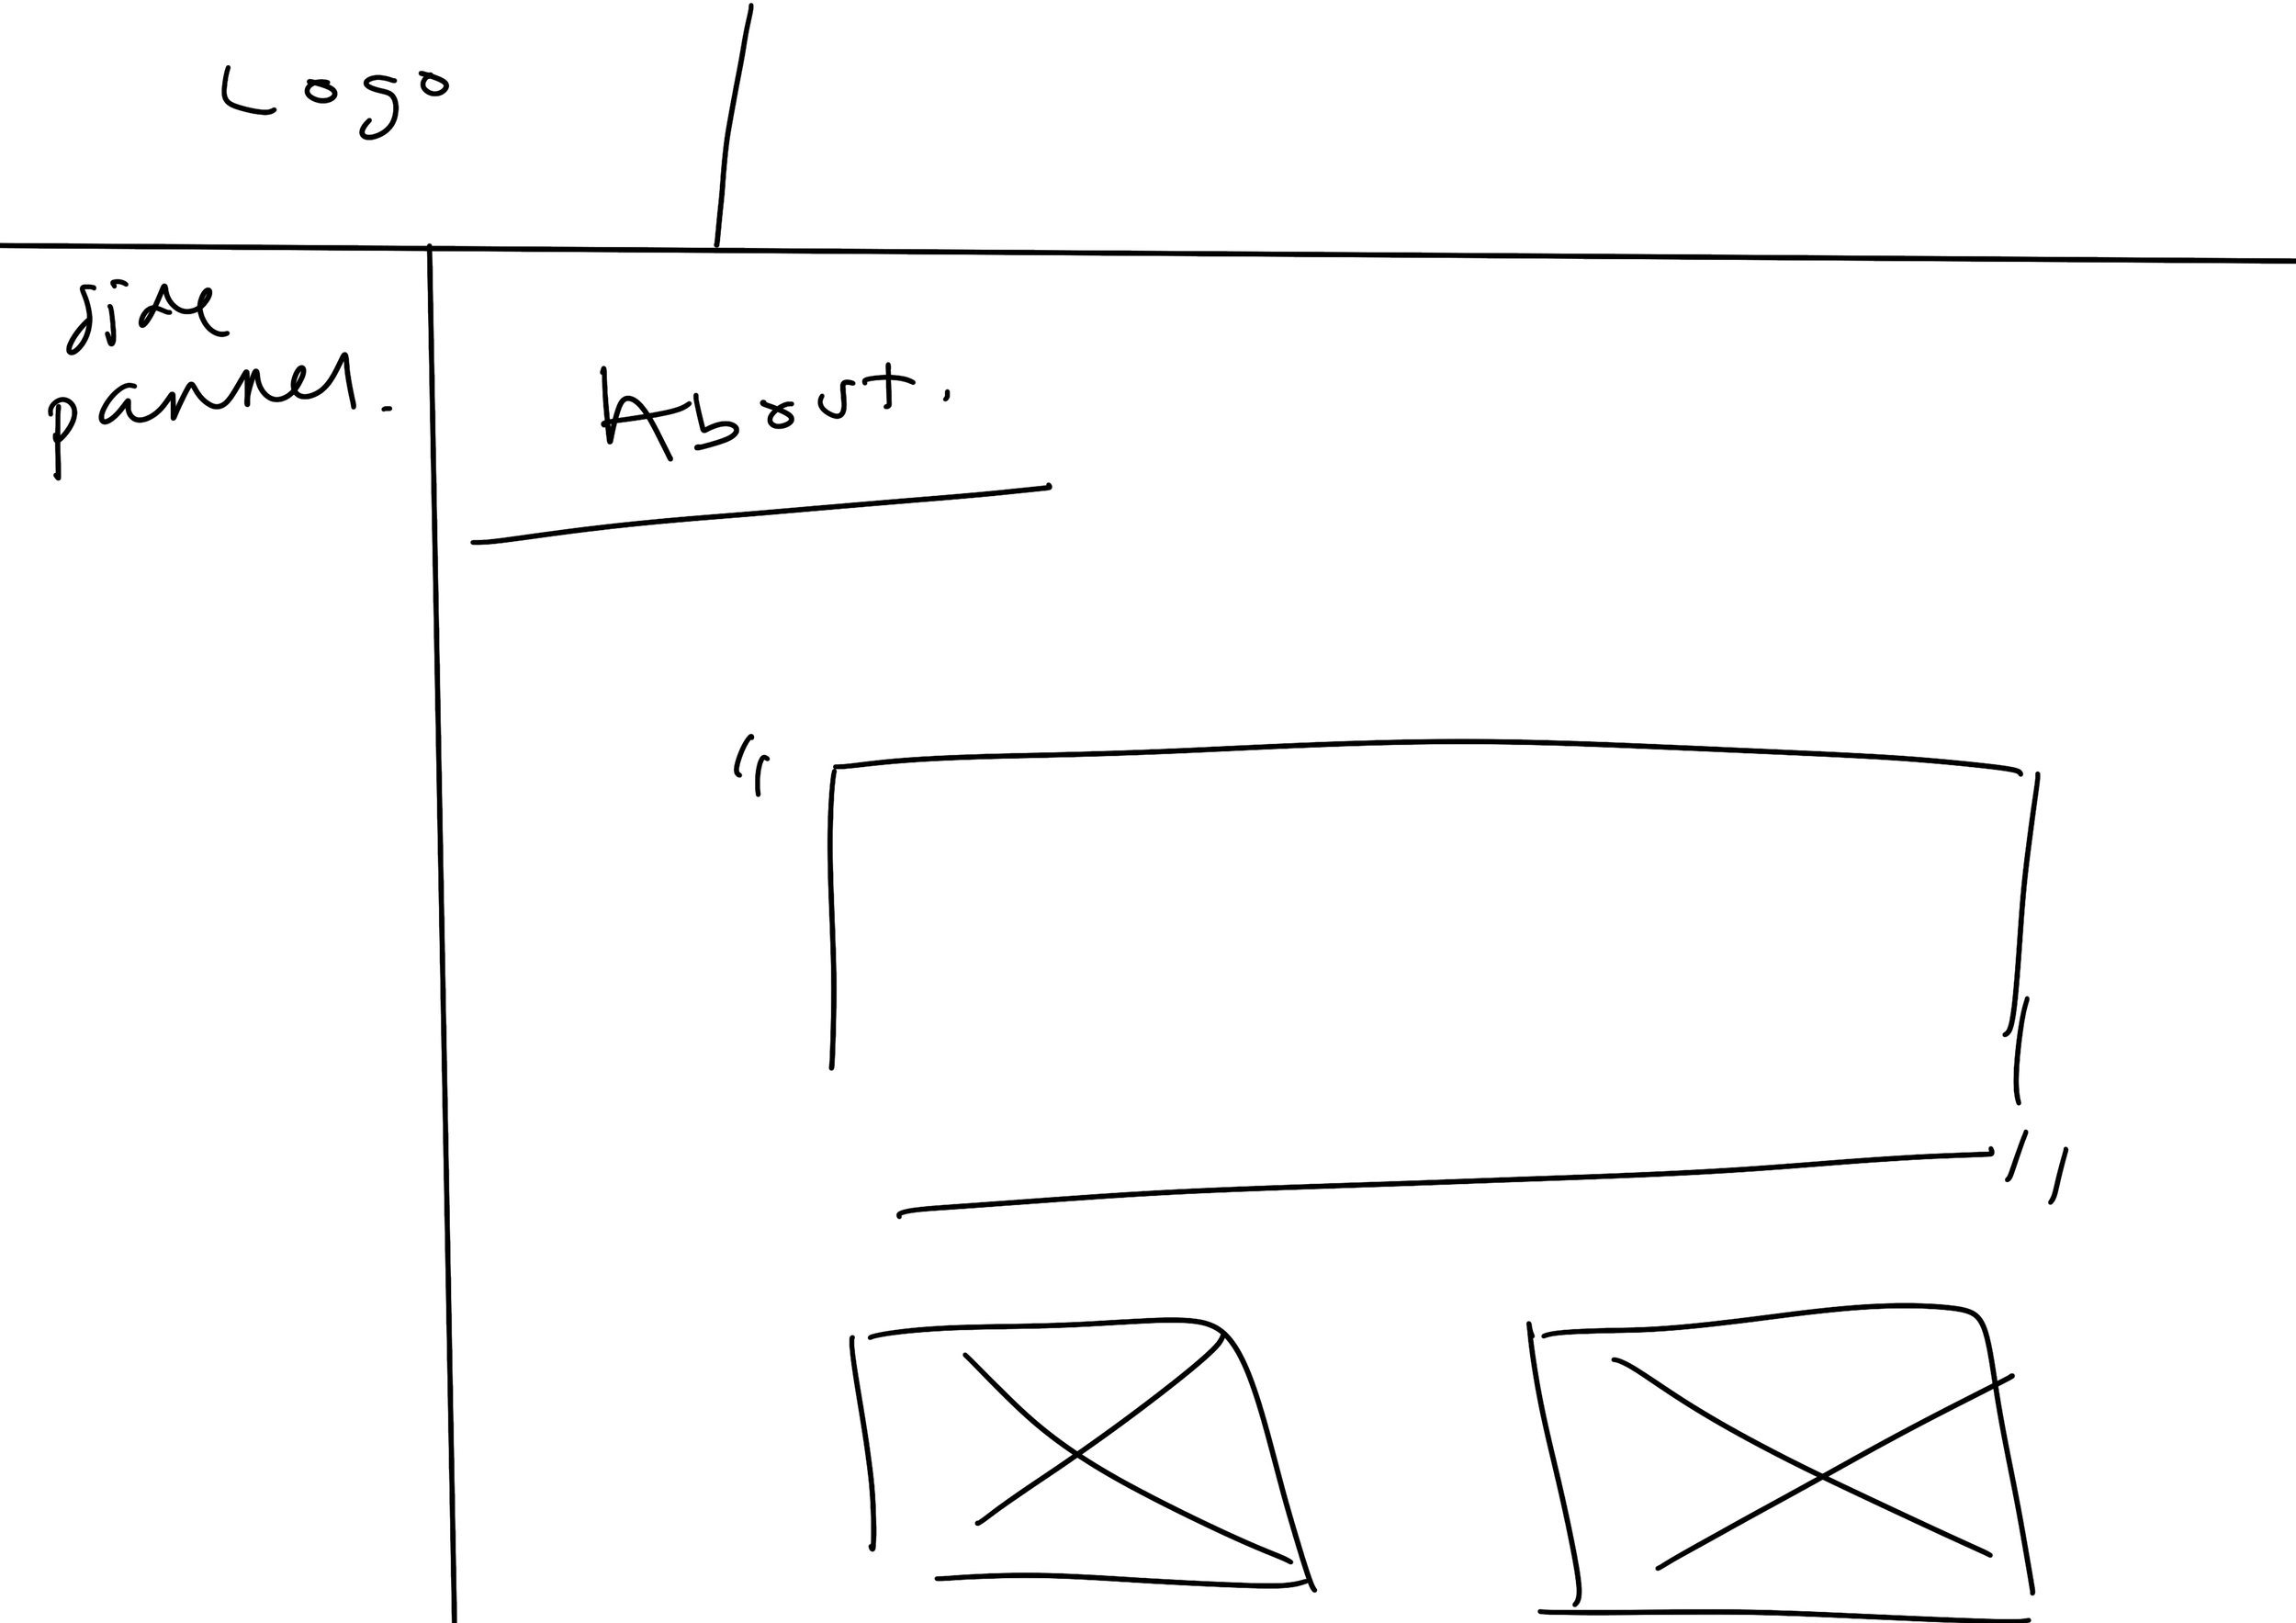
About
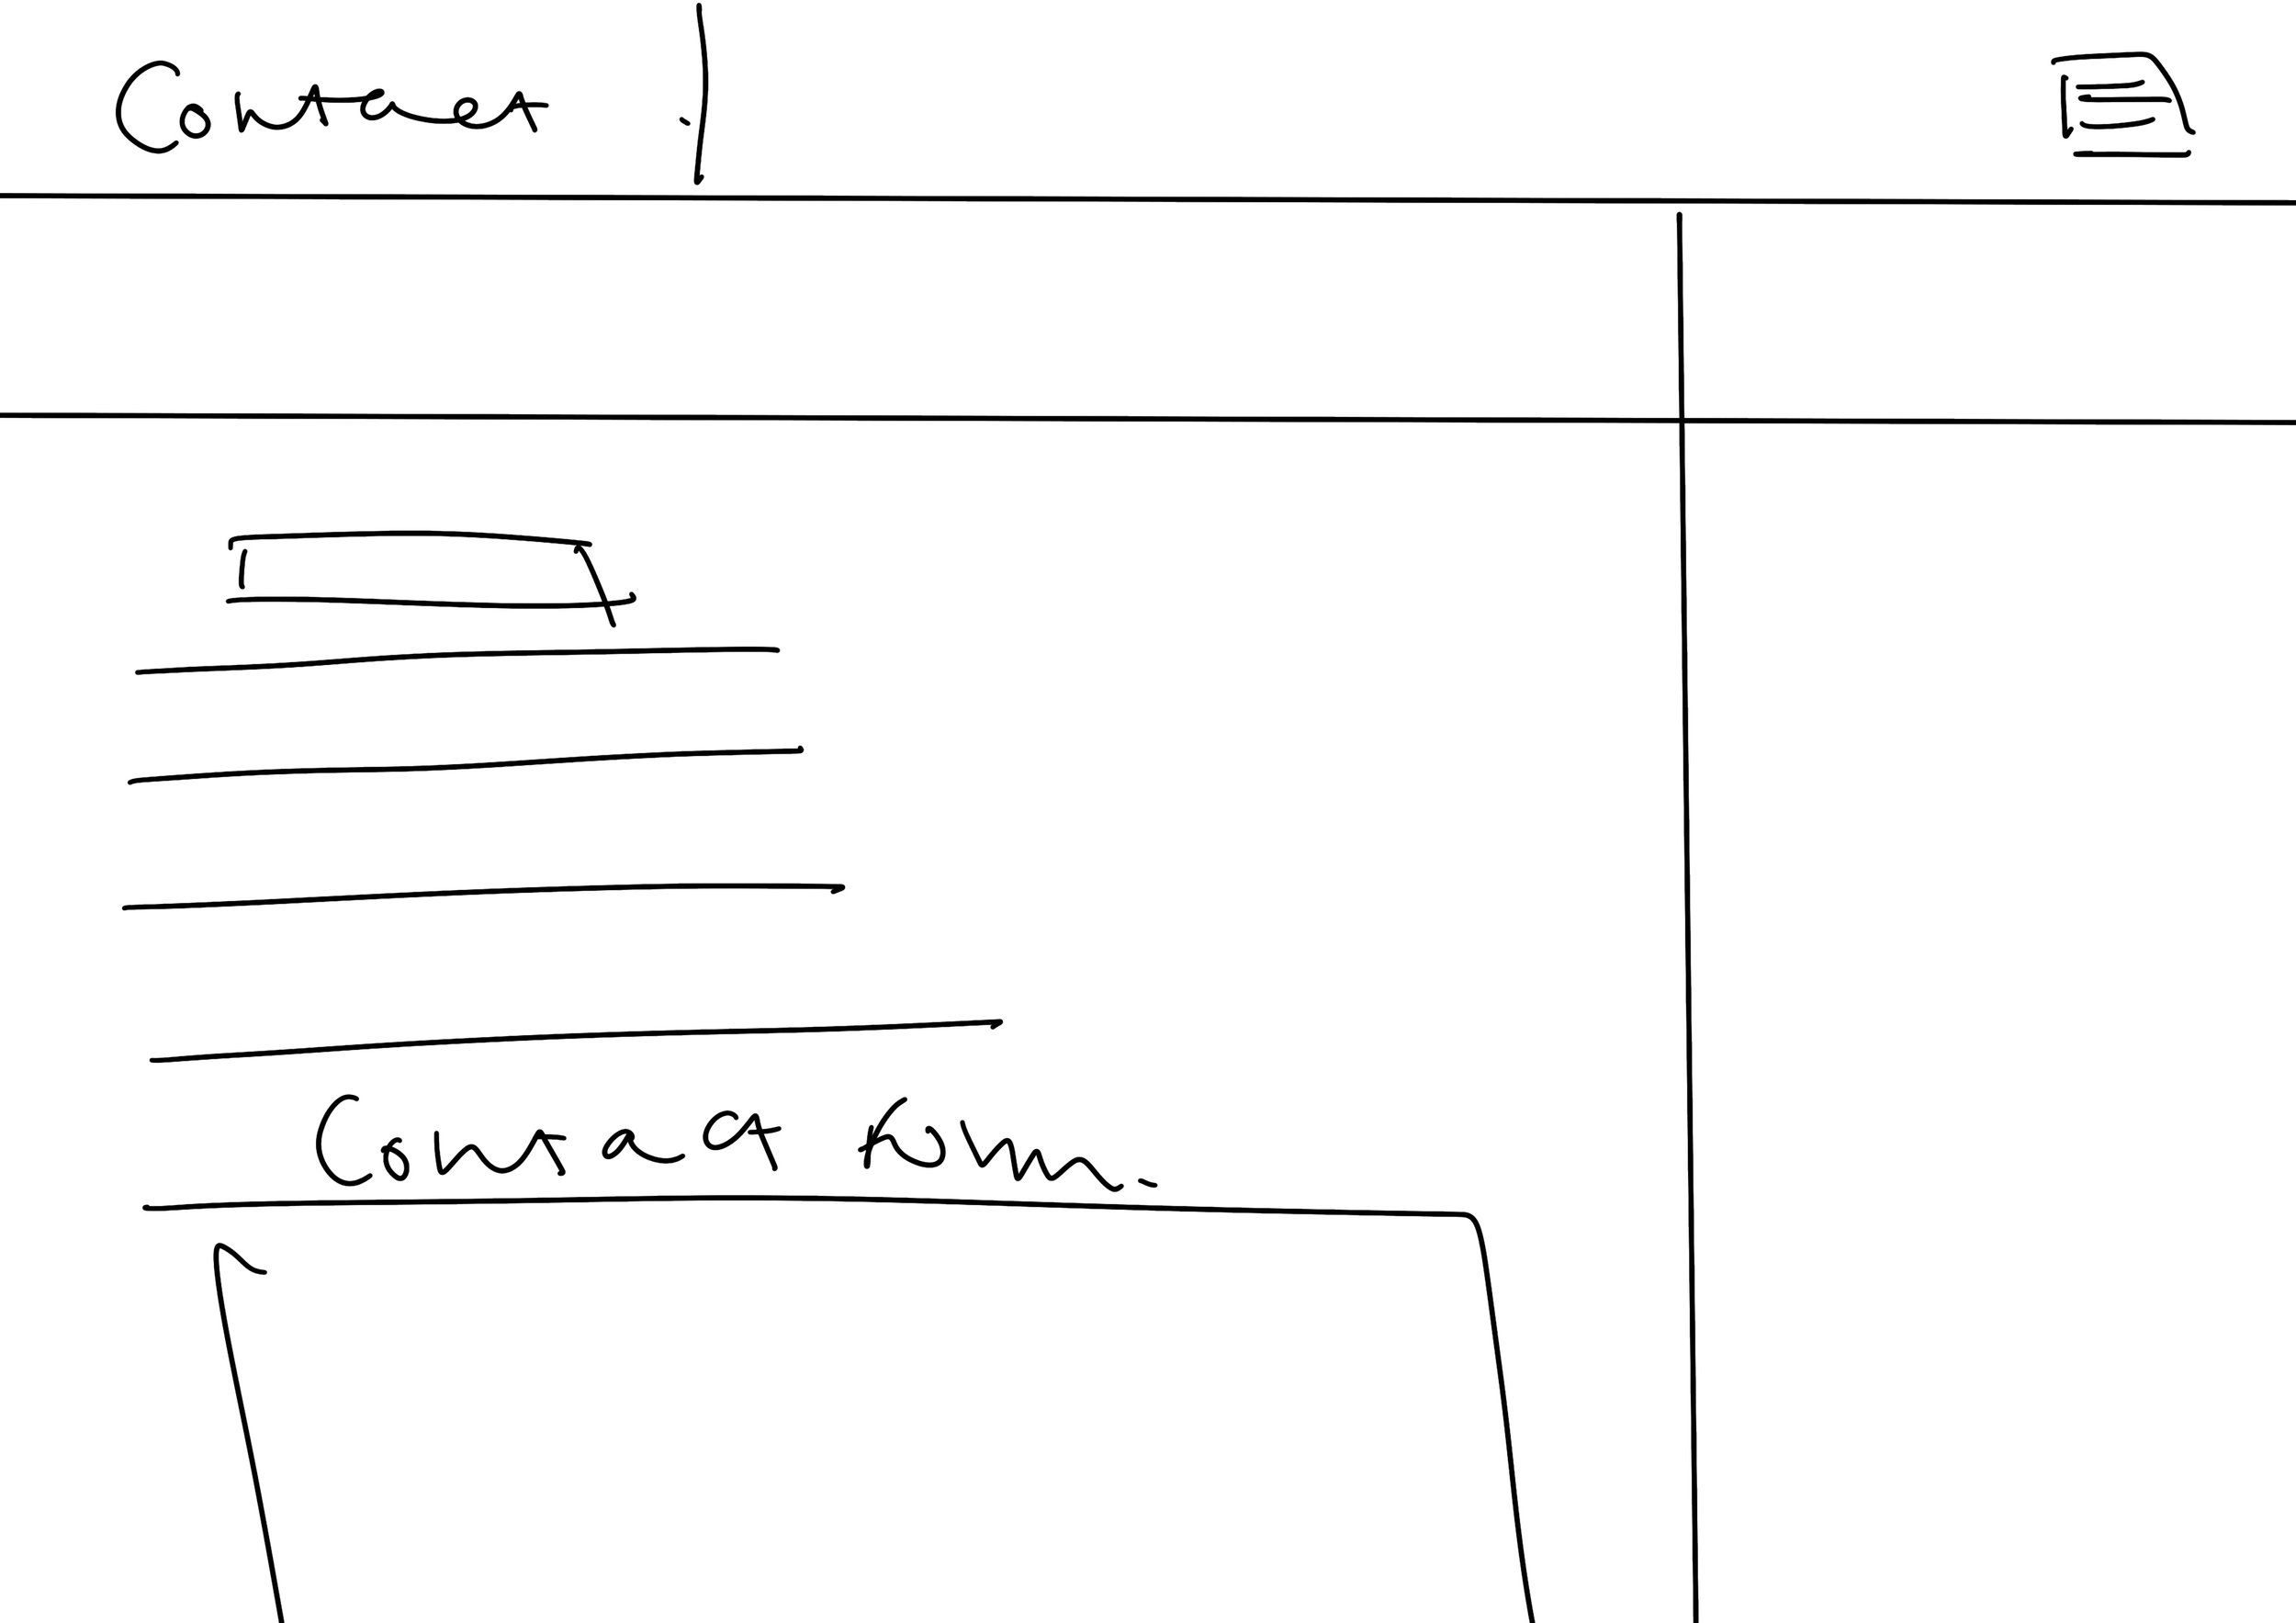
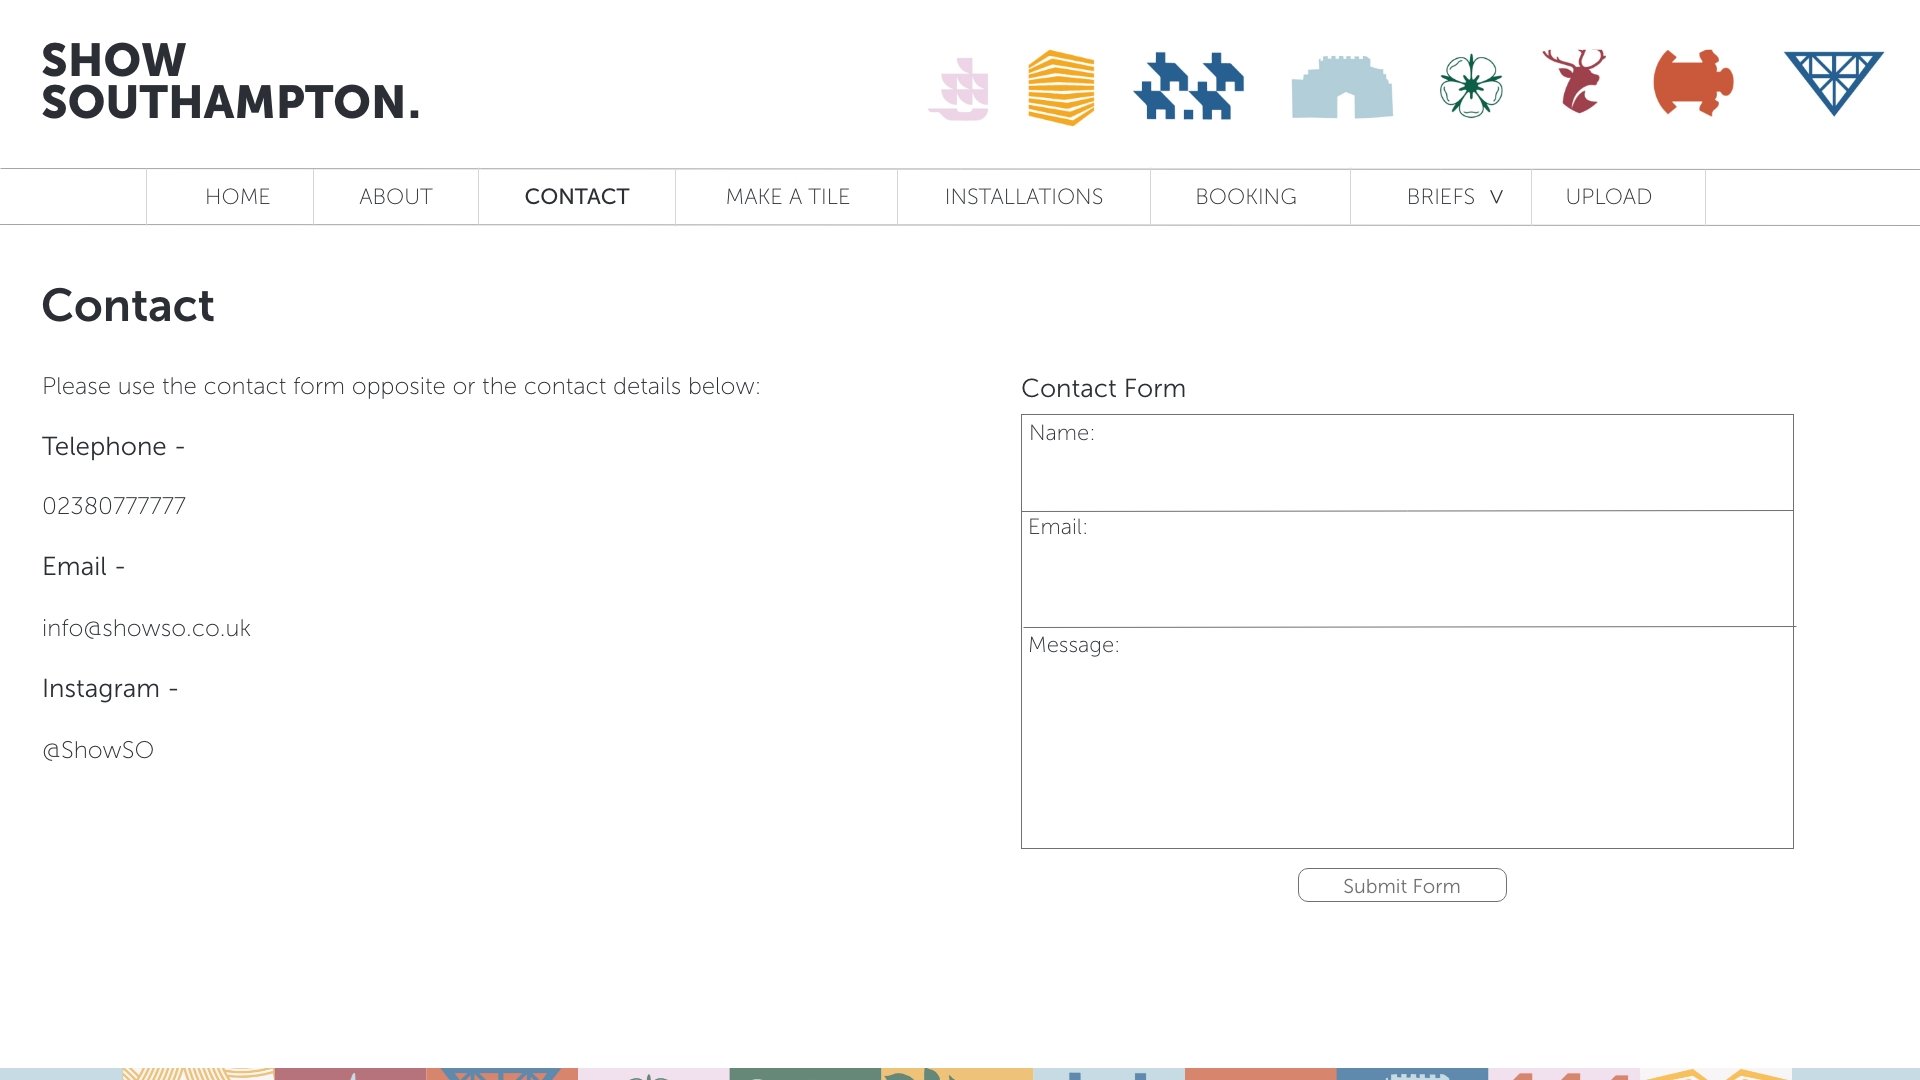
Contact
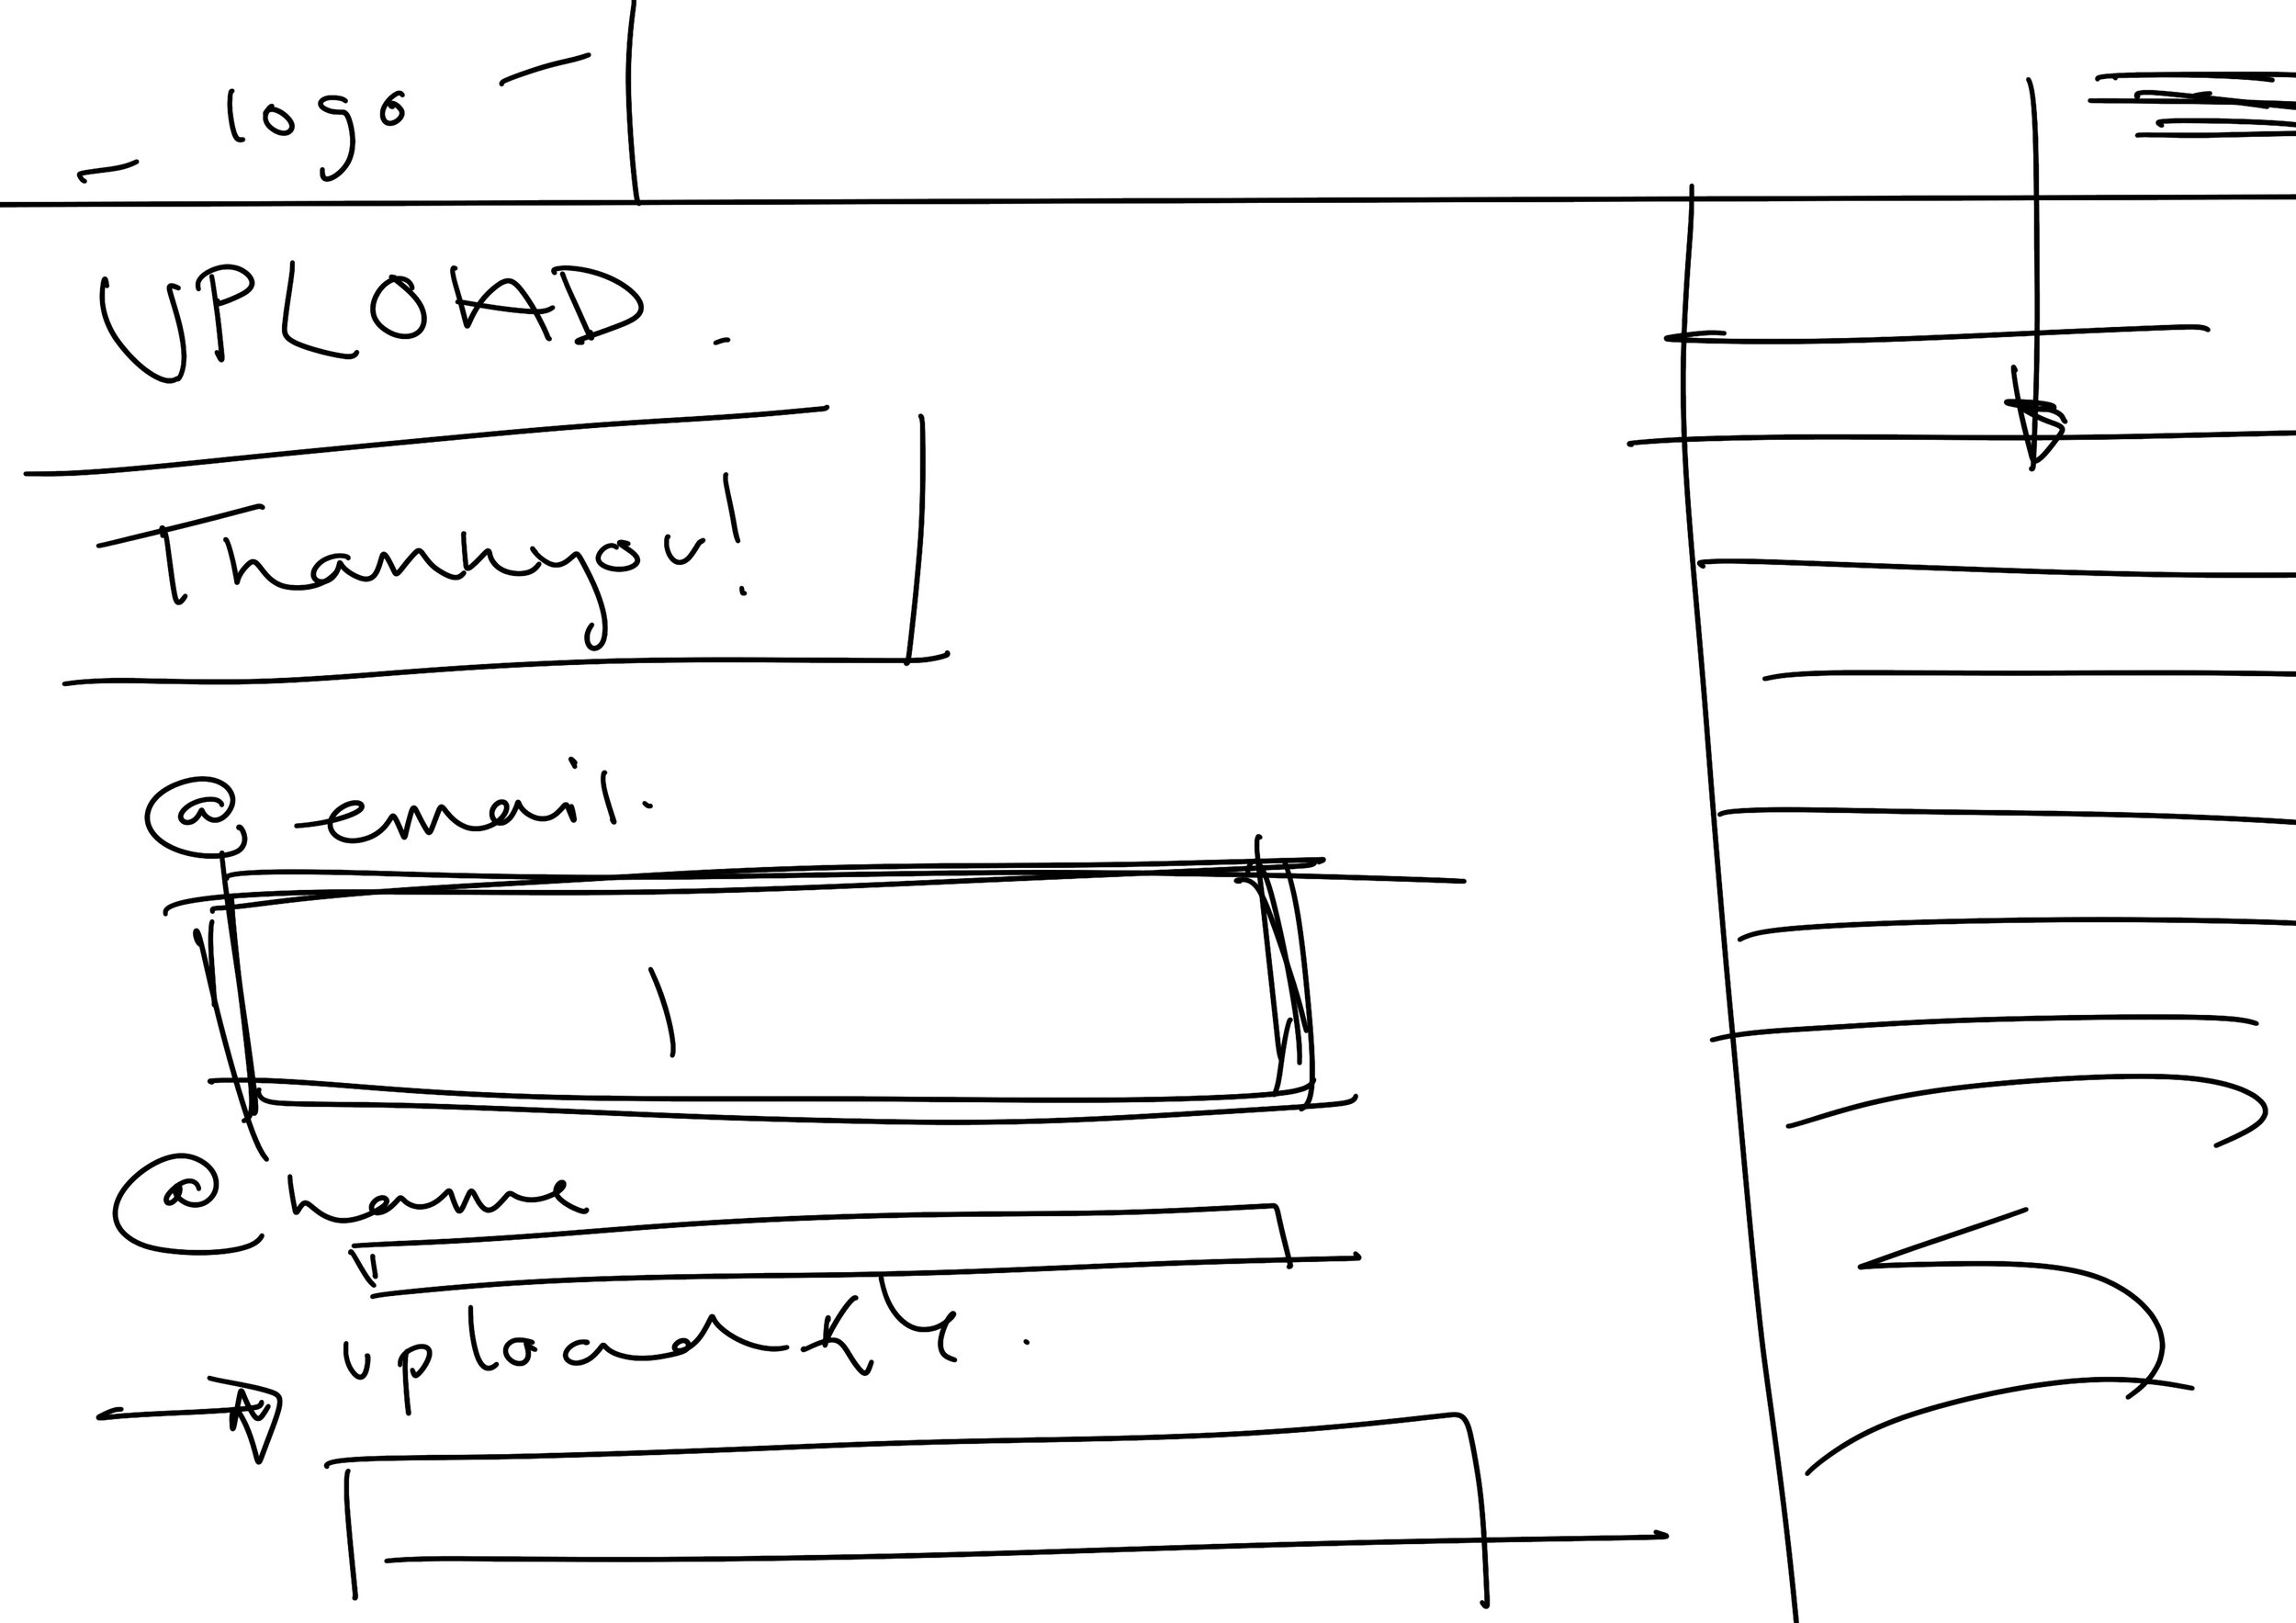
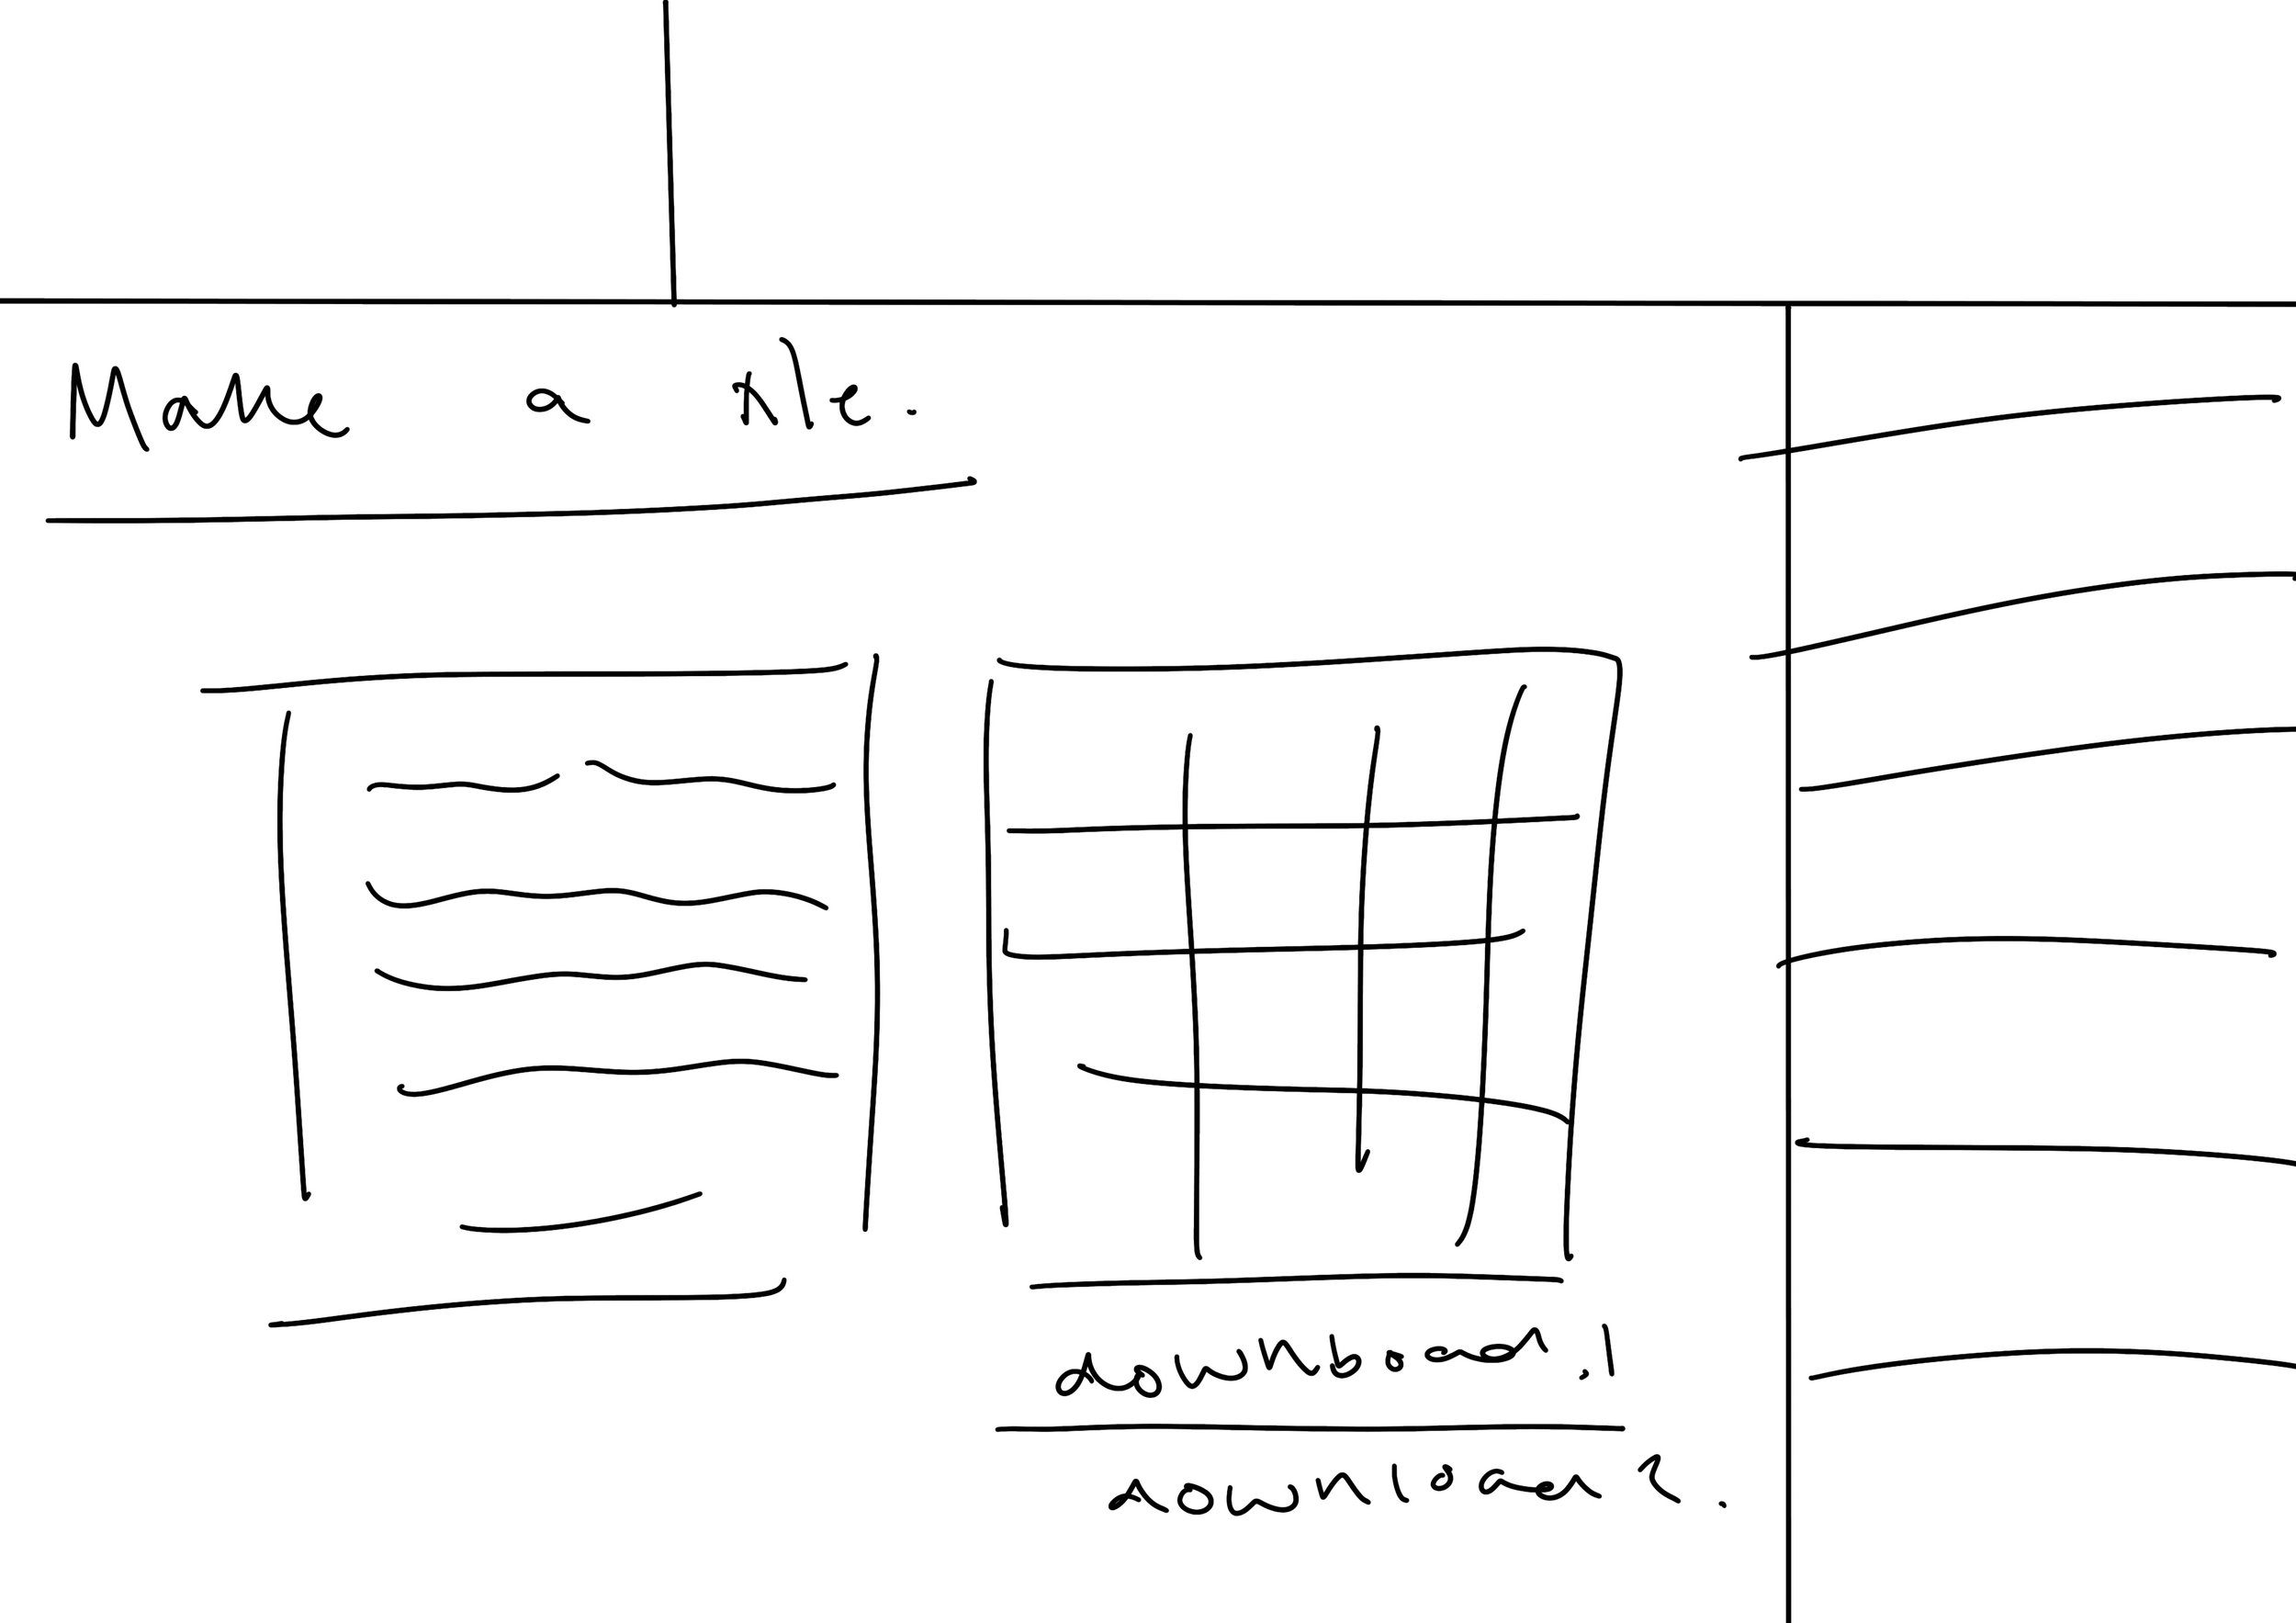
Make a Tile
Installation Space
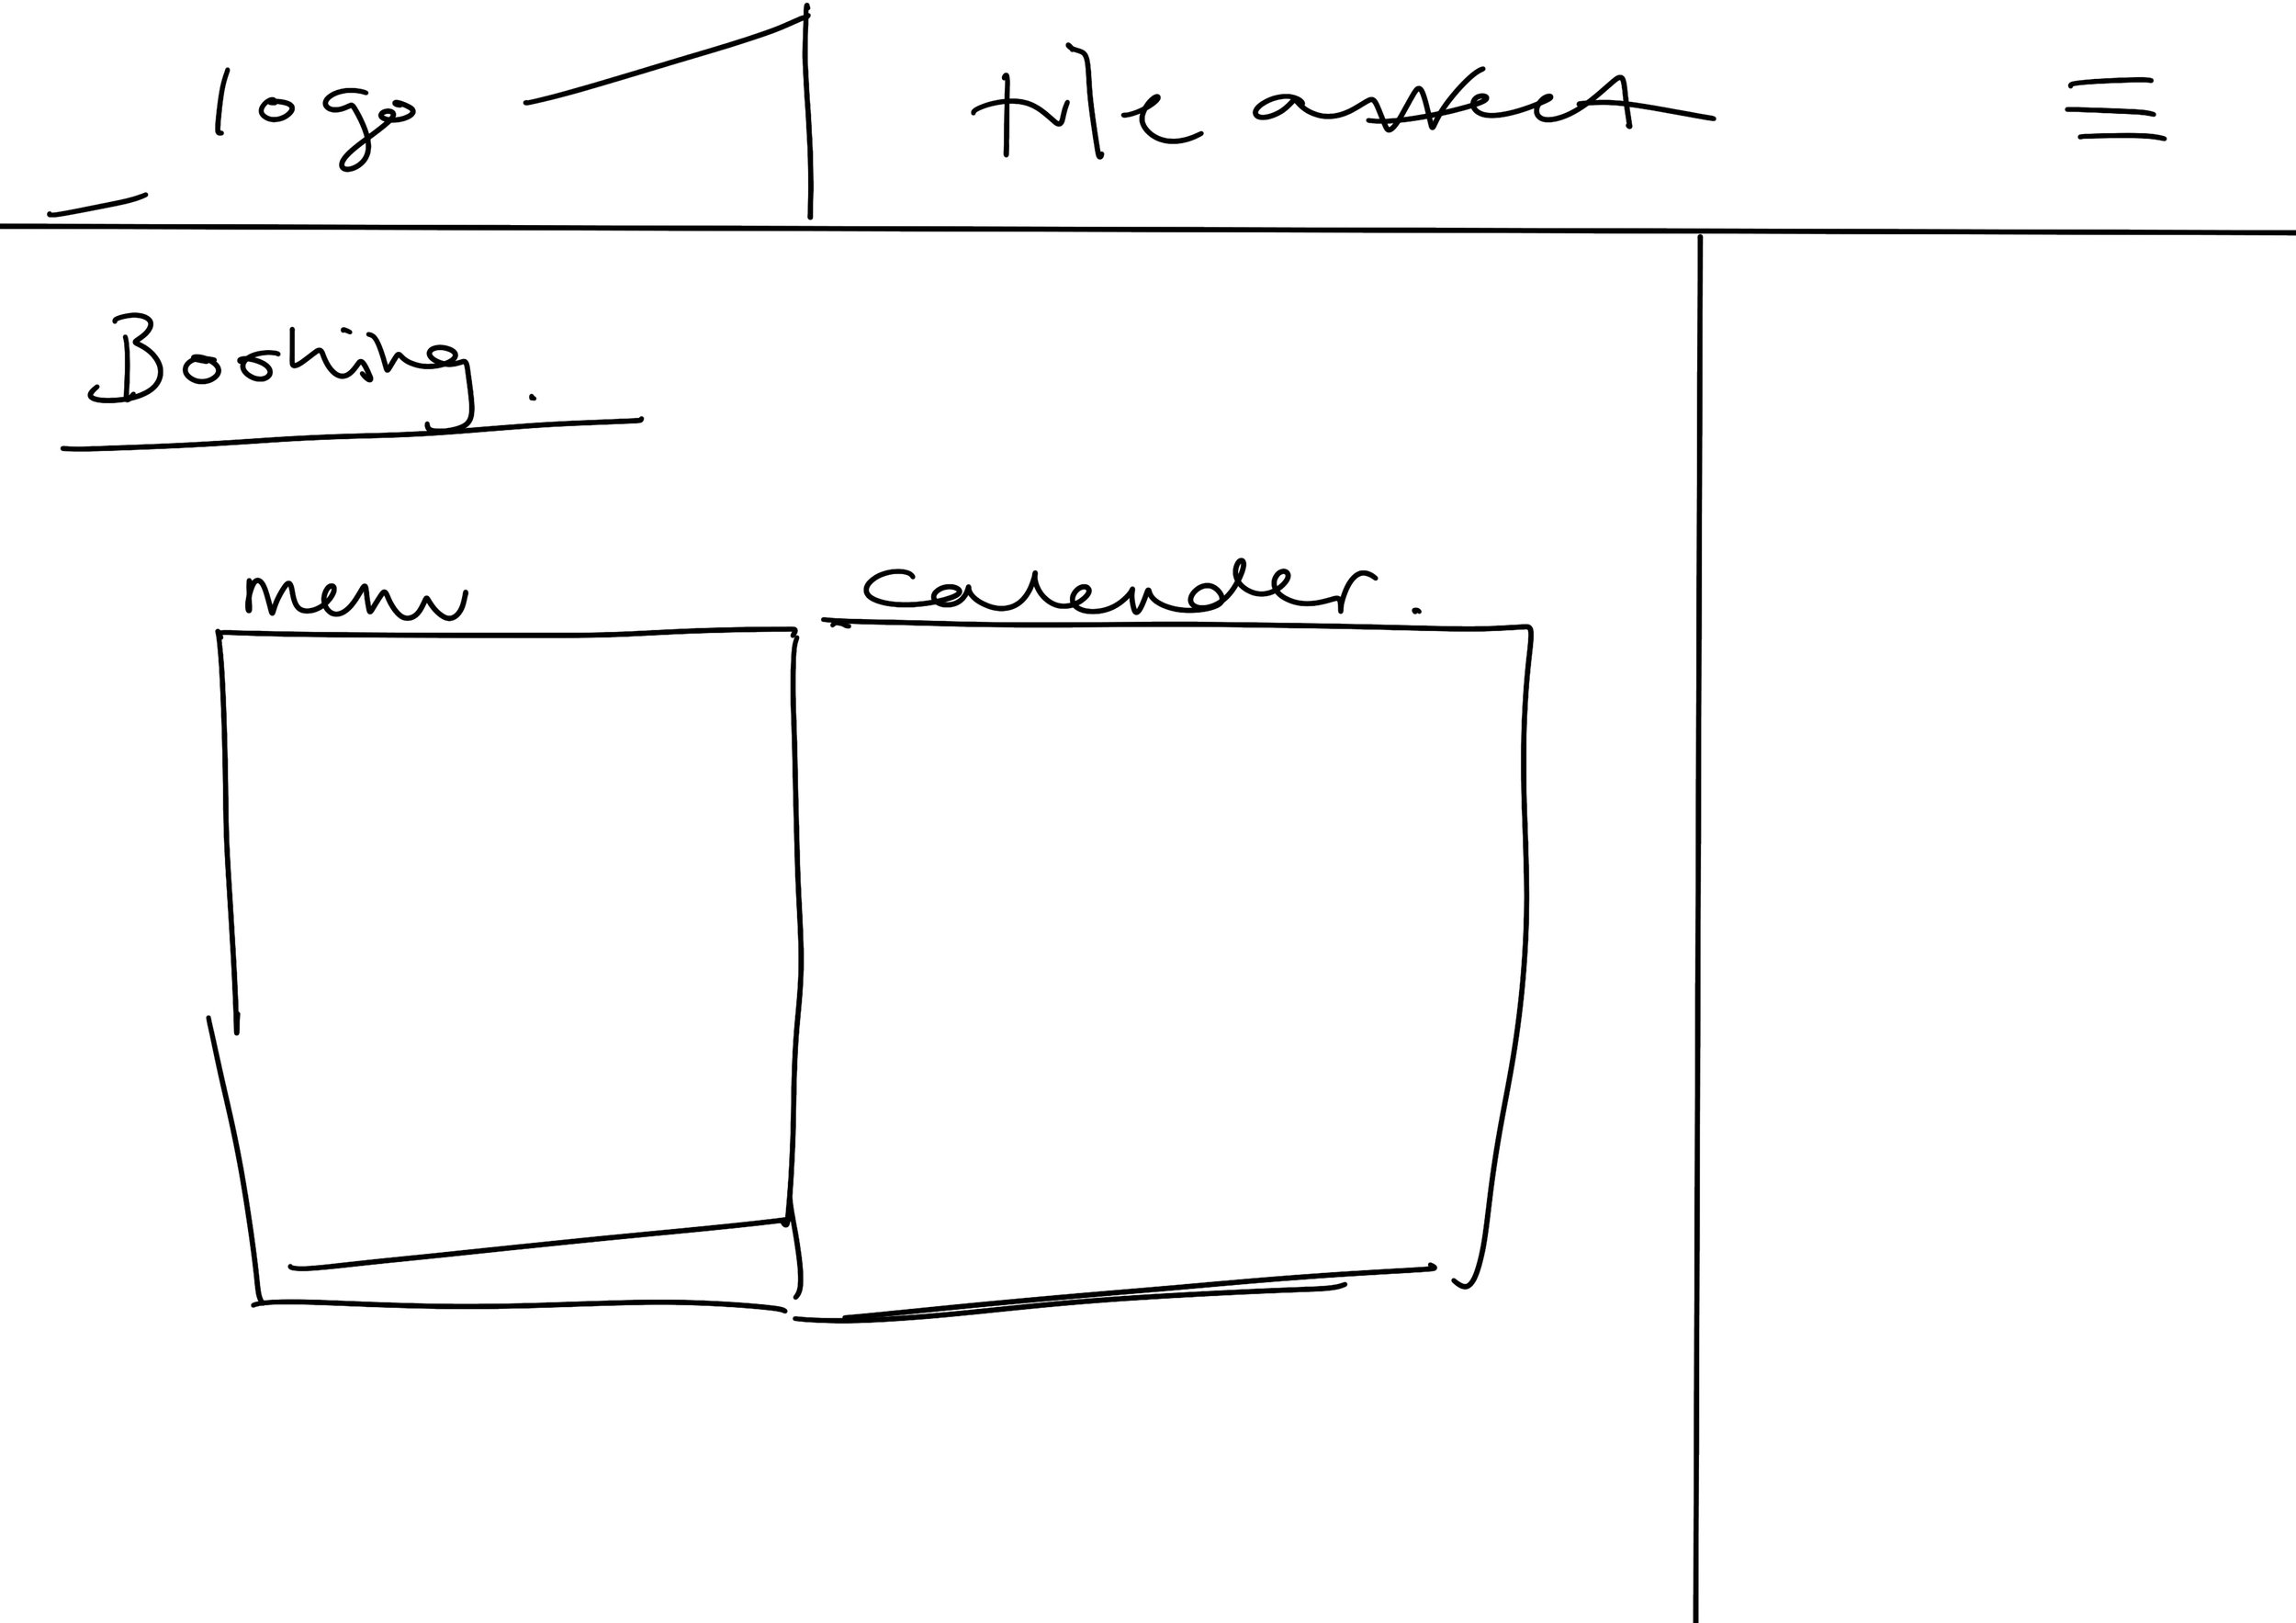
Booking
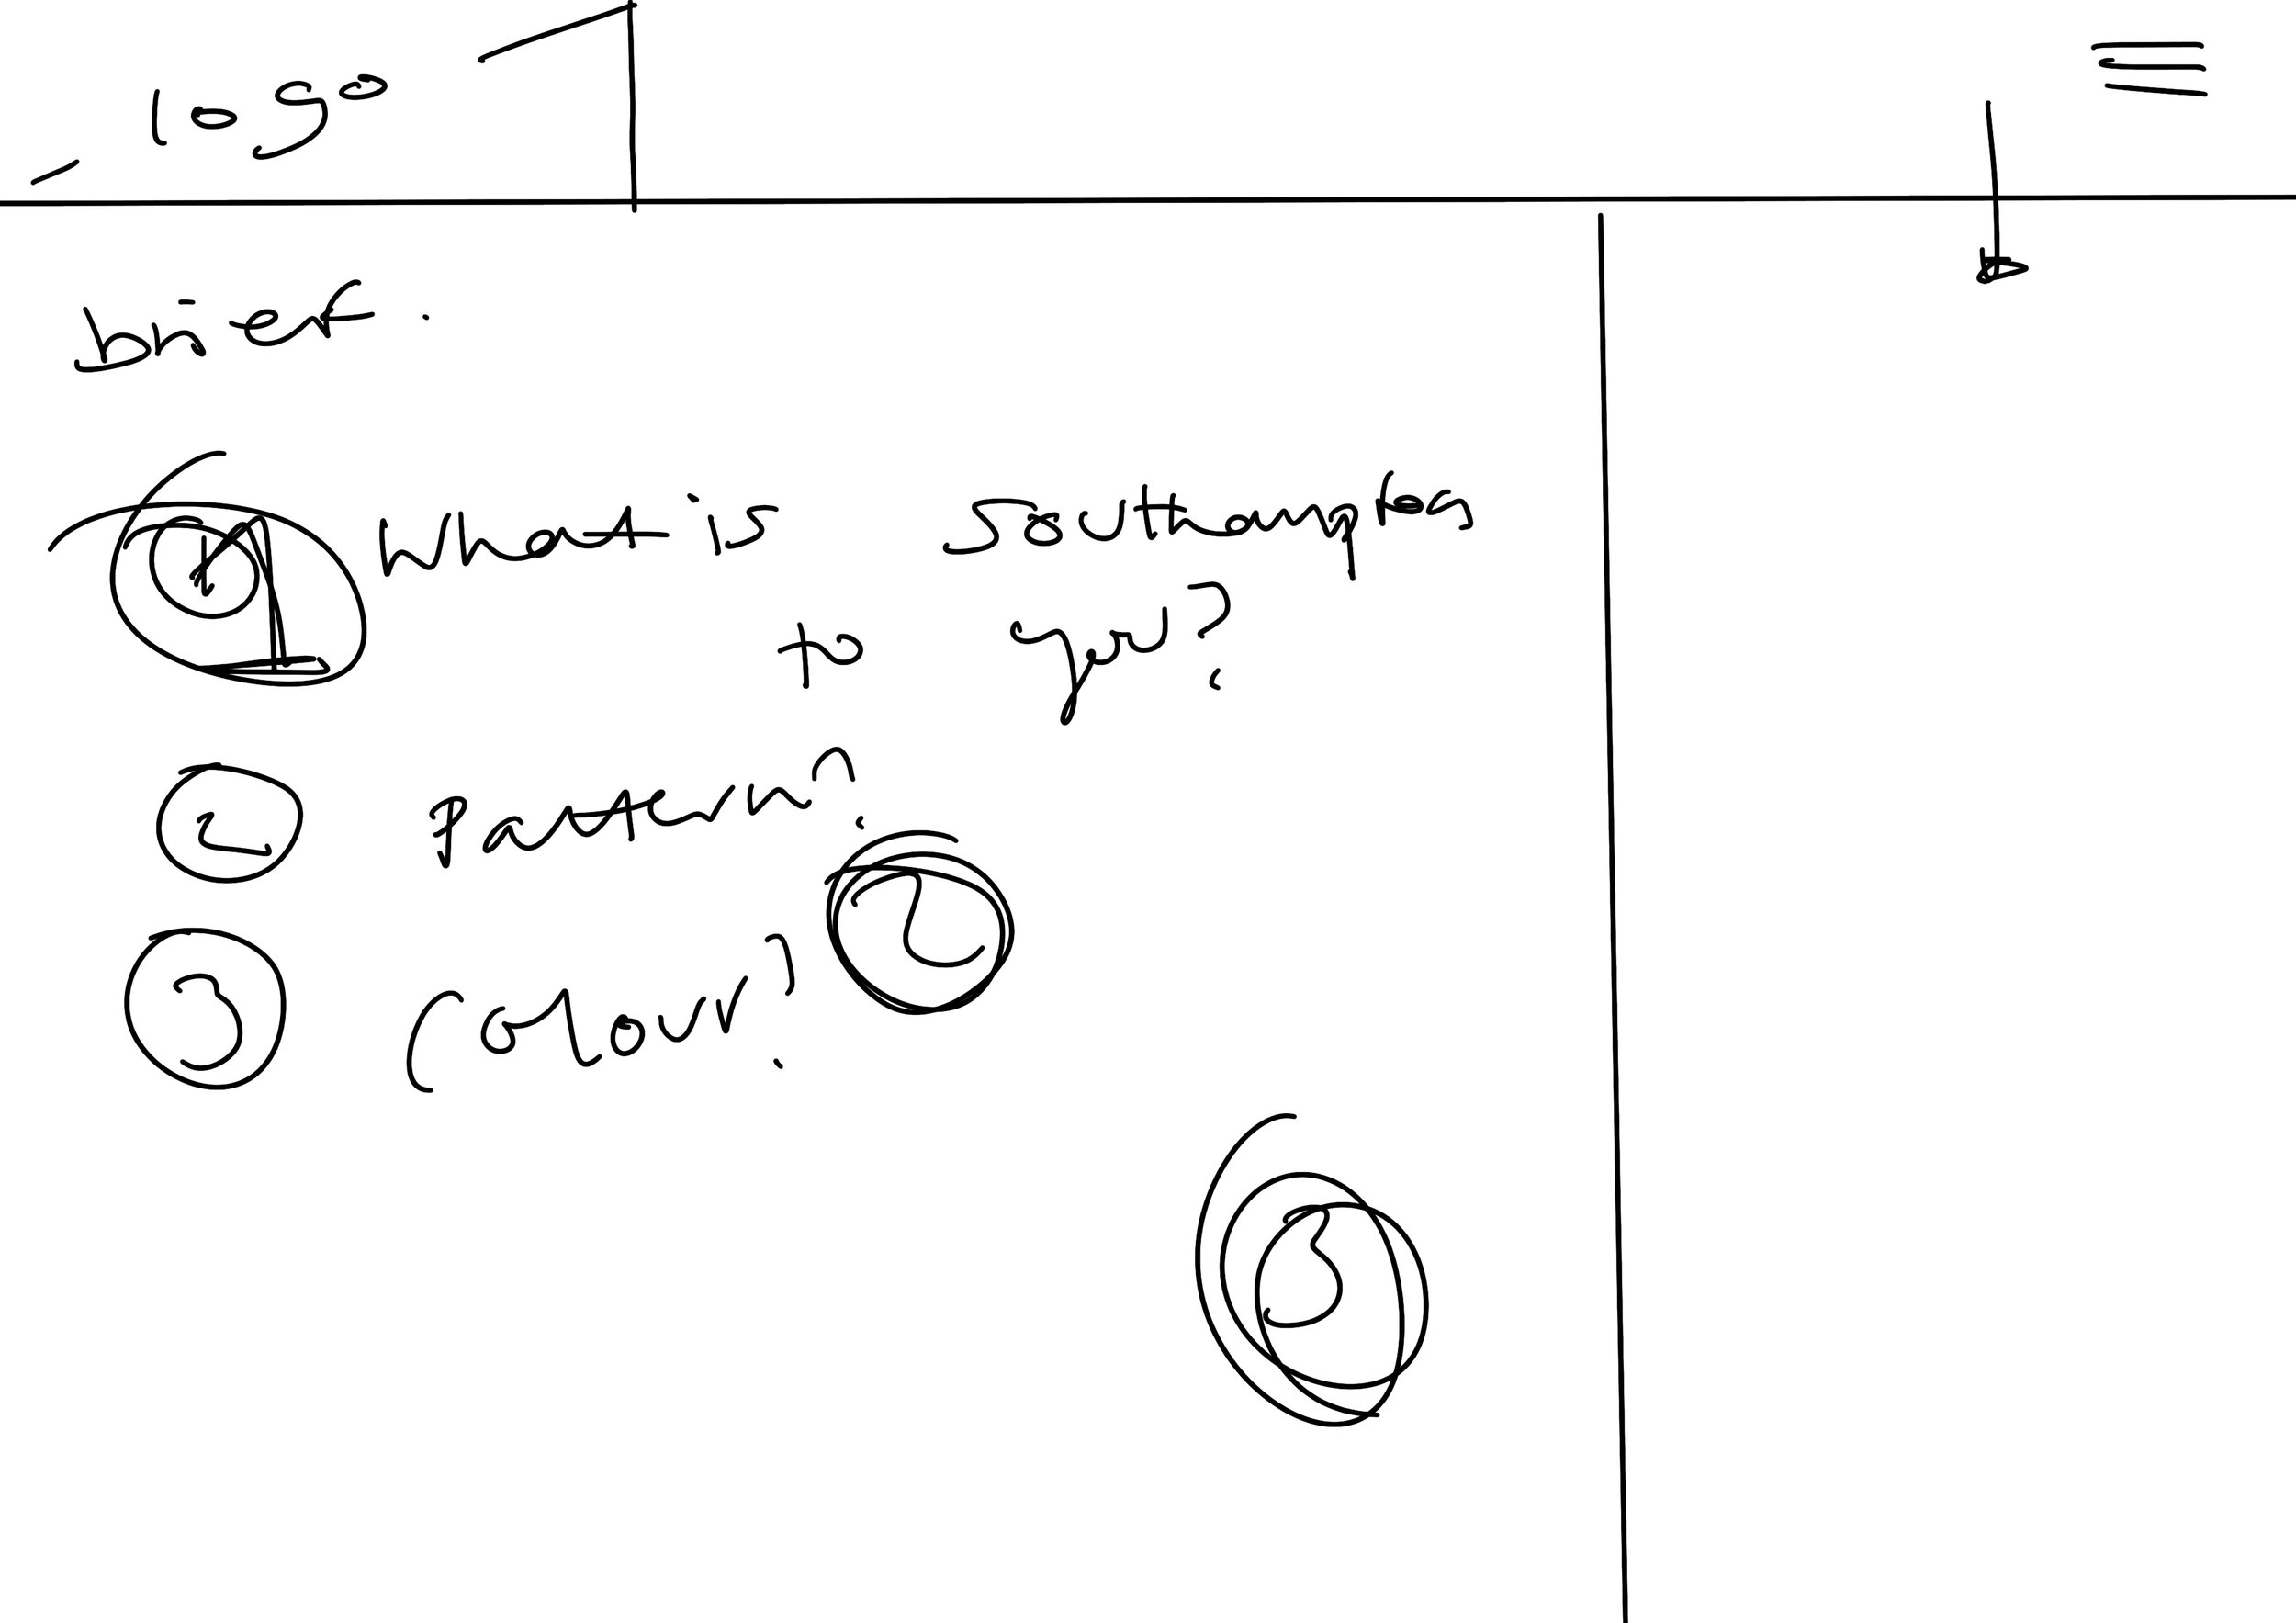
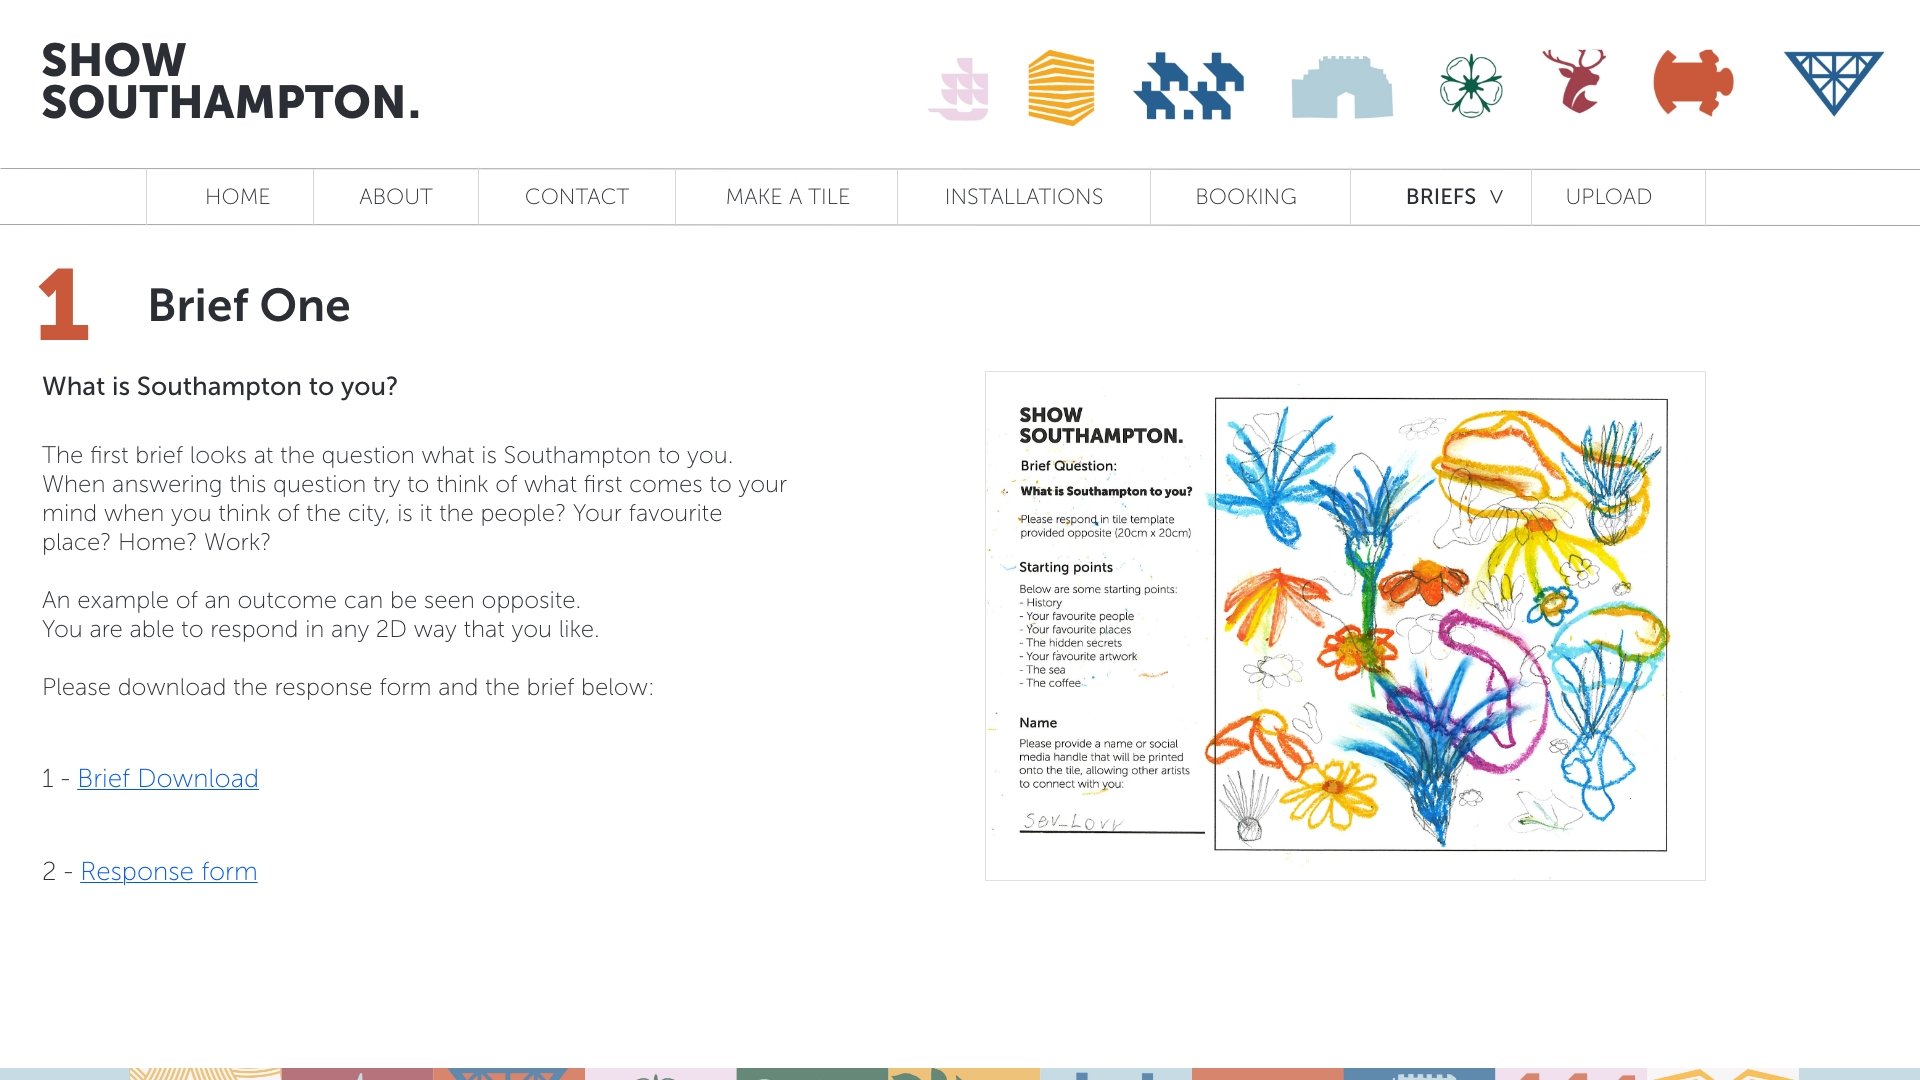
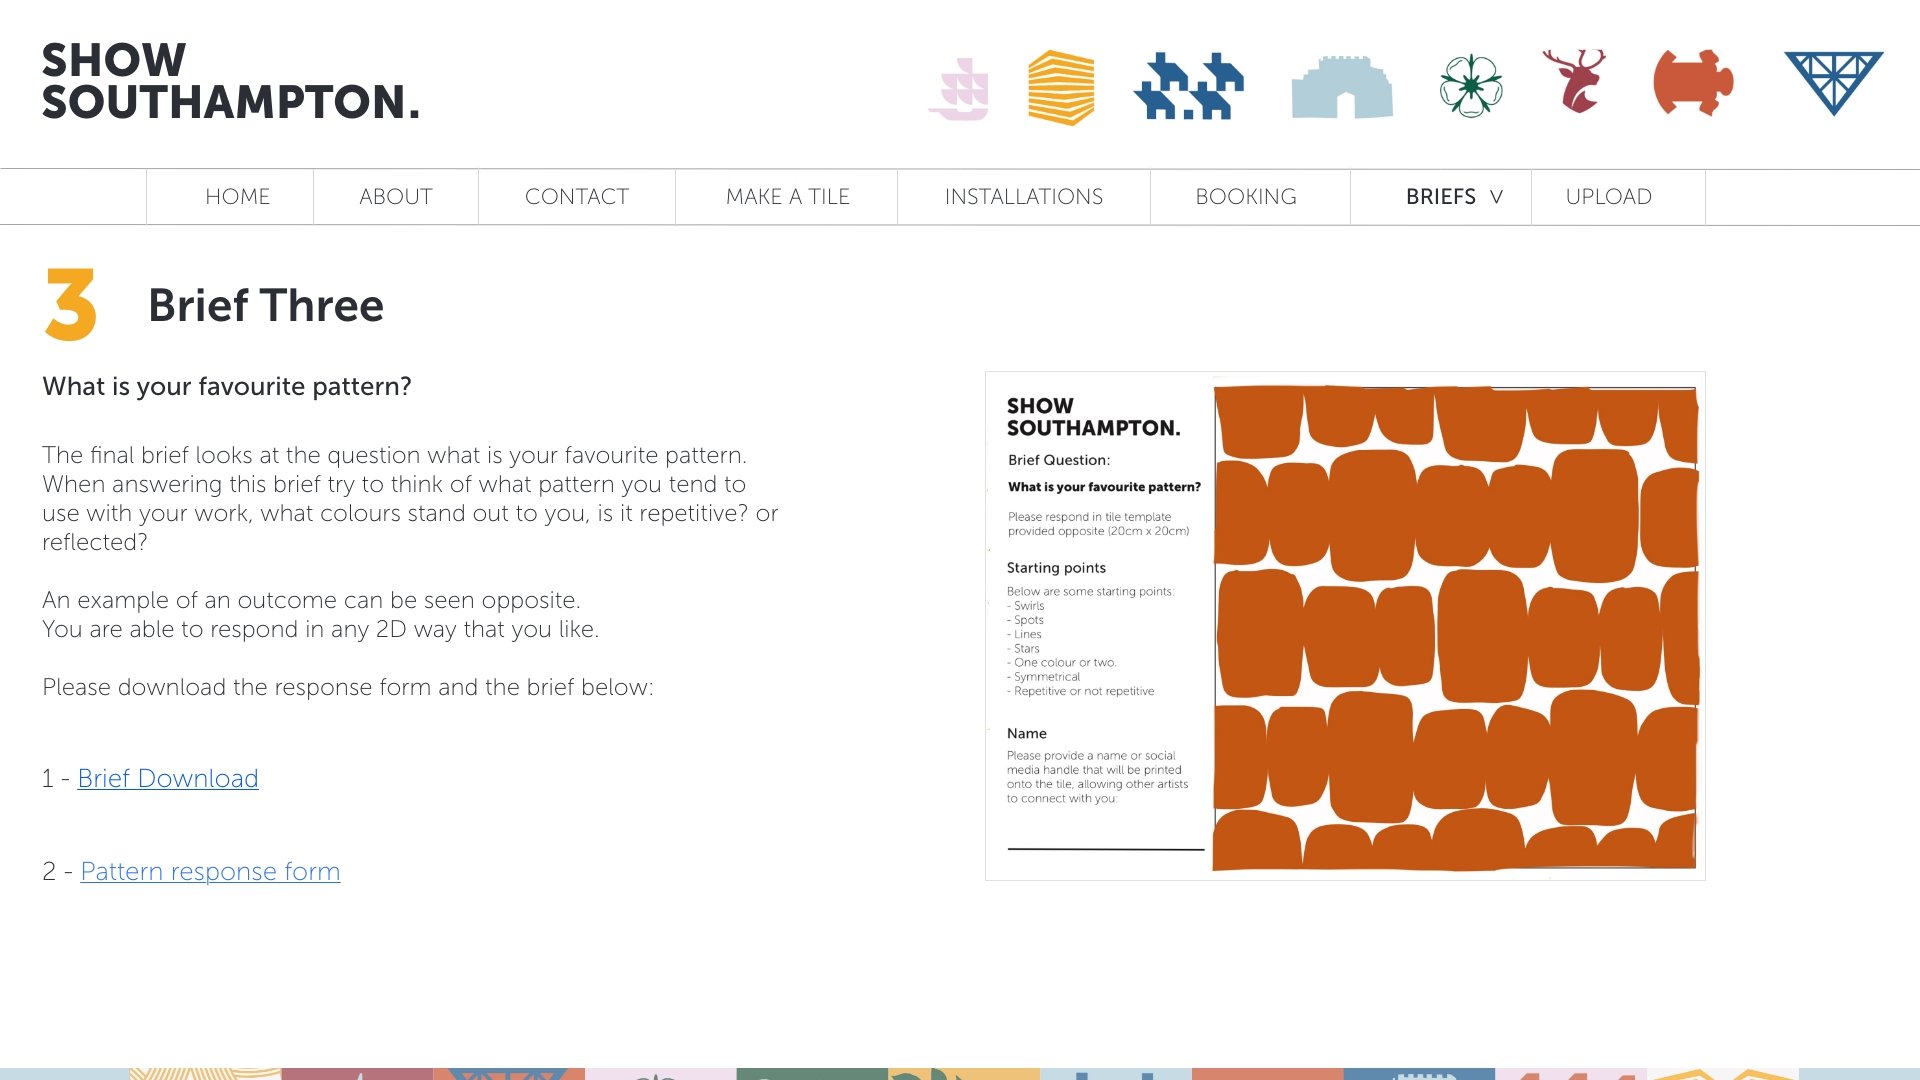
Brief 1 - SO
Brief 2 - Pattern
Brief 3 - Colour
I began by sketching some mock ups of the websites:
Mock ups of each page:

I did a bit of research at this point to see whether it would be useful for me to do the website on the squarespace site itself or whether just making a mock up on XD would be easier.
I checked and I think it would be easier to create it in Adobe XD. I just need to make sure that everything is super clean and clear but also connects to the other pages.
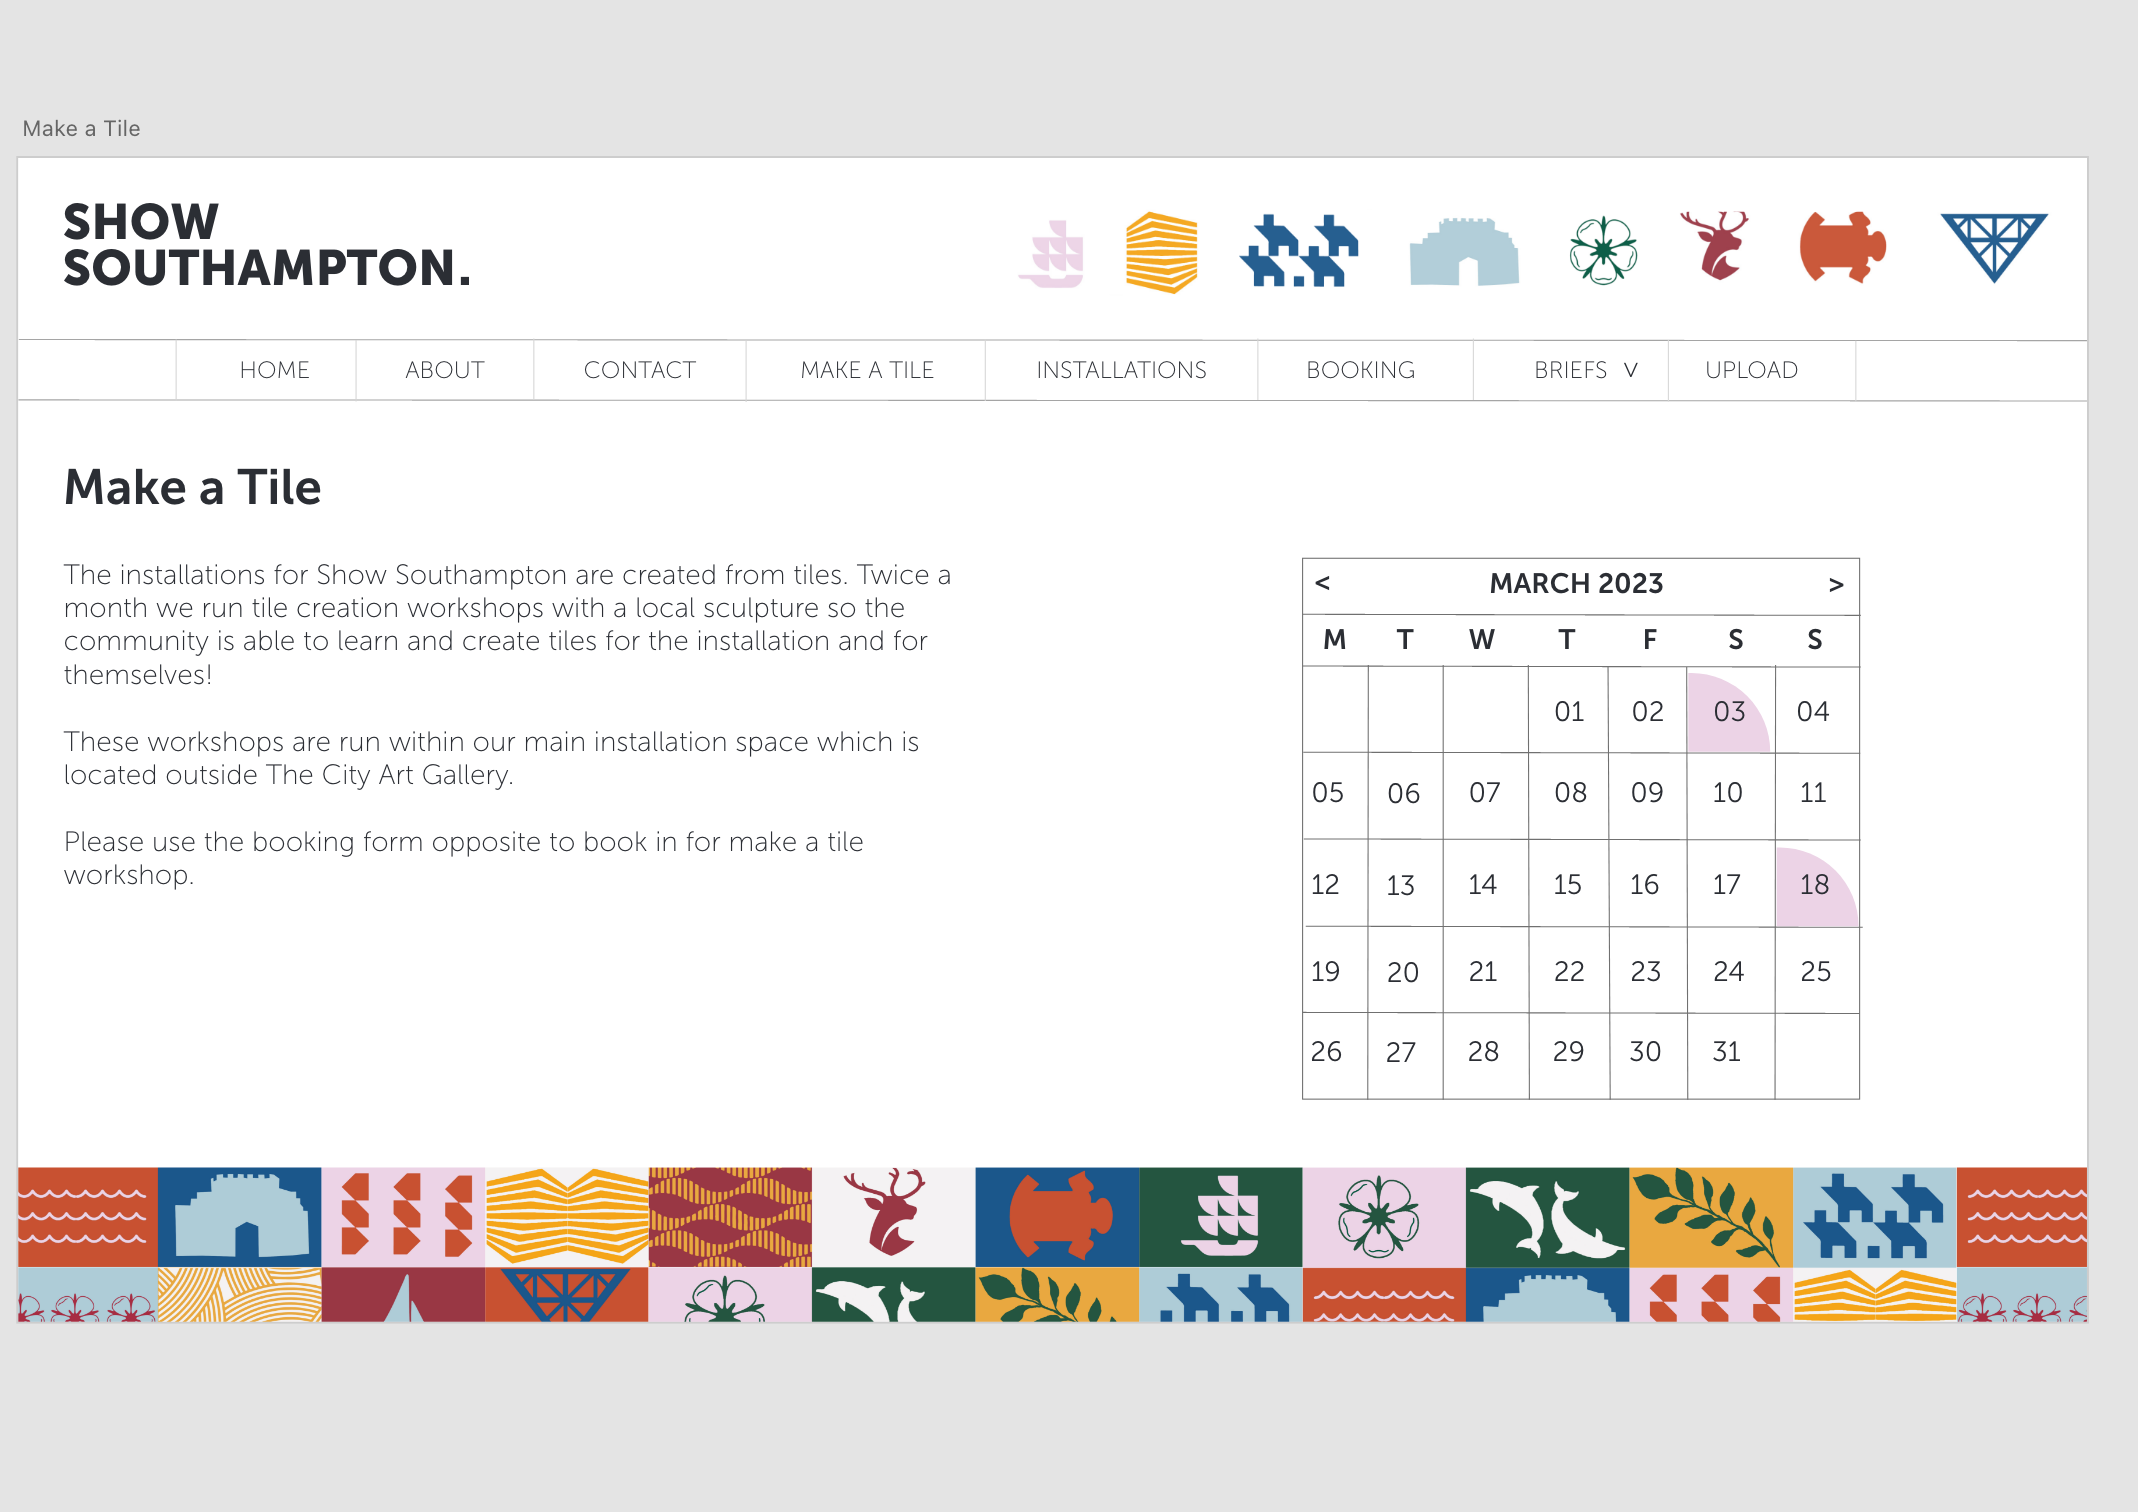

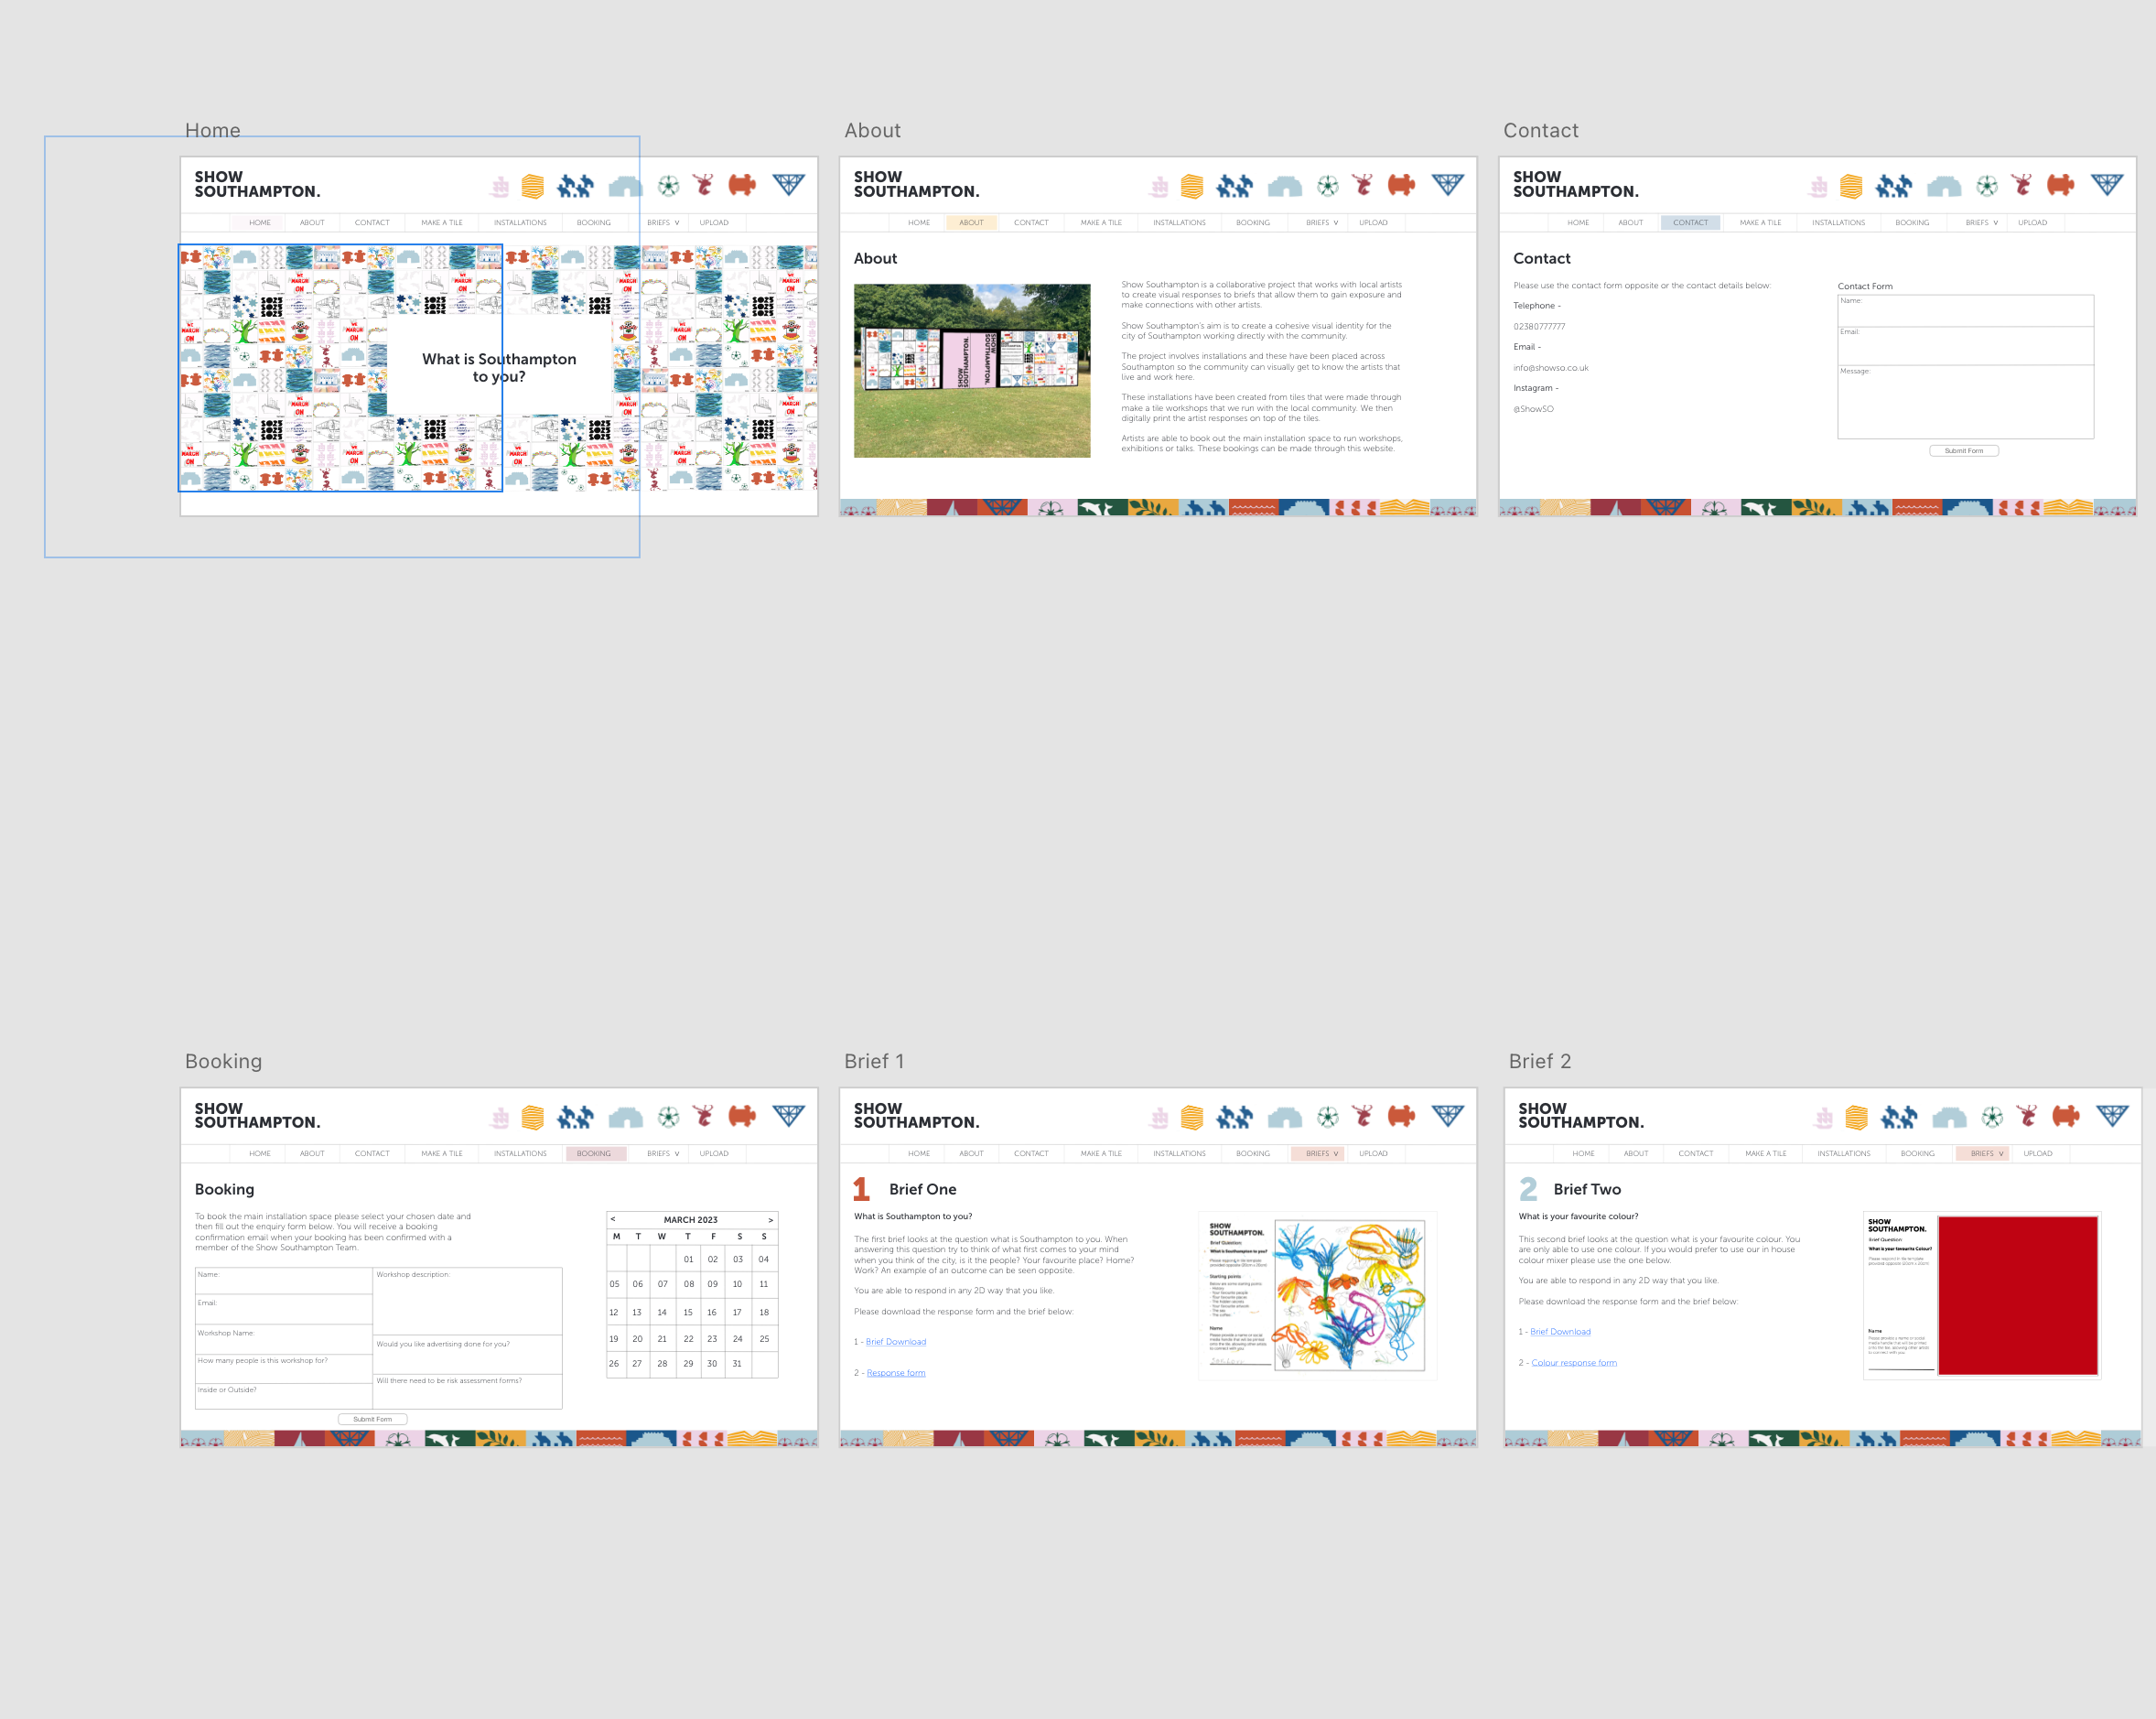
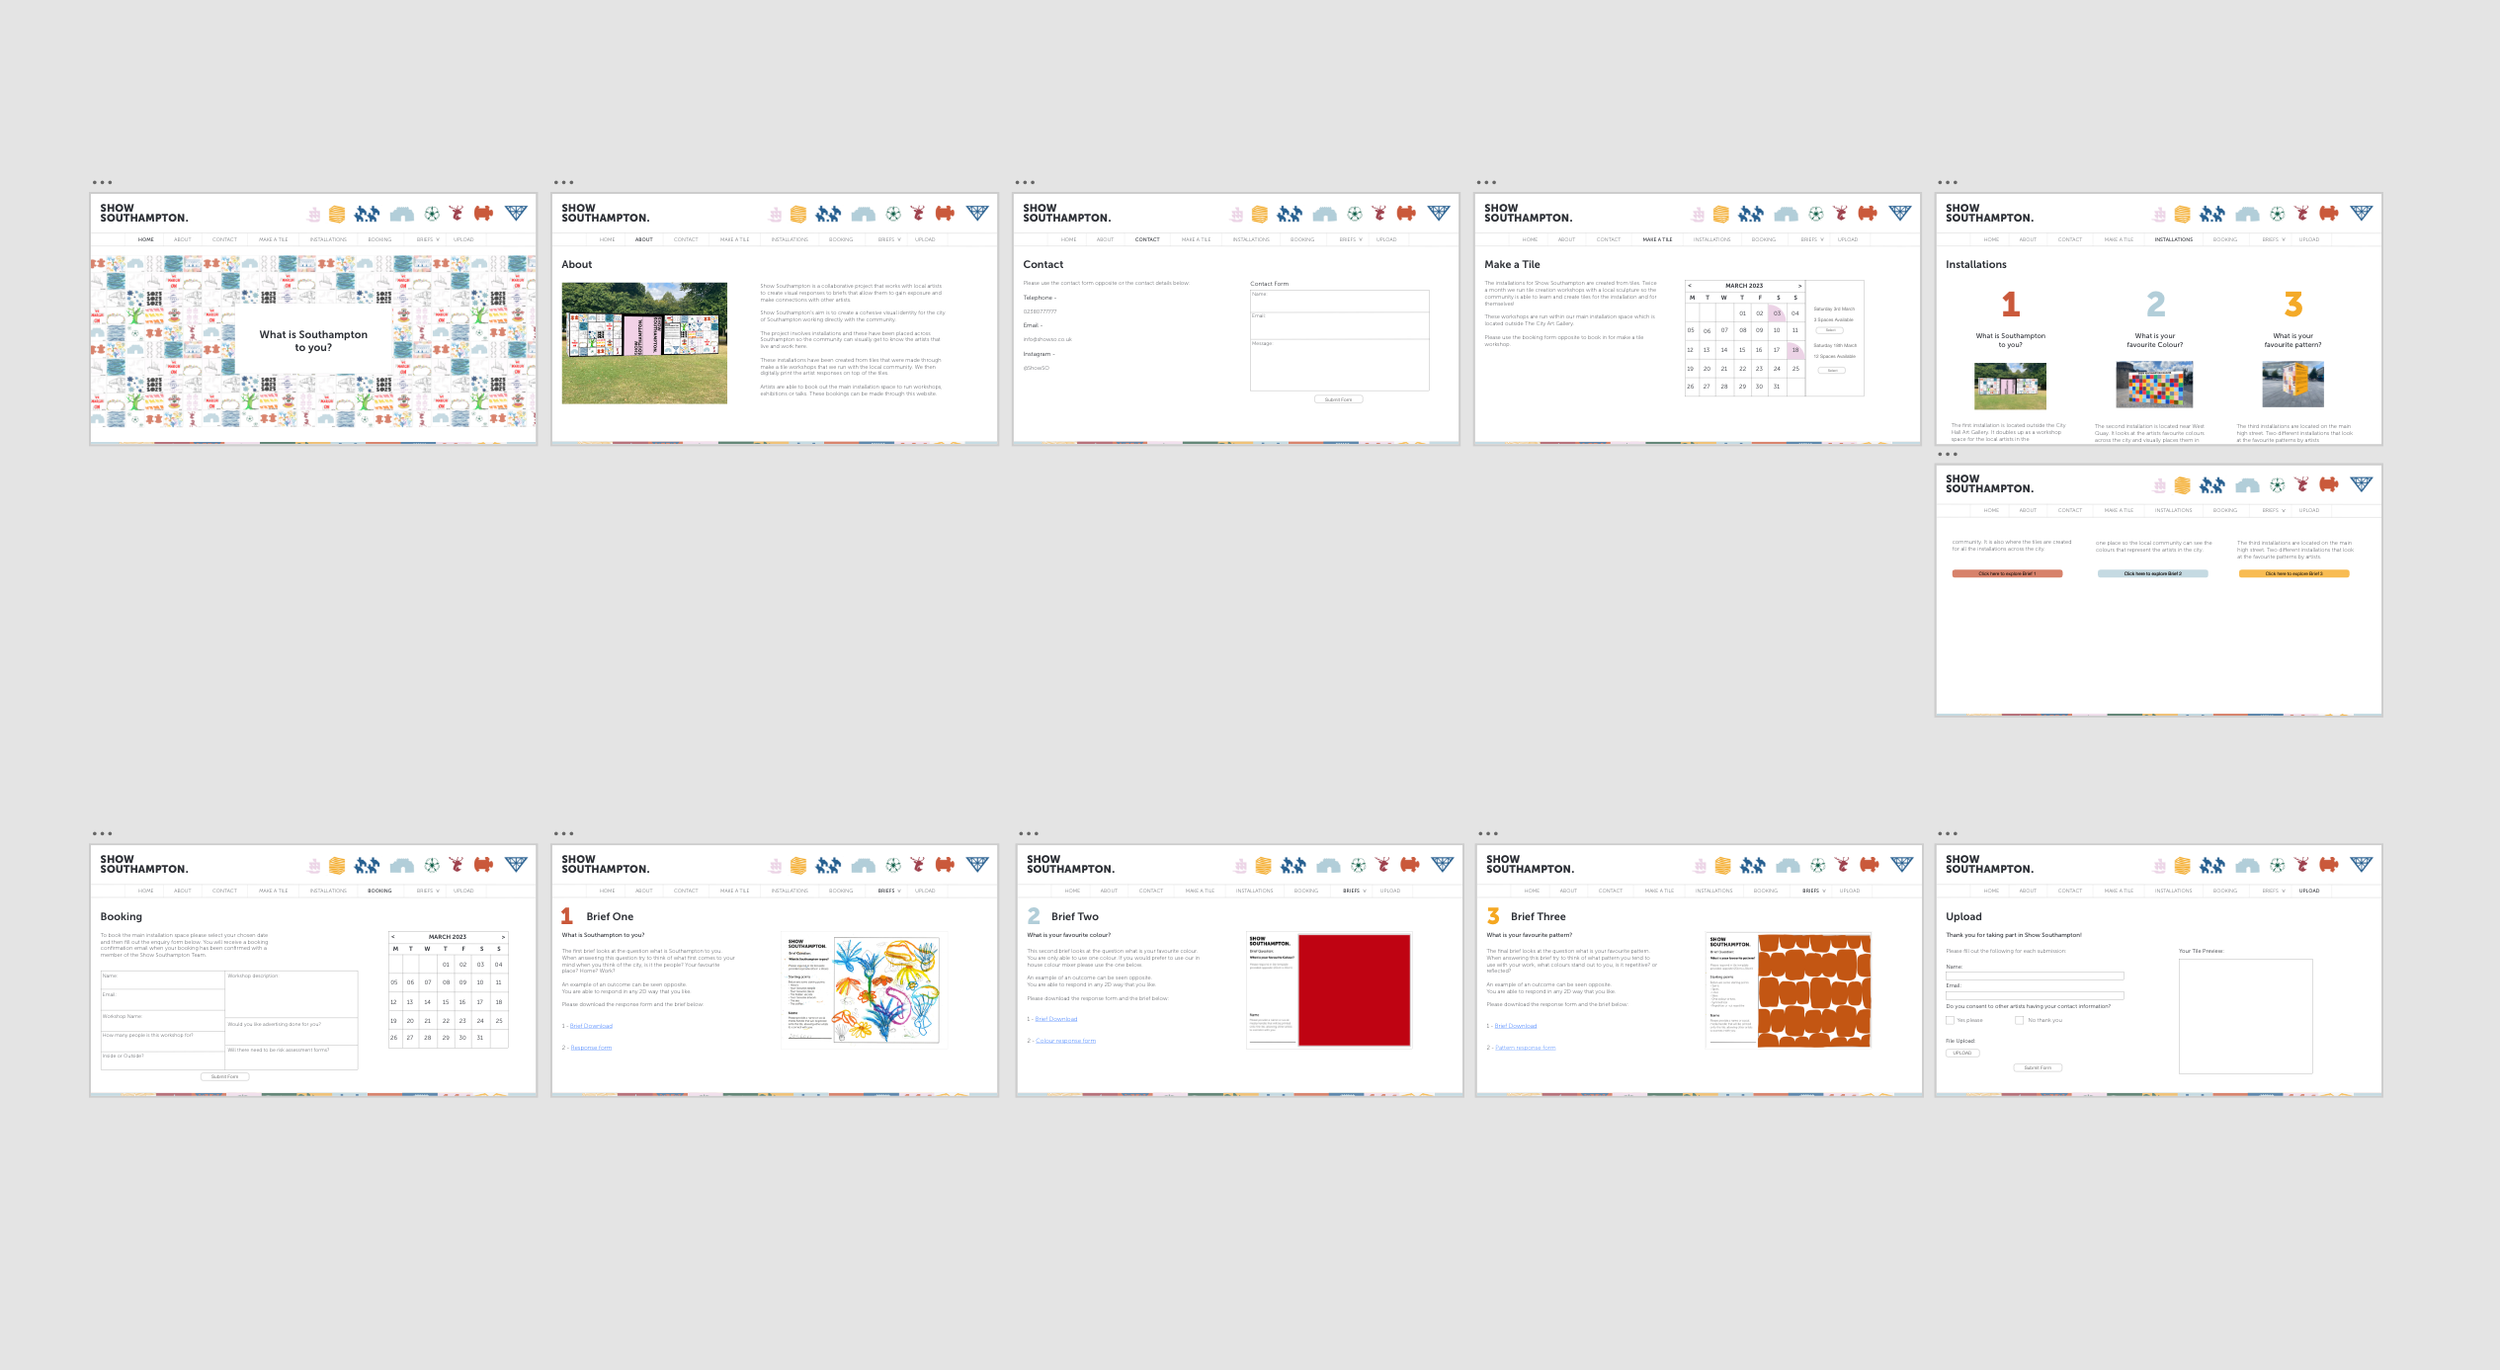
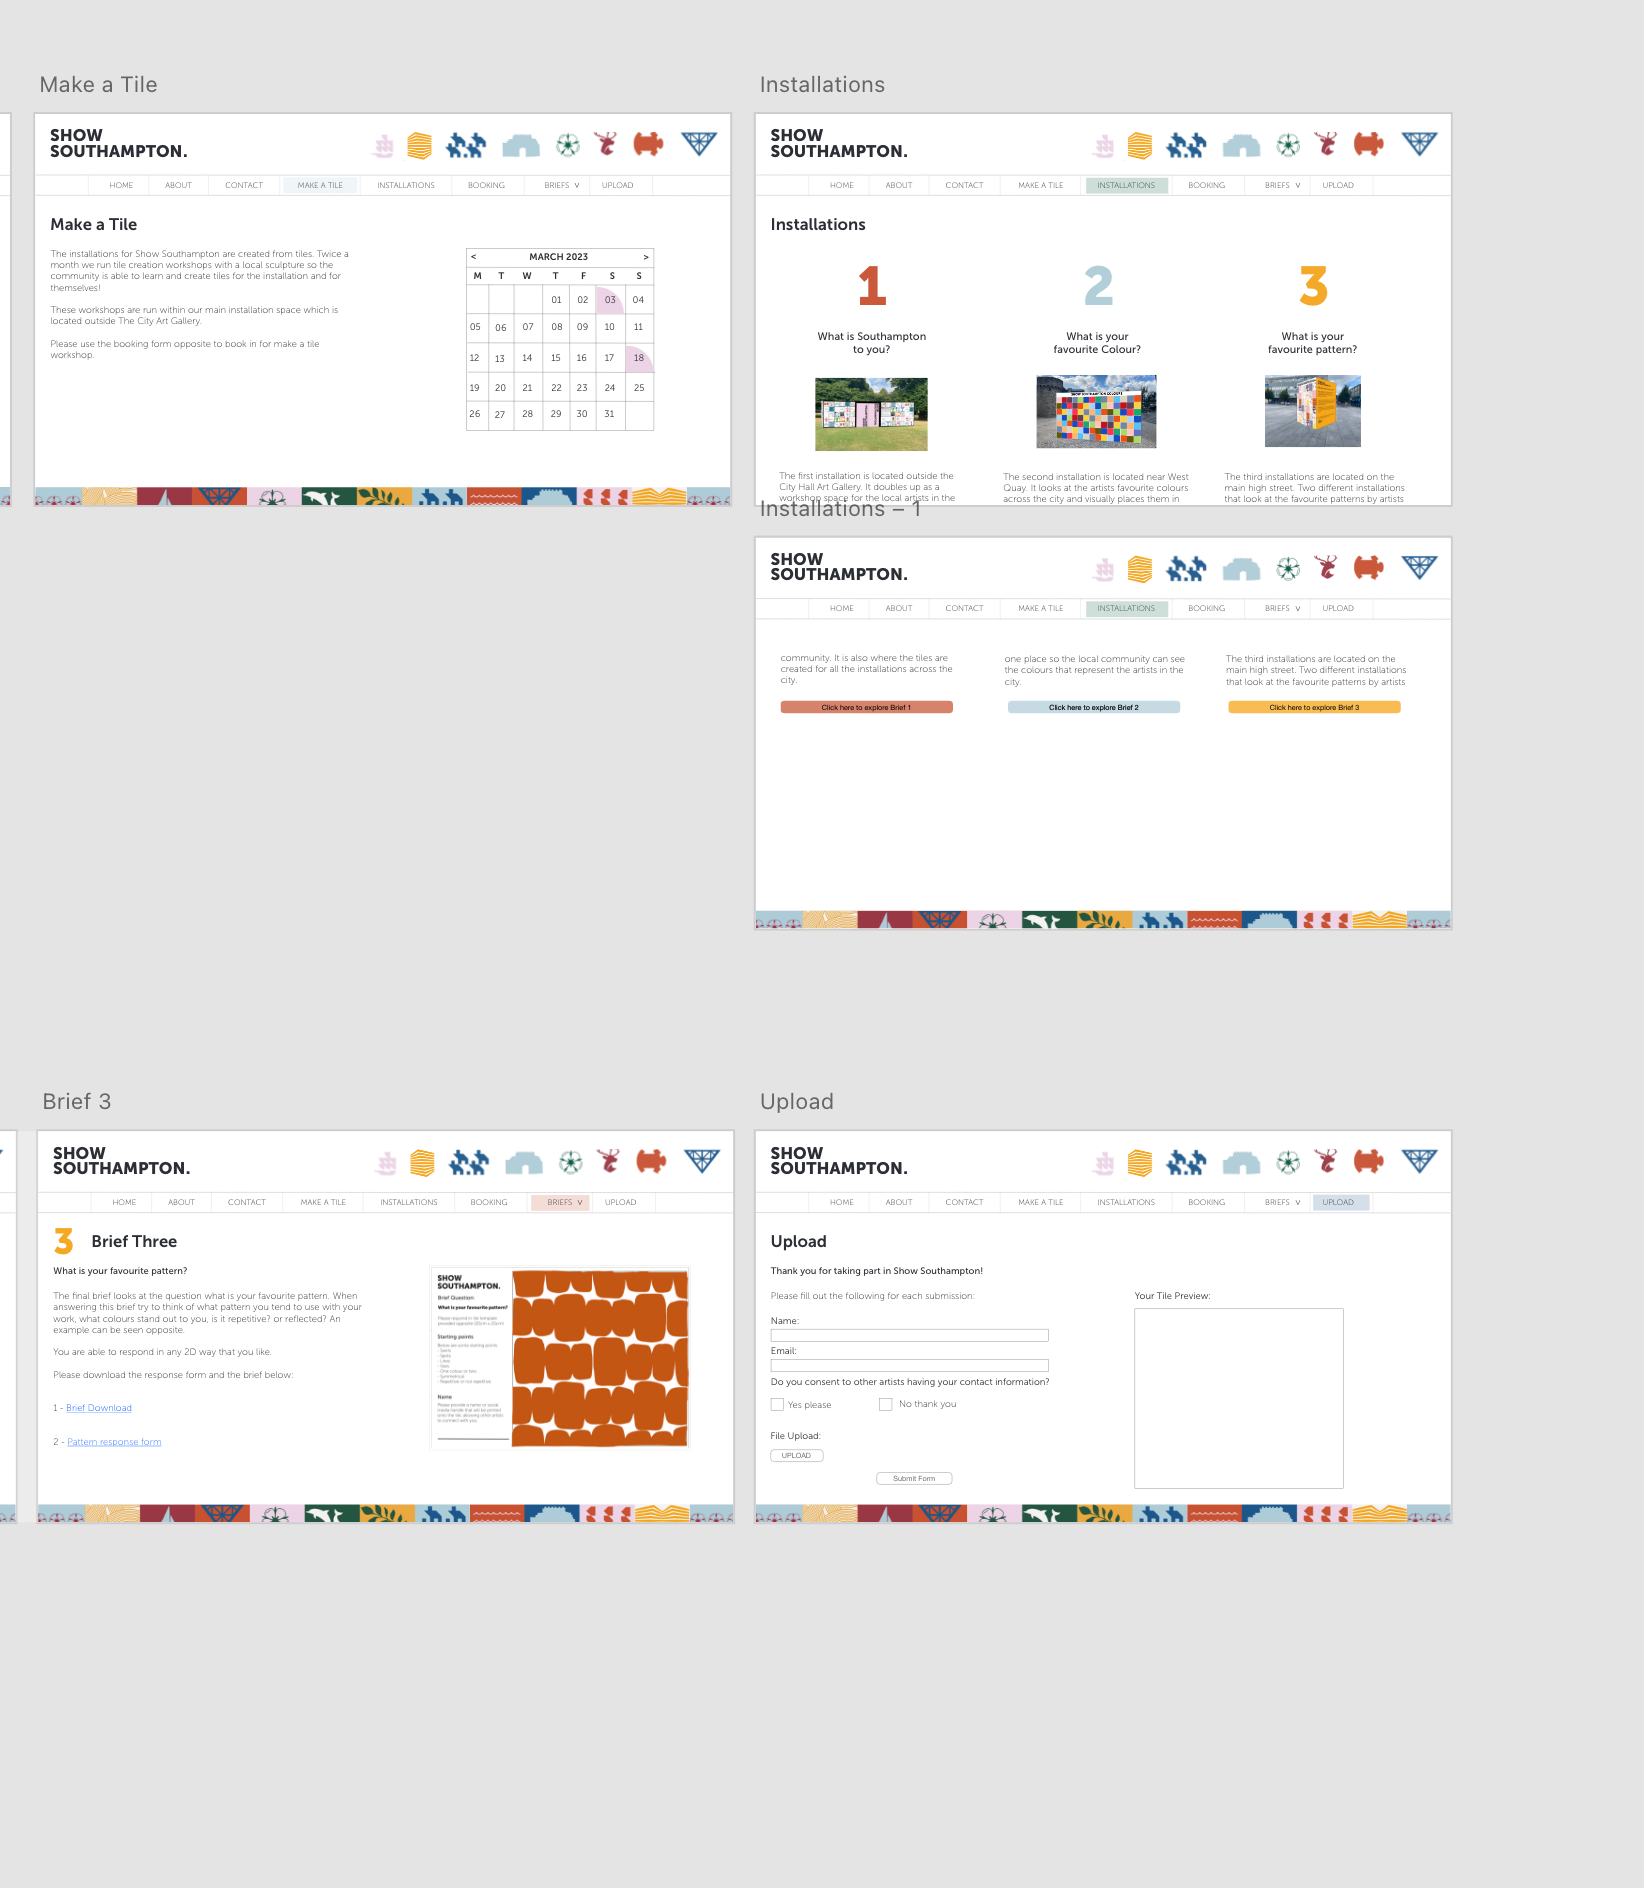
I created a first prototype which I sent for some feedback before connecting all the pages to make the website work properly:


Feedback was;
Clean and smart looking layout.
I needed to draw a map of the installations to finish of the website layout.


I then wanted to make an example of how it would look on an mobile device:


Weekly Summary
This week, I feel I got the majority of the design and explanation sorted. The only other step is the advertising posters to be created and then the layout of the social media pages and how they would reflect the brand of show Southampton. I also feel majority of the design will be shown in the explanation pages which will include the process, sustainability, tile process. This will be completed over the upcoming weeks which can be placed within the final PDF document.
Week Twenty-One:
Whilst I was completing the other weeks, I was finishing a basic draft of the whole report on word which I then wanted to take into indesign to make sure that the design element of the document was there.

I posted the basic layout draft to the ideas wall for some feedback.
Once I’d done this, I wanted to start to create the booklet layout for the report as I felt it was a bit boring and basic.
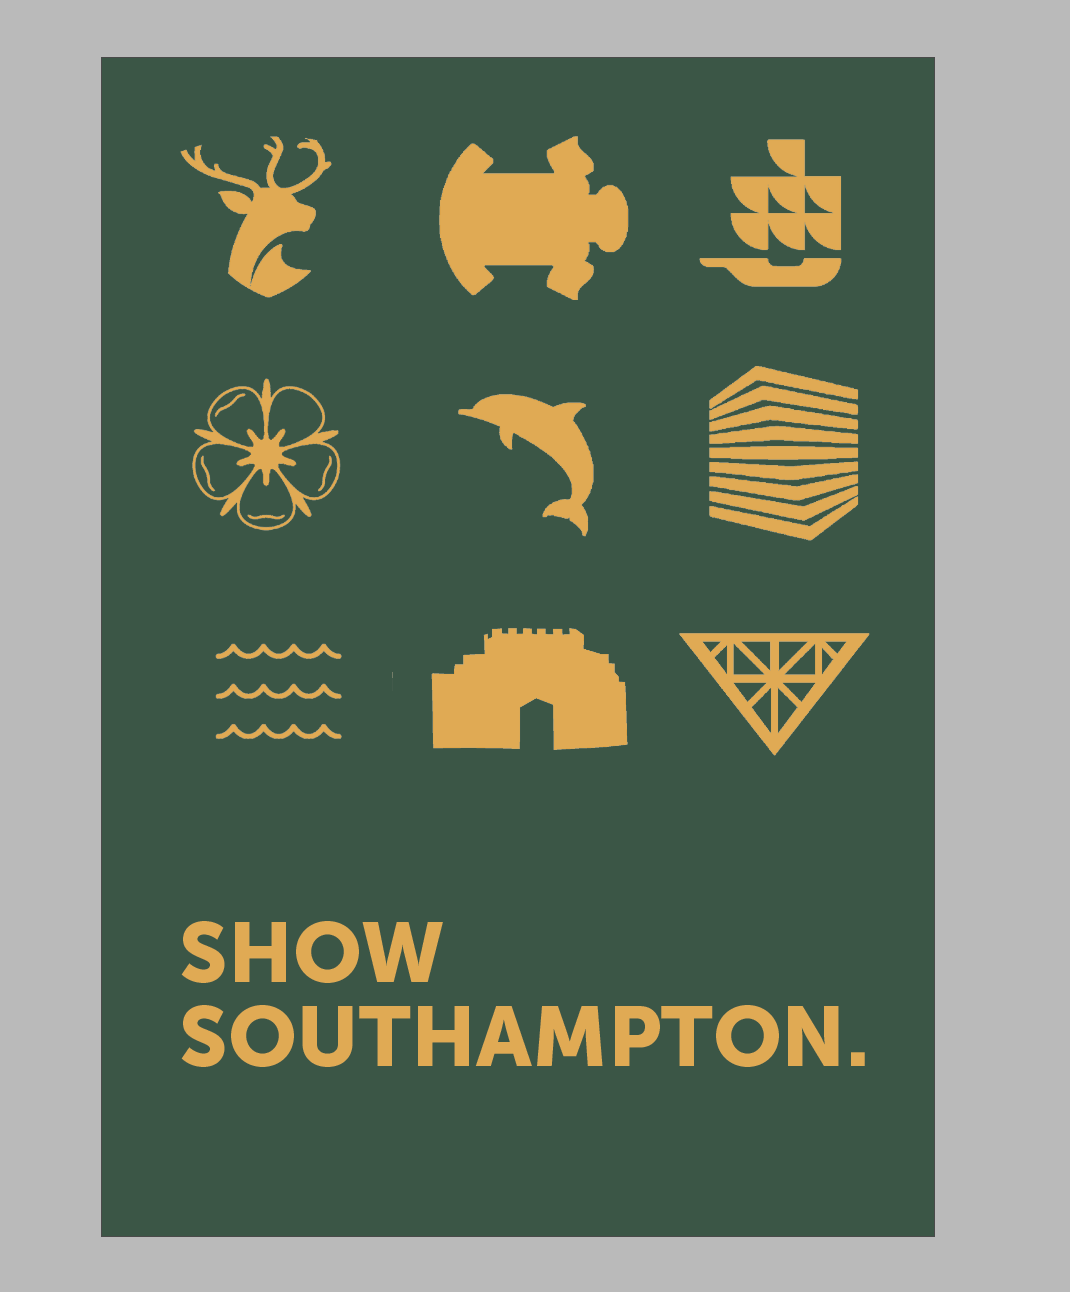
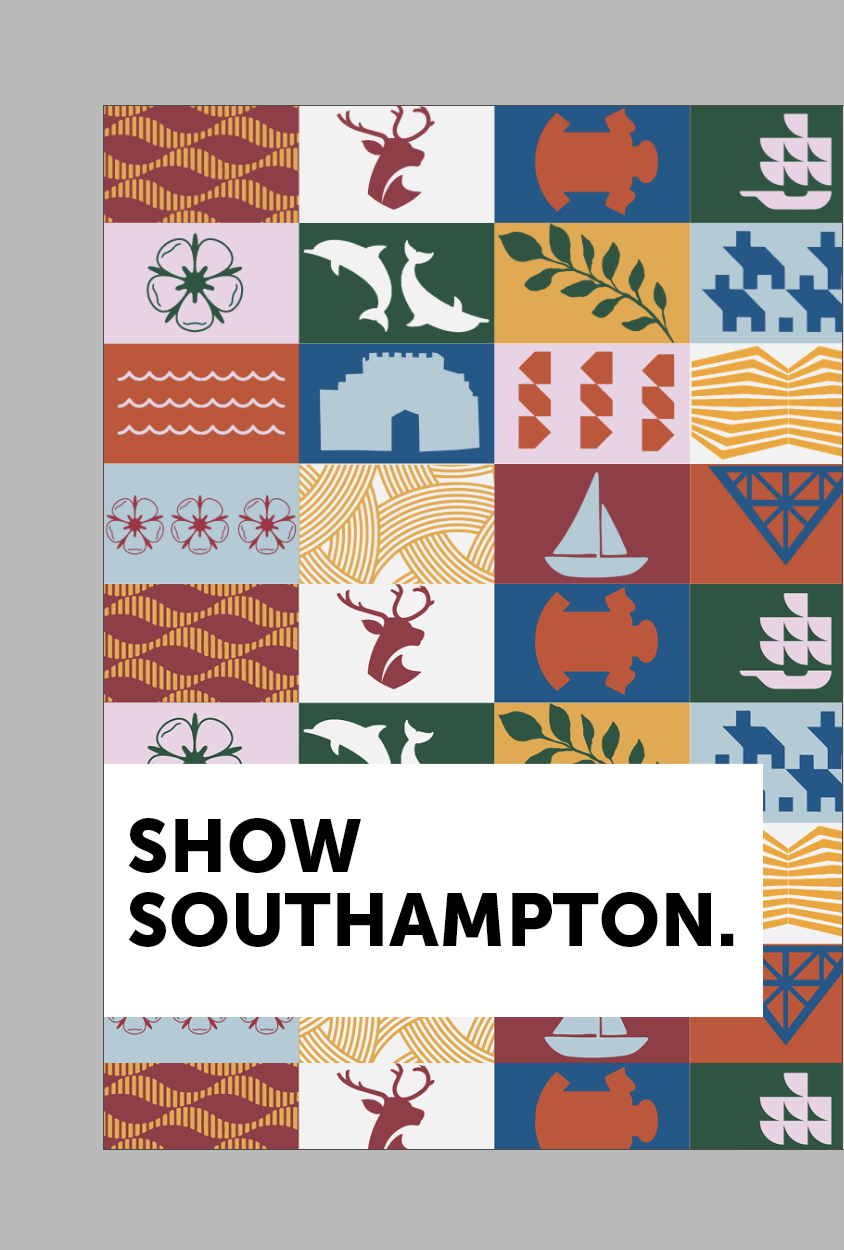
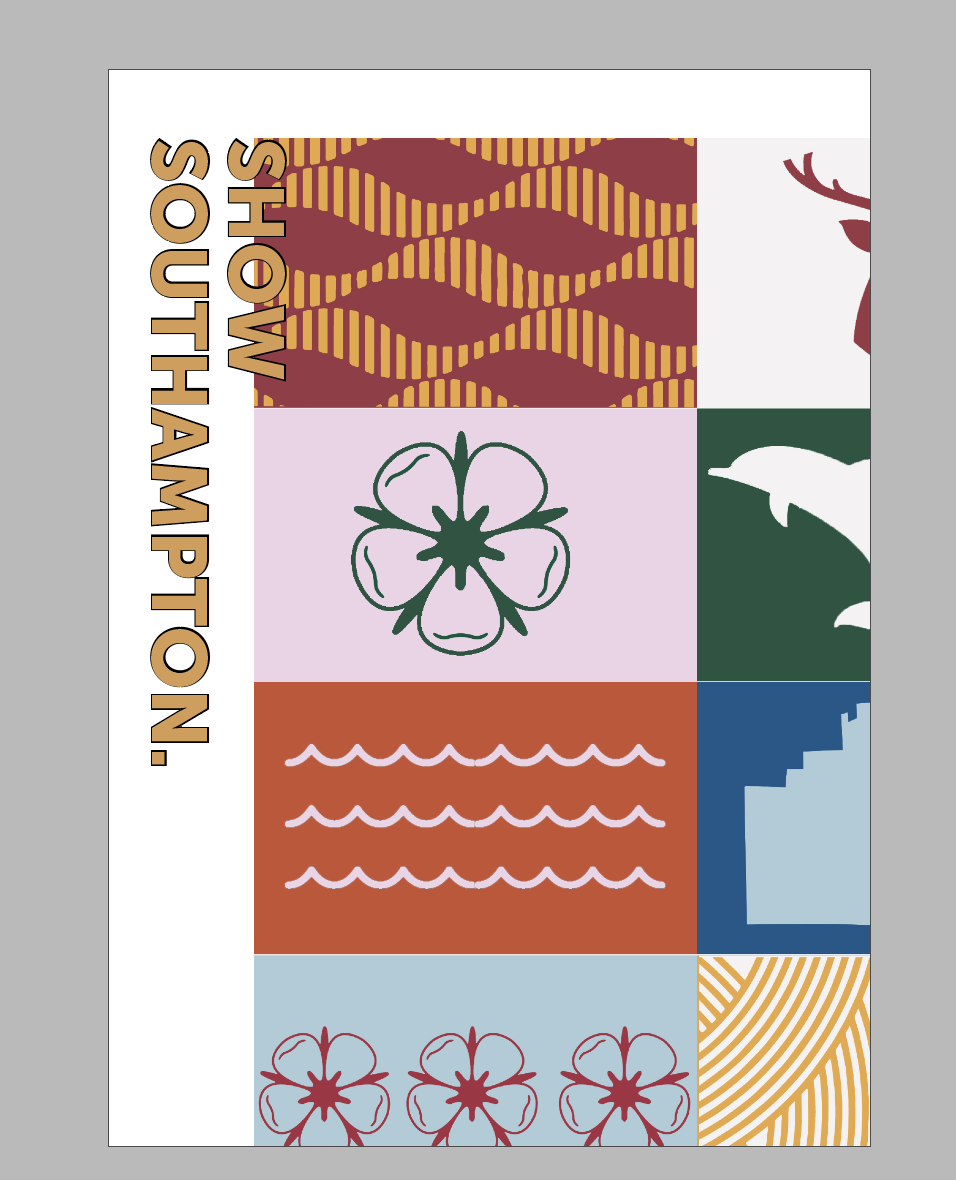
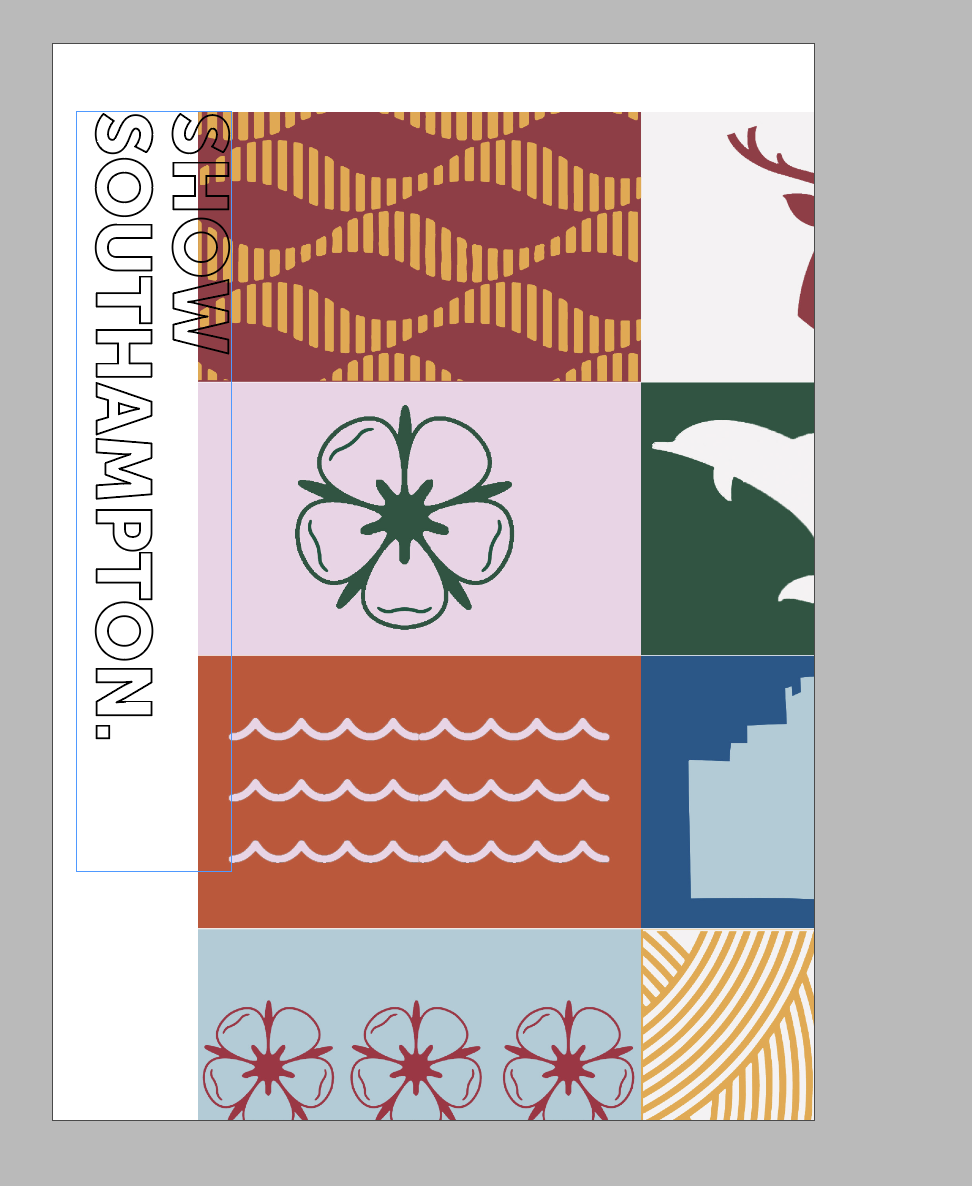
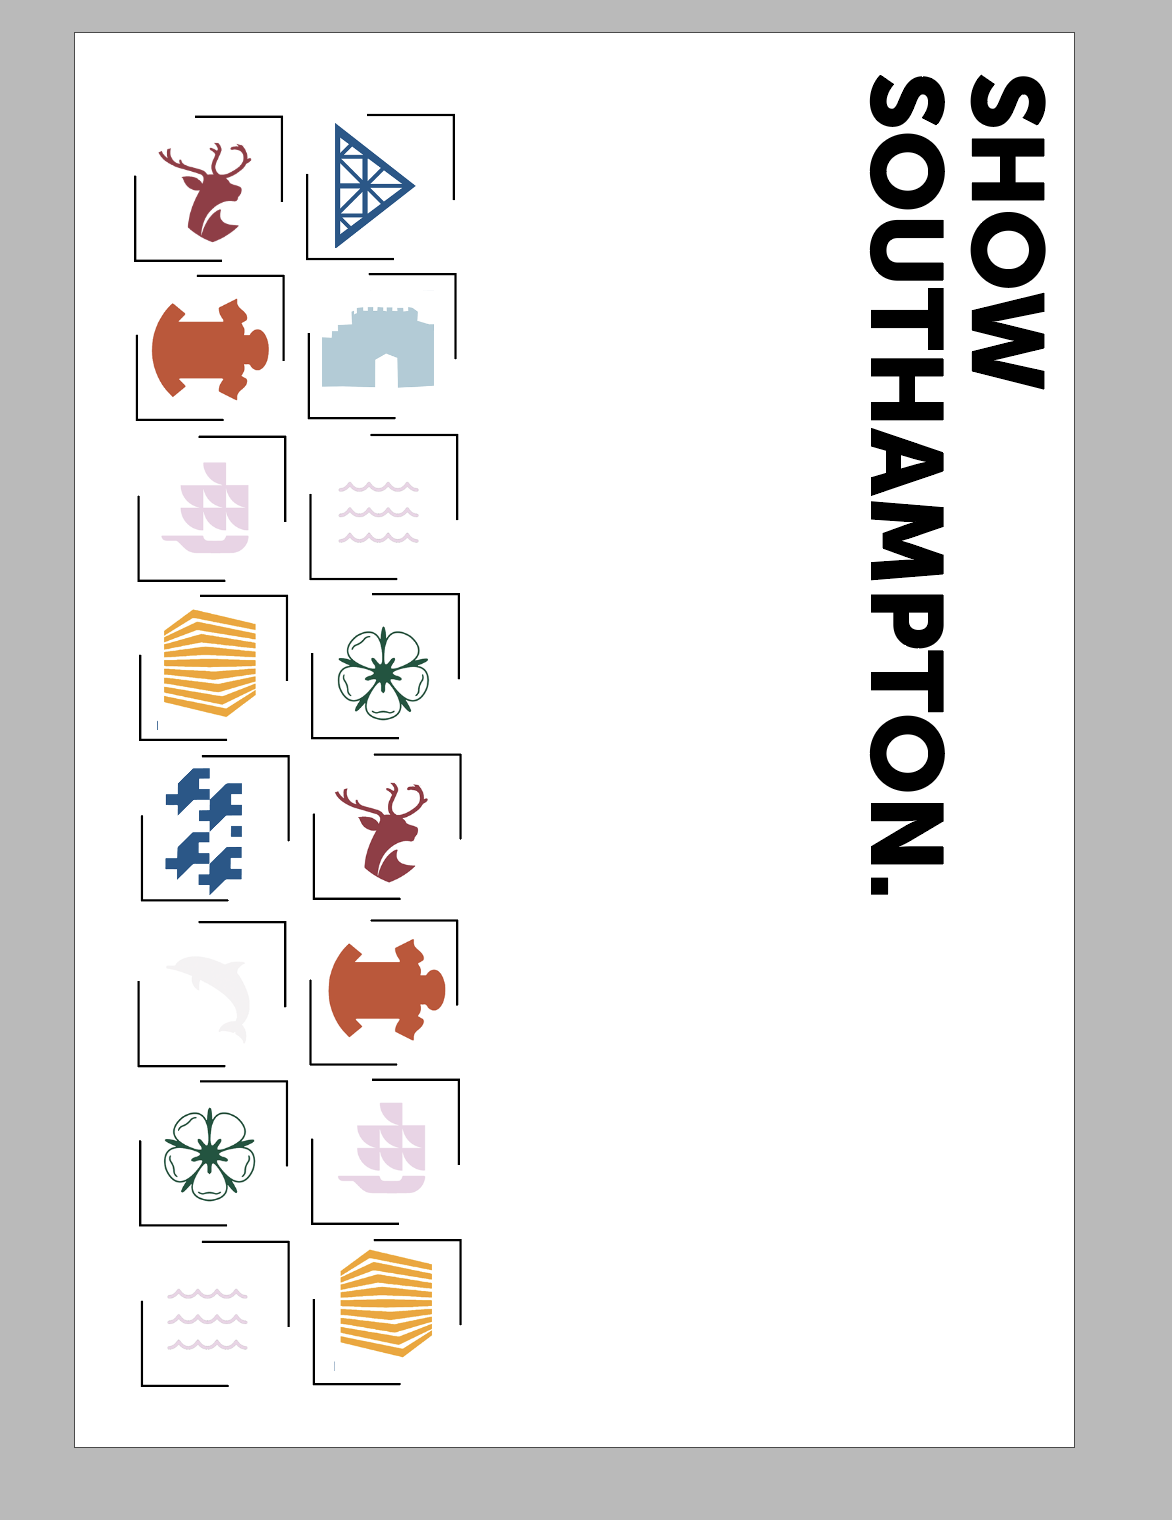
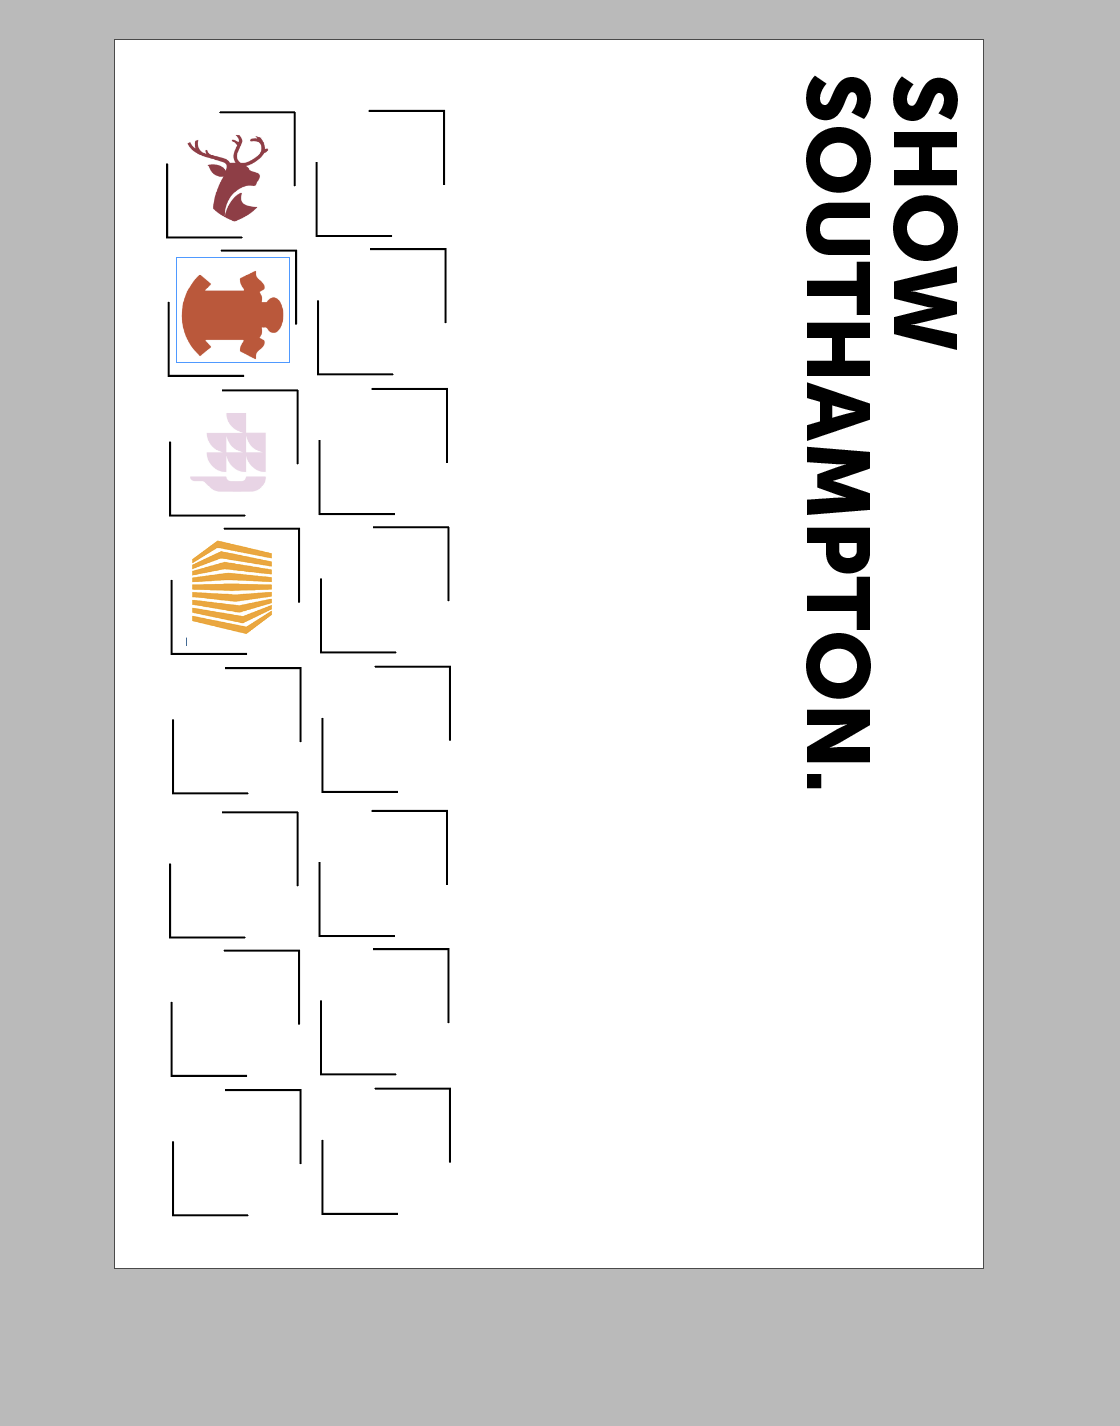
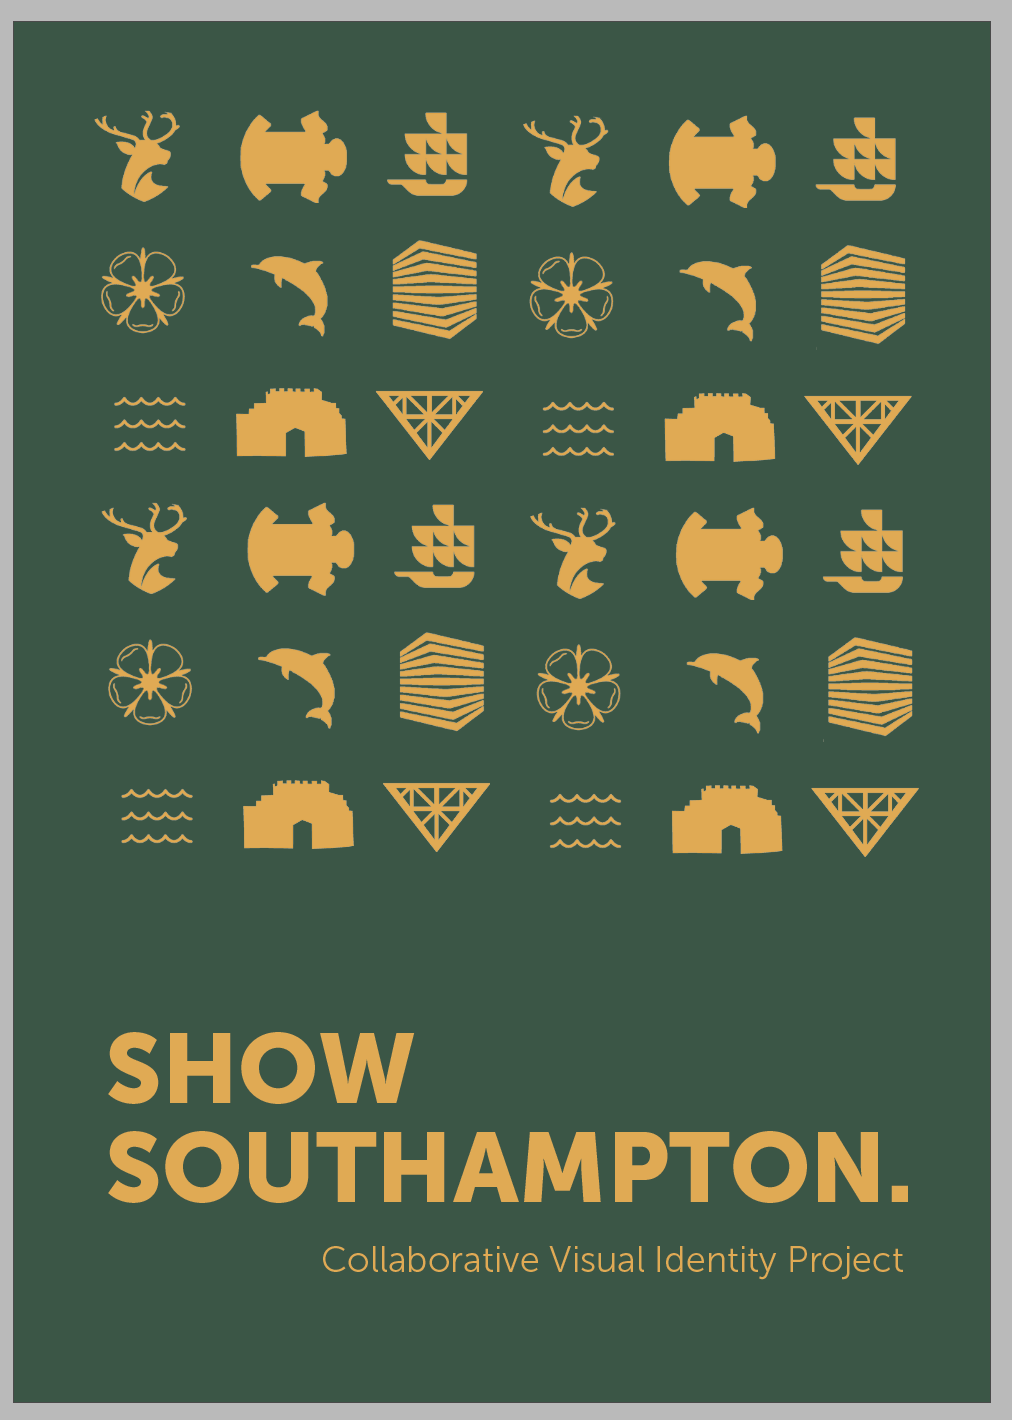
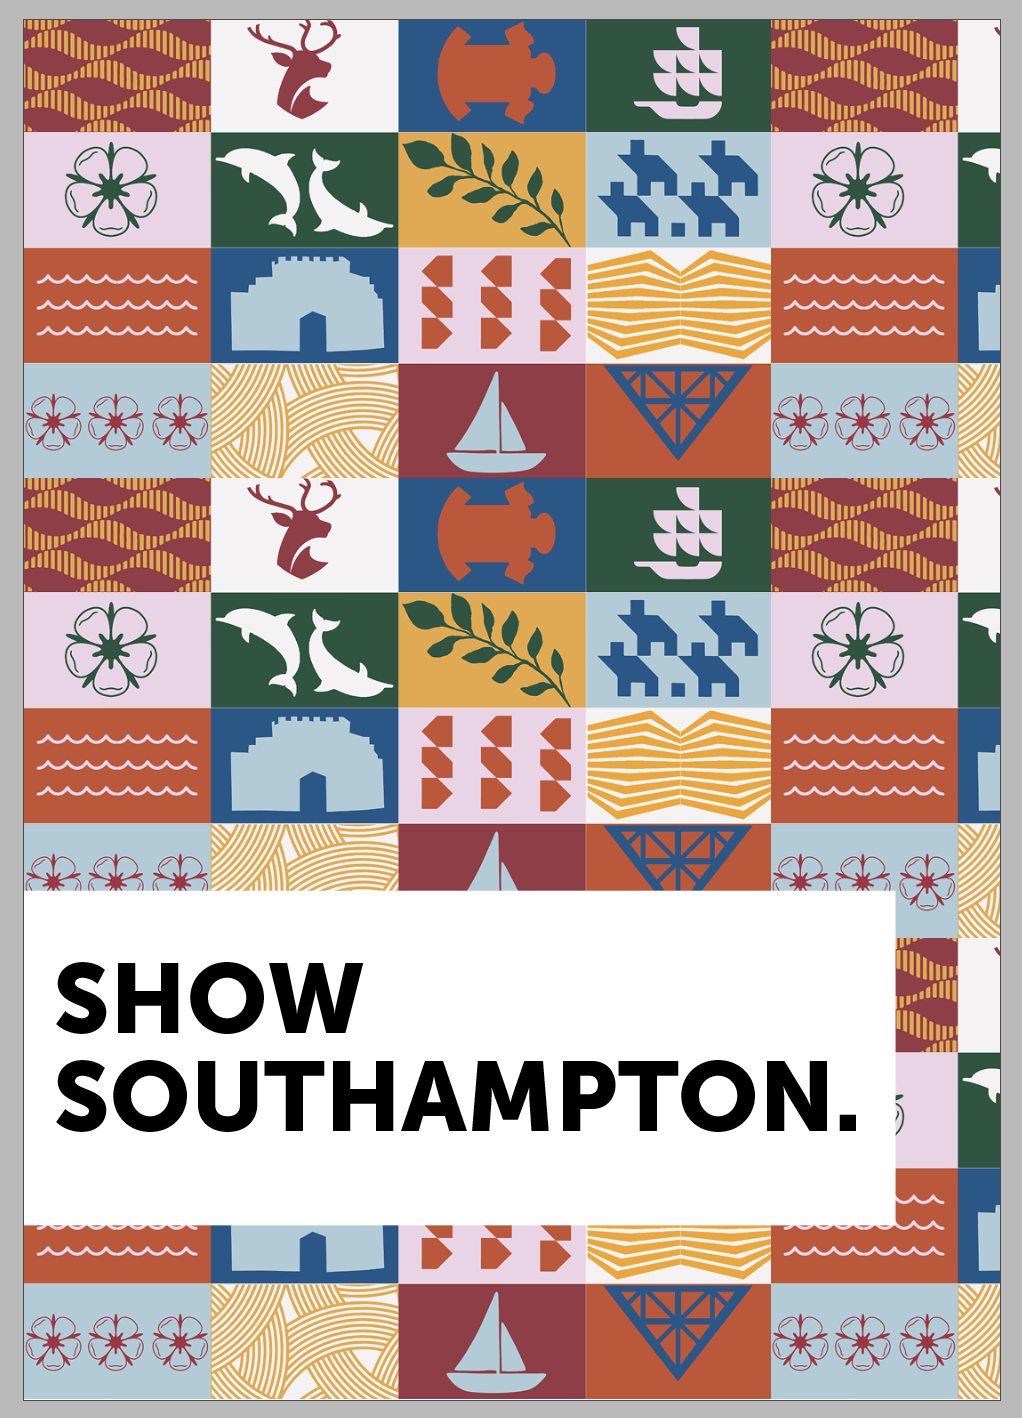
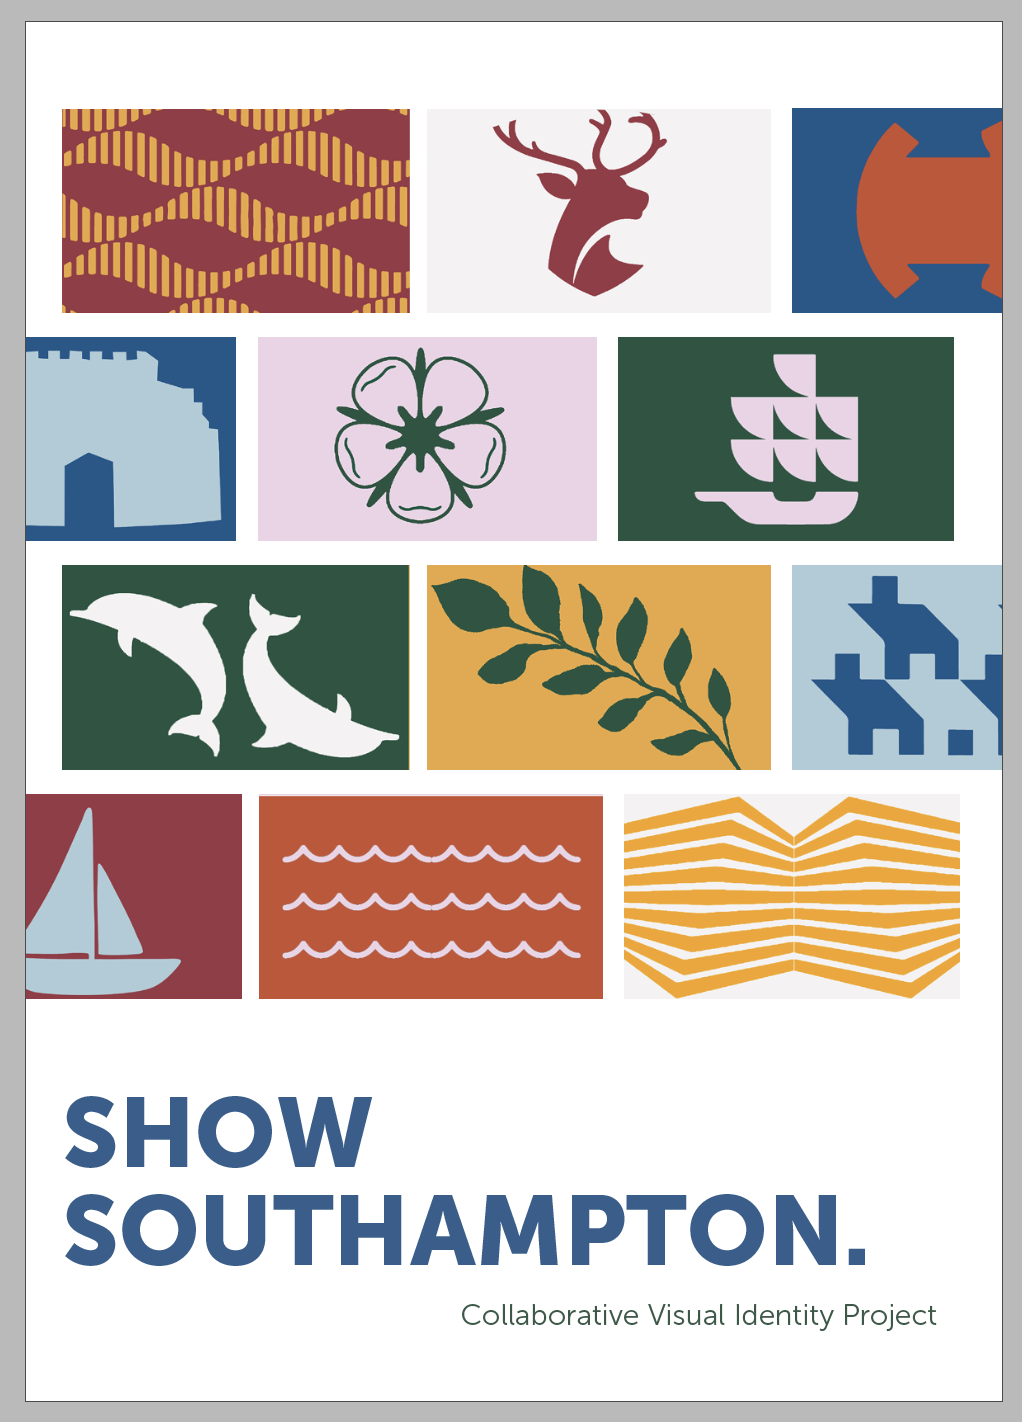
Using the brand that I had created for the project, I applied this to the whole of the document which is not in the right order but can be seen below:


I submitted the above document at the end of week 21.
Week Twenty-Two:
Weekly Focus
This weeks focus was to start the advertising for the the final output but also to create the social media pages that match the branding of the project.
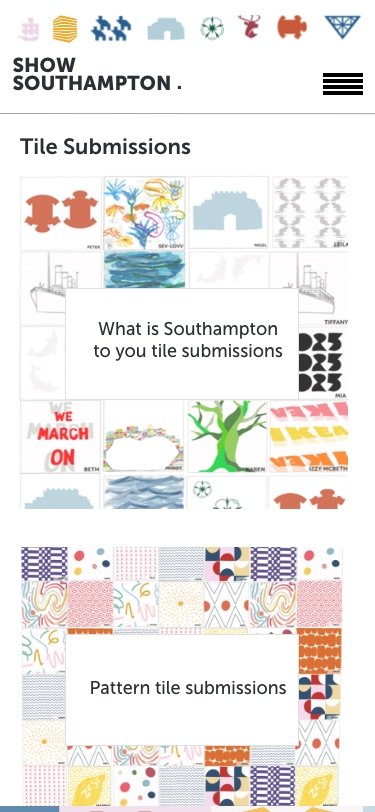
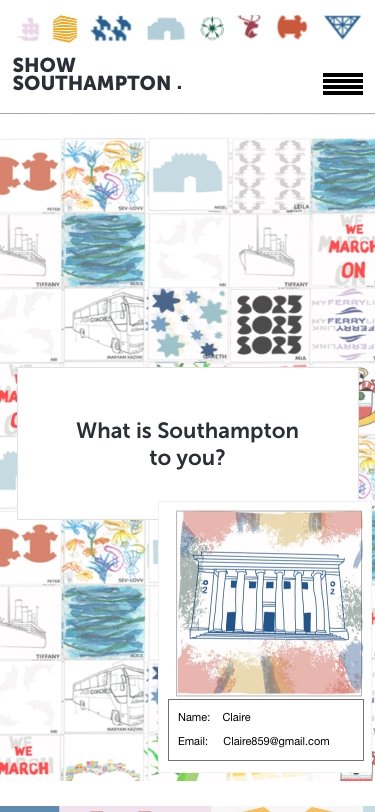
After going back and checking over the website, I realised I missed the vital component that the whole reason of the website and that was the pages that explore the tiles that have been submitted!
I created a video walk through of the website but also if you want to visit the website please click here:
https://xd.adobe.com/view/742bb13f-c710-43e4-a5a1-42ba9a514277-2178/?fullscreen


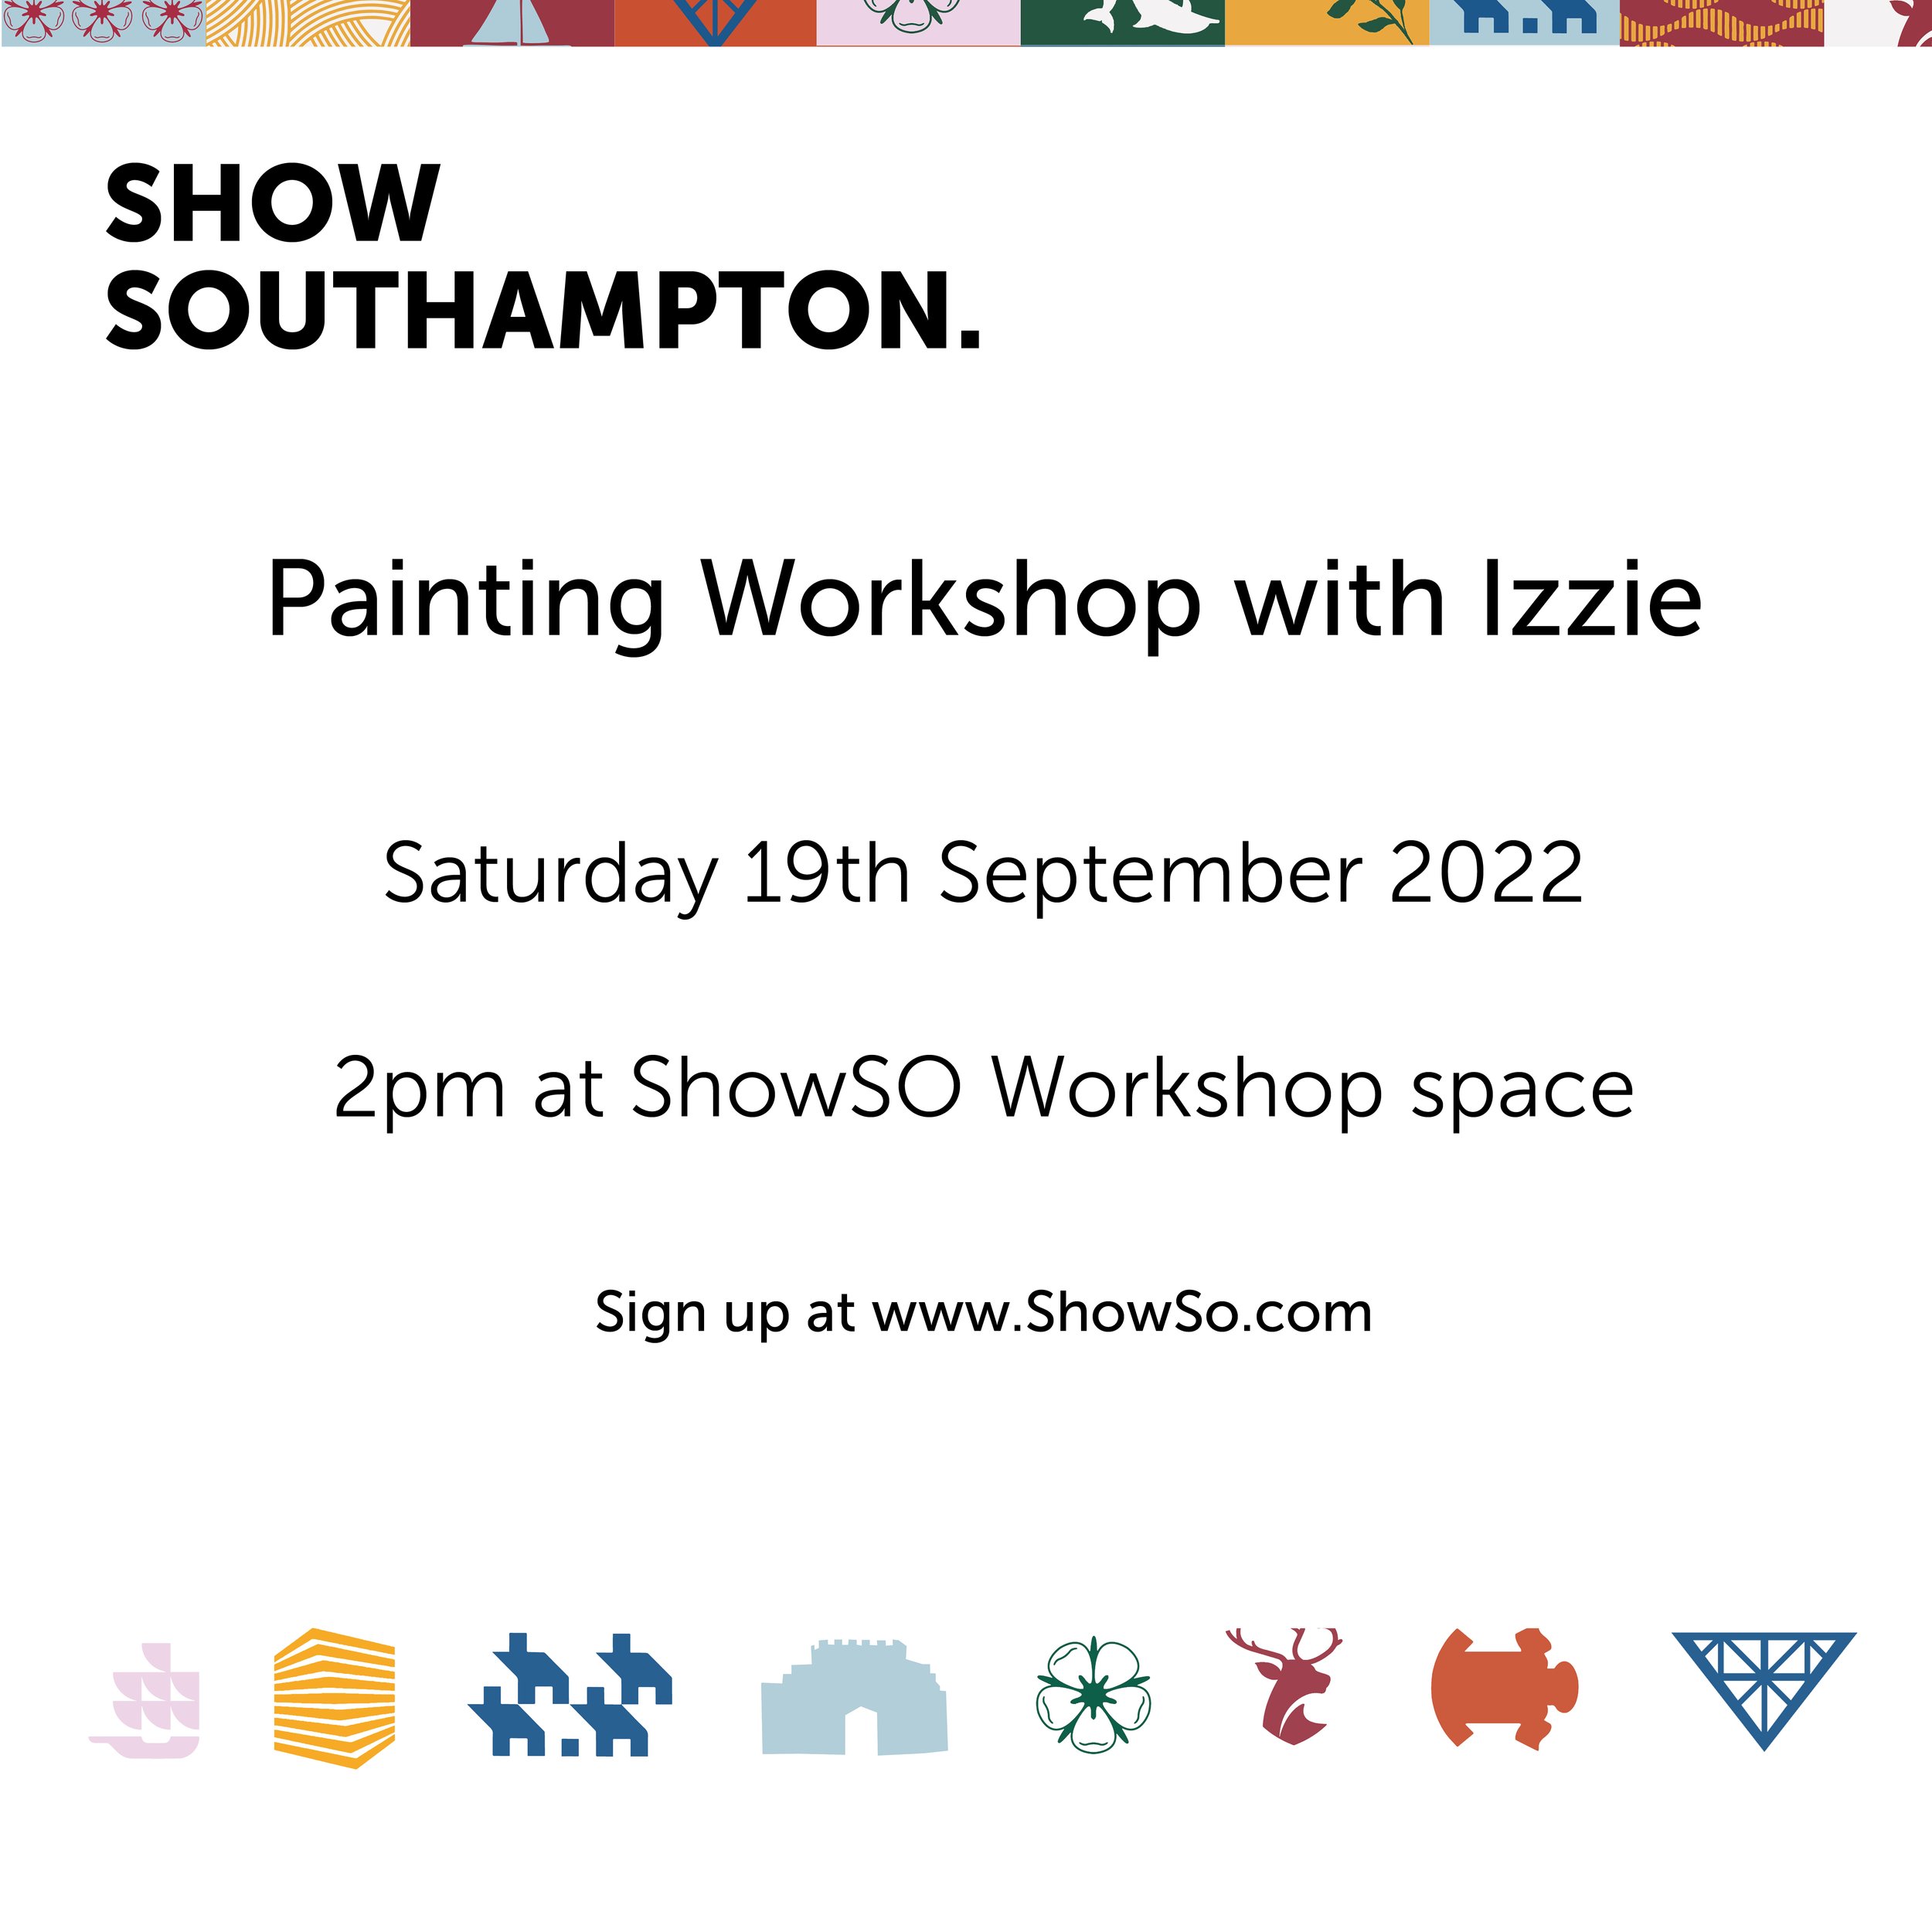
Advertising:
For the advertising, I wanted to create 4 different posters as well as 2 different billboard. I started by researching examples of how I would like the posters to look which I took into sketching different mock ups of the posters and the billboards.


The above show that I wanted the design to be really simple and incorporate the illustrations and the brand that I had already created for the project. I wanted them to be interesting and inspiring.
These experiments led me to the final selection of posters:

I wanted to see them next to each other to decide which ones I preferred, this led me to choosing the following 4:
Billboard:
I took inspiration from the posters to create the billboards:


I didn’t include a lot of information on the billboard or the posters as I wanted to just be awareness of what was going on. As the project moves forward I hope that I’ll be able to replace the branding with the live outcomes that people are making.
Social Media Pages:
I mainly focussed on the instagram page and created some mock up posts that could be posted on the account.
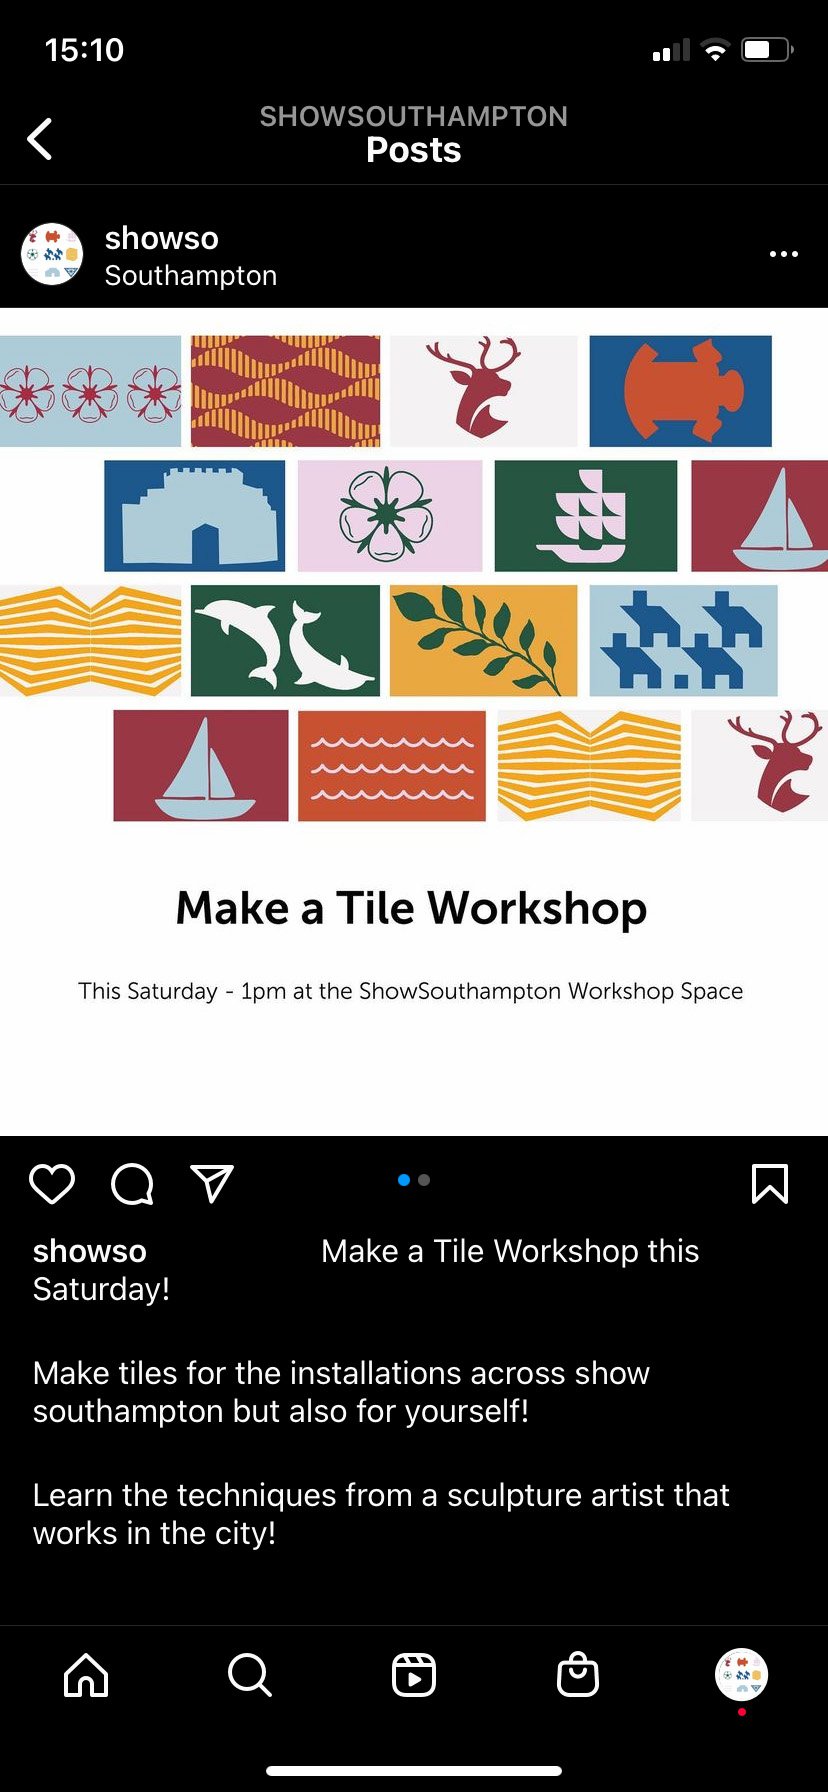
This is just an example of how the platform instagram can be utilised by the local artists and the community to get involved with the workshops and the other events that will be taking place at the ShowSo workshop space but also showing of the latest submissions that get sent in to continuously show the culture within the city.
From this moment on, I was focusing on the story that I would be telling within the PDF so the following are going to be the pages that I create to make up the PDF.
Sustainability Post
Within the sustainability post I wanted to outline the sustainability considerations that I was taking within the project.
1 - Making sure that all materials and contrators to create the installations were from Southampton or within a 5 mile radius.
2 - Trying to use recycled materials when possible.
3 - Installations running themselves e.g solar panels.
4 - Constantly reusing all the tiles from the installations for the next installation.
5 - Making sure all materials used after installation could go on to have another life.

Process Post
1 . Engage
2 . Respond
3 . Upload
4 . Printed
5 . Placed

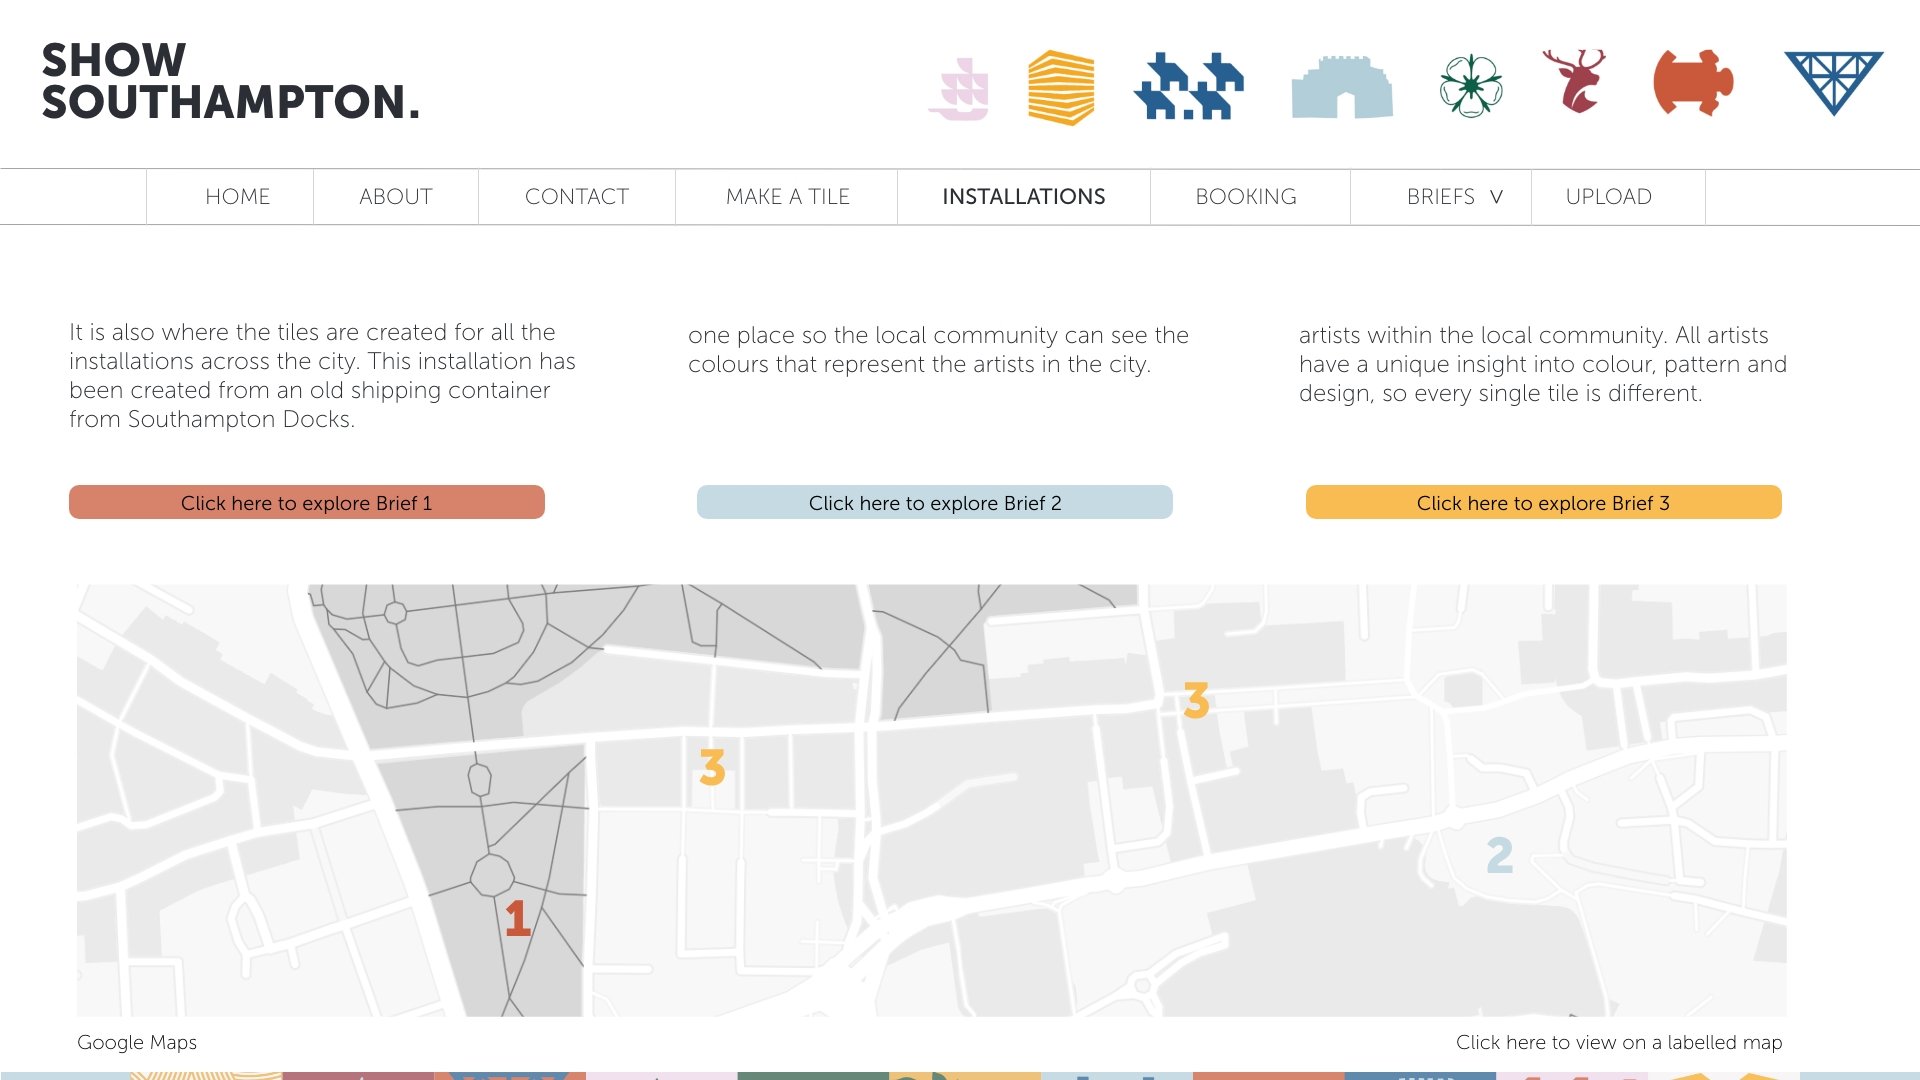
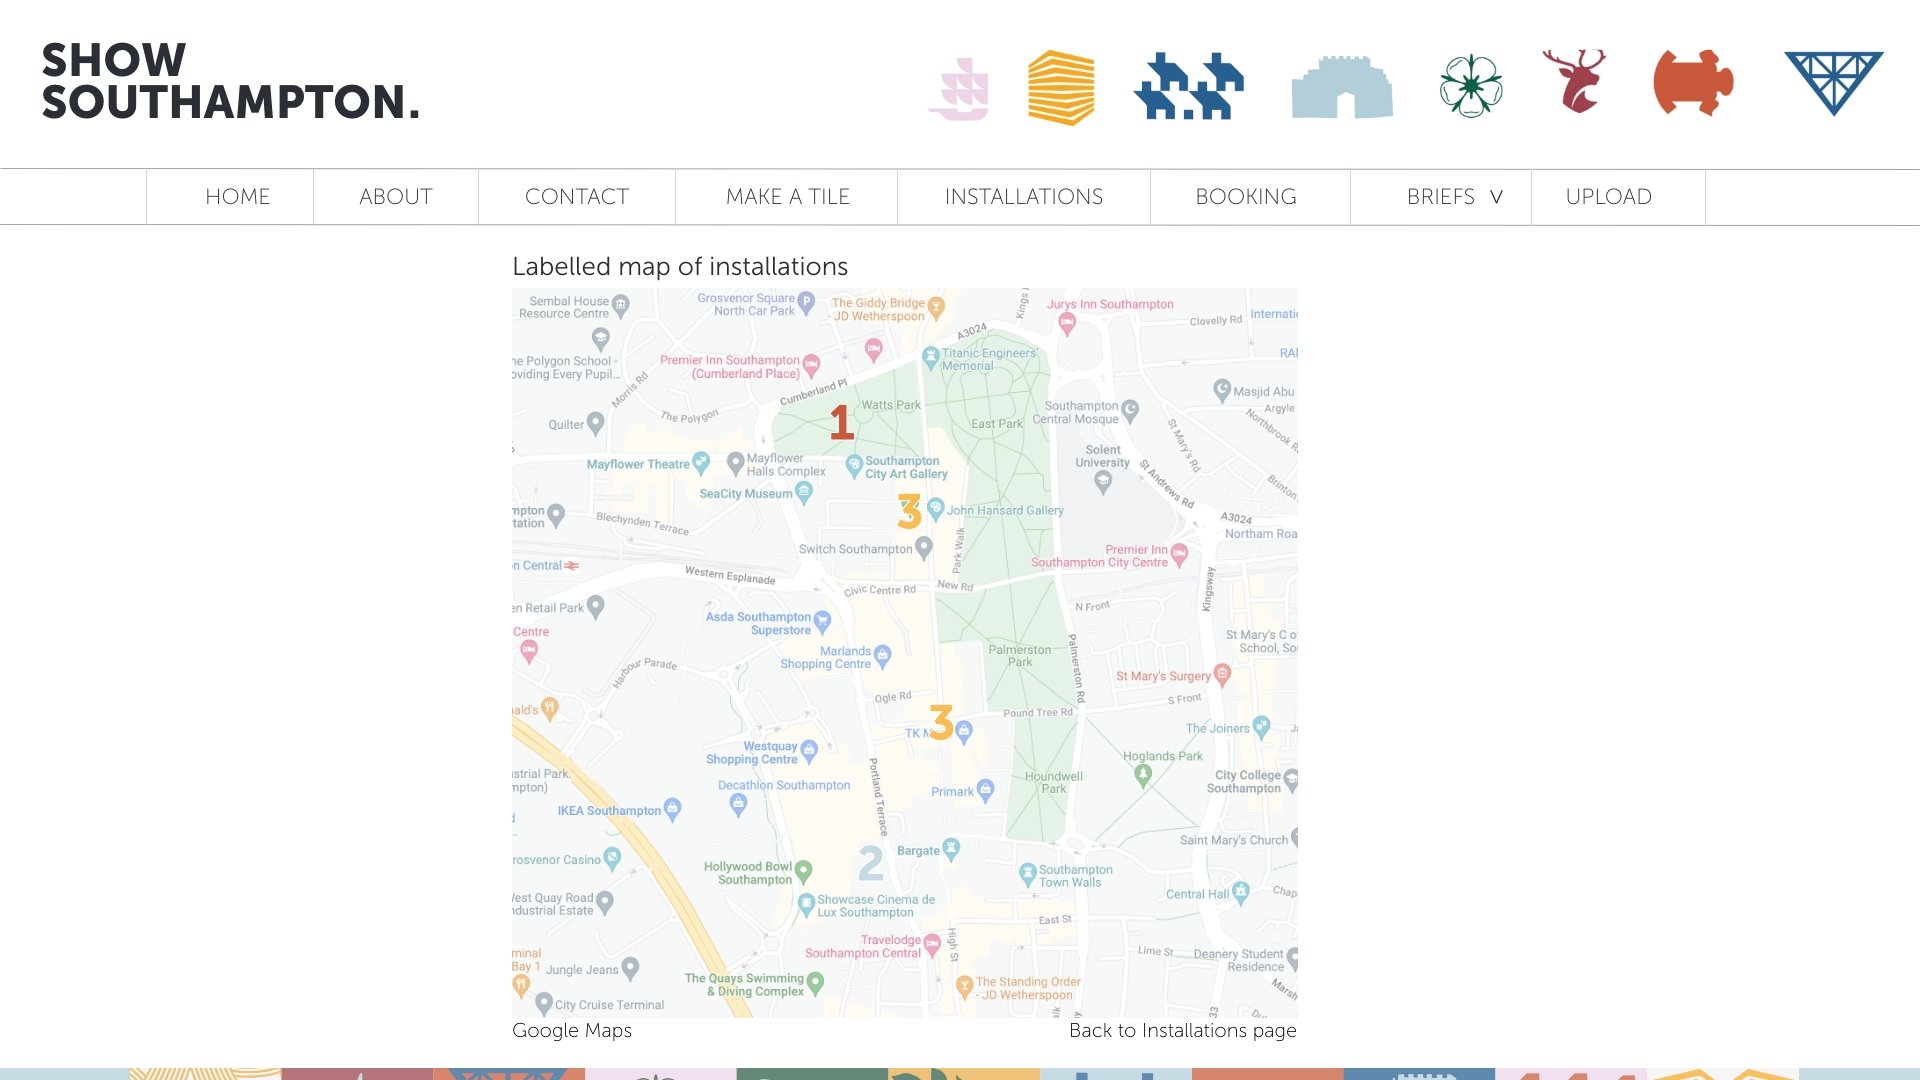
Location of Installations
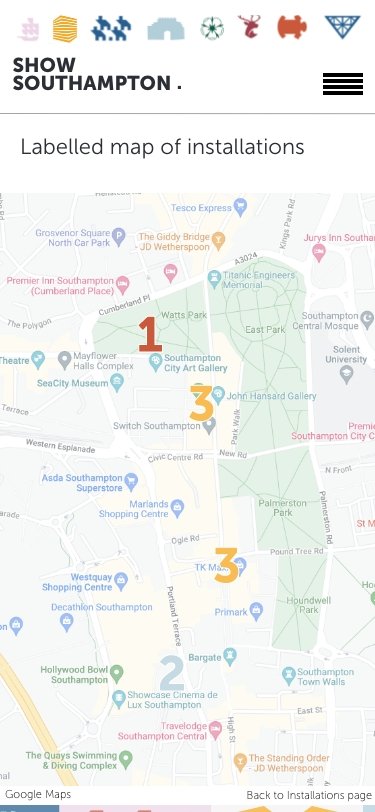
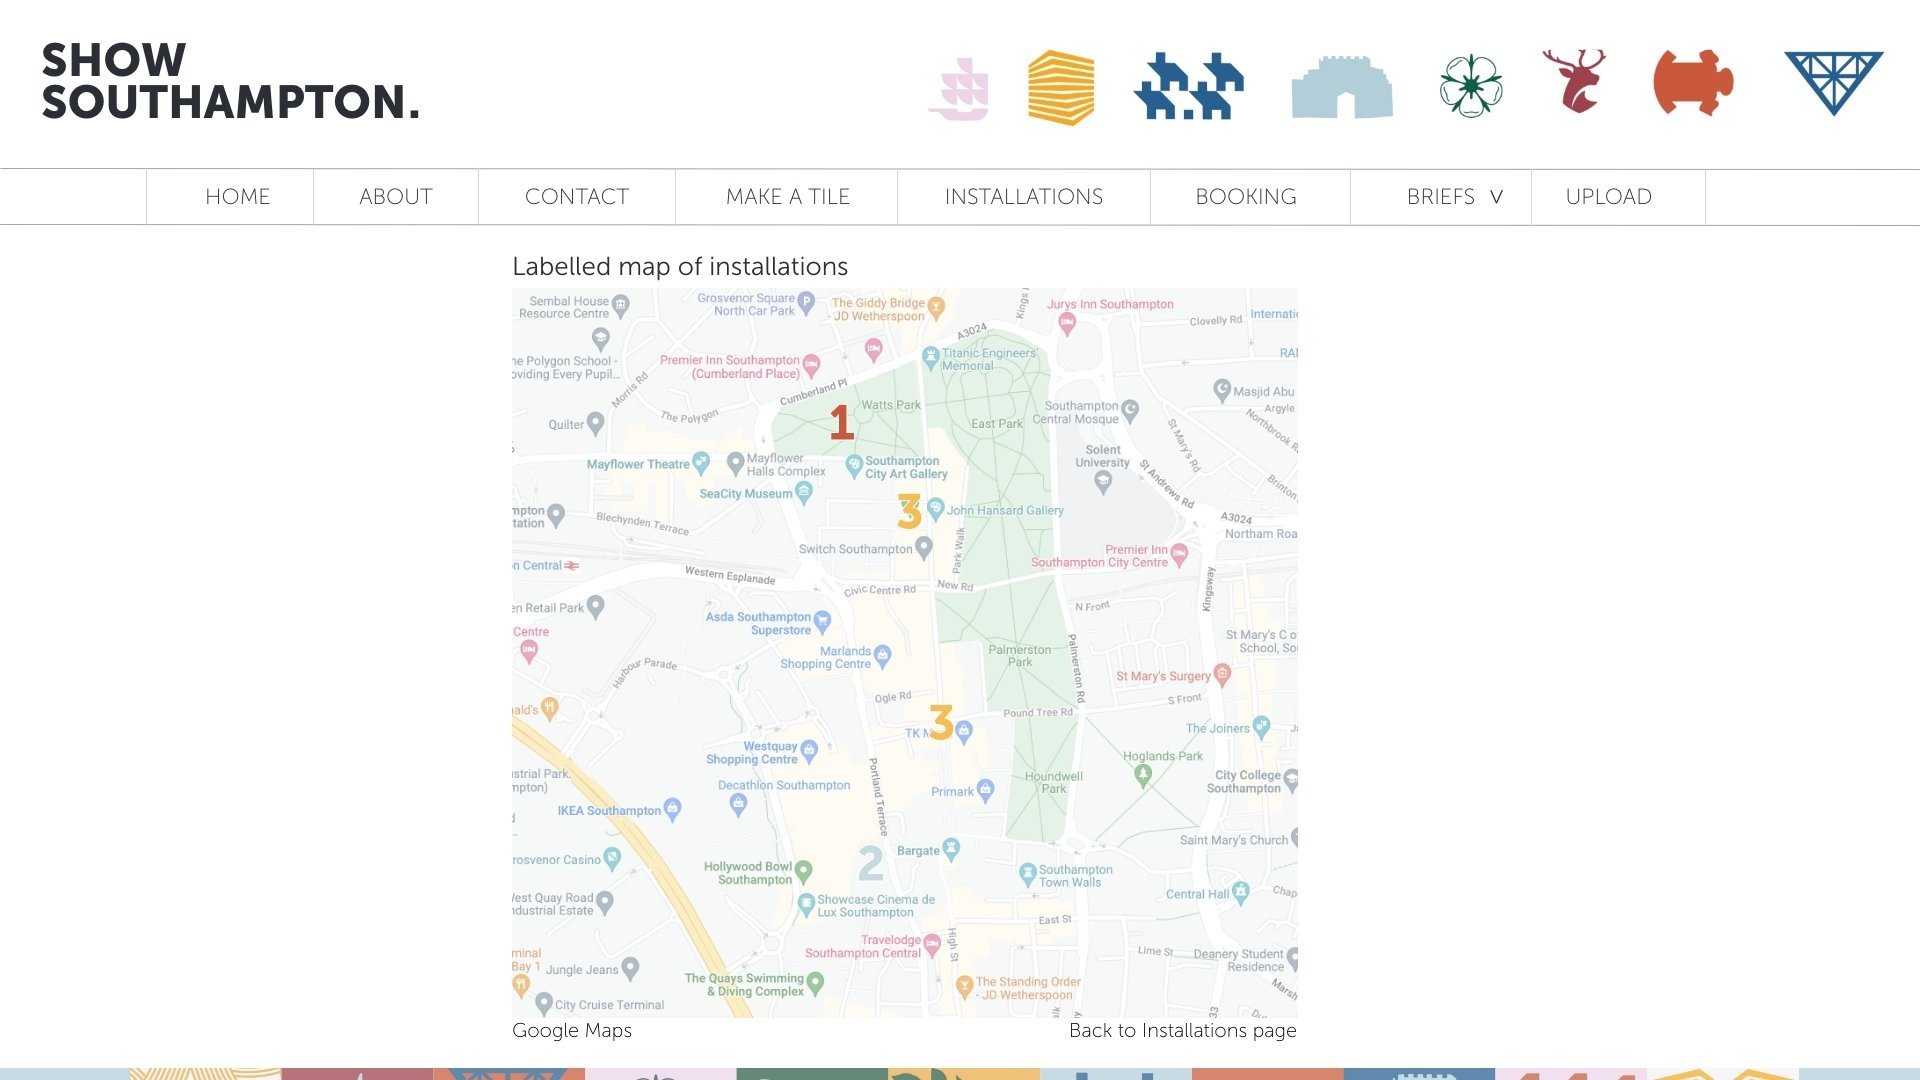
For the PDF, I wanted to create maps that are just line drawings to go with the aesthetics of the PDF. So for reference, this is where each of the locations are placed on a map. 1 - in the upper end of the city centre in a park.
2 Outside west quay at the lower end of town.
3 are placed on the high street.
These can all be seen in the website screenshot below:
Expansion of the project:
I already worked really hard on the trail part of the project, If I was going to expand the project, I would look at including the art trial with more installations which can be seen in the map below where the installations would be placed across southampton.

Week Twenty-Three & Twenty Four:
Weekly Focus
Within this week the focus was to create my PDF, I also had a last minute tutorial this week to make sure that everything I was doing was on track.
Within the tutorial ben spoke about bringing my concept to reality which I feel I have done by trying to include as many artists as possible.
He also brought up what was the end goal for the project? What was the future for the project?
How is the project able to adapt and change?
Whilst I was thinking this over, I came across a great documentary that looks at the knock on affect of placing one banksy mural within the town which then created this huge knock on effect of street art within the town of Port Talbot. The documentary explains that it all happened within Lockdown and how a person like banksy coming to the small deprived town of Port Talbot inspired alot of local artists to come and re create the streets within the town. This is something that will be seen as the turning point for the town but also re-imagining the towns identity.
https://www.bbc.co.uk/iplayer/episode/m001b16l/our-lives-series-6-who-needs-banksy

On reflection from this, I want the project that I have created the be the same knock on effect for Southampton. Visually showing the culture within the city and Southampton being able to continue to create this cohesive identity moving forward.
The installations are able to be changed and adapted, looking at different parts of culture like music or theatre but they are the just the starting spaces for the community to build upon.
When speaking to some people within the interviews, they mentioned that the organisations within the city weren’t collaborating. I am hopeful that this will bring the community together from any background or organisation to visually show the creativity within the town.
I hope that the creative installation will stay up for a year then the next culture can take over.
From one of the interviews, It was mentioned that “ We have no record of the amount of people in the creative industry in Southampton” This is a chance for the people of the city to be able to connect.
There are able to be different briefs and to be adapted to the seasons or the events that are happening within the city. The installation could also be adapted to involve not artists but the local community.
The workshop space could hold or host musical events or other talks, It’s creating another visual venue with a platform for engangement.
Another installation that really stood out to me about the future of the project was one that was by Morag, who I used inspiration from earlier in the module.
The Gatehouse

https://www.dezeen.com/2022/07/28/morag-myerscough-roman-gateway-hadrians-wall-english-heritage/
The main thing that stood out to me within this installation was that Morag involved the local community to help her not only build the gatehouse but also interviewed them to gain words which were placed on the installation. She again uses colours and shapes but this amongst words really rounds off the whole installation.
“Artist Morag Myerscough has unveiled a colourful reinterpretation of the original gatehouse at Housesteads Roman Fort alongside Hadrian's Wall in northern England.
Named The Future Belongs To What Was As Much As What Is, the pavilion stands on the site of the original northern gatehouse at the fort, which dates back to 122AD.’
“The words were chosen in collaboration with poet Ellen Moran and members of the local community, who also painted some of the panels.
"It was so important to me, and to English Heritage, that the work was a collaboration with the local community and that it relates to the people it is for," Myerscough said.
"The whole work has been created and made with the local community, we have made it together."“
They also helped to put up the installation which replicates the size of the original gatehouse that was once here. The industrial installation stands out against the green backdrop but again I love the outcomes that have been provided by the local community which makes it feel full of love.
Mentor feedback

This week I also managed to get feedback from my mentor on this project, Robert Holmes. Within our session we spoke about from his perspective what was missing from the project when he was reviewing it. We spoke about creating a PR event that would launch the project across Southampton that created interest but also promoted it to the artists and designers. Making sure that artists are aware of the initiative. Also how famous people could advertise and promote the project on their social channels to make the community more aware of what was going on, I think this would be hugely beneficial for the launch of the project.
We also spoke about the use of changing the tiles from physical to digital, this was something that I considered earlier on in the project. I decided against it due to the fact of trying to run the installations from electricity but after speaking to Rob it is clear that this would make sense in the future. We discussed the ways that this would work, he suggested using a tile upload where users could directly approach the tiles on the exterior of the project to upload more than just an image if they wanted like a gif or animation too. This would allow for more ease of changing the installation but also ease of viewing the installation from anywhere via the website. He was really helpful to gain a fresh perspective on the project.
PR Event
To initially launch the project I would run a PR event where I would invite all the local creatives and organisations as well as making sure to advertise the event to l the community on social media platforms. I would also make sure to invite local celebrities which would bring publicity and awareness of the installation. This event would allow for hype to build surrounding the project which would lead to engagement with the new installations.
The rest of the week I worked on my PDF to make sure that all of the PDF worked together and was cohesive.
Weekly Summary
These two weeks were a really important process for me to be able to reflect on the whole module as a whole. Having a mentor and feedback at this time was also helpful to see the weaknesses in the project and where I could improve to make sure that the narrative was consistent.
Overall, the past 24 weeks have pushed me as a designer to think out of the box but also to reach out to people who are knowledgable to gain real understanding about the different subject areas. At the start of the project, I wanted to research to gain understanding about something within Southampton that I didn’t already know. Within this module, I feel I have achieved just that, learning more about the city, the community and the people that live here. I hope moving forward past this project, I am able to connect with more inspirational people and learn even more about the creativity that happens within this city.
Resources
Ravenscroft, T. (2022). Morag Myerscough recreates Roman gateway at Hadrian’s Wall. [online] Dezeen. Available at: https://www.dezeen.com/2022/07/28/morag-myerscough-roman-gateway-hadrians-wall-english-heritage/
www.bbc.co.uk. (2022). Our Lives - Series 6: Who Needs Banksy. [online] Available at: https://www.bbc.co.uk/iplayer/episode/m001b16l/our-lives-series-6-who-needs-banksy